 April 28, 2011 at 01:17
Scythe Kaze Server: getting ready for summer
 Who now does not dream of a quiet production system? The subject of lowering the temperature and the noise made has been repeatedly raised on Habré.
 With the approach of summer, this topic is becoming increasingly relevant, especially for owners of
If you do not take into account coolers, radiators, etc. A good reobas can also help us in this matter, it is able to regulate the fan speed, based on the readings of the temperature sensors.
Walking in the shops of the city was not particularly successful. Only Aerocool was available, pompous with all the colors of the rainbow and Zalman, with prices nearly double the real ones. Of course, it was possible to find Zalman at a reasonable price. But then panels from Scythe came into view .
At the time of writing, I found 3 types of Scythe panels for slot 5.25 ":
- Scythe Kaze Master Ace
- Scythe kaze server
- Scythe Kaze Master Pro
Kaze Master Ace
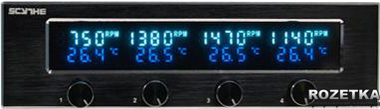
So to speak, the younger model. To be more correct - the first model. The kit has 4 sensors, medium-length cables, a beautiful VFD display. Among the shortcomings is the lack of cooling radiators.
Kaze Master Pro
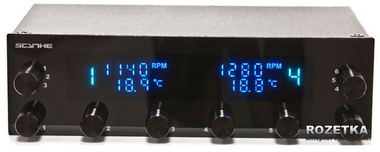
An older model that allows you to control 6 fans at the same time. Includes 2 spare sensors. At the same time, only the data of 2 fans can be displayed.
Scythe kaze server
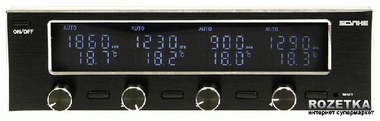
The average model. Unlike Master Ace, it has longer cables, radiators, and a switchable LCD display. It is about her that we will talk today.
The device was not difficult to buy, on the Ukrainian " Rosette " it was available in stock. It became possible to pick it up for a modest $ 47, taking into account delivery for 1000 km - the total cost was $ 50.
On April 25th, I ordered it in the evening, and by lunchtime on the 27th, the reobas was ready for installation.
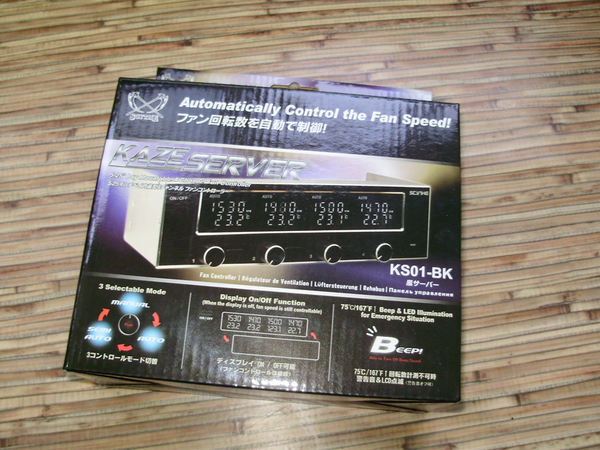
Reobas comes in a compact box. Everything is beautifully packaged in a shockproof protective container.
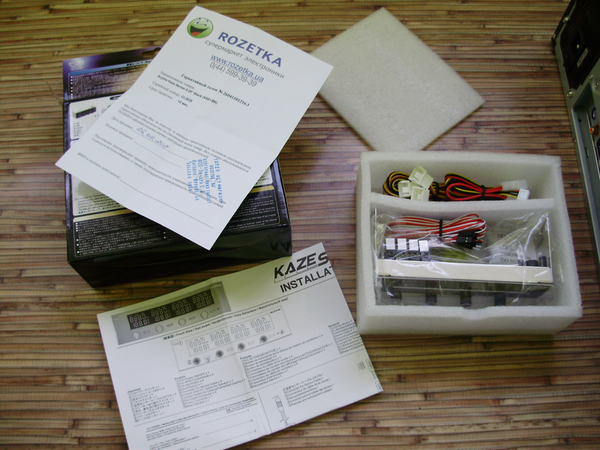
In the box we find:
- reobas itself;
- power cable 1 pc.;
- temperature sensors: 4 pcs. with marking + 2 pcs. Spare
- 4 adapters for connecting coolers;
- 6 stickers-clamps for mounting sensors;
- 4 screws for fastening the panel;
- manul in the form of "clamshell", Russian is present;
General characteristics:
- Dimensions (W x H x D): 148.5 x 42.5 x 63 mm
- Display (W x H): 114 x 20 mm
- Power supply: 5 V and 12 V from molex
- Output voltage: 3.7 V (± 10%) ~ 12 V (± 10%)
- Number of channels: 4 (1A per channel)
- Range of adjustment of speed of rotation: 0 - 9990 rpm
- Temperature Sensors: 4 (0 - 100 ° C / 32 - 199.9 ° F)
- Weight: 162 gr.
Reobas itself has a protective film on the display: I
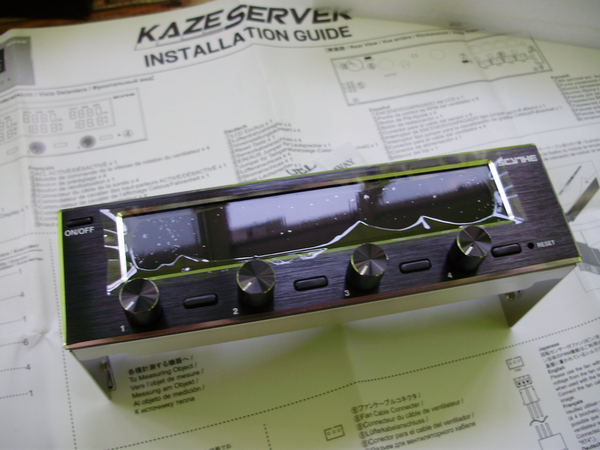
recommend removing it after installation.
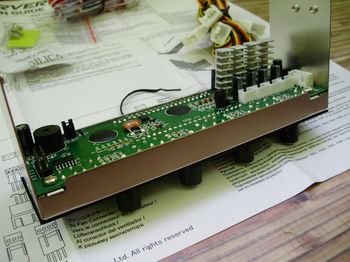
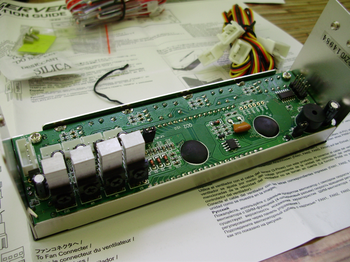
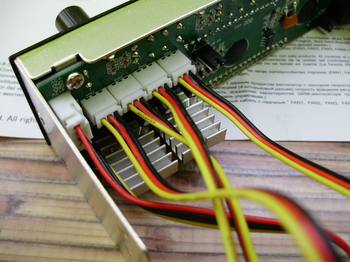
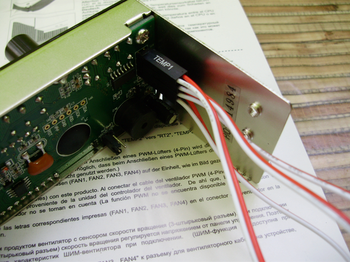
The power cable, however, as well as cooler adapters, is not standard. 4-pin power cable with through molex. The panel is powered by 5 and 12V.
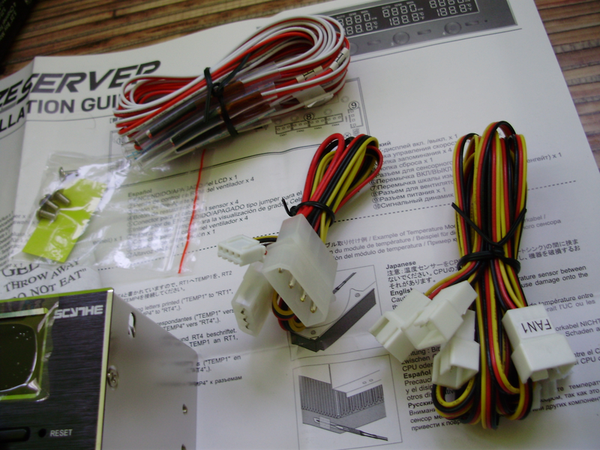
The cables for 3-pin coolers, however, allow you to connect 4-pin PWM coolers. Although in this case, the correct operation of such fans is not guaranteed.

A little installation advice. It is best to connect all cables BEFORE installation, otherwise you will experience noticeable difficulties when connecting cables to the connectors.
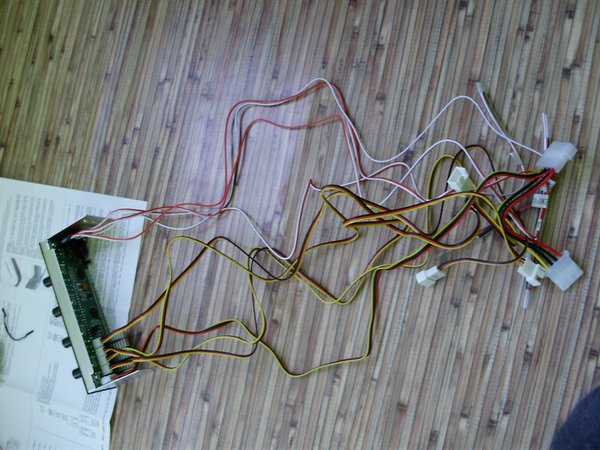
Such a number of “shoelaces” will terrify lovers of order and will force them to spend an additional half hour laying this “economy”. All the rest can simply "break through" everything in its place, without being distracted by the mess inside the system unit.
Sensors, for the purpose of protection, have protective caps. They are also recommended to be removed immediately before installation.
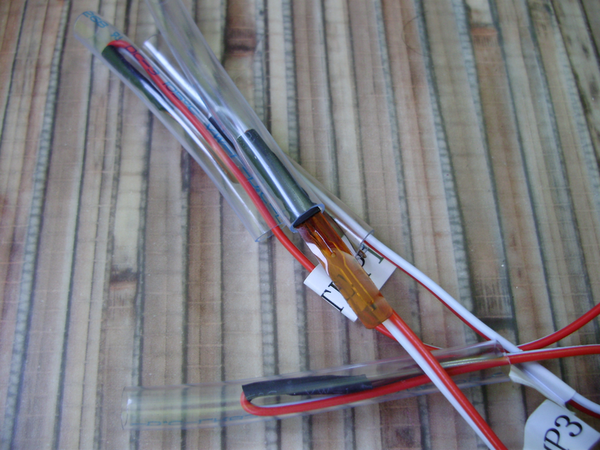
2 spare ones are needed in case the main ones suffer from an unsuccessful installation under the CPU radiator. By the way, I managed to
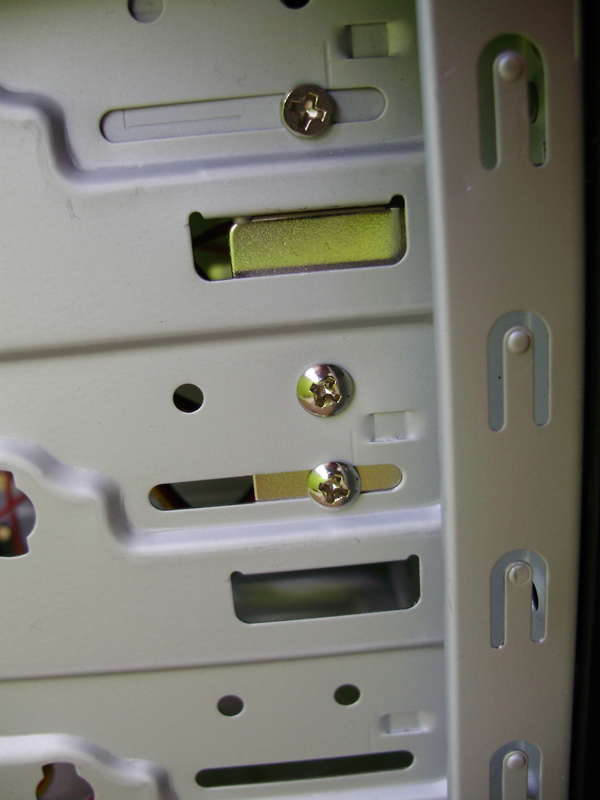
Once everything is connected, you can safely screw the panel. Special difficulties at this stage should not arise.
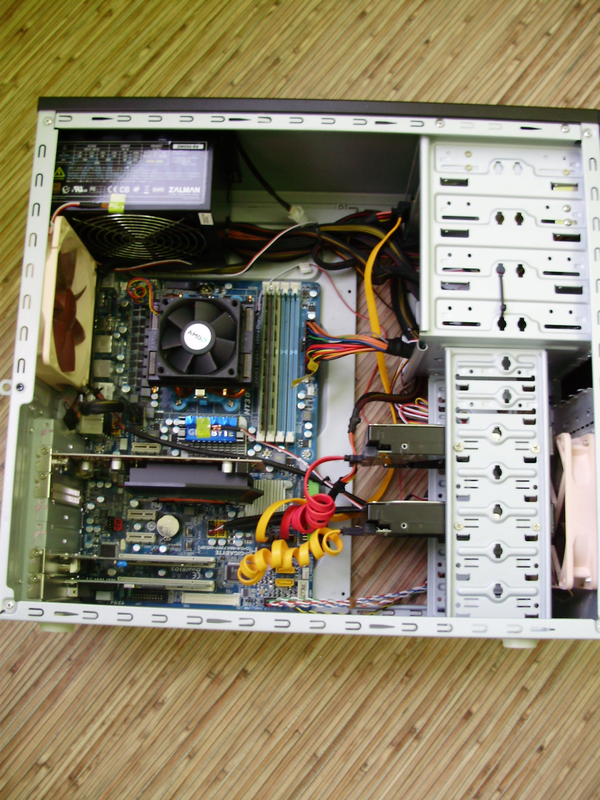
After laying the cables (see above), you can assemble the case and begin testing.
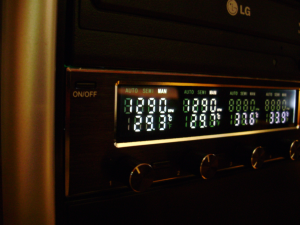
The display is pretty good. But he has one, I would say, a significant drawback.

The vertical viewing angles are simply terrible. So consider the data is problematic. Need to bend down. Well, or, as an option, put the system on the table.

Otherwise, the panel looks very impressive.

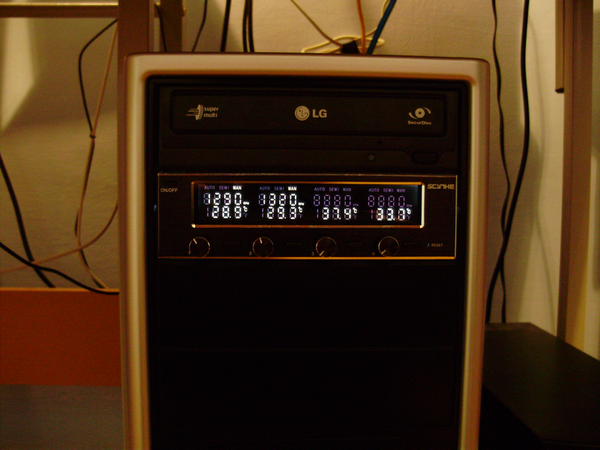
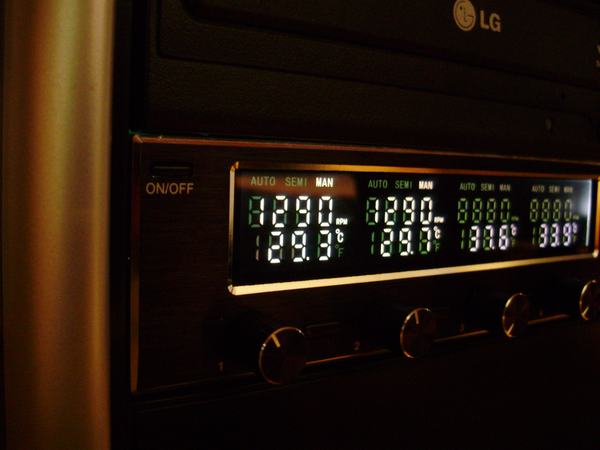
Unfortunately, photographs do not quite convey the "picture". In reality, it is more readable.
Control
On the back of the panel there are 2 jumpers - the first for selecting units: Celsius or Fahrenheit, and beeper mode. The latter, however, can be set to OFF, so as not to bother once again.
On the front panel, on the left there is a button to turn on / off the display. When watching movies, or at night, it can be temporarily disabled. At the same time, the panel continues to work, according to the set parameters.
The knobs of the knobs operate in a cyclic mode and have a return return, similar to how the mouse wheel works.
In addition, the controller is also a mode selection button. Next to each knob is a set button for programming modes. There is a reset in the right corner, it is recessed, so you cannot accidentally click it, unless you are Freddy Krueger.
Operating modes in total 3:
- AUTO: assumes automatic on / off of the fan when the set temperature is reached;
- SEMI: the most interesting mode, it allows you to set the temperature to which the cooler works at the set speed, and when exceeded, it starts to work at full power;
- MAN: this is a fully manual speed control mode;
Work parameters
The first sensor I installed on the system HDD, opposite FAN1 (Noctua NF-S12-1200). The second - at the
Impressions
In general, the device has fully justified its price. And even the viewing angles of the display did not spoil the overall impression. Beautiful, elegant design, thoughtful front panel design, several operating modes, long cables, spare sensors - all this makes Scythe Kaze Server an excellent choice for those who are looking for a reasonable and elegant compromise between high performance, low temperature and low noise.









