July 12, 2019 at 14:45
How to build, deploy and test Waves RIDE dApp
- Tutorial
Hello! In the article, I will show how to write and run a regular dApp on the Waves node. Consider the necessary tools, methods and development example.
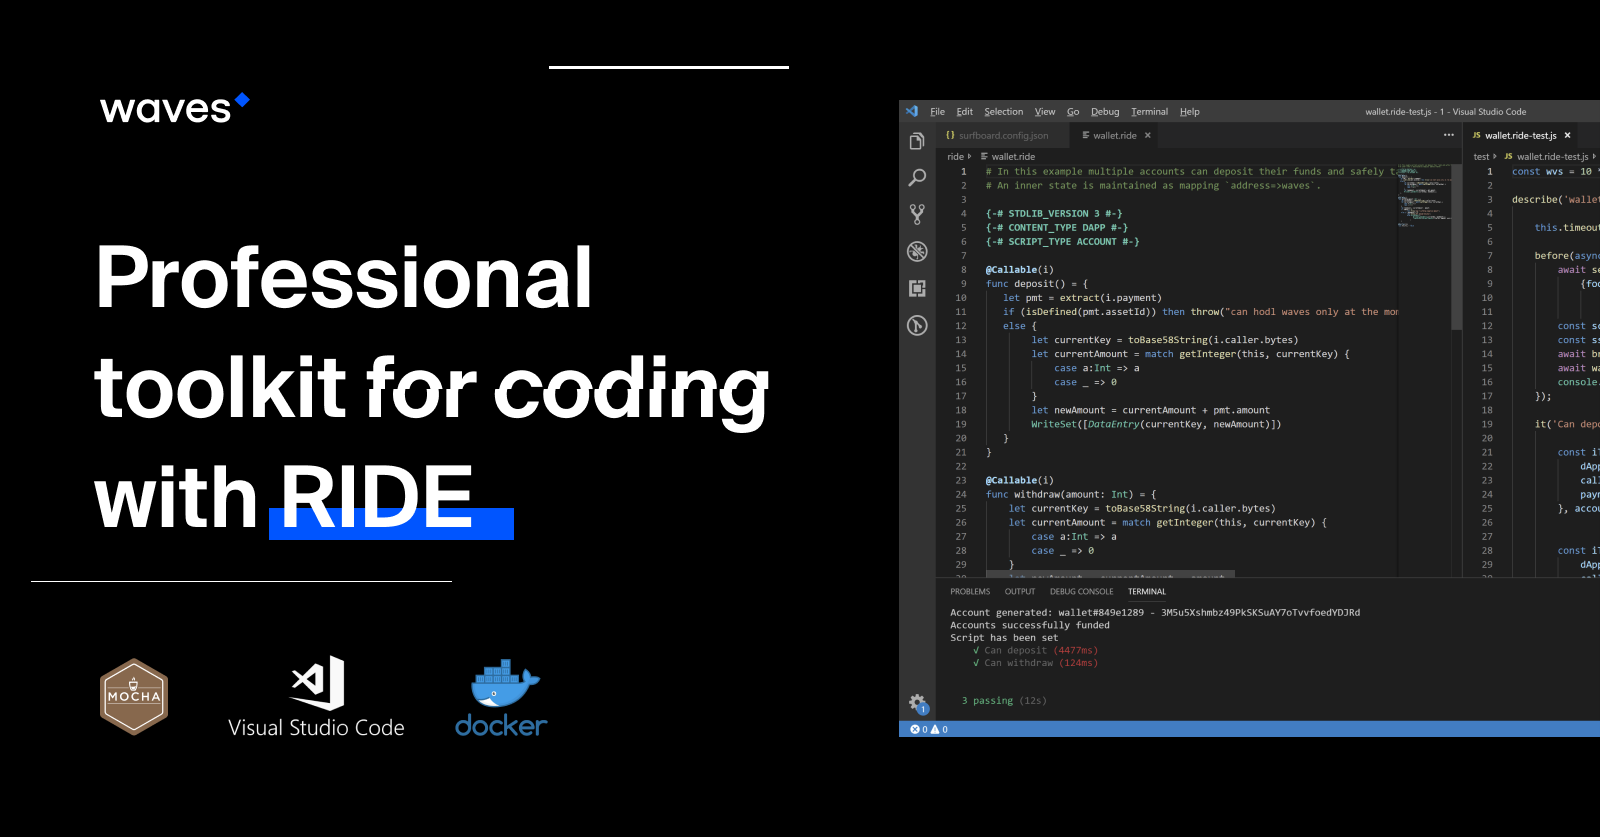
The development scheme for dApps and regular applications is almost the same:
1.
If you do not want to start a node, you can skip this step. After all, there is a test and experimental network. But without deploying your node, the testing process can be delayed.
Further I will consider that you are working with your node.
2. Surfboard command line tool
3. Visual Studio Code Plugin This
step is optional if you are not an IDE fan and prefer text editors. All the necessary tools are command line utilities. If you are using vim, pay attention to the vim-ride plugin .
Download and install Visual Studio Code: https://code.visualstudio.com/
Open VS Code and install the waves-ride plugin:

Waves Keeper browser extension: https://wavesplatform.com/products-keeper
Done!
1. Run the node:
Ensure that the node runs through the REST API at http: // localhost: 6869 :
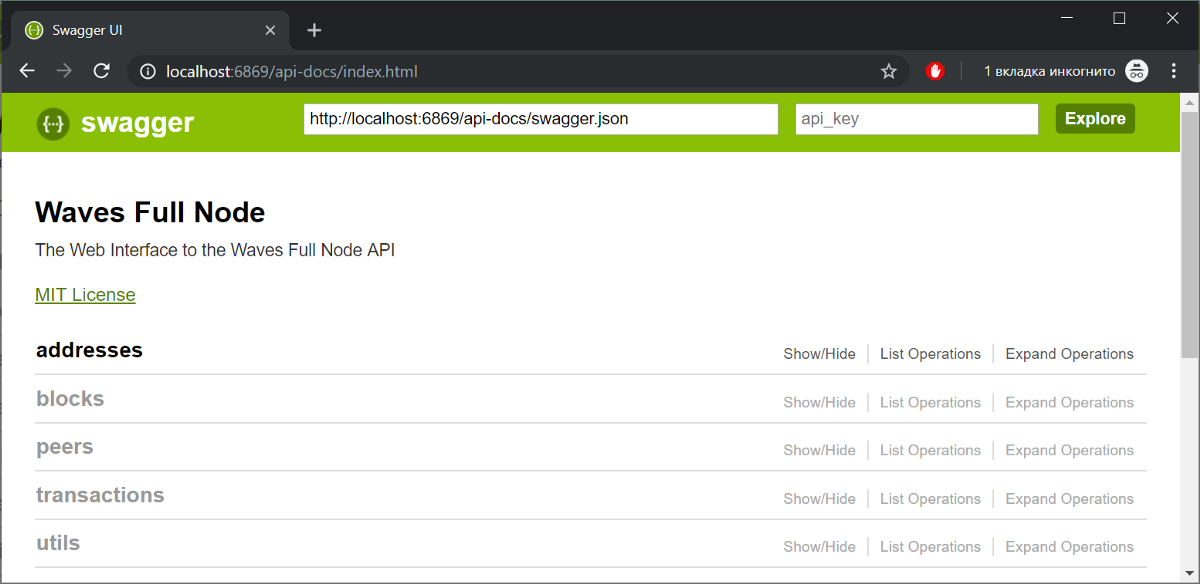
Swagger REST API for node
2. Launch the Waves Explorer instance:
Open a browser and go to http: // localhost: 3000 . See how quickly an empty local node chain is built.
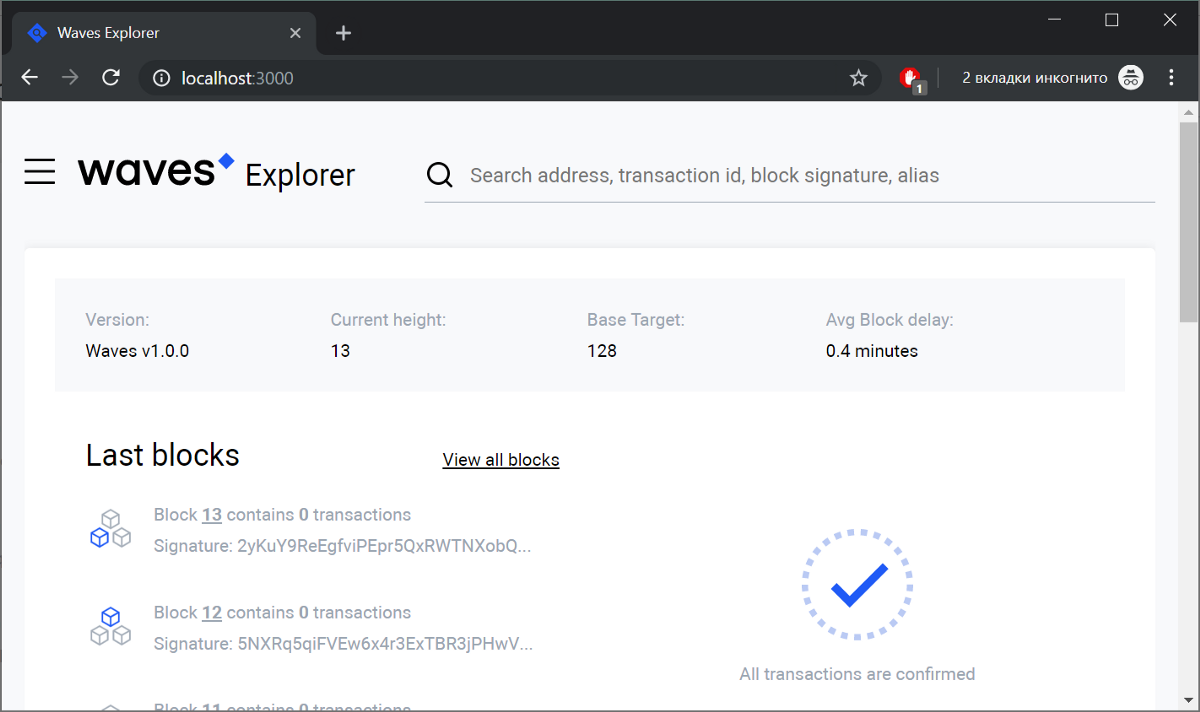
Waves Explorer displays an instance of a local node
Create an empty directory and run the command in it
The command initializes the directory with the project structure, applications like "hello world" and tests. If you open this folder with VS Code, you will see:

Surfboard.config.json
Envs is an important section. Each environment is configured as follows:
As you can see, surfboard.config.json supports several environments by default. By default, the local environment is set (the defaultEnv key is a mutable parameter).
This section is not a guide to the RIDE language. Rather, a look at the applications that we deploy and test in order to better understand what is happening on the blockchain.
Consider the simple Wallet-demo app. Everyone can send tokens to the dApp address. You can only withdraw your WAVES. Two @Callable functions are available through InvokeScriptTransaction:
Throughout the dApp life cycle, the structure (address → amount) will be supported:
Here is the code to fully understand the situation:
Sample code can also be found on GitHub .
The VSCode plugin supports continuous compilation when editing a file. Therefore, you can always track errors in the PROBLEMS tab.
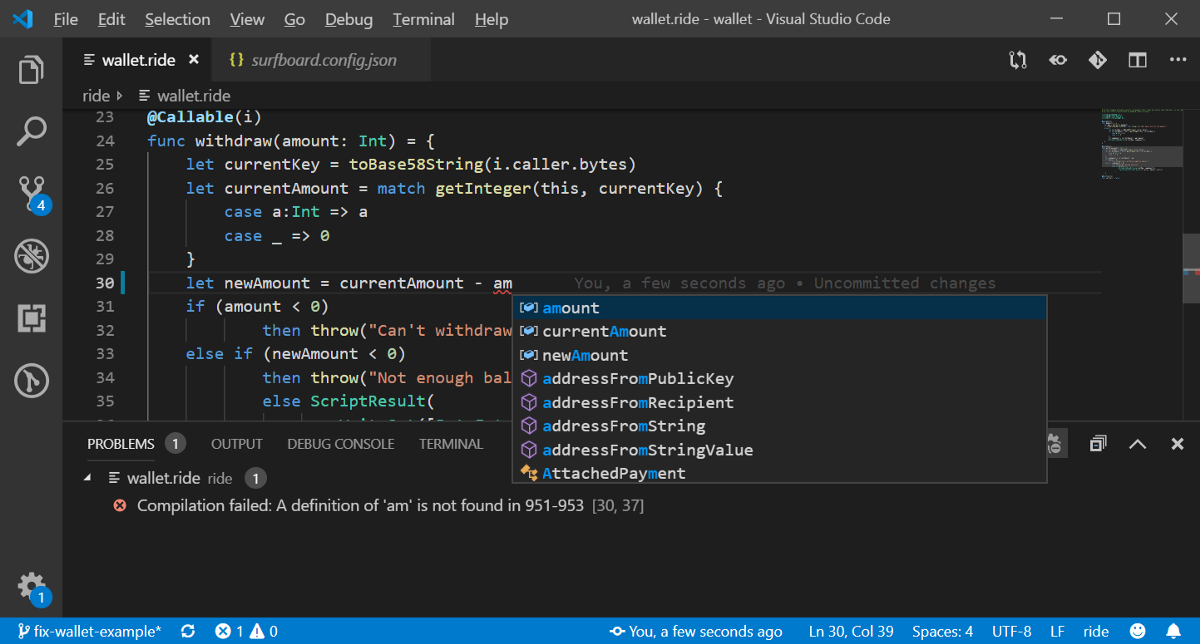
If you want to use a different text editor when compiling the file, use
This will output a range of base64 compiled RIDE code.
Let's look at the test file . Powered by JavaScript's Mocha framework. There is a “Before” function and three tests:
To run the test, run
If you have several scripts (for example, you need a separate deployment script), you can run
Surfboard will collect the test files in the ./test/ folder and run the script in the node that is configured in surfboard.config.json. After a few seconds, you will observe something like this:
Hurrah! Tests passed. Now let's take a look at what happens when using Waves Explorer: look at the blocks or insert one of the above addresses into the search (for example, the corresponding one
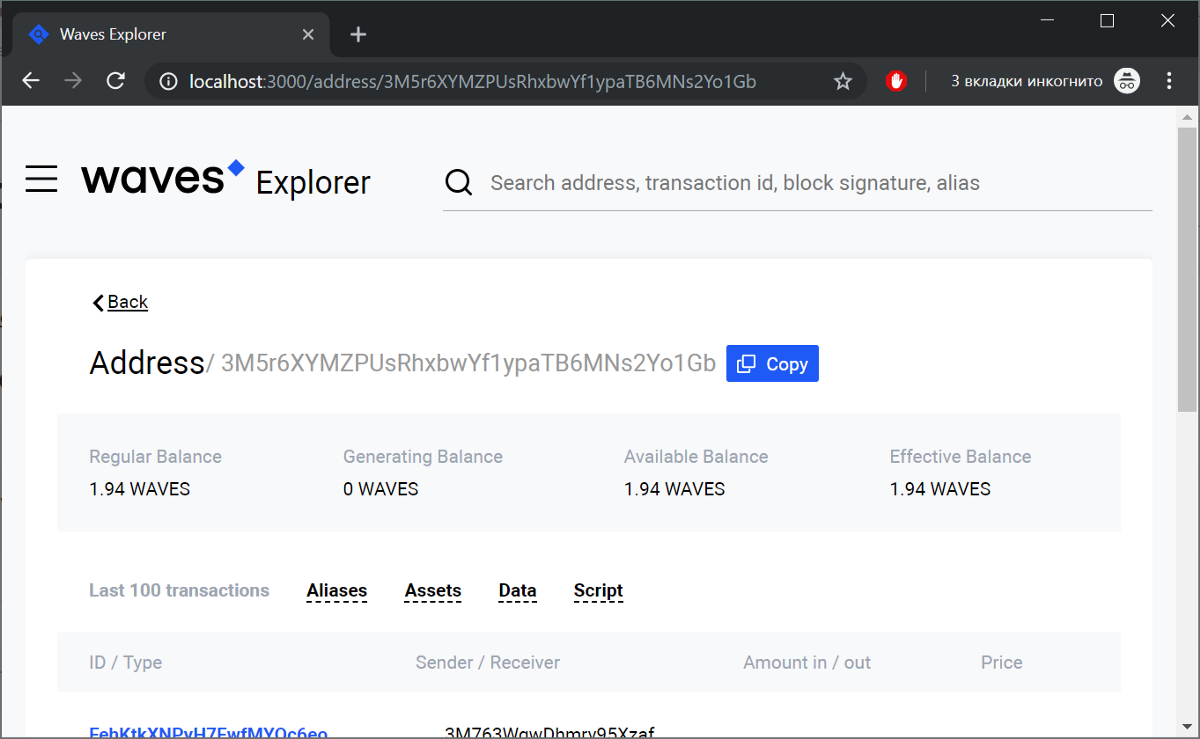
Waves Explorer. The application you just deployed .
tips Surfboard:
1. to test in testnet environment, use:
Get test tokens
2. If you want to see the JSON versions of transactions and how they are processed by a node, run the test with -v (means 'verbose'):
1. Configure Waves Keeper to work: http: // localhost: 6869
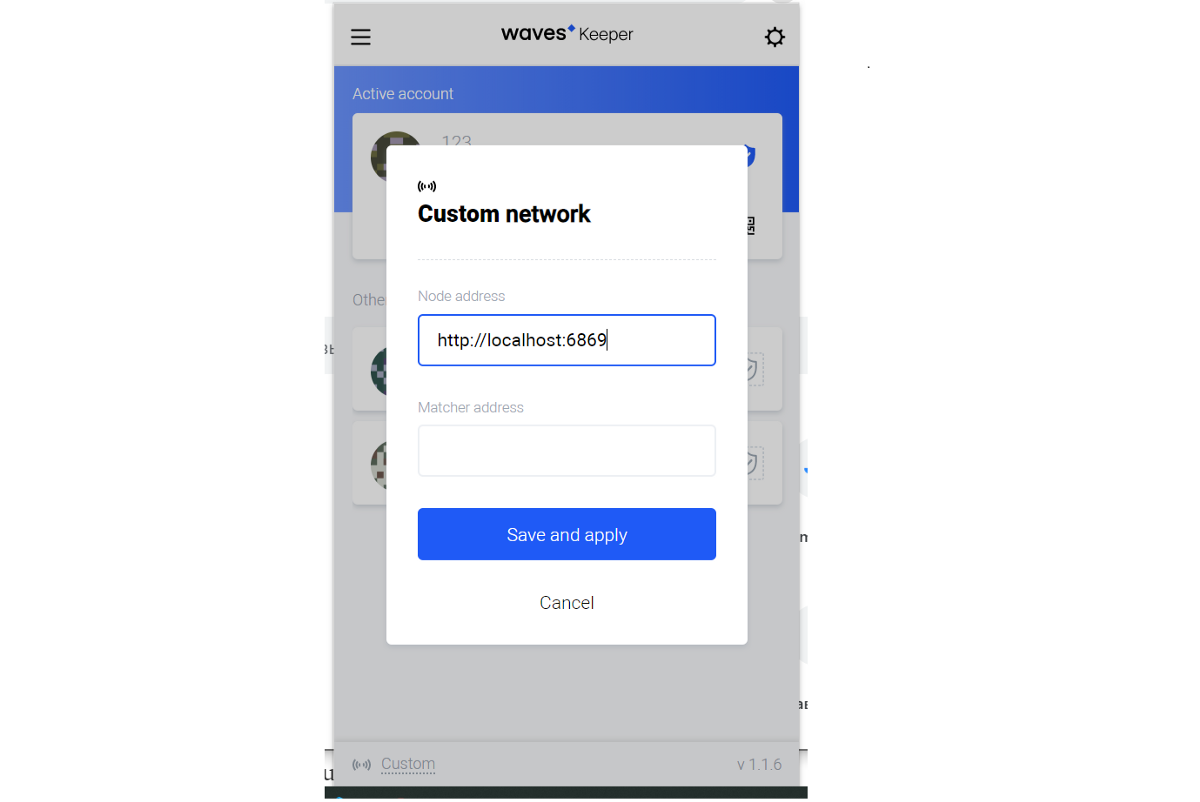
Configure Waves Keeper to work with a local node
2. Import a passphrase with tokens for the network? For ease of use of your initial seed nodes:
3. You can run a single-page serverless application yourself using npm. Or go to the existing one: chrome-ext.wvservices.com/dapp-wallet.html
4. Enter the wallet address from the test run (underlined above) in the dApp
5 address text field . Enter a small amount in the Deposit field and click the button:
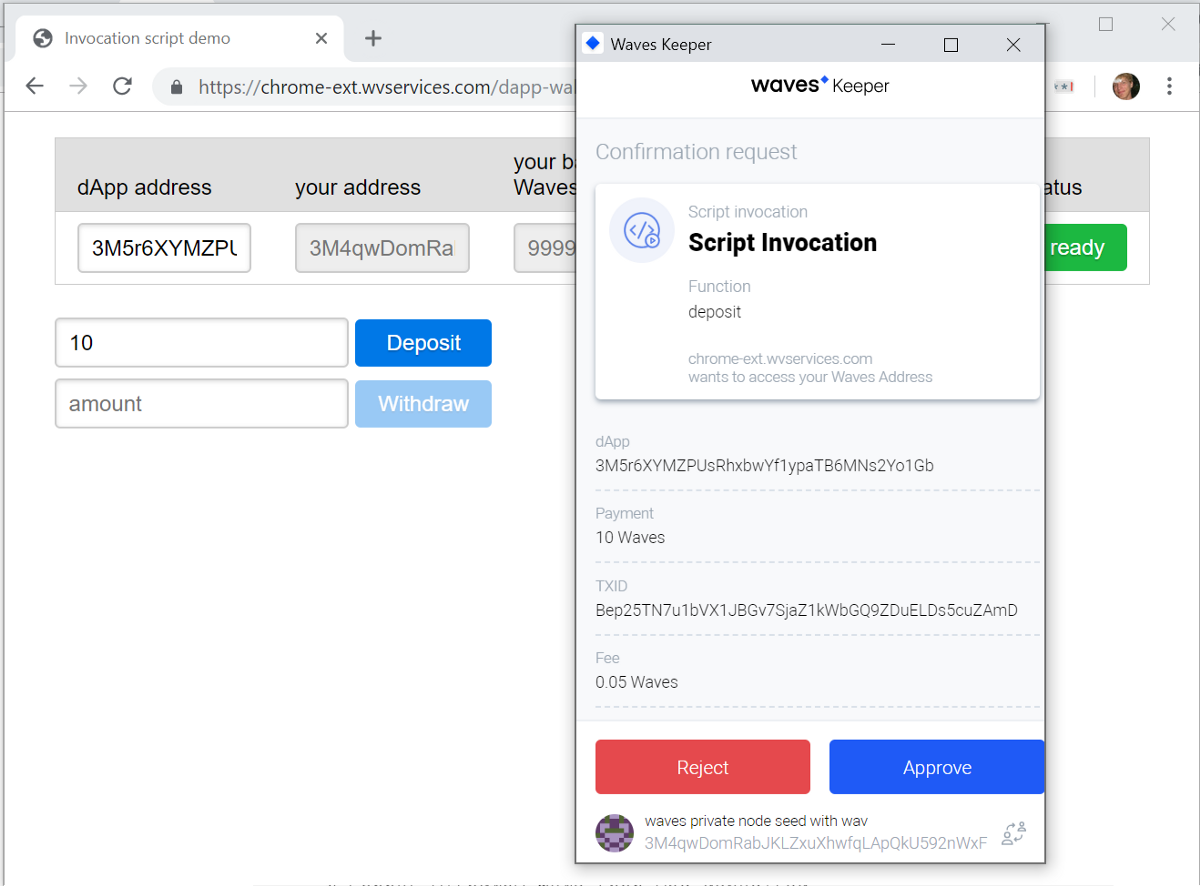
Waves Keeper requests permission to sign an InvokeScriptTransaction with a payment of 10 WAVES.
6. Confirm the transaction:

The transaction is created and broadcast to the network. Now you can see its ID
7. Watch the transaction using Waves Explorer. Enter the ID in the search field
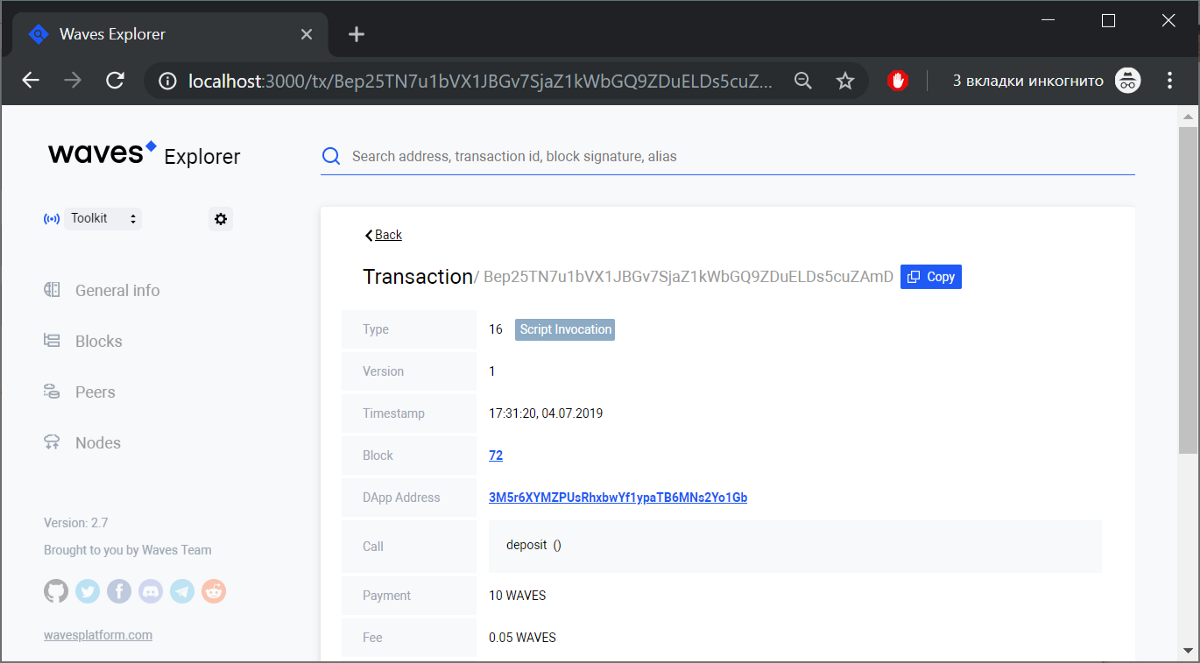
We looked at the development, testing, deployment and use of simple dApps tools on the Waves Platform:
Links for those who want to continue to study RIDE:
More examples
Online IDE with examples
Waves documentation
Developers chat in
Waves Telegram and RIDE on stackoverflow
NEW! Waves Platform dApps Online Courses
Continue to delve deeper into the RIDE theme and create your first dApp!
TL; DR: bit.ly/2YCFnwY
The development scheme for dApps and regular applications is almost the same:
- Writing a code
- Writing Automated Testing
- Launch the application
- Testing
Instruments
1.
dockerto start a node and Waves Explorer If you do not want to start a node, you can skip this step. After all, there is a test and experimental network. But without deploying your node, the testing process can be delayed.
- You will constantly need new accounts with test tokens. The test network crane translates 10 WAVES every 10 minutes.
- The average time of blocks in a test network is 1 minute, in a node - 15 seconds. This is especially noticeable when a transaction requires several confirmations.
- In public test nodes, aggressive caching is possible.
- They may also be temporarily unavailable due to maintenance.
Further I will consider that you are working with your node.
2. Surfboard command line tool
- Download and install Node.js using ppa, homebrew or exe here: https://nodejs.org/en/download/ .
- Install Surfboard, a tool that allows you to run tests on an existing node.
npm install -g @waves/surfboard
3. Visual Studio Code Plugin This
step is optional if you are not an IDE fan and prefer text editors. All the necessary tools are command line utilities. If you are using vim, pay attention to the vim-ride plugin .
Download and install Visual Studio Code: https://code.visualstudio.com/
Open VS Code and install the waves-ride plugin:
Waves Keeper browser extension: https://wavesplatform.com/products-keeper
Done!
Launch the node and Waves Explorer
1. Run the node:
docker run -d -p 6869:6869 wavesplatform/waves-private-node
Ensure that the node runs through the REST API at http: // localhost: 6869 :
Swagger REST API for node
2. Launch the Waves Explorer instance:
docker run -d -e API_NODE_URL=http://localhost:6869 -e NODE_LIST=http://localhost:6869 -p 3000:8080 wavesplatform/explorer
Open a browser and go to http: // localhost: 3000 . See how quickly an empty local node chain is built.
Waves Explorer displays an instance of a local node
RIDE Structure and Surfboard Tool
Create an empty directory and run the command in it
surfboard init
The command initializes the directory with the project structure, applications like "hello world" and tests. If you open this folder with VS Code, you will see:
Surfboard.config.json
- Under the ./ride/ folder you will find a single wallet.ride file - the directory where the dApp code is located. We will briefly analyze dApp in the next block.
- Under the ./test/ folder you will find the * .js file. Tests are stored here.
- ./surfboard.config.json - configuration file for running tests.
Envs is an important section. Each environment is configured as follows:
- The endpoint of the REST API of the node that will be used to run the dApp and CHAIN_ID networks.
- The secret phrase for the account with tokens that will be the sources of the tokens of your test.
As you can see, surfboard.config.json supports several environments by default. By default, the local environment is set (the defaultEnv key is a mutable parameter).
Wallet-demo app
This section is not a guide to the RIDE language. Rather, a look at the applications that we deploy and test in order to better understand what is happening on the blockchain.
Consider the simple Wallet-demo app. Everyone can send tokens to the dApp address. You can only withdraw your WAVES. Two @Callable functions are available through InvokeScriptTransaction:
deposit()which requires an attached payment in WAVESwithdraw(amount: Int)which returns tokens
Throughout the dApp life cycle, the structure (address → amount) will be supported:
| Action | Resulting state |
|---|---|
| initial | empty |
| Alice deposits 5 WAVES | alice-address → 500000000 |
| Bob deposits 2 WAVES | alice-address → 500000000 bob-address → 200000000 |
| Bob withdraws 7 WAVES | DENIED! |
| Alice withdraws 4 WAVES | alice-address → 100000000 bob-address → 200000000 |
Here is the code to fully understand the situation:
# In this example multiple accounts can deposit their funds and safely take them back. No one can interfere with this.
# An inner state is maintained as mapping `address=>waves`.
{-# STDLIB_VERSION 3 #-}
{-# CONTENT_TYPE DAPP #-}
{-# SCRIPT_TYPE ACCOUNT #-}
@Callable(i)
func deposit() = {
 let pmt = extract(i.payment)
 if (isDefined(pmt.assetId))
    then throw("works with waves only")
    else {
     let currentKey = toBase58String(i.caller.bytes)
     let currentAmount = match getInteger(this, currentKey) {
       case a:Int => a
       case _ => 0
     }
     let newAmount = currentAmount + pmt.amount
     WriteSet([DataEntry(currentKey, newAmount)])
   }
 }
@Callable(i)
func withdraw(amount: Int) = {
 let currentKey = toBase58String(i.caller.bytes)
 let currentAmount = match getInteger(this, currentKey) {
   case a:Int => a
   case _ => 0
 }
 let newAmount = currentAmount - amount
 if (amount < 0)
   then throw("Can't withdraw negative amount")
   else if (newAmount < 0)
     then throw("Not enough balance")
     else ScriptResult(
       WriteSet([DataEntry(currentKey, newAmount)]),
       TransferSet([ScriptTransfer(i.caller, amount, unit)])
      )
 }
@Verifier(tx)
func verify() = false
Sample code can also be found on GitHub .
The VSCode plugin supports continuous compilation when editing a file. Therefore, you can always track errors in the PROBLEMS tab.
If you want to use a different text editor when compiling the file, use
surfboard compile ride/wallet.ride
This will output a range of base64 compiled RIDE code.
Test case for 'wallet.ride'
Let's look at the test file . Powered by JavaScript's Mocha framework. There is a “Before” function and three tests:
- “Before” finances several accounts through MassTransferTransaction, compiles the script and deploys it on the blockchain.
- “Can deposit” sends an InvokeScriptTransaction to the network, activating the deposit () function for each of the two accounts.
- “Can't withdraw more than was deposited” tests that no one can steal other people's tokens.
- Can deposit verifies that the withdrawals are being processed correctly.
Running tests with Surfboard and analyzing the results in Waves Explorer
To run the test, run
surfboard test
If you have several scripts (for example, you need a separate deployment script), you can run
surfboard test my-scenario.js
Surfboard will collect the test files in the ./test/ folder and run the script in the node that is configured in surfboard.config.json. After a few seconds, you will observe something like this:
wallet test suite
Generating accounts with nonce: ce8d86ee
Account generated: foofoofoofoofoofoofoofoofoofoofoo#ce8d86ee - 3M763WgwDhmry95XzafZedf7WoBf5ixMwhX
Account generated: barbarbarbarbarbarbarbarbarbar#ce8d86ee - 3MAi9KhwnaAk5HSHmYPjLRdpCAnsSFpoY2v
Account generated: wallet#ce8d86ee - 3M5r6XYMZPUsRhxbwYf1ypaTB6MNs2Yo1Gb
Accounts successfully funded
Script has been set
   √ Can deposit (4385ms)
   √ Cannot withdraw more than was deposited
   √ Can withdraw (108ms)
3 passing (15s)
Hurrah! Tests passed. Now let's take a look at what happens when using Waves Explorer: look at the blocks or insert one of the above addresses into the search (for example, the corresponding one
wallet#. There you can find the transaction history, dApp status, decompiled binary. Waves Explorer. The application you just deployed .
tips Surfboard:
1. to test in testnet environment, use:
surfboard test --env=testnet
Get test tokens
2. If you want to see the JSON versions of transactions and how they are processed by a node, run the test with -v (means 'verbose'):
surfboard test -v
Using Applications with Waves Keeper
1. Configure Waves Keeper to work: http: // localhost: 6869
Configure Waves Keeper to work with a local node
2. Import a passphrase with tokens for the network? For ease of use of your initial seed nodes:
waves private node seed with waves tokens. Address: 3M4qwDomRabJKLZxuXhwfqLApQkU592nWxF. 3. You can run a single-page serverless application yourself using npm. Or go to the existing one: chrome-ext.wvservices.com/dapp-wallet.html
4. Enter the wallet address from the test run (underlined above) in the dApp
5 address text field . Enter a small amount in the Deposit field and click the button:
Waves Keeper requests permission to sign an InvokeScriptTransaction with a payment of 10 WAVES.
6. Confirm the transaction:
The transaction is created and broadcast to the network. Now you can see its ID
7. Watch the transaction using Waves Explorer. Enter the ID in the search field
Conclusions and additional information
We looked at the development, testing, deployment and use of simple dApps tools on the Waves Platform:
- RIDE language
- VS Code Editor
- Waves explorer
- Surfboard
- Waves keeper
Links for those who want to continue to study RIDE:
More examples
Online IDE with examples
Waves documentation
Developers chat in
Waves Telegram and RIDE on stackoverflow
NEW! Waves Platform dApps Online Courses
Continue to delve deeper into the RIDE theme and create your first dApp!
TL; DR: bit.ly/2YCFnwY