DIY New Year Gift
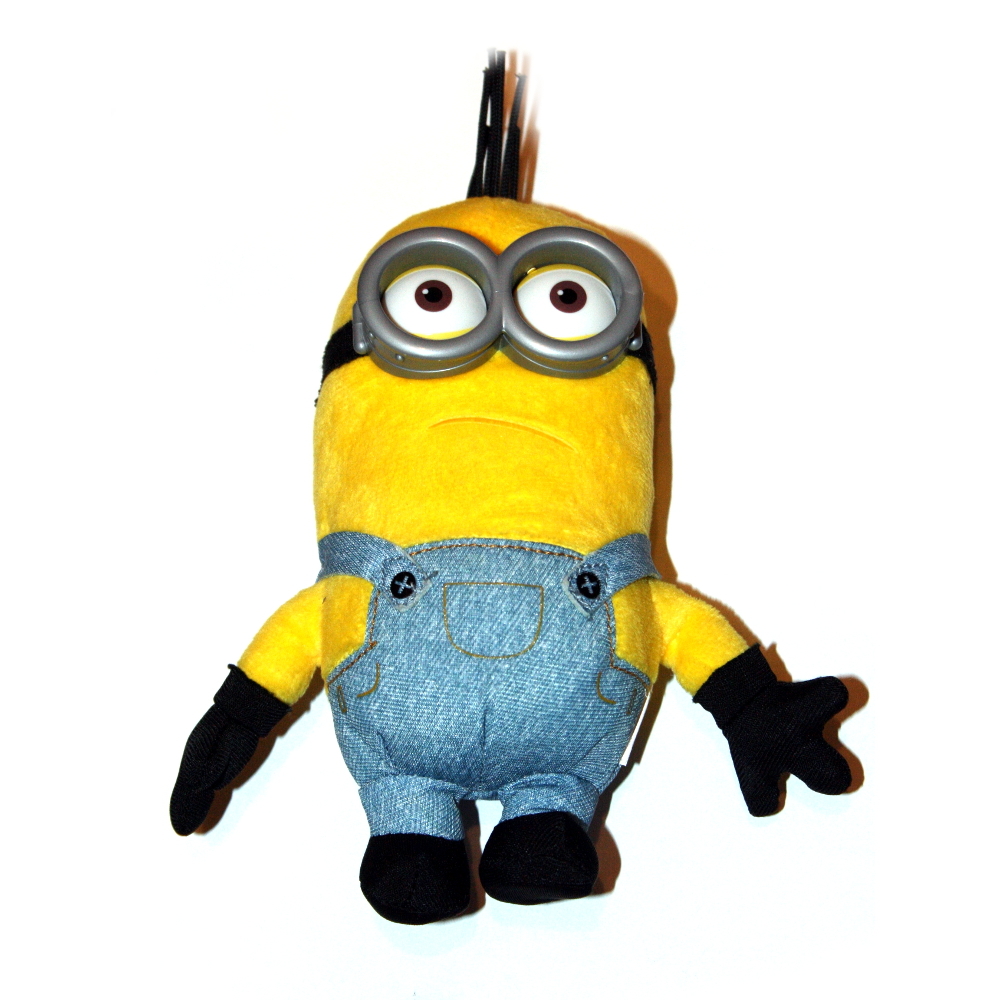
Do you want to please loved ones with an unusual gift? Surprise a child with a toy that you will not find in an ordinary store? The idea was shared by our client, who had previously ordered one of the Master Kit kits for his son from us. Many children are now captured by Mignonomania. With all the abundance of goods in the "Mignon" theme, the choice has to be made between expensive interactive toys or the most ordinary plush ones. Then the idea was born with the help of parts from the set EK001 and the mp3 module MP112 to make from an ordinary plush minion - singing. A song from the cartoon of the same name was chosen as the track.
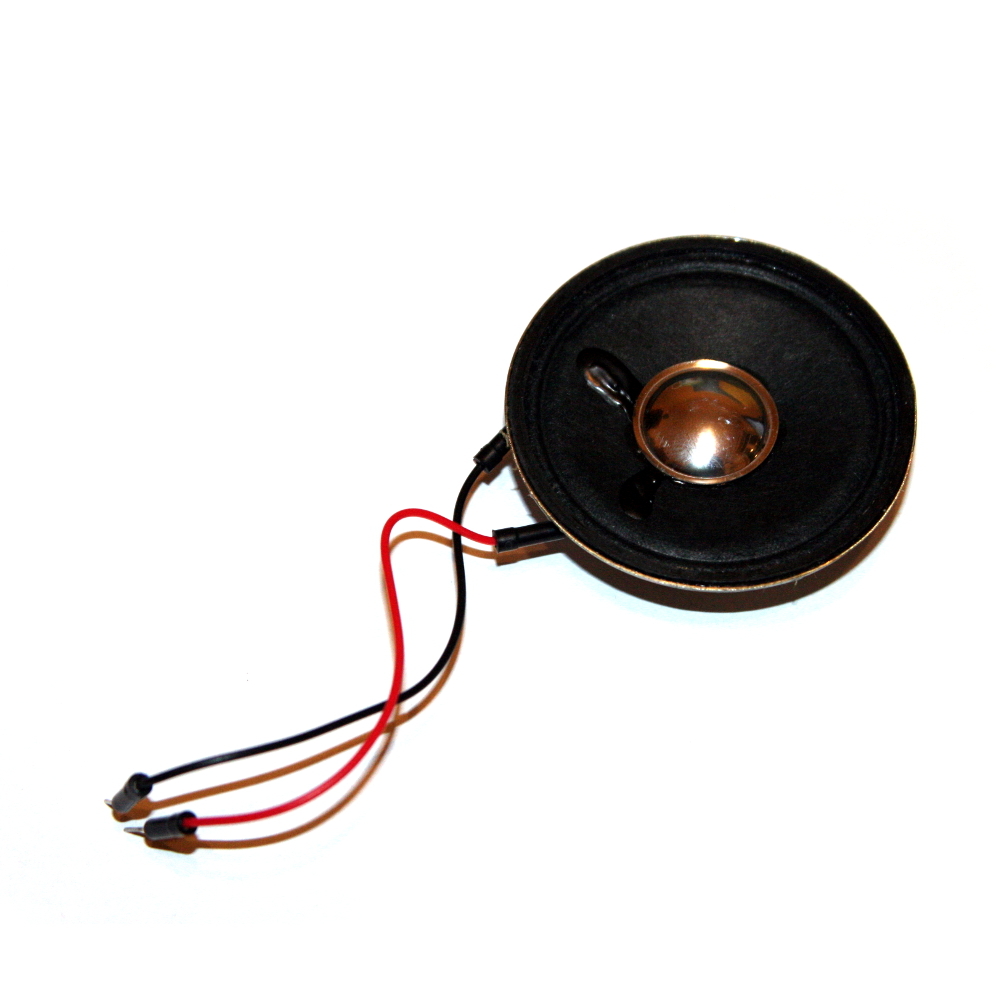
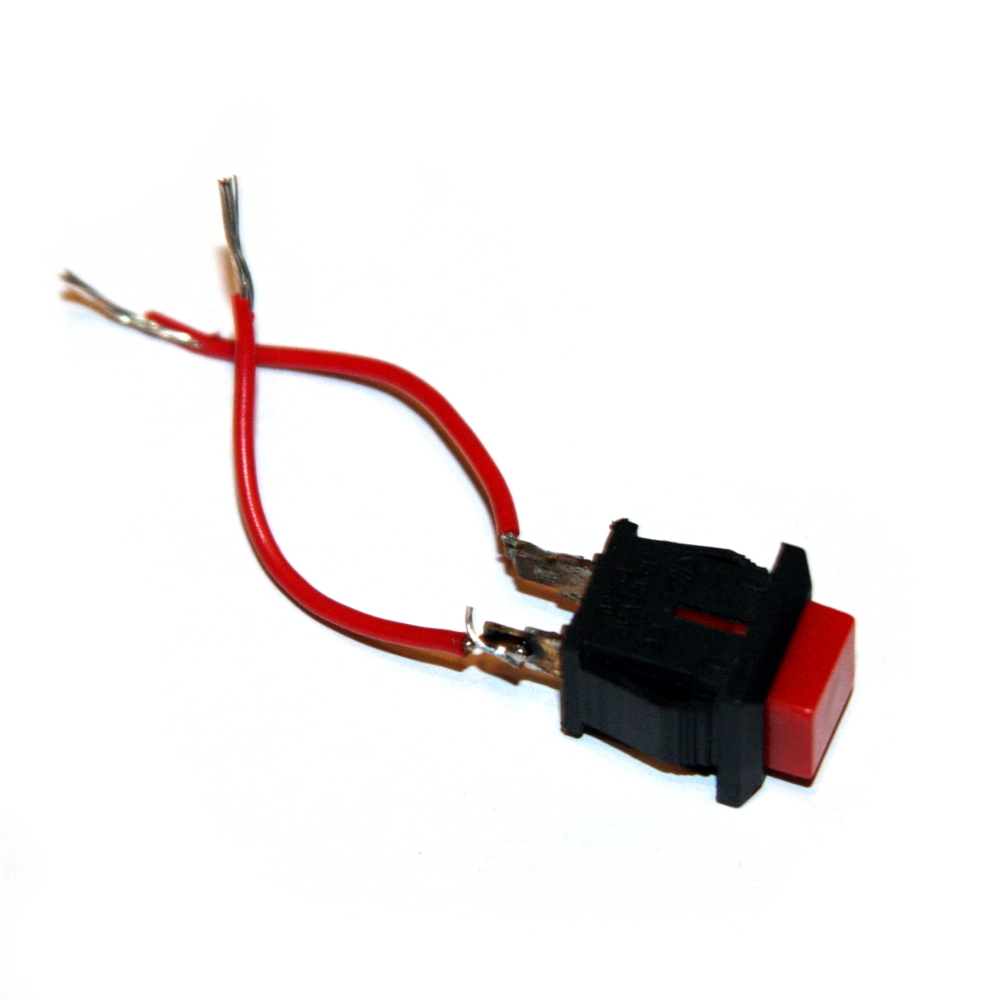
To implement the ideas from the designer of the radio EK001we borrowed: a dynamic head with a resistance of 8 ohms and one normally open button without locking. Still need a battery pack for three AA cells. Similar parts can be purchased separately, and many already have them.
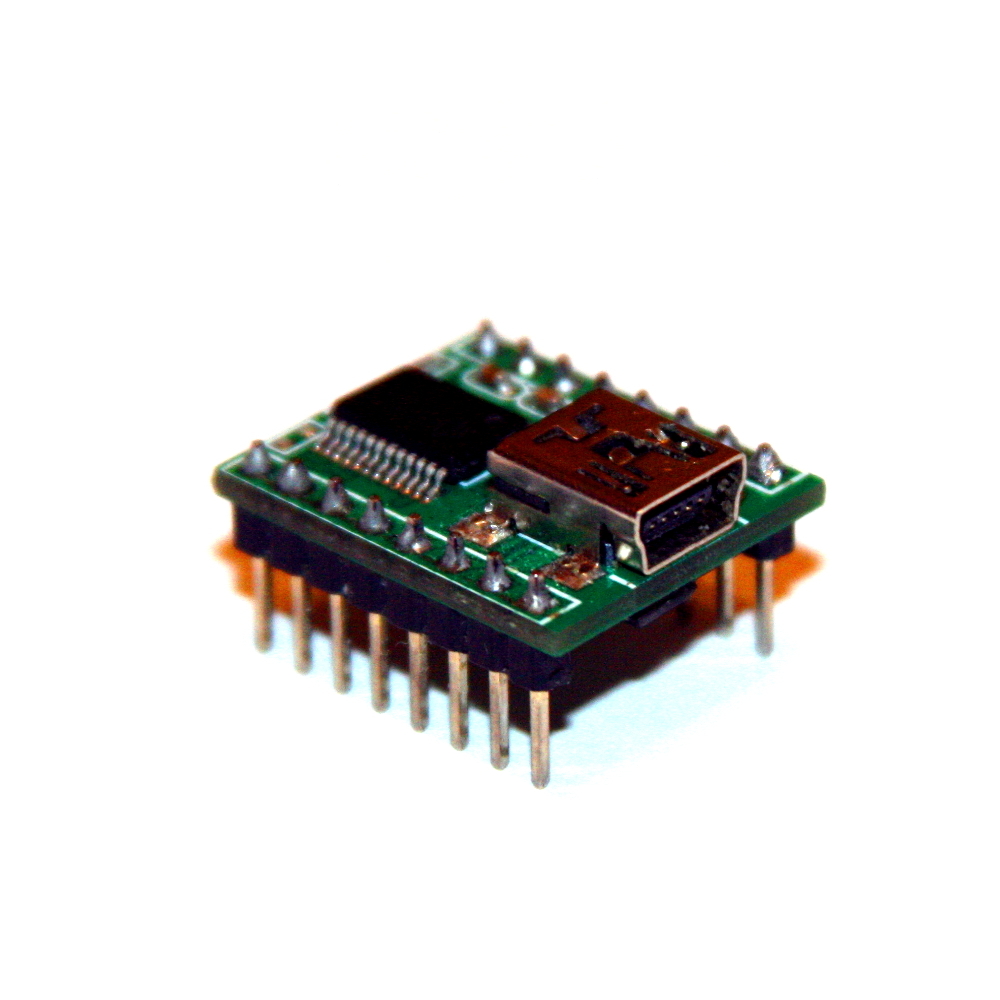

By the way, MP112 has 5 channels and can play up to five audio files in a row, but for testing the solution, one will be enough for us.
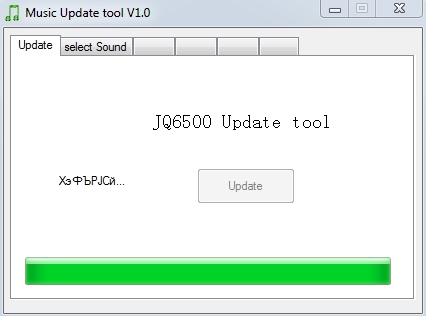
First, let's take a track. The MP112 module is connected to the computer using the mini-USB connector, where it is instantly detected as a removable disk. We launch the program MusicDownload, located on it.


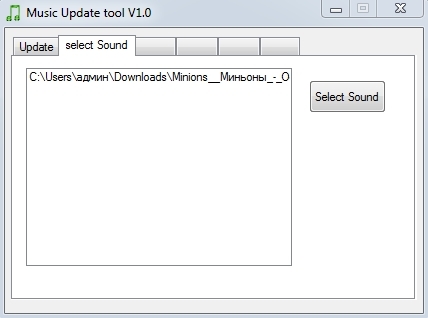
On the Select Sound tab, select the desired mp3 file: the very song "about the banana", then press the update button and wait for the program to transcode the file.
We disconnect the module from the computer.
Then the most interesting part of the process begins: soldering and assembling the technical part of our toy. According to the scheme available on the website, solder the button to pin 1, the speaker to pins 15 and 16, and hang the power on the 11th and 12th.
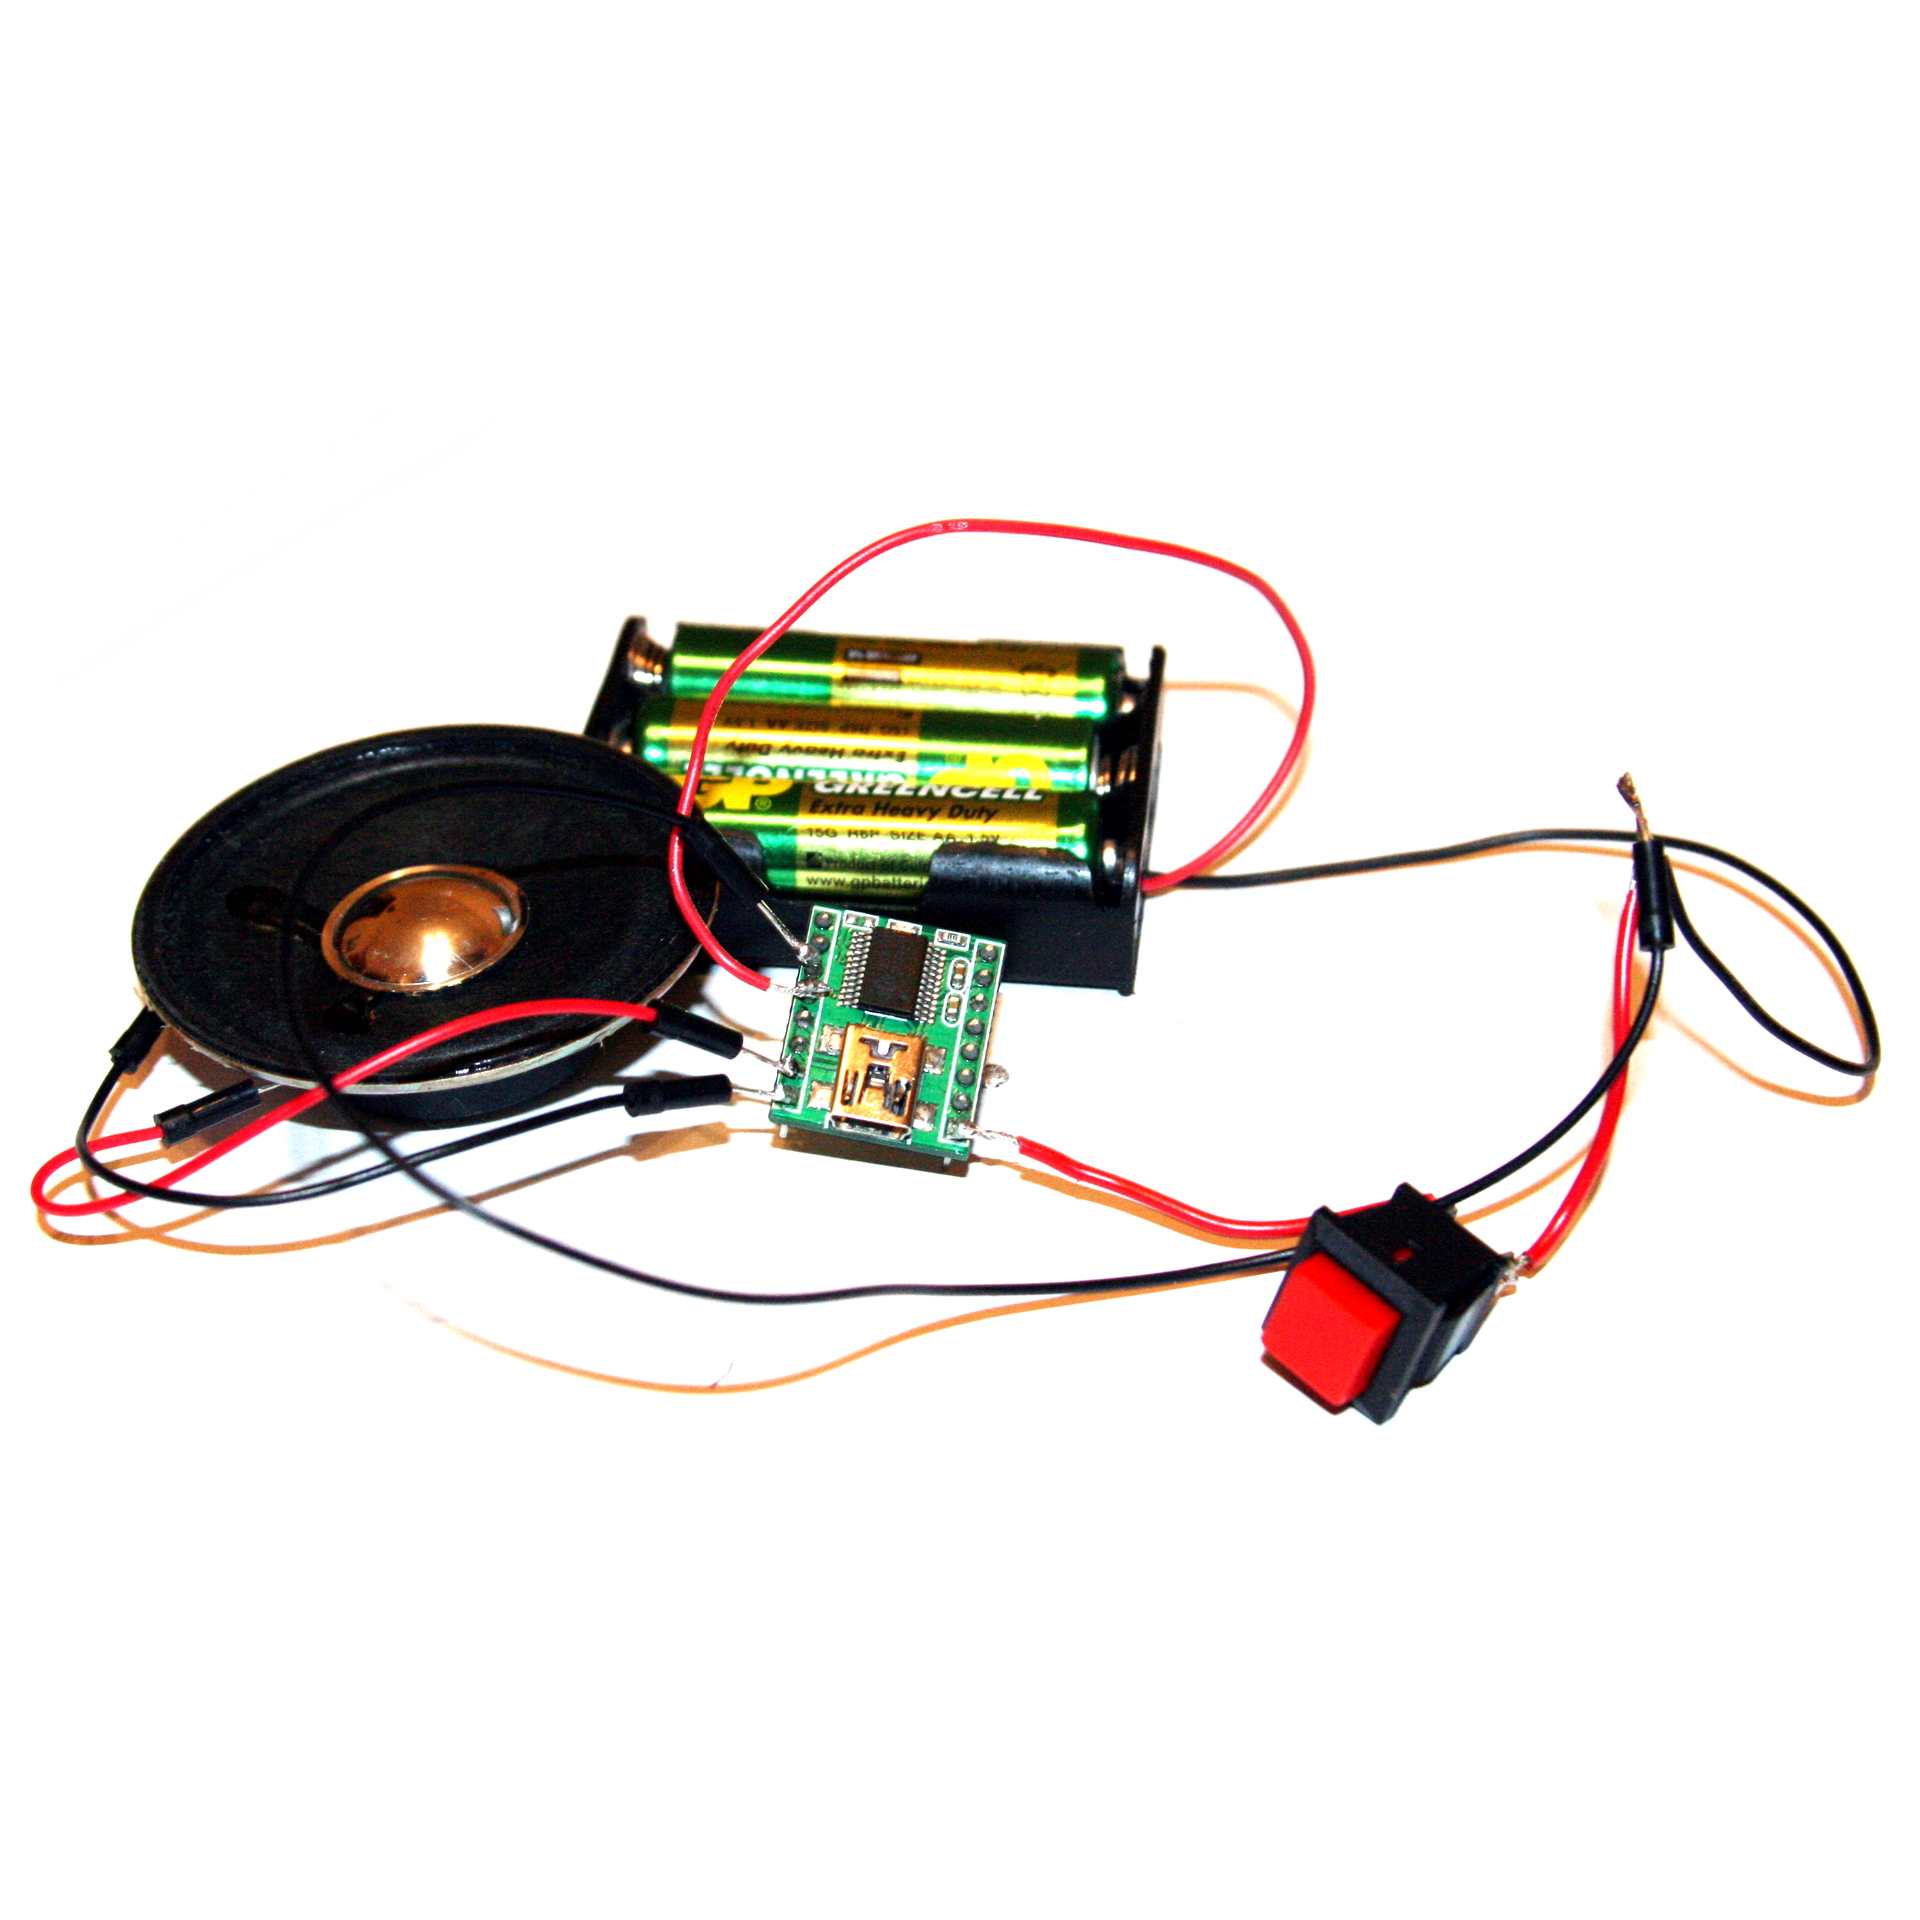
Check: it works! By releasing the button, the mp3 composition begins to play.
Unzip our soft toy from the back and take out part of the filler, freeing up space for the system, after which we carefully place everything inside the minion: the speaker is in the head area, the button is on the “pusik”, the battery pack is on the back, at the seam, so that later, the elements are replaced Nutrition was an easier task.
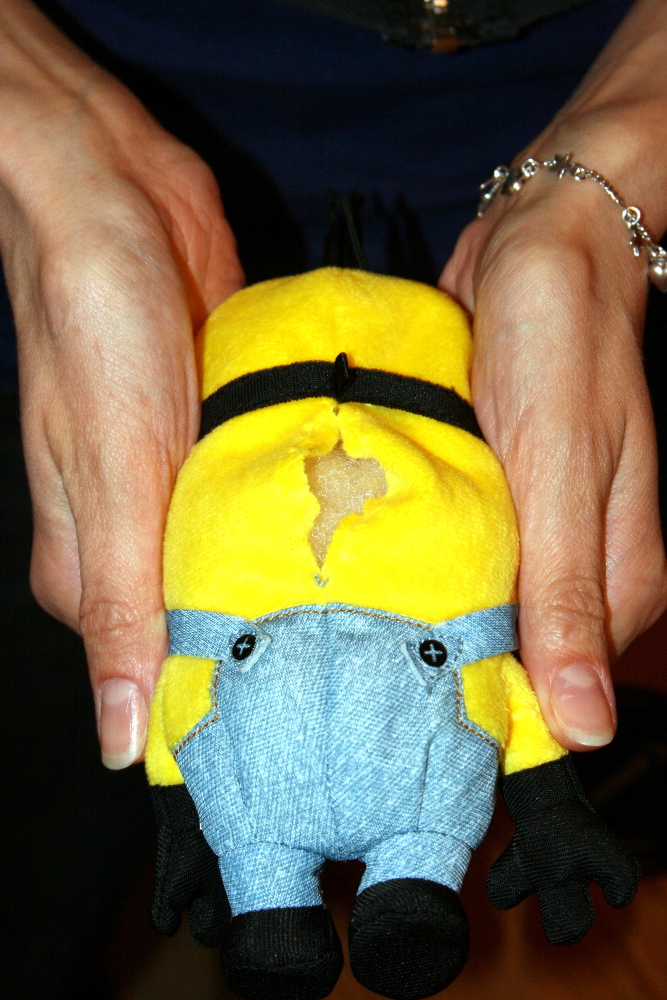
We strengthen the resulting design with the remains of a synthetic winterizer so that the parts do not "go" inside. It is important to do this with great care and without rushing, so as not to damage the contacts in the process. Then gently sew. Done!
A short video of the finished toy:
To implement the ideas from the designer of the radio EK001we borrowed: a dynamic head with a resistance of 8 ohms and one normally open button without locking. Still need a battery pack for three AA cells. Similar parts can be purchased separately, and many already have them.
By the way, MP112 has 5 channels and can play up to five audio files in a row, but for testing the solution, one will be enough for us.
First, let's take a track. The MP112 module is connected to the computer using the mini-USB connector, where it is instantly detected as a removable disk. We launch the program MusicDownload, located on it.
On the Select Sound tab, select the desired mp3 file: the very song "about the banana", then press the update button and wait for the program to transcode the file.
We disconnect the module from the computer.
Then the most interesting part of the process begins: soldering and assembling the technical part of our toy. According to the scheme available on the website, solder the button to pin 1, the speaker to pins 15 and 16, and hang the power on the 11th and 12th.
Check: it works! By releasing the button, the mp3 composition begins to play.
Unzip our soft toy from the back and take out part of the filler, freeing up space for the system, after which we carefully place everything inside the minion: the speaker is in the head area, the button is on the “pusik”, the battery pack is on the back, at the seam, so that later, the elements are replaced Nutrition was an easier task.
We strengthen the resulting design with the remains of a synthetic winterizer so that the parts do not "go" inside. It is important to do this with great care and without rushing, so as not to damage the contacts in the process. Then gently sew. Done!
A short video of the finished toy: