Development on the Yii2 framework on the IBM Bluemix platform
- Tutorial
- Recovery mode
I'm having difficulty posting php applications using the Yii2 framework on the IBM Bluemix platform. I am sure that I am not alone in this, so this post contains a short instruction on how to avoid these difficulties.
What we need to do:
Bluemix in its structure is intended for the final product, so project development should be done locally or (like me) on a separate server.
After registering on bluemix.net, go to DASHBOARD and create an environment for the php application in Cloud Foundry. To do this, on the start page, click the Create App button.

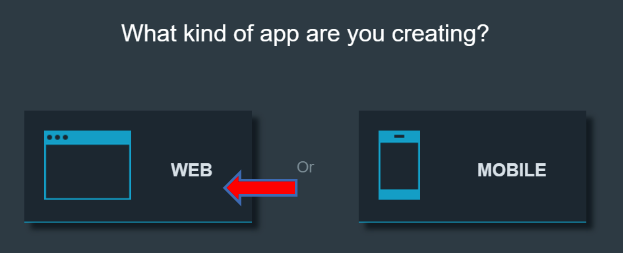
We select WEB ...
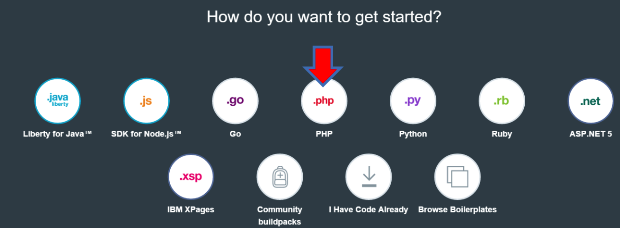
... and we select PHP.
Now we need to collect the code of the newly created application on our working machine, because in addition to the simplest Hello world, there are several configuration files that ensure that the code runs in the cloud. To do this, go to the Application Overview and click Add GIT ...

... and get a link to the repository ...
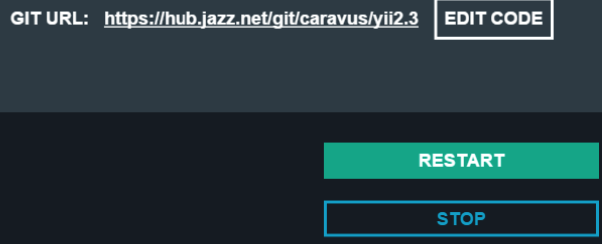
... from which we clone the application to ourselves.
Install Yii2 according to the official instructions from the framework site to your computer or remote server. All files except the web folder must be moved to the lib folder. Files from the web are transferred to the root of the project. This location of the project files is necessary to achieve two goals:
These folders are configured with separate parameters (WEBDIR and LIBDIR), so that later you can configure the environment as you prefer. For simplicity, I use the default values.
For Yii2 to load correctly, each update requires additional configuration related to the dependencies of Yii2 and other connected libraries. In particular, I mean the inability to install fxp / composer-asset-plugin at the project level - we can only install this library globally. To solve this problem, create the .bp-config folder in the project root, and the options.json file in it.
This is where the Cloud Foundry PHP Buildpack settings that we connected to the project when creating will be loaded from .
The contents of the file we use are:
PHP_VERSION indicates the version of PHP. PHP_EXTENSIONS indicates which add-ons we need. Then ADDITIONAL_PREPROCESS_CMDS indicates the commands that need to be run after installing the project in the cloud:
After you have made all the necessary changes, just send them to Bluemix using git push. Bluemix will see the changes in the repository and install all the necessary dependencies, including fxp / composer-asset-plugin, and we will get a working test page with Yii2 Hello world without problems with bower assets.
What we need to do:
- create a project in Bluemix
- connect git
- create a Yii2 project and change the file structure
- set up cloud
- enable application, gulf code
Create an application in Bluemix
Bluemix in its structure is intended for the final product, so project development should be done locally or (like me) on a separate server.
After registering on bluemix.net, go to DASHBOARD and create an environment for the php application in Cloud Foundry. To do this, on the start page, click the Create App button.
We select WEB ...
... and we select PHP.
We take his code to our car
Now we need to collect the code of the newly created application on our working machine, because in addition to the simplest Hello world, there are several configuration files that ensure that the code runs in the cloud. To do this, go to the Application Overview and click Add GIT ...
... and get a link to the repository ...
... from which we clone the application to ourselves.
Install Yii2
Install Yii2 according to the official instructions from the framework site to your computer or remote server. All files except the web folder must be moved to the lib folder. Files from the web are transferred to the root of the project. This location of the project files is necessary to achieve two goals:
- Disable automatic execution of compposer install based on composer.lock / composer.json found in the project root.
- Transfer framework files outside the public part of the project. The lib folder will be unpacked outside the folder available for the web server (/ home / vcap / app / htdocs), but within include_path (/ home / vcap / app / lib)
These folders are configured with separate parameters (WEBDIR and LIBDIR), so that later you can configure the environment as you prefer. For simplicity, I use the default values.
Customize the project
For Yii2 to load correctly, each update requires additional configuration related to the dependencies of Yii2 and other connected libraries. In particular, I mean the inability to install fxp / composer-asset-plugin at the project level - we can only install this library globally. To solve this problem, create the .bp-config folder in the project root, and the options.json file in it.
This is where the Cloud Foundry PHP Buildpack settings that we connected to the project when creating will be loaded from .
The contents of the file we use are:
{
  "PHP_VERSION": "{PHP_56_LATEST}",
  "PHP_EXTENSIONS": [
    "bz2",
    "zlib",
    "openssl",
    "curl",
    "mcrypt",
    "mbstring",
    "pdo"
  ],
  "ADDITIONAL_PREPROCESS_CMDS": [
    "cd ./app/lib/",
    "php -r \"readfile('https://getcomposer.org/installer');\" | php",
    "php composer.phar global require \"fxp/composer-asset-plugin:~1.1.1\"",
    "php composer.phar install",
    "cd ../../"
  ]
}
PHP_VERSION indicates the version of PHP. PHP_EXTENSIONS indicates which add-ons we need. Then ADDITIONAL_PREPROCESS_CMDS indicates the commands that need to be run after installing the project in the cloud:
- go to the folder with Yii2
- install composer
- download fxp / composer-asset-plugin (see Yii2 installation)
- load all necessary dependencies from composer.lock / composer.json
- return to the original folder - this is necessary to continue normal operation
Run the application in the cloud
After you have made all the necessary changes, just send them to Bluemix using git push. Bluemix will see the changes in the repository and install all the necessary dependencies, including fxp / composer-asset-plugin, and we will get a working test page with Yii2 Hello world without problems with bower assets.