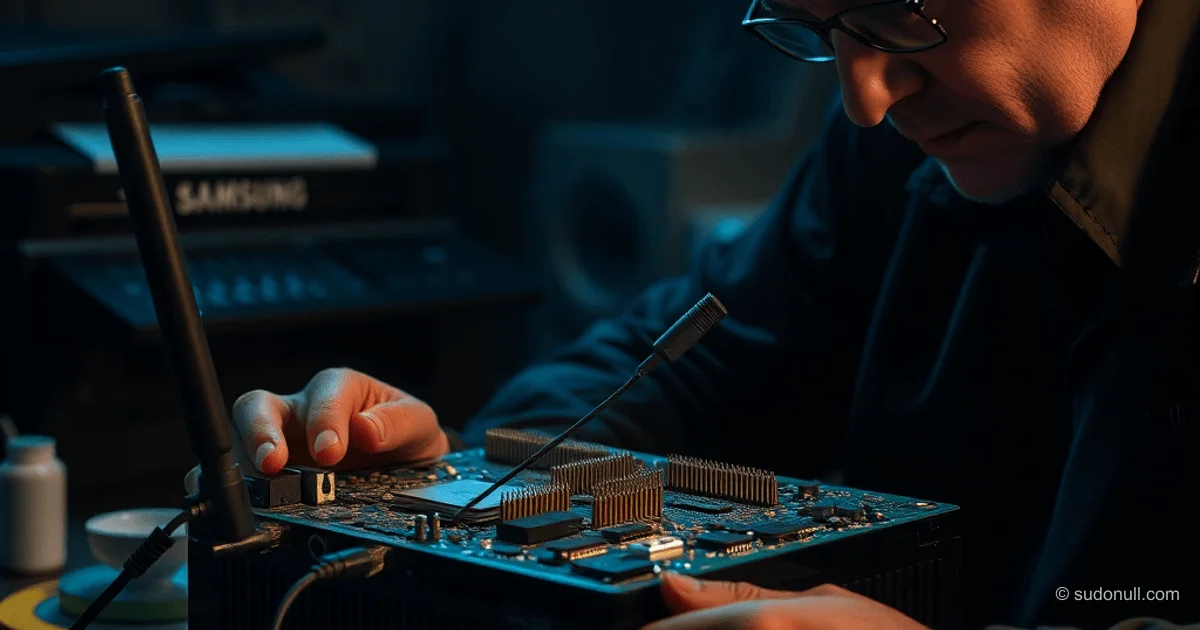
Turning a TRENDnet TDM-C400 ADSL Router into a Print Server: A Step-by-Step Guide
An old TRENDnet TDM-C400 ADSL router can be repurposed as a print server for a USB printer like the Samsung SCX-3200 without Ethernet. This allows the printer to be networked through the router, extending the life of outdated hardware. It requires minimal components and basic soldering skills.
Required equipment:
- TRENDnet TDM-C400 (ADSL router without antennas).
- Samsung SCX-3200 (USB printer).
- USB-UART converter (costs around $5).
- Soldering kit: soldering iron, flux, solder, isopropyl alcohol.
- Dupont pin headers.
- PC with Windows 10.
Disassembly and Accessing the Board
Open the router case and remove the board. It features a custom TRENDnet microcontroller, likely running a lightweight Unix-like OS. The goal is to gain root access to configure the print server.
Identify the UART pins: RX (Receive), TX (Transmit), GND (Ground). These pins enable serial port connection and interaction with the device's console.
Solder Dupont pin headers to the corresponding contacts. Use flux for a reliable connection, and clean any residue with isopropyl alcohol after soldering.
Connecting UART and Launching the Console
Connect the USB-UART converter to the board:
- Connect GND to GND.
- Cross-connect: RX on the converter to TX on the board, TX on the converter to RX on the board.
Power on the router and connect the converter to a Windows 10 PC. Install UART drivers (typically CH340 or similar), and set the port speed (standard is 115200 baud, 8N1).
Open a terminal (PuTTY or Tera Term) to monitor the console. If successful, a boot log or shell will appear.
Gaining Root Access and Common Issues
During power-up, the router may become unresponsive. Possible causes:
- Short circuit from soldering.
- Incorrect UART connection (check the cross-connect scheme).
- Microcontroller protection against unauthorized access.
- Age-related board defects.
Diagnostics:
- Use a multimeter to check for short circuits.
- Reconnect power without the UART.
- Use an oscilloscope to check signals on RX/TX.
If access is gained, log into the shell (default login/password: root/root or admin/admin). Configure the USB host for the printer: mount /dev/usb0, start CUPS or an LPD server.
Example USB configuration in embedded Linux:
# lsusb
Bus 001 Device 002: ID 04e8:3260 Samsung SCX-3200

# modprobe usb-storage
# mount /dev/sda1 /mnt/printer
Setting Up the Print Server
After root access, set up the print server:
- Compile and load USB-Gadget drivers for printer emulation.
- Configure Samba or Avahi for network discovery.
- Add the printer to /etc/printcap:
scx3200|Samsung SCX-3200:\
    :sd=/var/spool/lpd/scx3200:\
    :mx#0:\
    :lp=/dev/usb/lp0:\
:sh:- Restart lpd:
/etc/init.d/lpd restart.
Test printing from a client via LPR: lpr -P scx3200 file.ps.
Key Points
- Cross-connect UART is essential for stable communication.
- Soldering requires precision: avoid overheating the microcontroller.
- Root access provides a full shell, but check firmware for backdoors.
- Samsung SCX-3200 is recognized as USB Mass Storage; use vendor ID 04e8.
- This project saves money but requires debugging hardware defects.
— Editorial Team










No comments yet.