Drums in the Home Studio: From MIDI to Live Recording
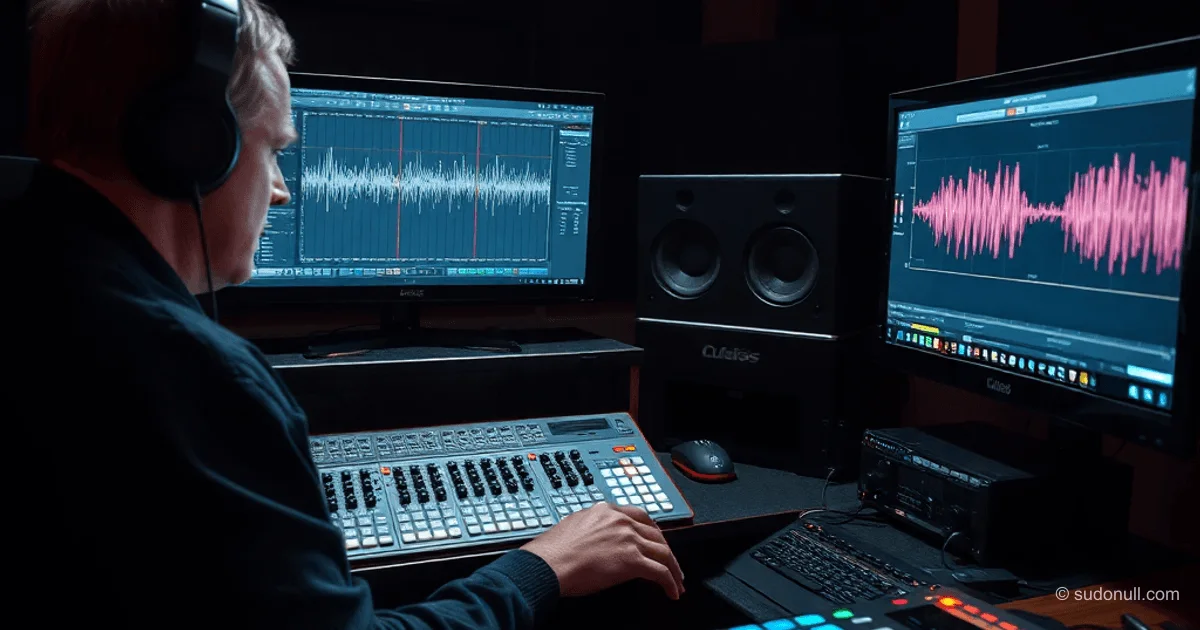
A composer in a home studio can choose three approaches to creating drum parts: dead, semi-live, and live. Dead drums are generated by a synthesizer with manual MIDI track drawing in a DAW like Cubase. They are essential in electronic music, where a specific kick sample without randomization is needed. Modern VSTs randomly swap samples, but sometimes a monotonous loop is required.
Semi-live drums use electronic pads with sensors: from rubber pads to Kevlar mesh with positional sensing. The synthesizer generates MIDI based on strike force and location, providing articulation. The resulting MIDI track is edited and assigned to any samples in the mix.
Live drums involve an acoustic kit with 8–12 microphones, professionally mixed. This offers maximum tonal nuance, but mixing requires 30–100 plugins and experience. For home use, this is rarely justified.
Evolution Experience: From SR-16 to MIDI Editing
30 years of work show the journey from simple drum machines to complex MIDI parts. It started with the Alesis SR-16: a compact machine with quality samples. Recording was done live from memory, without MIDI, providing more organic results than manual drawing.
Next came MIDI drawing with the AKAI S2000 and Alesis D4 using sensors from Soviet Lel UDS. The assembled setup (snare, hi-hat, tom, ride, crash from a mat) allowed for skill practice, but parts remained weak even after quantization.
The shift to libraries like Addictive Drums: filter by tempo (±20 BPM) and style, select a shortlist from hundreds of grooves. The rhythm canvas is set by bass and keys, then a groove is chosen, stretched across the track, and edited for accents.
- Filter grooves by tempo and style.
- Stretch across the entire composition.
- Adjust to match bass/key rhythm.
- Add crashes/rides on pads (minimum 2+2).
- Verify in the mix with dynamics.
After structuring the track (choruses, inner8, changes) — add variations: hi-hat/ride, 8th/16th notes, fills.
Sound Tuning in Addictive Drums
A reference track is mandatory: compare with professional drums (Alan Parsons Project, Muse). Disable master effects during mixing — multiband compressors mask mistakes.
Choose a kit by style from hundreds of presets. Global adjustments:
- Room microphones at -50% (remove mud, compensate with overheads).
- Shorten the kick for a tight hit without tail.
- Toms +2–4 dB.
Sample selection: kick, snare, hi-hat, crashes/rides to match the reference. Test in the mix, not in solo.
Final Workflow for Middle/Senior Level
- Set the rhythm canvas with bass/keys.
- Select grooves in AD2 (tempo, style, shortlist).
- Stretch and fit to accents.
- Add cymbals/toms manually on pads.
- Tune the kit: room down, kick short, toms up.
- Replace samples based on the reference.
- Verify in the mix, adjust velocity.
Work is complete when every hit feels organic.
Key Points
- A reference track defines the target sound.
- Disable the master when mixing drums.
- MIDI articulation from semi-live is better than manual drawing.
- Libraries like AD2 save time vs. self-recording.
- Velocity dynamics adapt to arrangement density.
— Editorial Team










No comments yet.