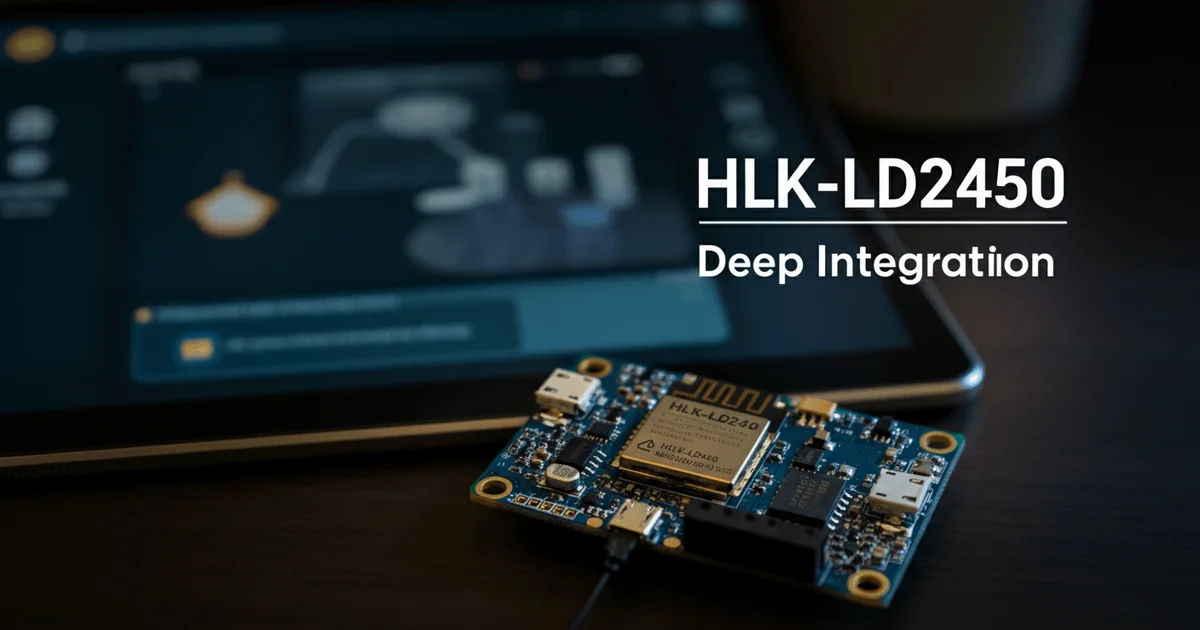
Deep Integration of HLK-LD2450: Millimeter-Wave Radar Control via ESPHome and Home Assistant
Despite its affordability, the HLK-LD2450 millimeter-wave radar is a powerful presence sensor capable of detecting not only motion but also the precise coordinates, speed, and angle of up to three targets simultaneously. However, its full potential often remains untapped due to the limitations of standard solutions. This article outlines an approach for complete integration of the LD2450 into a smart home ecosystem using ESPHome and Home Assistant, providing deep control over all hardware parameters of the radar via its binary protocol, bypassing any intermediate layers.
Capabilities and Limitations of the HLK-LD2450 in Standard Scenarios
The LD2450 sensor operates at 24 GHz, offering a detection range of 0.5 to 8 meters and a wide horizontal field of view of ±60°. Communication occurs via UART at 256000 baud using a binary protocol, which distinguishes it from devices controlled by AT commands. A key hardware feature is its three configurable zones, which can be defined as rectangles in millimeters. The radar can autonomously filter targets, providing data only for those located within these zones.
The main challenge users face when working with the LD2450 "out of the box" is limited access to its advanced features. Most off-the-shelf solutions focus solely on reading the data stream, ignoring dynamic configuration capabilities. Hardware zones are either left untouched or configured once using the specialized HLK-LD2450_TOOL, which is often only available for Windows. Crucial parameters such as sensitivity, energy threshold, operating mode (Normal, High Sensitivity, Low Power, High Precision), and target hold time are stored in the device's registers but are typically inaccessible for modification from home automation systems. This significantly reduces the sensor's flexibility in complex scenarios requiring adaptive responses to changing environments.
Goals of Deep Integration:
To fully unlock the LD2450's potential, the following key objectives were formulated, which cannot be achieved with standard methods:
- Dynamic Zone Management: The ability to change the coordinates and dimensions of hardware zones directly from Home Assistant. This allows adapting the detection area for various scenarios, such as night mode or when furniture arrangements change.
- Fine-tuned Sensitivity Adjustment: Regulation of radar sensitivity, energy threshold, target hold time, and speed filter to minimize false positives and optimize detection under specific conditions.
- Operating Mode Switching: Toggling between Normal, High Sensitivity, Low Power, and High Precision modes to adapt to power consumption or accuracy requirements.
- Update Frequency Control: Adjusting the data refresh rate to balance responsiveness and system load.
- Configuration Persistence: The ability to write modified settings to the radar's internal memory to retain them after power loss.
- Multi-Target Monitoring: Obtaining real-time data for up to three targets simultaneously, including their coordinates, which is critical for complex presence detection scenarios.
Advantages of a Native ESPHome Component and Transition to ESP-IDF
To realize the stated capabilities, a native ld2450 component was developed for ESPHome. This approach enables direct interaction with the sensor's UART, sending binary commands and processing responses without any intermediate protocols or abstractions. Direct register access provides complete control over the device, transforming it from a "black box" into a fully manageable sensor.
A key aspect of achieving stable operation at high UART speeds (256000 baud) was the migration from the Arduino framework to ESP-IDF. While convenient for rapid prototyping, the Arduino framework often exhibits instability when working with UART at such speeds, leading to data loss or communication errors. The transition to ESP-IDF brought the following advantages:
- Enhanced UART Stability: ESP-IDF ensures more reliable and predictable peripheral operation, which is crucial for high-speed data transmission from the radar.
- Resource Optimization: Firmware built on ESP-IDF occupies less flash memory (approximately 17% less) and consumes less RAM. This frees up ESP32 resources for other tasks, enhancing overall system performance.
- Future-Proofing: ESPHome is actively transitioning to ESP-IDF by default for its components, making this a strategically sound choice and ensuring compatibility with future platform updates.
Detailed Analysis of the Binary Protocol and Register Management
Interaction with the HLK-LD2450 is performed by sending specific binary commands. Each command has a strictly defined structure:
Header: FD FC FB FA
Length: 2 bytes (little-endian)
Command: 2 bytes
Data: N bytes
Footer: 04 03 02 01
Examples of Commands for Key Parameter Configuration:
- Setting Sensitivity (command 0x64): This parameter allows adjusting the radar's response to object detection across eight different range segments. Flexible sensitivity adjustment minimizes false positives and optimizes sensor performance based on the environment.
```c
uint8_t cmd_sensitivity[] = {
0xFD, 0xFC, 0xFB, 0xFA,
0x0A, 0x00,
0x64, 0x00,
sens, sens, sens, sens, sens, sens, sens, sens, // 8 sensitivity values
0x04, 0x03, 0x02, 0x01
};
```
- Configuring Energy Threshold (command 0x60): The energy threshold filters out weak reflections that might be caused by minor interference or very small objects. Increasing this threshold reduces the likelihood of false positives.
```c
uint8_t cmd_energy[] = {
0xFD, 0xFC, 0xFB, 0xFA,
0x04, 0x00,
0x60, 0x00,
(uint8_t)(energy & 0xFF),
(uint8_t)((energy >> 8) & 0xFF),
0x04, 0x03, 0x02, 0x01
};
```
Similarly, other critical parameters are configured via the binary protocol:
- Target Hold Time (command 0x61): Determines how long the radar will report a target's presence after it leaves the detection zone.
- Speed Filter (command 0x62): Allows ignoring objects moving below a specified threshold, useful for filtering out slow, irrelevant movements.
- Operating Mode (command 0x65): Toggling between Normal, High Sensitivity, Low Power, and High Precision modes for optimization based on specific tasks.
- Update Frequency (command 0x66): Sets the frequency at which the radar transmits target data.
All these settings are integrated into Home Assistant and can be modified via the user interface. After making changes, simply press the "Write Configuration to Radar" button to save the new parameters to the sensor's EEPROM, ensuring they persist even after a reboot.
Advanced Hardware Zone Configuration and Multi-Target Tracking
The LD2450 offers the capability to define up to three hardware detection zones. Each zone is a rectangle specified by coordinates (X1, Y1, X2, Y2) in millimeters relative to the sensor, along with a presence timeout. The radar processes data at the hardware level, filtering out targets outside the defined zones, which reduces microcontroller load and enhances detection accuracy.
Example of Cascading Zone Configuration by Depth:
- Zone 1 (Near): Covers an area of 2 m × 0.75 m at a depth of 250–1000 mm. Ideal for detecting objects in close proximity.
- Zone 2 (Mid): Extends coverage to 4 m × 2 m at a depth of 1000–3000 mm. Used for broader space monitoring.
- Zone 3 (Far): Occupies 6 m × 3 m at a depth of 3000–6000 mm. Enables monitoring of distant areas.
Zone coordinates and timeouts are fully configurable via Home Assistant as number entities. Buttons are provided to apply default zones and to save them, followed by a radar reboot.
By default, the LD2450 can only output data for a single target. To track multiple objects, Multi-Target mode must be activated with a special command. Once enabled, the radar begins transmitting information for up to three separate targets. It's important to note that in Multi-Target mode, the data refresh rate is limited to 10 Hz, and the minimum sensor polling interval is 100 ms. The ESPHome configuration includes checks to prevent exceeding these limits when Multi-Target mode is active.
For each detected target, the following data is provided:
- X, Y: Target coordinates in millimeters.
- Speed: Target movement speed.
- Angle: Angle to the target.
- Resolution: Detection resolution.
All these parameters are transmitted to Home Assistant as individual sensors, allowing for detailed analysis of object position and movement in space.
Visualization and Practical Application in Home Assistant
Integration with Home Assistant extends beyond just settings. For clear data representation, a Plotly card (available via HACS) is used, which allows visualizing detected targets as points and configured zones as semi-transparent rectangles. The radar's coverage area is displayed with a dashed line, providing a complete overview of the sensor's current status. Visualization updates occur every few seconds, configurable by the user.
List of Configurable Parameters from Home Assistant:
- Radar Sensitivity: Range 0–9.
- Energy Threshold: Range 100–10000.
- Target Hold Time: Range 0–60 seconds.
- Speed Filter: Range 0–100 cm/s.
- Operating Mode: Normal, High Sensitivity, Low Power, High Precision.
- Update Frequency: 1–20 Hz (up to 10 Hz in Multi-Target mode).
- Coordinates and Timeouts for Three Zones.
- Multi-Target and Bluetooth Mode On/Off (if applicable).
Additionally, buttons are implemented for convenient control: "Apply Default Zones," "Write Configuration to Radar," "Reboot Radar," and "Factory Reset." This provides full control over the sensor through Home Assistant's intuitive interface.
Auxiliary Tools and Physical Integration
Before final installation and connection to an ESP32, the HLK-LD2450 can be pre-configured or tested using a USB-UART adapter. The official HLK-LD2450_TOOL is available for Windows. For Linux/WSL users, a connect_radar.sh script (utilizing usbipd) and a Python script radar.py have been developed to monitor the data stream and analyze the binary protocol. It's important to note that the data protocol uses AA FF markers, and coordinates are transmitted as signed 16-bit values.
For physical integration of the sensor into a project, ready-made solutions are available. The project repository provides STL files for 3D printing enclosures and covers, significantly simplifying the creation of a neat and functional device. Detailed printing and assembly recommendations can be found in the README file within the case_stl folder.
Key Takeaways
- Complete Control over HLK-LD2450: The native ESPHome component enables control over all radar registers via the binary protocol, unlocking its full potential.
- Stability with ESP-IDF: The transition to ESP-IDF is crucial for reliable UART operation at high speeds (256000 baud), offering superior stability and resource optimization compared to the Arduino framework.
- Dynamic Hardware Zones: The ability to configure and modify up to three hardware detection zones directly from Home Assistant significantly enhances the sensor's flexibility in various scenarios.
- Multi-Target Tracking: The radar can track up to three targets simultaneously, providing their precise coordinates, speed, and angle, which opens new possibilities for complex presence detection systems.
- Seamless Home Assistant Integration: All sensor parameters and data are accessible and configurable through the Home Assistant user interface, including visualization of zones and targets using Plotly.
— Editorial Team










No comments yet.