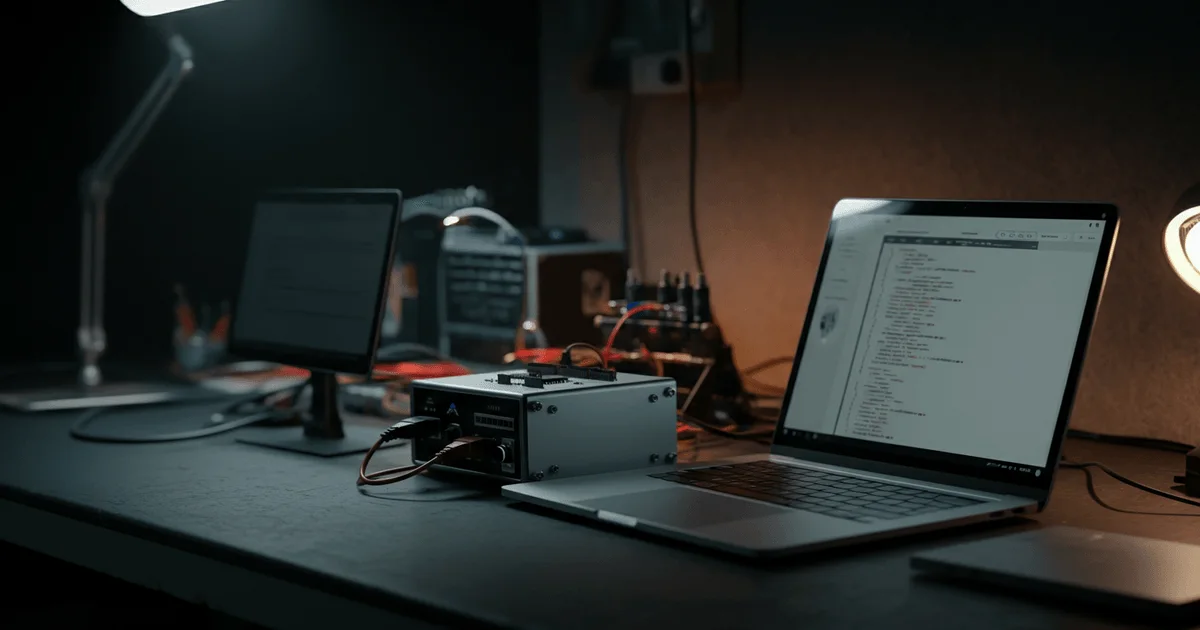
Tesla Model 3 Onboard Computer: From Salvaged Parts to Security Research Lab
A cybersecurity enthusiast and researcher successfully recreated a functional Tesla Model 3 onboard computer using parts salvaged from wrecked vehicles. The project's goal was to establish a test environment for discovering vulnerabilities and analyzing firmware as part of Tesla's bug bounty program. This case study highlights the profound technical complexities and unconventional solutions required to operate sophisticated automotive electronics outside their native environment, while also underscoring the critical role of documentation in reverse engineering efforts.
Assembling the Test Bench: From Parts to Power
The project began with the need to acquire Tesla Model 3 hardware for participation in the Bug Bounty program. The core components of the onboard computer are the Media Control Unit (MCU) and the Autopilot (AP) unit, typically located behind the glove compartment. These units, roughly the size of a tablet and as thick as a 500-page book, are encased in a water-cooled metal housing. To obtain these components, the researcher turned to eBay, where numerous listings from companies specializing in dismantling damaged vehicles were found. MCU prices ranged from $200 to $300 USD.
In addition to the main unit, the following items were required for startup:
- A DC power supply capable of delivering 12V. An adjustable 10A unit was chosen, which proved to be the correct decision, as the system could draw up to 8A at peak.
- A touchscreen module (display) from a damaged Model 3. Displays turned out to be unexpectedly expensive; one was acquired for $175.
- A specialized cable to connect the MCU and the display.
The last item proved to be the most challenging. Both the computer and the display came with cut cables, necessitating a search for the original connector. Thanks to Tesla's publicly available "Electrical Schematics" on their service website, it was determined that the display uses a 6-pin cable with a special Rosenberger 99K10D-1D5A5-D connector. Attempts to find such a cable on the market were unsuccessful. Efforts to use a similar automotive LVDS cable, common in BMWs, also failed due to connector incompatibility.
Tesla's Network Infrastructure and Software Interfaces
After acquiring the MCU and connecting it to power, flashing red LEDs were observed, indicating startup. Without a display, interaction with the system was limited, but previous research suggested an internal network with web servers on some components. Connecting an Ethernet cable to a port on the MCU established a network connection with a laptop.
This internal network lacks DHCP, so the IP address had to be set manually. The recommended IP address range is 192.168.90.X/24, with X needing to be above 105 to avoid conflicts with other hosts. Studying old /etc/hosts files from Tesla vehicles helped identify standard IP assignments:
192.168.90.100 cid ice # mcu
192.168.90.100 ic # only in Model X/S | IC = instrument cluster
192.168.90.102 gw # gateway
192.168.90.103 ap ape # ap = autopilot
192.168.90.104 lb # no clue
192.168.90.105 ap-b ape-b # also autopilot
192.168.90.30 tuner # Also no clue
192.168.90.60 modem # this has the ftp server
On the MCU (IP 192.168.90.100), two main services were discovered: an SSH server on port 22 and a REST-like API on port 8080.
- SSH Server: Attempting to connect yielded the message "SSH allowed: vehicle parked." Access requires specially signed SSH keys generated by Tesla. Notably, as part of the Bug Bounty program, Tesla provides a persistent SSH certificate for root access to researchers who discover a valid vulnerability allowing root privileges. This significantly streamlines further vulnerability hunting.
- ODIN API: A REST-like API on port
8080, known as ODIN (On-Board Diagnostic Interface Network), returns a history of "tasks" and is intended for use by Tesla's "Toolbox" diagnostic tool.
The internal structure of the MCU includes two boards stacked one above the other, confirming its modular architecture.
Overcoming Hardware Challenges: From LVDS to Wiring Harness
Initial attempts to connect the display and MCU using a BMW LVDS cable failed due to physical connector incompatibility. Desperate efforts to directly splice the cut wires led to a short circuit and the failure of one of the power microcontroller chips on the board. This necessitated ordering a new MCU. However, with the help of an expert friend, the burnt component was identified as a "MAX16932CATIS/V+T" buck controller. The chip was ordered and successfully replaced at a repair shop, allowing the damaged MCU to be restored, resulting in two functional units.
Realizing the impossibility of finding a standalone Rosenberger cable, the researcher concluded that actual Tesla vehicles do not use separate cables for the display. Instead, large, integrated wiring harnesses combine numerous cables from adjacent areas. Using Tesla's electrical schematic, the part number for the necessary harness (1067960-XX-E) was found. Acquiring such a harness, despite its bulk and cost of around $80, proved to be the only viable solution.
After installing the complete wiring harness, the system functioned correctly. The touchscreen powered on, and a fully functional Tesla Model 3 onboard computer with its operating system running was now operational on the test bench. This marked a significant milestone in creating a comprehensive test environment for future research.
Research Prospects and Next Steps
Getting the Tesla Model 3 onboard computer running on a test bench opens up vast opportunities for in-depth research into its functionality and security. With a fully operational system, the researcher plans to focus on the following areas:
- User Interface (UI) Exploration: Analyzing system interaction, identifying hidden features, and potential entry points.
- Network Interface Interaction: More detailed investigation of the discovered SSH and ODIN APIs, as well as searching for other open ports and services.
- CAN Bus Research: Analyzing data transmitted over the internal automotive CAN network to understand communication between various vehicle components.
- Firmware Extraction: Attempts to gain access to the operating system firmware for static analysis and vulnerability discovery at a lower level.
These steps will not only provide a deeper understanding of Tesla's system architecture and operation but also potentially uncover critical vulnerabilities, which is the primary goal of participating in the Bug Bounty program.
Key Takeaways
- Access to Hardware Platform: For effective cybersecurity research on Tesla vehicles, physical access to the onboard computer is crucial, achieved by acquiring parts from damaged cars.
- Value of Open Documentation: Tesla's publication of detailed electrical schematics significantly simplifies the reverse engineering process and component assembly outside the native environment.
- Challenges of Specialized Equipment: Automotive electronics utilize unique connectors and wiring harnesses that can be difficult to source or require unconventional solutions for integration.
- Internal Network Architecture: The Tesla onboard computer features its own isolated network with predefined IP addresses and specialized services like SSH and the ODIN API.
- Incentives for Researchers: Tesla's Bug Bounty program, which includes providing root access for discovered vulnerabilities, motivates experts to conduct in-depth analysis and enhance the security of automotive systems.
— Editorial Team










No comments yet.