15 tips and tricks you need to know for the Chrome Developer Tools
- Transfer
Today, Google Chrome is the most popular browser among web developers. With a fast, six-week, release cycle and a powerful set of ever-expanding developer tools, turning the browser into the tool you must have. Most of you are probably familiar with many of its features, such as live CSS editing using the console and debugger. In this article, we will cover 15 exciting tips and tricks that will improve your productivity even more.
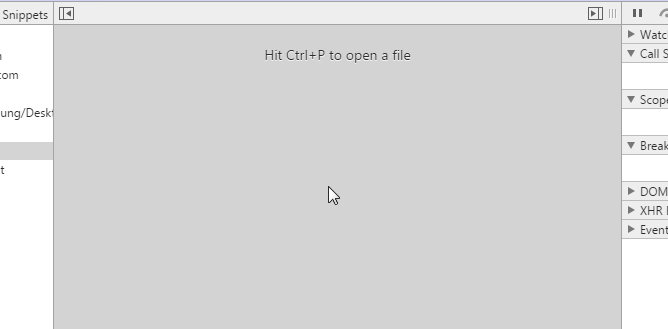
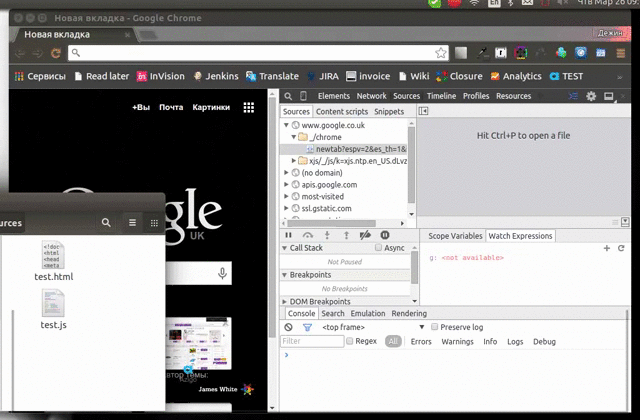
If you used Sublime Text, then you probably cannot live without “Go to anything” ( Translator's note: for Idea users, this function is called “Searching Everywhere” and is called by double-pressing the Shift key). You will be happy to know that a similar function is in the developer tools. Press Ctrl + P (Cmd + P for Mac users) when the developer panel is open to quickly find and open any file in your project.
But what if you want to search in the source code? To search in all downloaded files on the page, press Ctrl + Shift + F (Cmd + Opt + F). This search method also supports regular expression searches.
After you open the file in the Sources tab, the developer tools allow you to go to any line of this file. To do this, press Ctrl + G for Windows and Linux (or Cmd + L for Mac), and enter the line number.
Another way is to press Ctrl + O, but instead of the text to search, enter ":" and line number ( Translator's note: you can go even further and enter the file name and line number using ":" as a separator between them, at the same time enter the file name is completely completely optional, this is a search).
The developer tool console supports several useful “magic” functions and variables for DOM fetching:
Find out more console functions here .
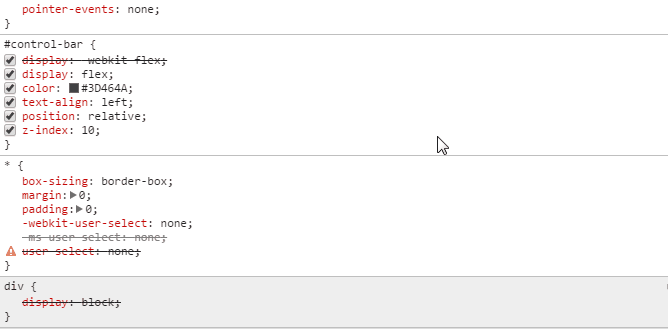
When editing a file, you can install multiple carriages by holding Ctrl (Cmd for Mac) and clicking where you need, so you can install carriages in many places at the same time.
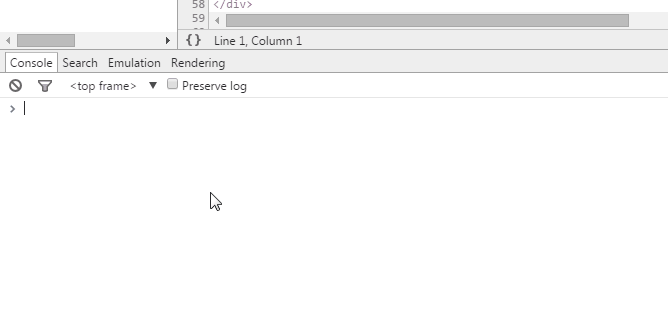
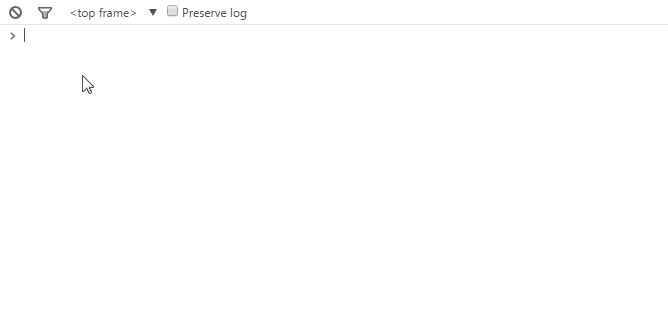
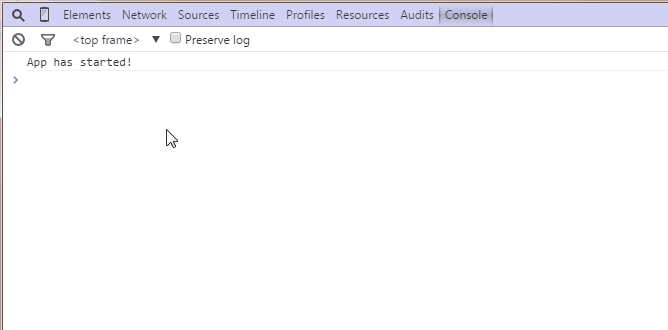
When you enable the Preserve Log option on the Console tab, the results will be saved, not cleared each time the page is loaded. This is convenient if you want to view the history of errors that appear before leaving the page.
( Translator's note: there is a similar property on the Network tab. When you turn it on, the query history stops clearing when switching between pages. However, if the page was redirected using JavaScript and any other request was executed, it is almost always impossible to view the result of this request. Not forget to disable such properties during long debugging! Developer tools almost always consume more system resources than the page itself!)
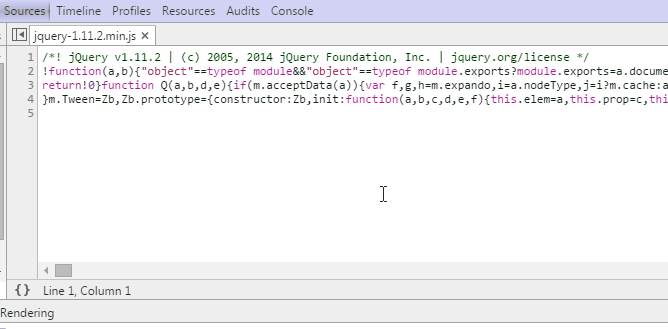
The Chrome Developer Tools has a built-in “pretender” of minimized source codes to a readable look. The button is located in the lower left corner of the file that is currently open in the Sources tab.
( Translator's note: sometimes there is a lack of the ability to enable this property automatically, as for example this is done in FireFox)
Developer tools include a powerful mode for developing pages optimized for mobile devices. This video from Google demonstrates most of its advanced features, such as changing the screen resolution, emulating a touch on the touch screen, and emulating a low-quality network connection.
Another cool feature of the device mode is the ability to simulate the sensors of mobile devices, such as touch screens and accelerometers. You can even indicate your geographic coordinates. The object is located at the bottom of the Elements tab in Emulation -> Sensors.
When choosing a color in the style editor, you can click on the color swatch and a color selection window will appear. While this window is open, your mouse cursor turns into a magnifying loupe to select the color on the page, accurate to a pixel.
Development tools allow you to simulate such CSS states of the DOM element as: hover and: focus, simplifying the writing of styles for them. This feature is available in the CSS Property Editor.
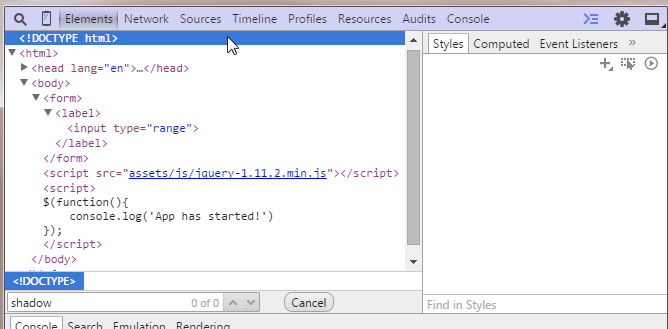
Elements such as input fields and buttons, browsers, create from other basic elements that are usually hidden. However, you can go to Settings -> General and enable the Show user agent shadow DOM to display these basic elements in the Elements tab. This will give you the opportunity to arrange them individually.
If you press Ctrl + D (Cmd + D) while editing files on the Sources tab, the next occurrence of the current word will be highlighted, allowing you to edit them at the same time.
Using Shift + Click on the color sample in the CSS editing panel, the color format will be changed to RGBA, HSL hexadecimal ( Translator's note: at the same time, both hexadecimal abbreviated form and full, and even in capital case. If this does not suit you , then the browser will try to find this color in the list of standard color constants. The only drawback of this feature is that in order to choose the desired format, you often have to “click through” all other possible options).
Workspaces are a powerful toolbar for a developer panel that turns developer tools into an IDE. The workspace contains the file structure in the Sources tab according to the structure of your local project, so now you can edit and save directly, without having to copy and paste the changes to an external text editor.
To set up workspaces, go to the Sources tab ( Translator's note:turn on the navigation bar if it is hidden, for this, click on the Show navigator button in the upper left corner of the tab) and right-click anywhere in the navigator panel, or simply drag the entire project tab into the developer panel. Now, the selected folder, its subdirectories and all files in them will be editable regardless of which page you are on. For even greater convenience, you can use the files that are used on this page, which will allow you to edit and save them.
UPD. Translator's note: The
added folder will be accessible from all tabs. Therefore, if your project has more than one HTML file, then it will be enough to open it in a neighboring browser tab.
You can learn more about workspaces here..
Recommendations for further reading:
Chrome shortcuts
Long list of tips and tricks in the Chrome documentation
1. Quick file change
If you used Sublime Text, then you probably cannot live without “Go to anything” ( Translator's note: for Idea users, this function is called “Searching Everywhere” and is called by double-pressing the Shift key). You will be happy to know that a similar function is in the developer tools. Press Ctrl + P (Cmd + P for Mac users) when the developer panel is open to quickly find and open any file in your project.
2. Search in the source code
But what if you want to search in the source code? To search in all downloaded files on the page, press Ctrl + Shift + F (Cmd + Opt + F). This search method also supports regular expression searches.
3. Go to line
After you open the file in the Sources tab, the developer tools allow you to go to any line of this file. To do this, press Ctrl + G for Windows and Linux (or Cmd + L for Mac), and enter the line number.
Another way is to press Ctrl + O, but instead of the text to search, enter ":" and line number ( Translator's note: you can go even further and enter the file name and line number using ":" as a separator between them, at the same time enter the file name is completely completely optional, this is a search).
4. Fetching DOM elements using the console
The developer tool console supports several useful “magic” functions and variables for DOM fetching:
- $ () - equivalent to document.querySelector (). Returns the first element matching the CSS selector, for example, $ ('DIV') will return the first div element on the page.
- $$ () - equivalent to document.querySelectorAll (). Returns a list of elements ( Translator's note: namely NodeList) that match the given CSS selector.
- $ 0 - $ 4 is the history of the last five DOM elements that you selected in the Elements tab, where $ 0 will be the last.
Find out more console functions here .
5. Using multiple carriages and selections
When editing a file, you can install multiple carriages by holding Ctrl (Cmd for Mac) and clicking where you need, so you can install carriages in many places at the same time.
6. Preserve Log
When you enable the Preserve Log option on the Console tab, the results will be saved, not cleared each time the page is loaded. This is convenient if you want to view the history of errors that appear before leaving the page.
( Translator's note: there is a similar property on the Network tab. When you turn it on, the query history stops clearing when switching between pages. However, if the page was redirected using JavaScript and any other request was executed, it is almost always impossible to view the result of this request. Not forget to disable such properties during long debugging! Developer tools almost always consume more system resources than the page itself!)
7. Prettification of minimized sources
The Chrome Developer Tools has a built-in “pretender” of minimized source codes to a readable look. The button is located in the lower left corner of the file that is currently open in the Sources tab.
( Translator's note: sometimes there is a lack of the ability to enable this property automatically, as for example this is done in FireFox)
8. Device Mode
Developer tools include a powerful mode for developing pages optimized for mobile devices. This video from Google demonstrates most of its advanced features, such as changing the screen resolution, emulating a touch on the touch screen, and emulating a low-quality network connection.
9. Emulation of device sensors
Another cool feature of the device mode is the ability to simulate the sensors of mobile devices, such as touch screens and accelerometers. You can even indicate your geographic coordinates. The object is located at the bottom of the Elements tab in Emulation -> Sensors.
10. Color selection
When choosing a color in the style editor, you can click on the color swatch and a color selection window will appear. While this window is open, your mouse cursor turns into a magnifying loupe to select the color on the page, accurate to a pixel.
11. Forced item state
Development tools allow you to simulate such CSS states of the DOM element as: hover and: focus, simplifying the writing of styles for them. This feature is available in the CSS Property Editor.
12. Display shadow DOM
Elements such as input fields and buttons, browsers, create from other basic elements that are usually hidden. However, you can go to Settings -> General and enable the Show user agent shadow DOM to display these basic elements in the Elements tab. This will give you the opportunity to arrange them individually.
13. Choose the next occurrence
If you press Ctrl + D (Cmd + D) while editing files on the Sources tab, the next occurrence of the current word will be highlighted, allowing you to edit them at the same time.
14. Change the color format
Using Shift + Click on the color sample in the CSS editing panel, the color format will be changed to RGBA, HSL hexadecimal ( Translator's note: at the same time, both hexadecimal abbreviated form and full, and even in capital case. If this does not suit you , then the browser will try to find this color in the list of standard color constants. The only drawback of this feature is that in order to choose the desired format, you often have to “click through” all other possible options).
15. Editing local files in the workspace
Workspaces are a powerful toolbar for a developer panel that turns developer tools into an IDE. The workspace contains the file structure in the Sources tab according to the structure of your local project, so now you can edit and save directly, without having to copy and paste the changes to an external text editor.
To set up workspaces, go to the Sources tab ( Translator's note:turn on the navigation bar if it is hidden, for this, click on the Show navigator button in the upper left corner of the tab) and right-click anywhere in the navigator panel, or simply drag the entire project tab into the developer panel. Now, the selected folder, its subdirectories and all files in them will be editable regardless of which page you are on. For even greater convenience, you can use the files that are used on this page, which will allow you to edit and save them.
UPD. Translator's note: The
added folder will be accessible from all tabs. Therefore, if your project has more than one HTML file, then it will be enough to open it in a neighboring browser tab.
You can learn more about workspaces here..
Recommendations for further reading:
Chrome shortcuts
Long list of tips and tricks in the Chrome documentation