How do giant telescope mirrors
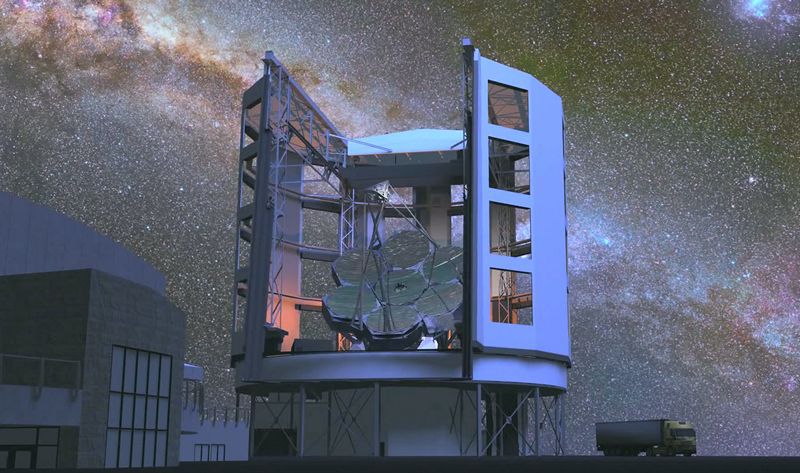
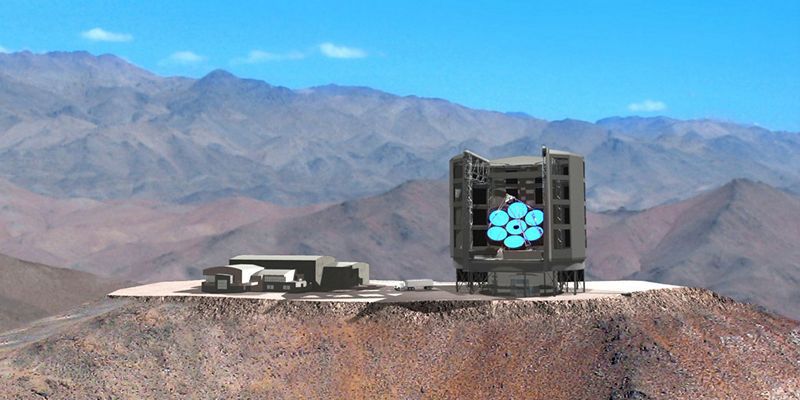
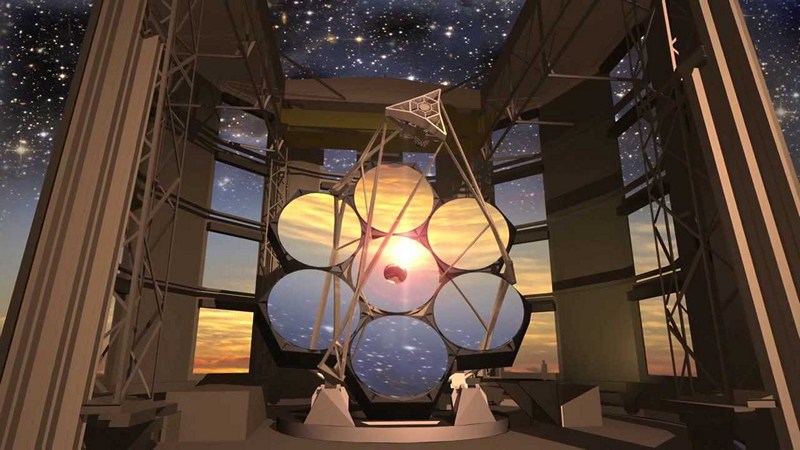
Atacama Desert in Chile is a paradise for astronomers. The unique cleanliness of the air, favorable atmospheric conditions throughout the year and the extremely low level of light pollution make this inhospitable area an ideal place for building giant telescopes. For example, the E-ELT telescope , for which a construction site is already being prepared . However, this is not the only large-scale project of this kind. Since 2005, work has been underway to create another impressive astronomical instrument, the Giant Magellanic Telescope (GMT). So it will look after construction in 2020:
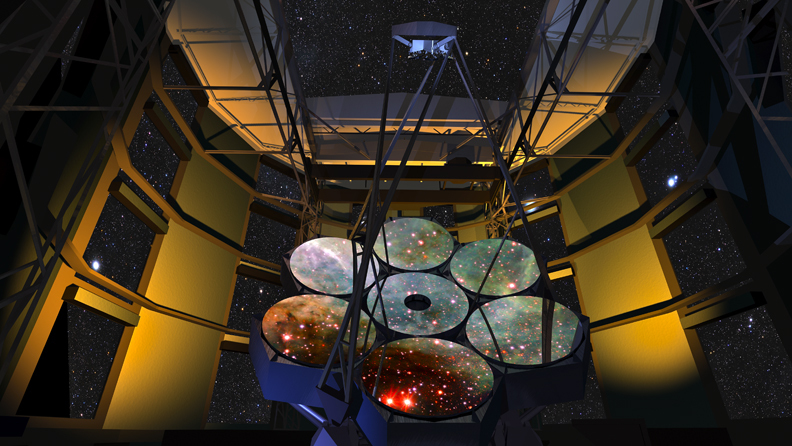
Its optical system is based on a reflective surface of 7 huge round mirrors. Each with a diameter of 8.4 m and a weight of 20 tons. By itself, the manufacture of such mirrors, and even with the required accuracy, is a real engineering masterpiece. How are such products created? About this - under the cut.
Currently, two mirrors are made, the third is cast and gradually cooled, the fourth is scheduled for casting at the end of this year. The manufacturing process was developed by the University of Arizona's Steward Observatory Mirror Lab, a specialist in the Mirror Laboratory of the Steward Observatory.
Each mirror is composed of a large number of hexagonal segments, which made it possible to reduce the mass of the product by a factor of 5 compared to a cast mirror of the same size. High quality borosilicate glass blanks are made in Japan. The thickness of the segments does not exceed 28 mm, which positively affects the operating conditions - such a mirror will quickly take the ambient temperature, which will prevent the occurrence of air vibrations at the surface and image distortion.
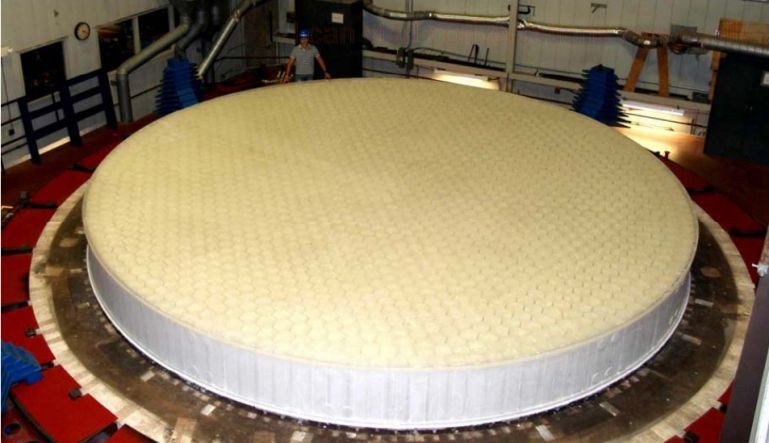
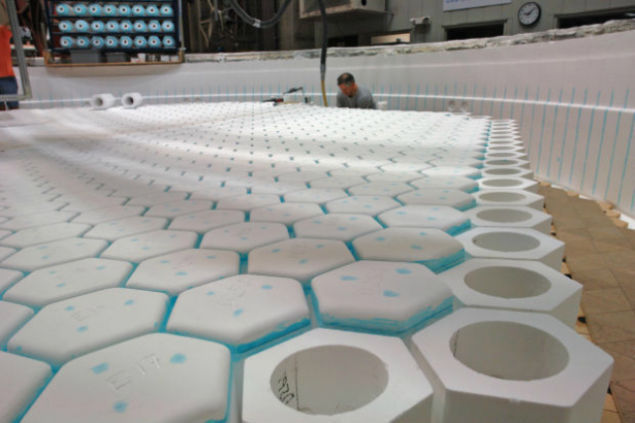
Substrates for mirror segments.
Also, the lightweight design of the mirrors themselves will make it possible to assemble a reflective surface with a diameter of 25 meters from just 7 primary and 7 secondary mirrors. This greatly simplifies the management and setup of the telescope. Compare this to the 798 segments in the E-ELT project.
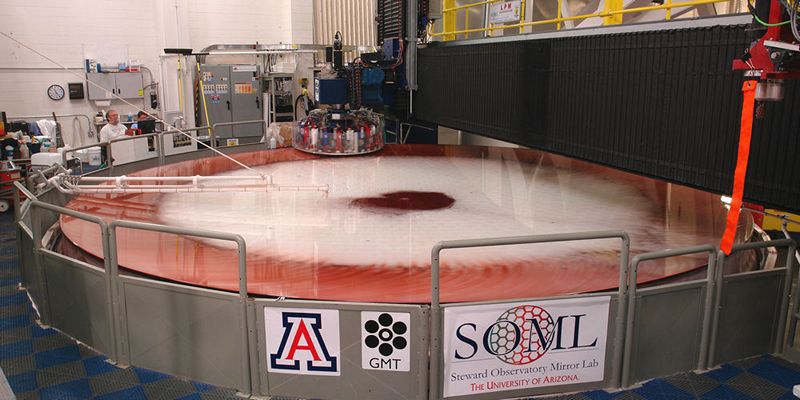
After laying glass blanks on substrates (1681 pcs), the entire area of the future mirror is covered from above with a huge rotary kiln. The temperature reaches 1178 degrees Celsius, the rotational speed of the furnace is 5 revolutions per minute. As a result, the segments melt and form a single glass mass with a parabolic surface shape. Rotation of the furnace due to centrifugal force just allows you to roughly form a parabolic surface.

After that, the long process of controlled uniform cooling begins, in the same rotary kiln. It takes three months to prevent cracking due to cooling too quickly. After cooling, the future mirror is carefully removed from the heat-resistant substrate and transferred to the polishing stand.
Then begins an even longer and painstaking process of polishing the mirror. Unlike spherical mirrors, whose surface curvature is constant, polishing a giant parabolic mirror of the highest accuracy is a very difficult task. In the case of mirrors for HMT, the deviation from the spherical shape was 14 mm.
In general, parabolic lines and surfaces are, so to speak, unnatural. Almost all available and created tools are somehow connected with circles and spheres, so scientists and technologists had to smash their heads over mirror polishing.
One of the main tools is a rotating disk with a diameter of about 1 m, with batchers of polishing substances. The disk can move along the guide rail, while the mirror itself rotates around an axis on the polishing stand.
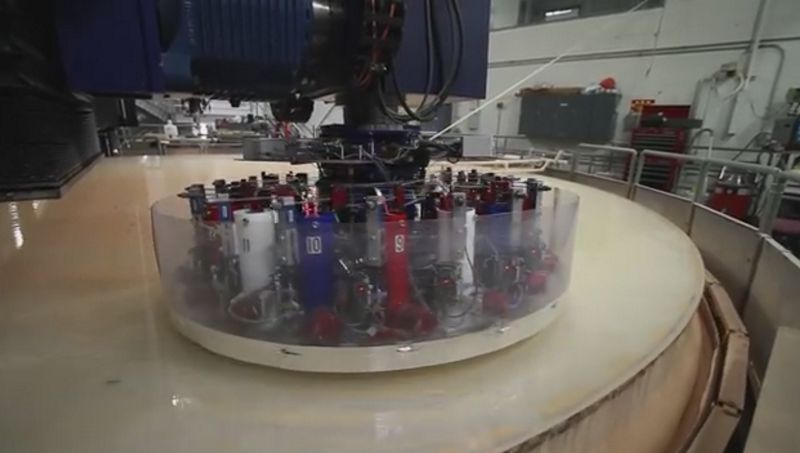
This is a diamond grinding tool for basic surface treatment, designed to align most glass surface defects and give a saddle shape. The fact is that during rotation, liquid glass took the form of a symmetrical parabola, which is the closest approximation. And to obtain a saddle-shaped parabolic surface, computer-controlled grinding is performed, during which 6-8 mm of glass is removed. The accuracy of surface treatment at this stage reaches 100 microns.
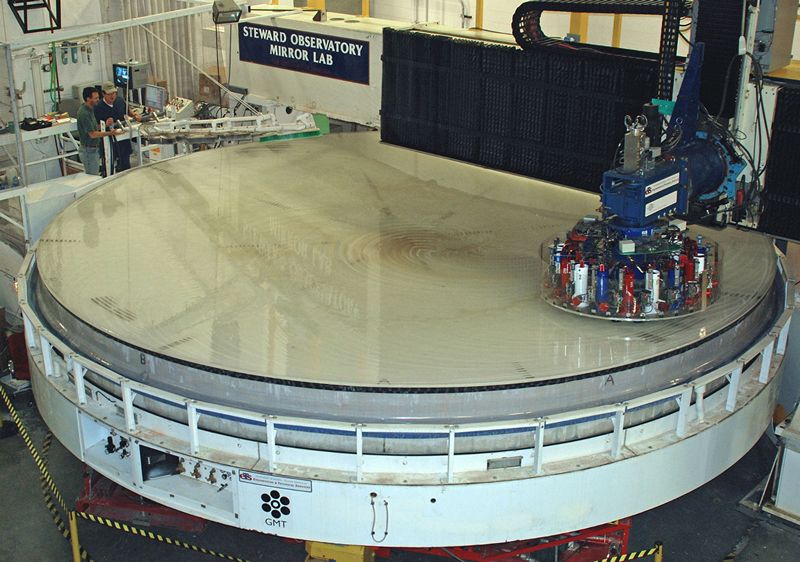
Next, polishing begins. After each polishing cycle, a mirror surface is measured using an interferometer . The entire area of the mirror is scanned with a laser beam, and various deviations of the reflected beam on the bulges and depressions are recorded and a map of defects is compiled. The resolution of the interferometer is about 5 nanometers.
Based on the defect map compiled, the computer controls the tools during the subsequent polishing cycle, spending more time or applying more pressure when processing specific areas. For spot correction of detected single defects, polishing wheels with a diameter of 10 to 35 cm with sufficiently flexible soles repeating the curvature of the mirror surface were also used.
For the tasks that the telescope will perform, surface defects of not more than 25 nanometers are allowed. And to achieve this is very difficult. Polishing the first mirror eventually took about a year.
