May 27, 2014 at 23:32
Installing Alfresco Community 4.2.f on the Jelastic.com cloud service (part 2)
- Tutorial
Alfresco Share is a web application based on the Spring Surf platform that connects to the Alfresco content repository through web scripts. The application implements the functionality of a document collaboration system with a simple user interface, providing users with the possibility of full-text search in the repository content, viewing documents in a browser, using content in the organization’s business processes, and publishing content on social networks. For the user, the Alfresco Share interface is a set of sites (groups) with a library of documents on a specific topic, wiki pages, links, blogs and a forum. The user can customize and configure Alfresco Share in accordance with their preferences, and developers can modify the interface to solve specific tasks that the user needs. Alfresco Share is also being finalized, like any other Spring Surf based application. An example of the Share improvement for solving specific problems is the Records Management package, certified according to the DOD 5015.2 standards, which slightly changes the Share interface.
First, I will describe one moment from the first part in more detail, it caused difficulties in repetition.
****
5. Specify the new driver in the database and the URL to the database server.
The URL to the database server, this is the address at which the login window for the MySQL admin panel opens.
In my case it is:
mysql-alfresco.jelastic.regruhosting.ru
it we fit into the section MySQL connection File alfresco-global.properties
****
# MySQL connection
#
db.driver = org.gjt.mm.mysql.Driver
the db .url = jdbc: mysql: //mysql-alfresco.jelastic.regruhosting.ru/alfresco? useUnicode = yes & characterEncoding = UTF-8
#
# Oracle connection
#
# db.driver = oracle.jdbc.OracleDriver
# db.url = jdbc: oracle: thin: @localhost: 1521: alfresco
**** The
instruction from Jelastic.com ends with the deployment of the web-explorer interface, however the web-explorer interface in Currently not recommended for new developments and almost not supported. Instead, it is recommended to use
Alfresco Share.
Installing Share on Jelastic.com Cloud turned out to be pretty trivial. You only need to perform one small trick.
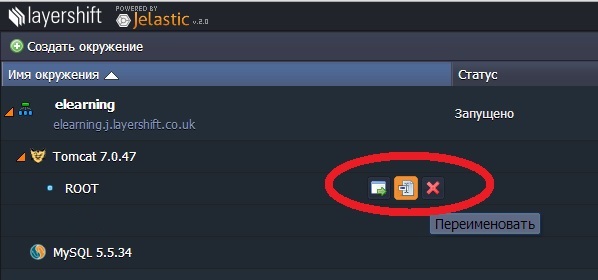
1 It is necessary to rename the previously deployed application from ROOT to alfresco:
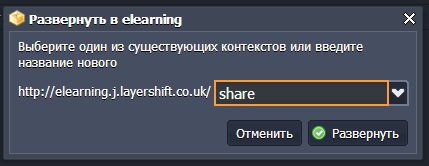
2 Download the distribution kit share.war and deploy it in the created environment

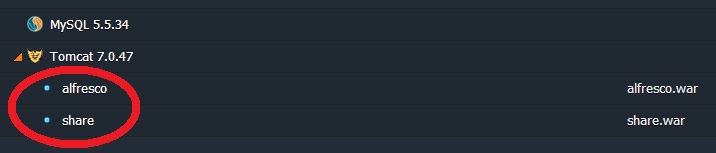
It should turn out like this:
3 Reload Tomcat
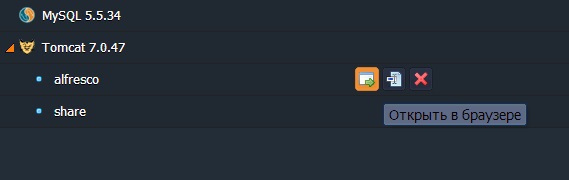
4 Run alfresco (to verify that everything still works)
Get the old picture:
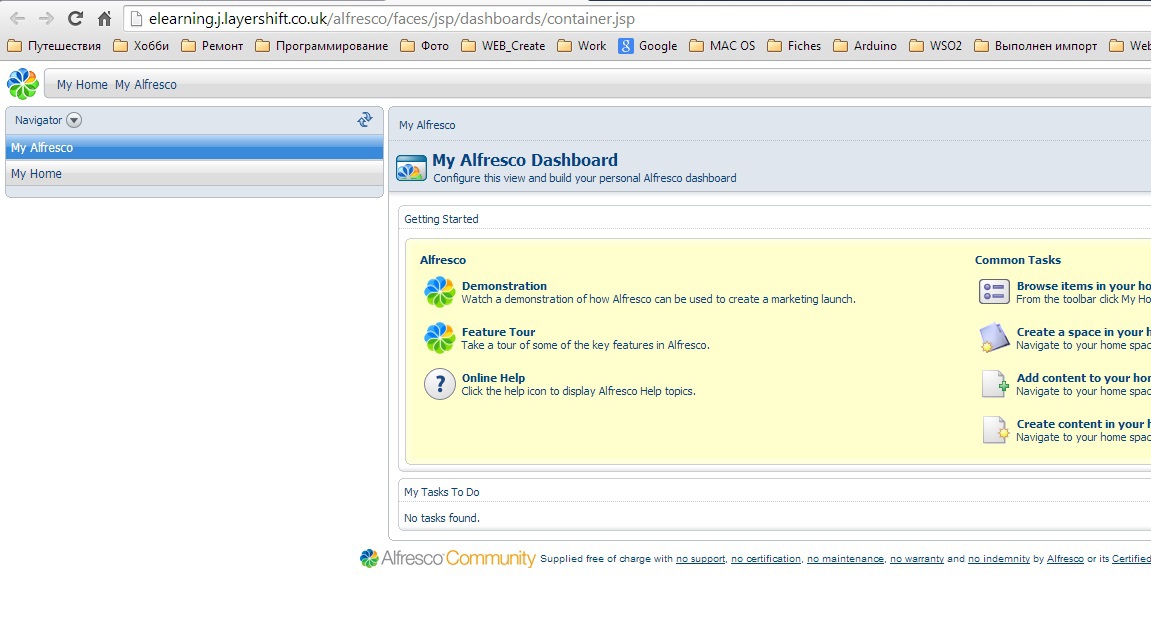
5 Run share (admin / admin)

and enjoy the modern Russified interface:
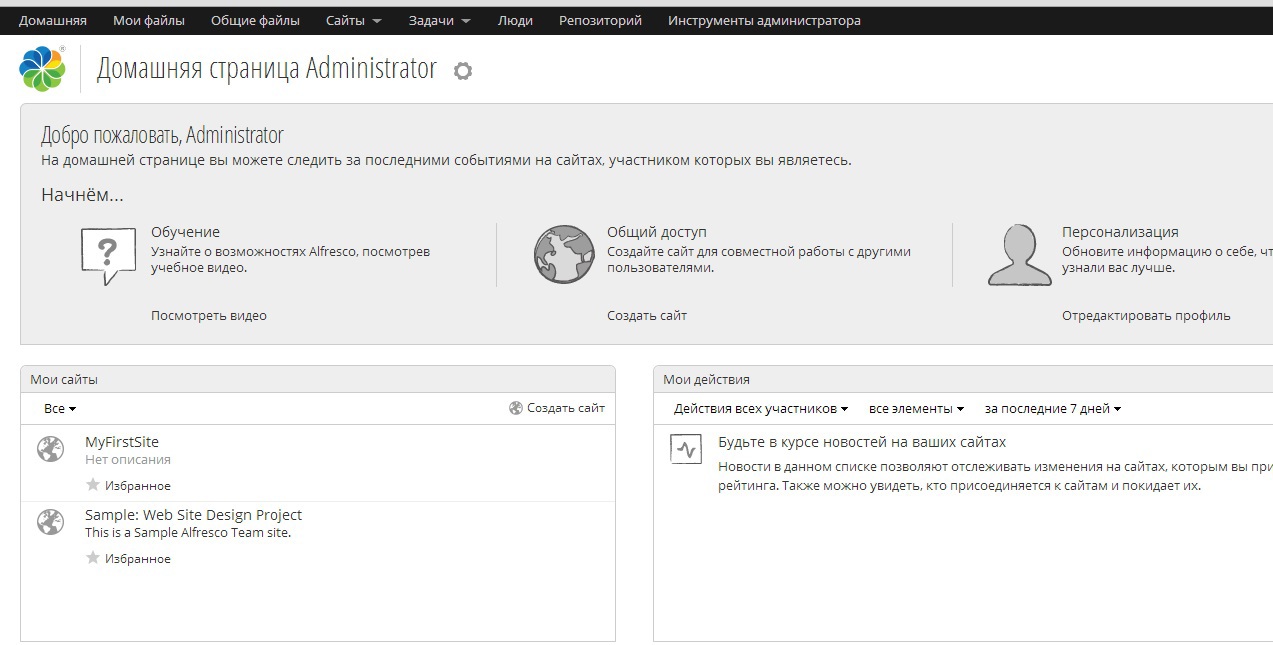
First, I will describe one moment from the first part in more detail, it caused difficulties in repetition.
****
5. Specify the new driver in the database and the URL to the database server.
The URL to the database server, this is the address at which the login window for the MySQL admin panel opens.
In my case it is:
mysql-alfresco.jelastic.regruhosting.ru
it we fit into the section MySQL connection File alfresco-global.properties
****
# MySQL connection
#
db.driver = org.gjt.mm.mysql.Driver
the db .url = jdbc: mysql: //mysql-alfresco.jelastic.regruhosting.ru/alfresco? useUnicode = yes & characterEncoding = UTF-8
#
# Oracle connection
#
# db.driver = oracle.jdbc.OracleDriver
# db.url = jdbc: oracle: thin: @localhost: 1521: alfresco
**** The
instruction from Jelastic.com ends with the deployment of the web-explorer interface, however the web-explorer interface in Currently not recommended for new developments and almost not supported. Instead, it is recommended to use
Alfresco Share.
Installing Share on Jelastic.com Cloud turned out to be pretty trivial. You only need to perform one small trick.
1 It is necessary to rename the previously deployed application from ROOT to alfresco:
2 Download the distribution kit share.war and deploy it in the created environment
It should turn out like this:
3 Reload Tomcat
4 Run alfresco (to verify that everything still works)
Get the old picture:
5 Run share (admin / admin)
and enjoy the modern Russified interface: