April 21, 2014 at 09:16
HD FPV on Raspberry Pi
Raspberry HD FPV Foam

After reviewing in detail the article by colleagues, Iron Proof for HD FPV , it was decided to repeat the feat based on the Raspberry Pi + Pi Camera.
Introduction
With the main idea of the Gol Habrauser about analog FPV, I completely agree! In the digital age, enjoy the PAL signal, akin to inhaling the aroma of flowers in a gas mask (IMHO). Armed with a raspberry kit, it was decided to remove a
Raspberry pi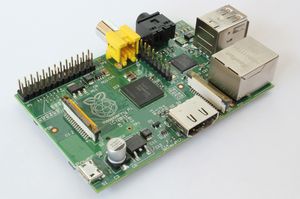 | Pi camera |
For the Wi-Fi bridge, the proven ubiquiti bullet m2 hp was used .
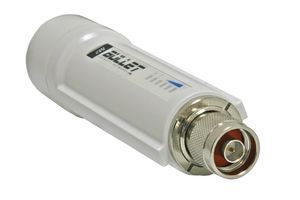
This Wi-Fi module is great for mobile platforms. it is easily powered by POE from the onboard battery, it is enough to supply power to two pairs (7-24V, blue pair + , brown pair - ), it is small in size, has good power and industrial design. Also a nice bonus is the 5.8 GHz model in a similar form factor, which allows you to switch to a different frequency range without changing the platform design, simply replacing the Wi-Fi module and antenna.
As an experimental carrier of
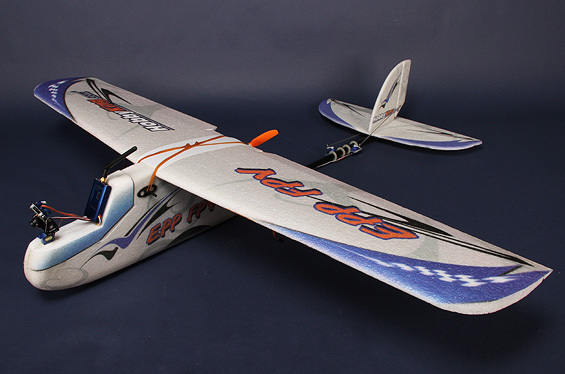
The advantages of this device are the ease of installation of the necessary equipment, the simplicity of piloting, carrying capacity and enormous maintainability. The last feature has helped out more than once after the crash, everything is assembled on epoxy glue and our
Foam payload
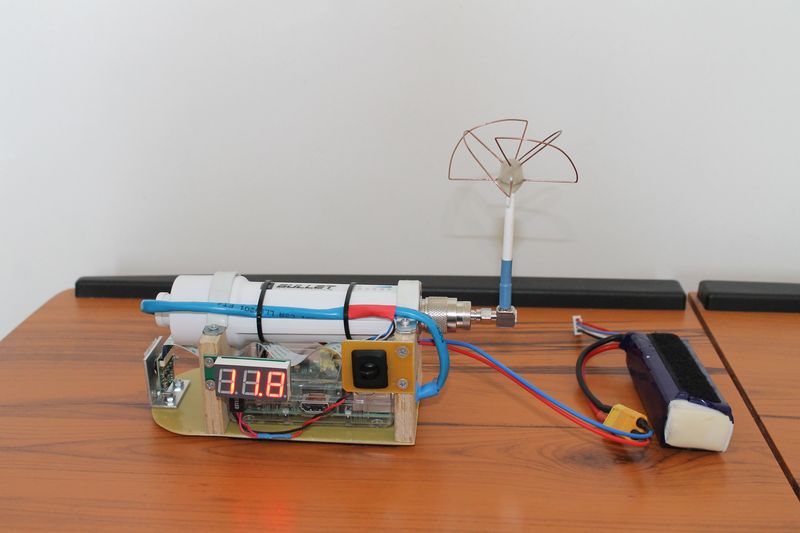
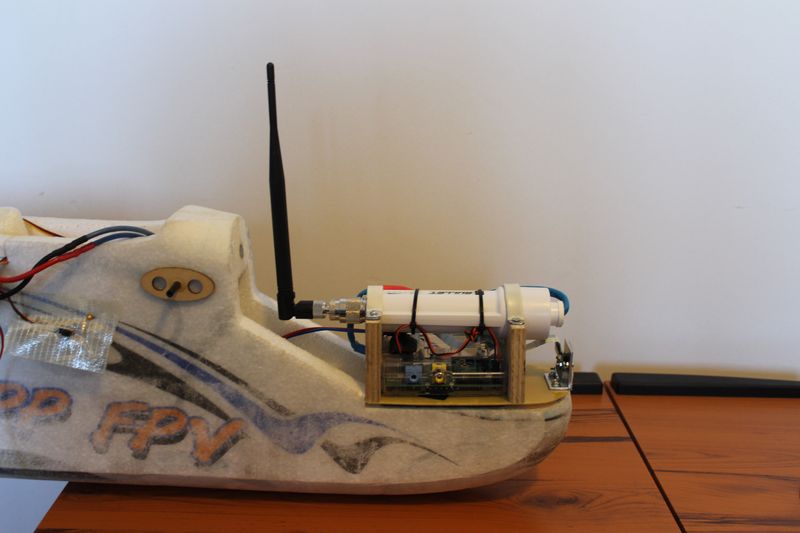
- Camera
- Raspberry Raspbian
- Wi-Fi module with antenna
- Voltage indicator
- Main toggle switch
- Raspberry Power Supply
- Battery connector
As antennas, a homemade 2.4 GHz clover from an analog FPV and an ordinary Wi-Fi pin were used.
Land
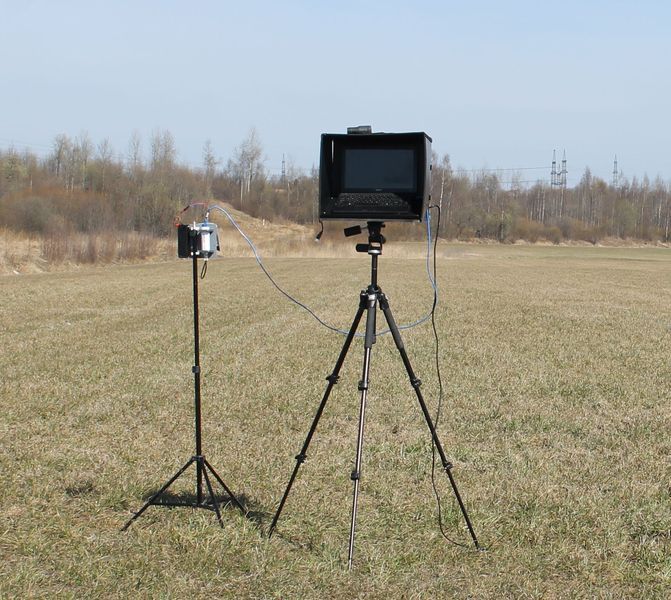
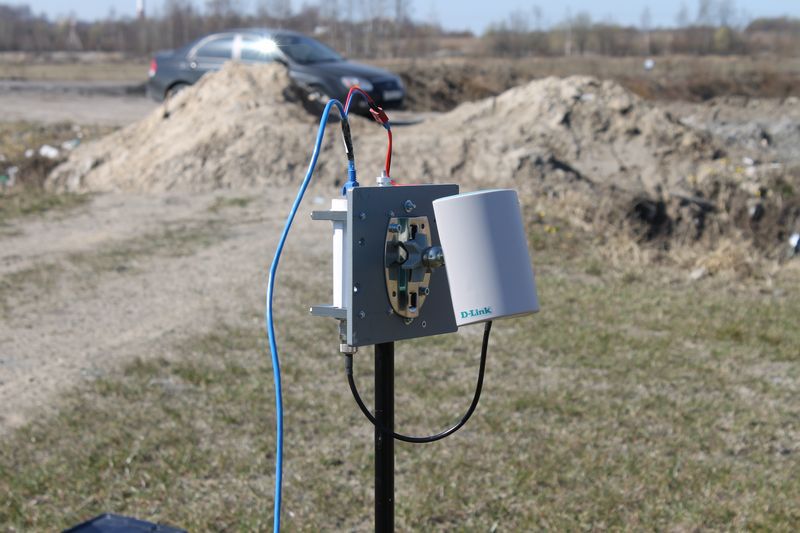
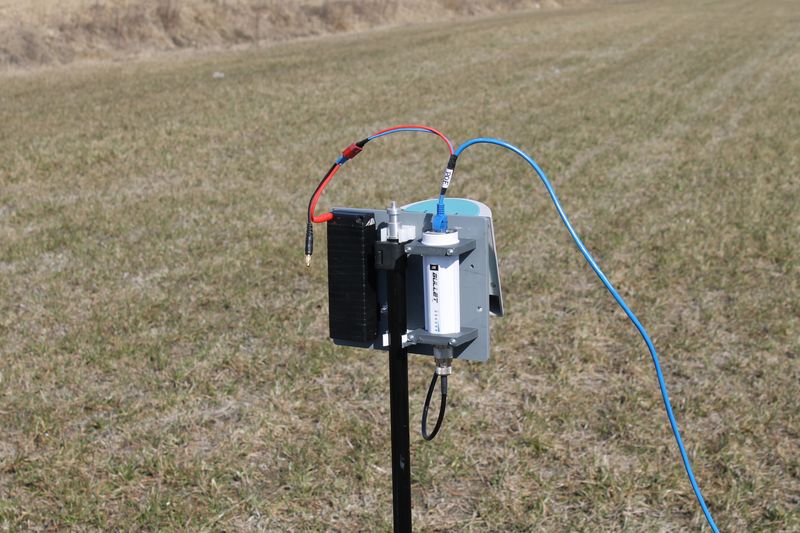
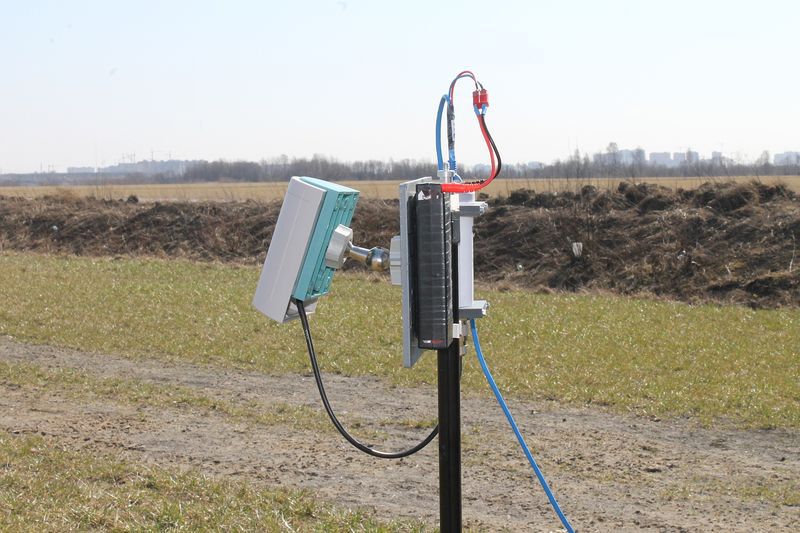
- Ubuntu 12.04 LTS Laptop with Sun Visor
- Athena D-Link ANT24-0801
- Wifi module
- Battery power module
The antenna was chosen from the calculation of a wide radiation pattern of 70 degrees vertically, 70 degrees horizontally.
Software
Broadcasting was done using Gstreamer .
The first important point. A colleague did the software configuration for me, for which he thanks. I’ll just give the scripts used to start broadcasting on raspberries and receive the video stream to the laptop.
Board
raspivid -n -w 1280 -h 720 -b 4500000 -fps 30 -vf -hf -t 0 -o - | \

 gst-launch-1.0 -v fdsrc ! h264parse ! rtph264pay config-interval=10 pt=96 ! \

 udpsink host=192.168.4.204 port=9000
Land
gst-launch-1.0 -v udpsrc port=9000 caps='application/x-rtp, media=(string)video, clock-rate=(int)90000, encoding-name=(string)H264' ! rtph264depay ! avdec_h264 ! videoconvert ! autovideosink sync=falseGo...
The second important point. I am not a pilot. An experienced pilot drove the foam, for which special thanks to him. We fly for a long time and successfully on different devices. At this stage, I acted as a starting booster unit.
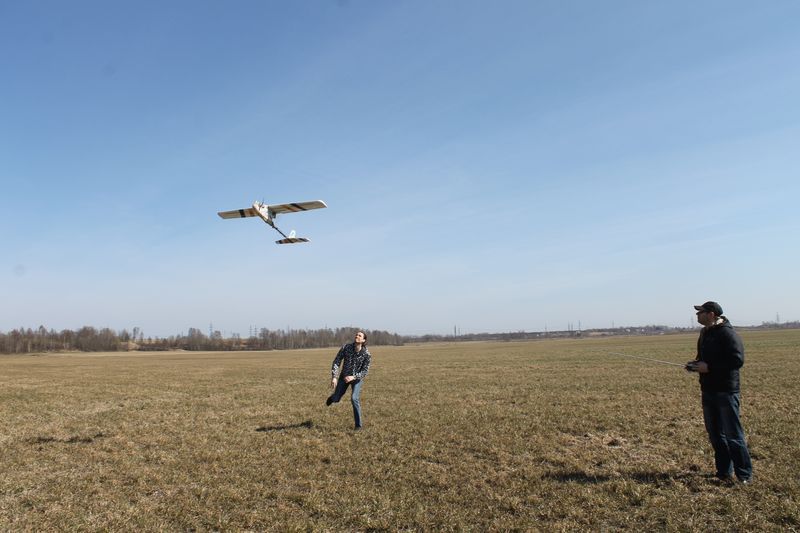
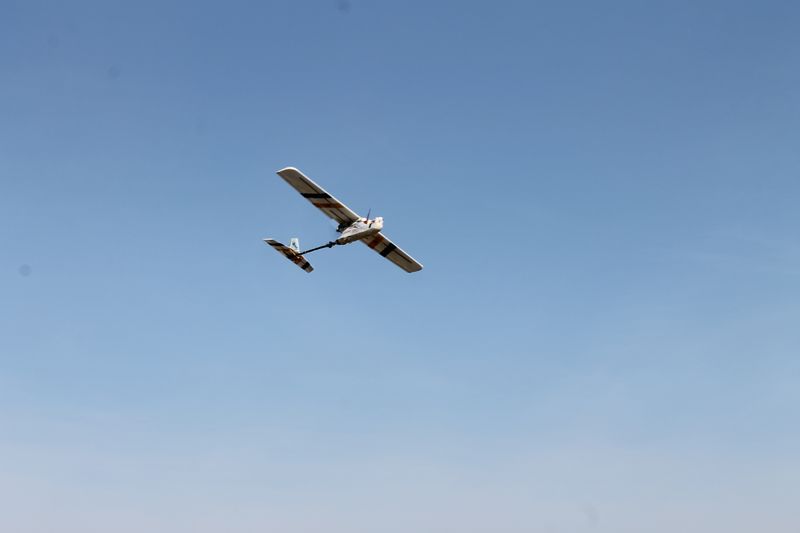
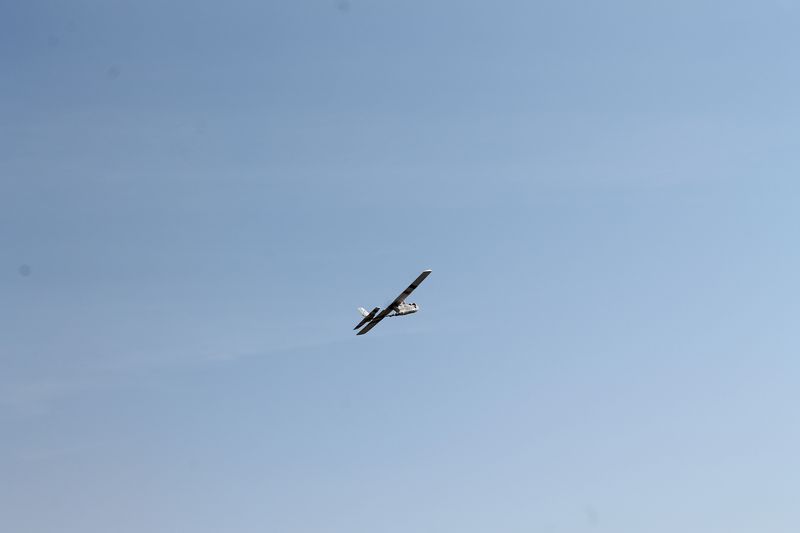
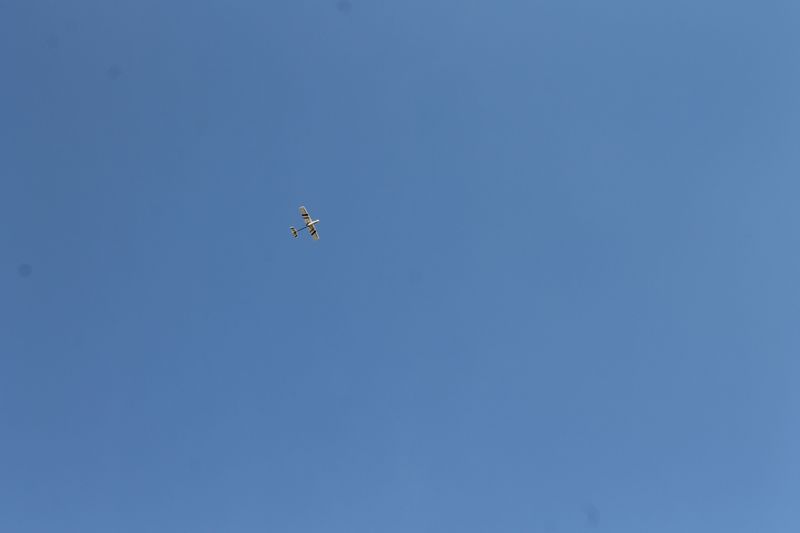
... have arrived
With flights happened exactly three times, because nevertheless, we reloaded the plane by stuffing a very large battery into it, hoping to fly for a very long time. Because of this, the slow-moving apparatus has become quite clumsy. When approaching, it was not possible to overcome the lateral gust of wind, the device fell on the wing and poked its nose into the ground. Large and heavy battery decided to get out and still escaped lightly reversal foam fuselage (about maintainability, I wrote, the epoxy has dried,
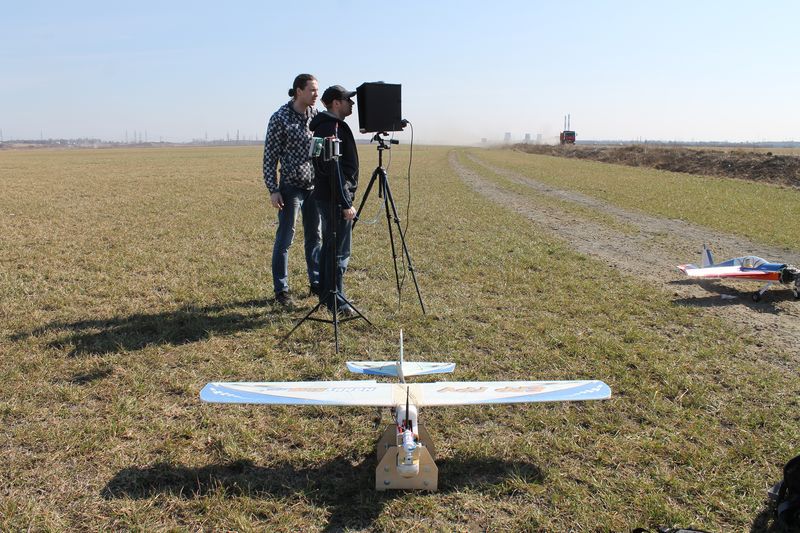
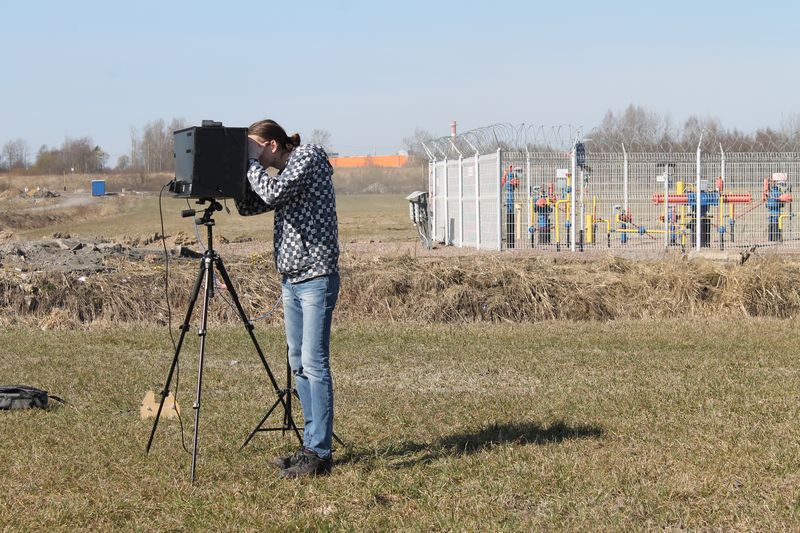
That's what it was all about!
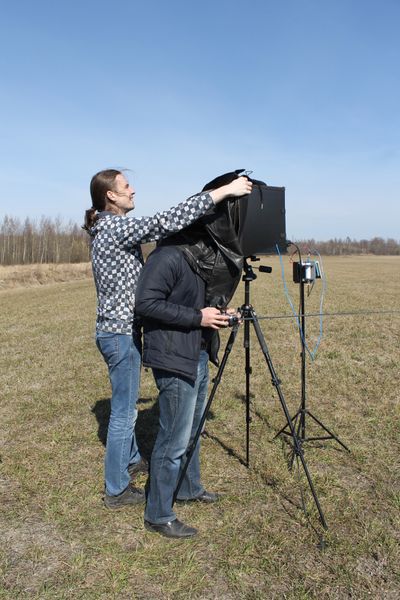
HD FPV was ... just not far away. Really managed to get a video without lags in a very small area of the field.
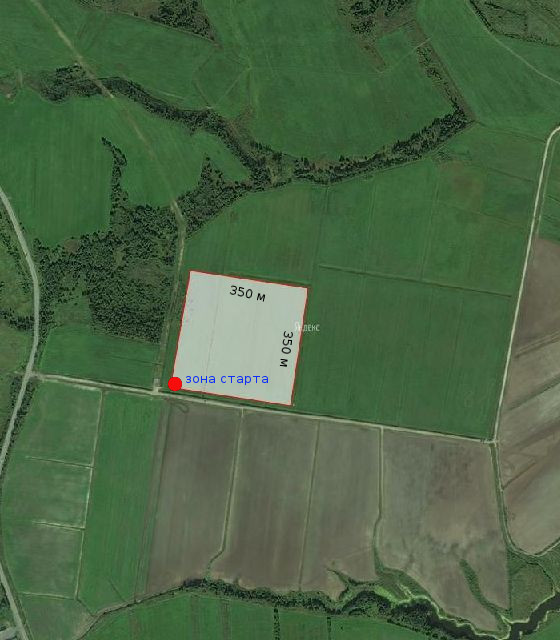
The whip antenna according to its radiation pattern (horizontal donut) behaves ... like a whip antenna, i.e. at a height and with strong bends / turns, when the petal does not fall into the receiving antenna, lags begin.
The video from the whip antenna, wrote from the monitor screen 15 fps ... gives some picture of what is happening.
In the future, direct recording of the received stream will be configured.
The “clover” antenna has a spherical radiation pattern, but not a very high range for our channel, so during the “long-distance” spans the rake on the image also got out. Video unfortunately no.
After the crash, two trips were made on foot across the field with different antennas and, as they say, the result is slightly predictable: the range leaves much to be desired, the whip antenna works a little further than 300-400 meters, if the plane of the lobe (donut) falls into the receiving antenna, “clover” can twirl as you like, but because it broadcasts in all directions with the same range even less than that of the “pin” up to 300 meters.
conclusions
Flying HD FPV is a reality! WORKS!
Otherwise, the conclusions are the same as for Gol . The weak point is Wi-Fi, or rather the onboard antenna, if on the ground you can deploy a rotary UAV tracking station with a narrowly directed antenna, then something else needs to be invented with the board. To optimize the work of the Wi-Fi channel, the modules used have many settings, you need to dig in more detail there. Optimize (minimize) the flow from the board. And it’s natural to think of a solution with an onboard antenna.
PS I found in the Wi-Fi settings of the Earth module that a low signal power of 10dBm was set instead of the set 28dBm.
Plans for the near future
- Put on board the highly intelligent brains of Ardupilot 2.0 (link to a slightly later model), since they are also on this foam board for a long time - this will allow the
pilot not to get nervous andfly far, because brains on command return autopilot to the launch site and, importantly, stabilize the glider in the horizontal plane even during turns - this will allow more efficient testing of the whip antenna. - Install (already on the way from China) and test the 2.4 GHz ceiling antenna. She has a hemisphere radiation pattern facing down, as they say we will see.
- Test the modules at 5.8 GHz.
- To organize the recording of a stream to a file on the ground, otherwise it is not humanly possible.
- PS And yet turn on the
brain burneremitter at full power!
The third important point and thanks to my wife for the moral support and skillful use of the camera, without which excellent pictures of the whole process would not have turned out.
Next part