Spine - the first steps
- Tutorial
Hi Habr!
Relatively recently, on kickstarter, the collection of money for a new tool for igrodelov ended, but this was not covered on Habré. Spine is a program for creating skeletal 2d animation. This tool will be interesting not only for indie developers and beginner game designers, but also for experienced market players. Ease of use and attractive design give the impression of creating magic on the screen.
All interested please ask for a cut (a lot of pictures).
Why did I write this tutorial if there are already detailed instructional videos on the official website? Basically, in order to increase the Spine community at the expense of the Russian-speaking audience, the larger the community, the more dynamically the project is developing and the problems are resolved faster. And of course, I want to share some tricks and tricks when creating animation and integrating it into the game code.
1. Preparation for work
Download and install the trial version . Here, all functions are available to us, except for exporting projects, but to make an impression to us, this is more than enough.
Of course, we will not repeat here ready-made examples from the assembly, but rather we sculpt our own Frankenstein for the soul.
Open your favorite graphic editor and draw what should later walk, jump and perform other gestures. PNG file format with transparent background. I am an artist from the word bad, but that did not stop me from painting one nice, charming creature.
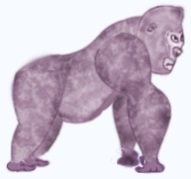
Now the task is more complicated. It is necessary to break our picture into separate images of parts of bodies that will move relative to each other. The main thing to consider here is how the images will overlap each other and accordingly make slices with rounded edges and smooth blurry colors.

Thus, we have a folder where drawings of body parts lie - the flesh of our monster, as well as the original image. And now the fun begins.
2. Preparing the assembly table
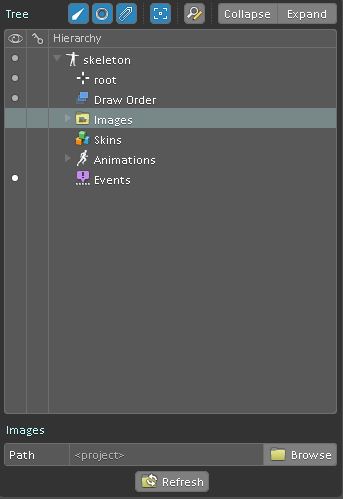
We launch Spine. In the main menu, execute the New project command.
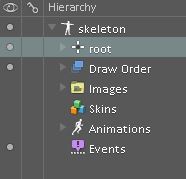
In the hierarchy window, select the Images item and use the Browse button to select our folder with pictures.
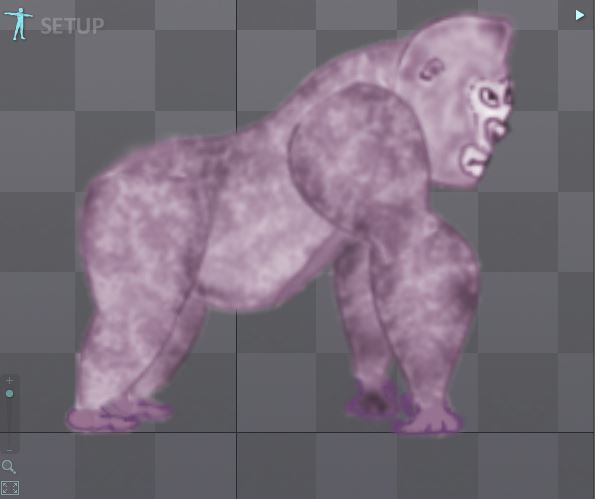
Drag the full image of the character into the work area, as a model for creating bones. You can increase the transparency of this image so that it is clear that this is a template.
4. Assemble the skeleton
Bones are the main means of transporting our pictures in animation. The bones have a clear hierarchy, at the head of which is always the root bone. The meaning of the hierarchy is that when moving the oldest bone, all the younger ones move accordingly.
Select the root bone
and then the Create new bones tool. With the
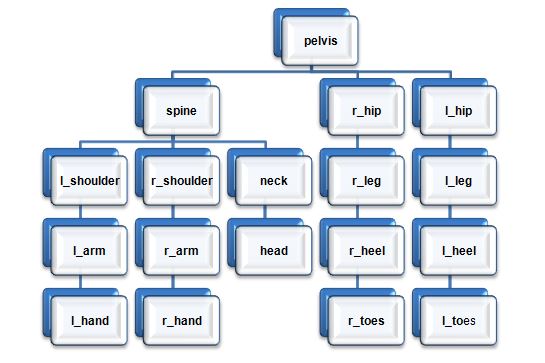
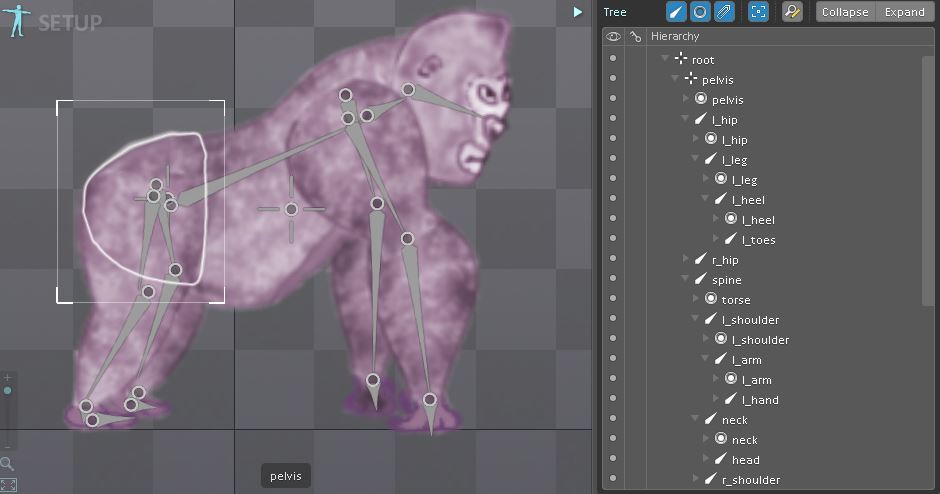
older bone after root, select the pelvis bone (pelvis) and create it by simply clicking on the desired image location. Around this bone, everyone else will rotate. We create other bones by dragging the cursor (Drag-and-drop) from the end of the older bone to the desired size. It is desirable, but not critical, that the bone matches the length of the size of the body part.
The hierarchy of bones is as follows.
5. Sew meat to the bones — the monster is almost ready
Now each bone needs to be associated with an image of a body part. Select the image file and click on the Set Parent button.
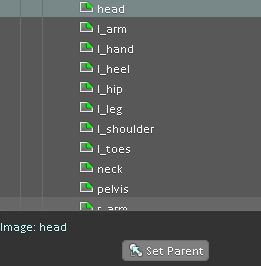
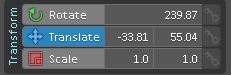
The cursor takes on a new shape and we can click on the bone to which this image will be attached. We can rotate, translate and scale our images and bones to achieve the correct position according to the pattern.
And in the end, everything should look something like this:
Now that the bones and meat are in place, our Frankenstein is ready to come to life. You probably already noticed that turning the parental bones rotates and the child's bones, it's time to apply this in the animation.
6. Revitalization —IT'S ALIVE
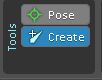
Click on the switch
 and go into animation mode
  .
. Every self-respecting Frankenstein must be able to walk. Select the line Animations in the hierarchy window, click on the New Animation button and create an animation called walk.

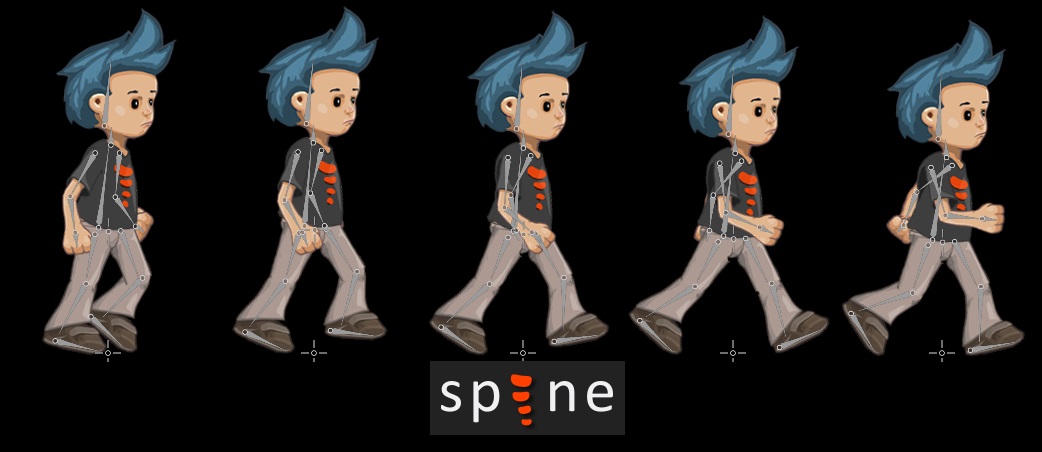
Now it's time for creative experimentation. Neither you nor I are professional animators (they don’t need this post, they have enough of their monsters), but we need to make four key frames of our animation. Call cthulhu, torture google - any means to expand consciousness is good.
Turning and moving the bones, set the body in the initial position from which the movement will begin. Select all the bones and commit the changes by clicking on the yellow keys next to the buttons for rotation, movement, scaling.

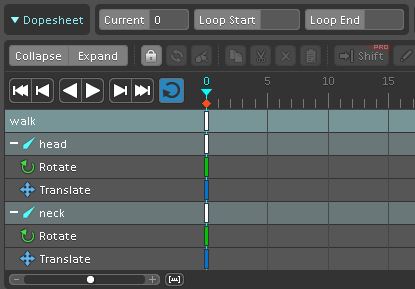
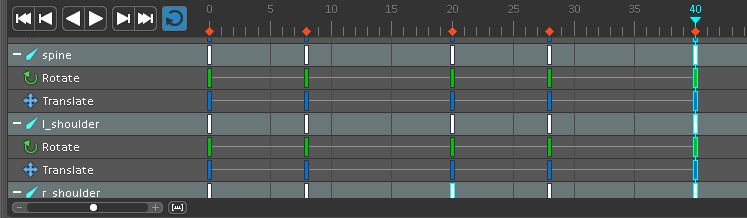
The first keyframe at zero time should appear in the Dopesheet window. White, green, blue and red sticks show our changes. To select them all, you need to click on the topmost white stick in the walk line.
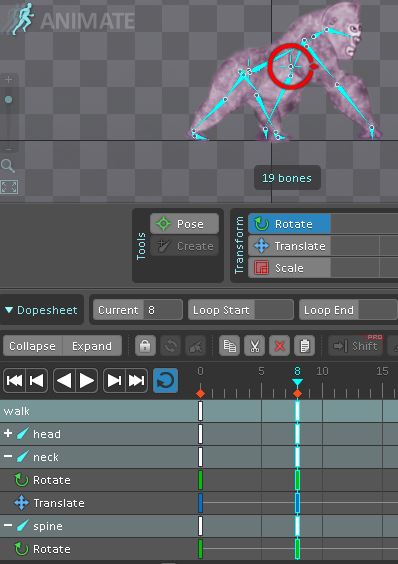
Having selected the entire first frame, copy it and move the pointer to a new place in the timeline (8 for example), where we paste this frame. Now we have two identical frames on the zero and on the eighth division. Now you need to change the frame in the eighth division as if the body moved and fix the changes.
Now that we’ve made new changes, Spine will smoothly move images from the first frame to the second. These movements are shown by gray horizontal lines on the timeline.
Copy these two frames and paste them into 20 and 28 divisions, respectively. Now you just need to swap the right and left limbs. Where the right leg was, the left leg became, where the left arm was, the right arm became and vice versa.
At 40 division, just copy the very first frame in order to make the animation loop.
We click on the play button (we pull the switch) and now our monster comes to life. This is not Disney yet, but we are already approaching the level of Machine Tales. In the playback properties, you can set the speed and method of playback.
Now the animation is ready, it remains only to export it to the format we need.
There are three types of export: data, images, and video. The first type includes json and bin. In this form, our animation is transferred to a game project usingSpine runtime - a special API for working with Spine animations.
For fans of hardcore time-lapse or gif animation, you can export the project as a sequence of frames (jpeg, png) or record everything in gif format. It is also possible to present the animation as a video avi or QuickTime. But all these functions, alas, only in the full paid version ($ 60).
6. We control our monster
What good is our monster if it goes stupidly without paying any attention to anyone. It's time to integrate our animation with the game project. Here you need to give code examples, tell what comes from and where, on a new article. I’ll write, if anyone is interested.
In the program you can control any aspect of animation, bones, images.
Spine runtime has tons of useful features, such as mixing animations. So that after one animation does not suddenly start another, they mix in a certain way and pass smoothly into each other.
A physical body can be attached to each bone, which will move with the bone and interact with the game world. I myself do not yet know all the possibilities of this magic tool, but I hope to find out.
One cannot but mention the beautiful and understandable source code of Spine runtime, which, if desired, can be slightly modified for you.
In order not to be unfounded, I present my little animal to the human court: ( .jar and .exe ). Run better from the command line, play with arrows.