Continuous Integration with buildbot: introduction

Any project over the years of development has a large and complex infrastructure. Many build scripts, hooks, and self-contained utilities over time turn into a whole bunch of problems. This is difficult to avoid completely, but it is quite possible to reduce the number of possible troubles. Today I’ll tell you about one tool that can help you with this.
Buildbot? No, have not heard.
There are almost no references to this wonderful toolkit on the hub. Does this mean that no one uses it? Not at all.
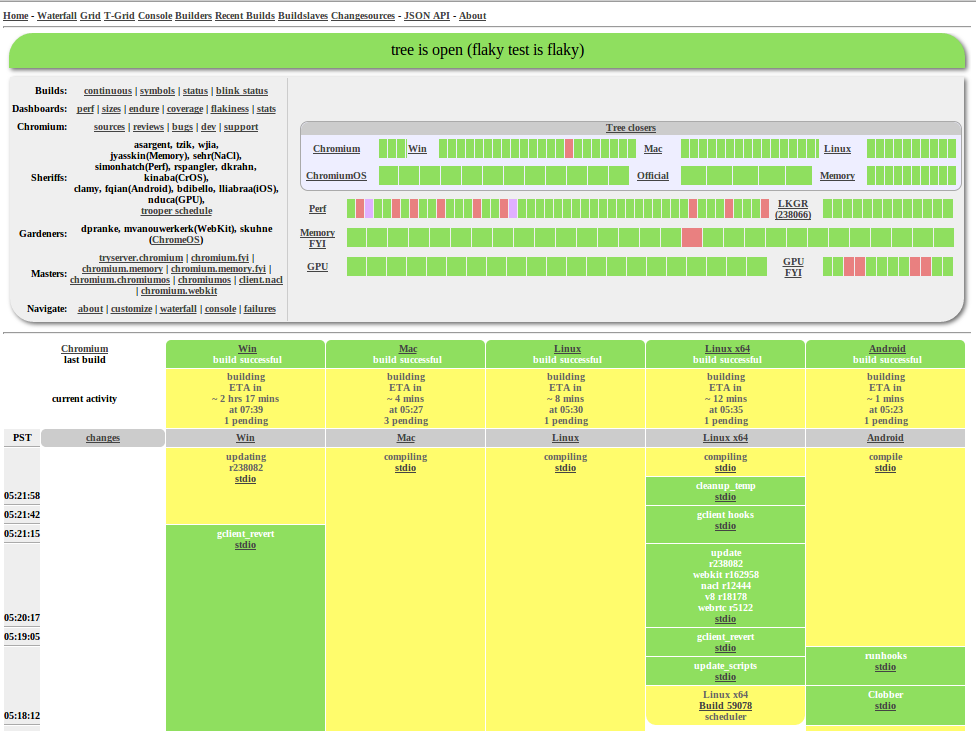
Chromium, python, blender and many other large projects are built and even released using buildbot.

Big and scary waterfall of chromium project
What kind of beast is this?
It is worth noting the main feature: buildbot is a framework. Someone may consider this a minus, but for serious projects this is a definite plus. After all, it has long been known that if you want to do something suitable, it is better to do it yourself.
The config containing instructions on how and where to build is python code. That is why I hope that you are familiar with this language.
To battle!
It’s better to see once than hear a hundred times, so let's get right into action.
We will need:
- Python coupled with its dev packages (for building twisted)
- Virtualenv to create a virtual environment
- Git
Create a virtual environment
mkdir -p buildbot
cd buildbot
virtualenv --no-site-packages sandbox
source sandbox/bin/activate
easy_install sqlalchemy==0.7.10
easy_install buildbot buildbot-slave
Create a master server
buildbot create-master master
Rename the default config
mv master/master.cfg.sample master/master.cfg
Now run the wizard
buildbot start master
You can check whether everything works fine by looking at the log
tail -f master/twistd.log
And now, without departing from the checkout, we will create a slave.
Placing a slave next to the master cannot be called good practice, but in our case it is permissible
buildslave create-slave slave localhost:9989 example-slave pass
We launch
buildslave start slave
Slave swears at the twisted server of the master deployed next door. We do not pay attention.
If there is a special desire, we can check how everything went by looking at the log
tail -f slave/twistd.log
If we did everything right, then on the 8010 port of our localhost there will be a welcome page:

Check
Login user: pyflakes, password: pyflakes.
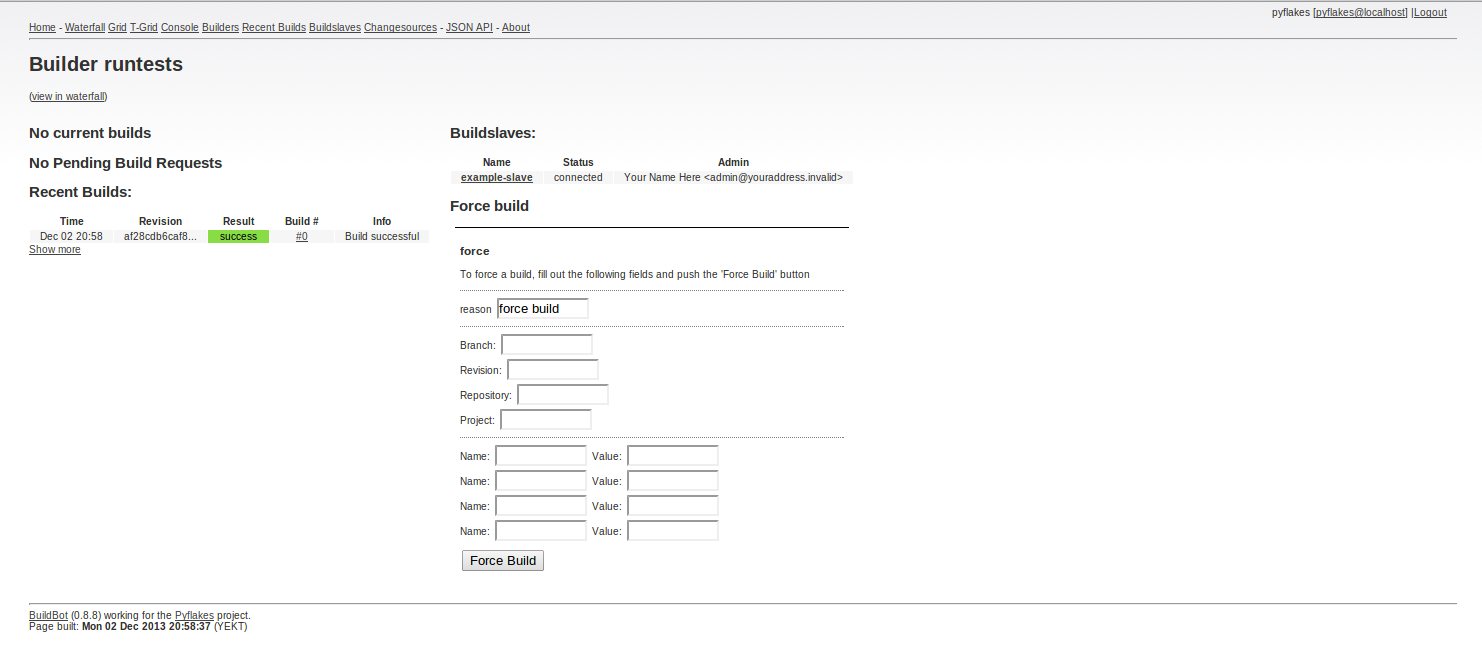
We go to localhost: 8010 / builders / runtests and see something like the following:

Feel free to click “Force Build”
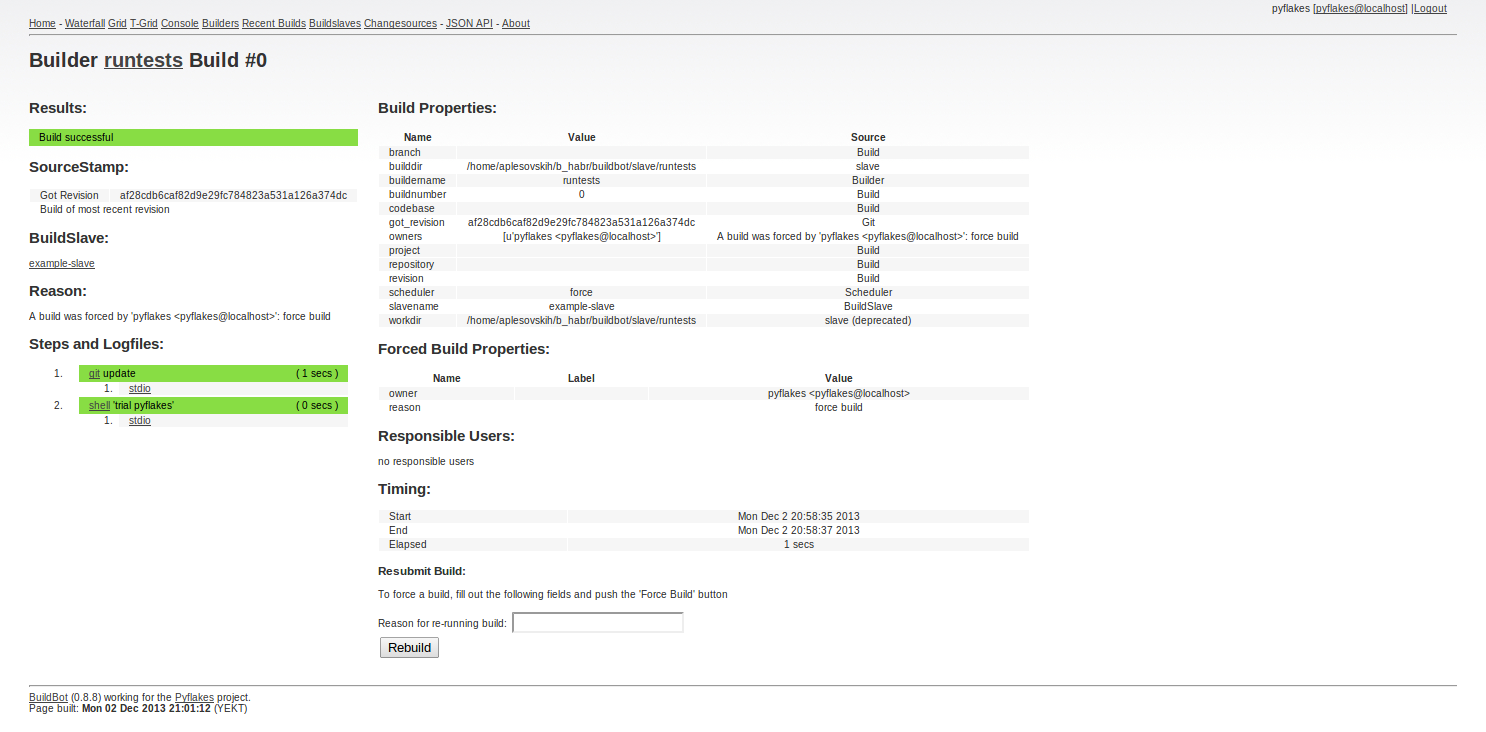
Our first build is ready. Press F5 and go to the assembly page. Are all the steps green? So, the tests were successful.

By clicking on stdout of a specific build step, you can see the console output with a detailed description of what, how and where it was launched.
the end
That's all, that’s where I finish the introduction to buildbot. If the habrasociety has a desire, then I will gladly continue the story, talk about the intricacies and rakes that I stepped on when introducing the buildbot.
