 July 4, 2014 at 14:36
DIY for children. Assembling a USB Microscope
This device is unlikely to help you solder microcircuits or consider something serious. But your child will definitely like such a homemade microscope, and the assembly process itself is a wonderful opportunity to spend time together and show that dad’s hands are growing from the right place.
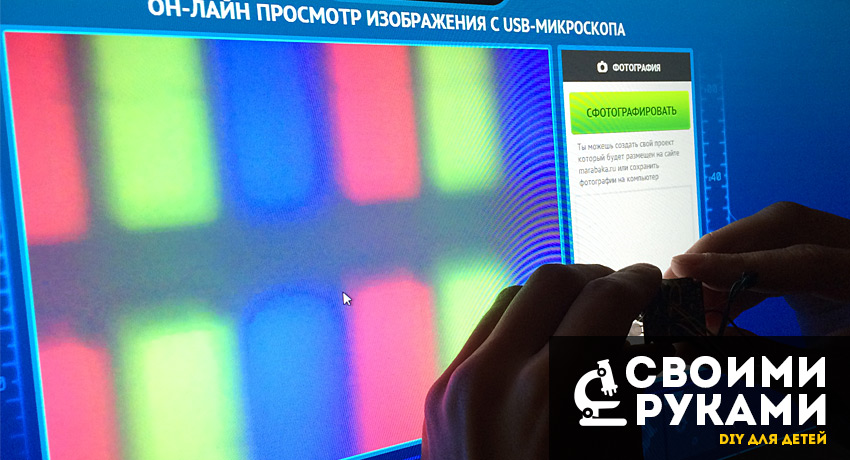
So, a joint leisure with the child on the weekend - we collect a usb microscope from a web camera.
An article on how to connect a conventional optical microscope to a computer has already been raised on the hub In the same place, a materiel with lenses is painted in detail. Of course, there is the opportunity to buy a ready-made usb microscope in the store, but our task is to show the child the device of a digital microscope and give an occasion for further study of the micro-world.

1. Webcam
2. Box from the designer (for the case)
3. The case from glue-stick
4. Cap from the flamaster
5. Night flashlight
Optional: Detail-stand from the Lego man. This is if: a) it is not a pity, b) there is a desire to connect the microscope to the constructor).
6. Hot melt
adhesive 7. Double-sided adhesive tape on a soft base
8. Screwdriver
9. Stationery cutter
10. Mini jigsaw
For the digital filling, a 0.3 megapixel Hama webcam was chosen, bought on sale for 100 rubles.
We disassemble the camera. In general, the principle of a USB microscope is to turn the collecting lens of a web camera and make it a magnifying lens, which will project the image onto a digital matrix. In our case, 0.3 megapixels is a tiny square.

We do not need a plastic case, so it can be sawn with a jigsaw. The main thing is not to damage the wire. Once finished with the body - you can unscrew the lens.

The lens is unscrewed very simply. But in this form, we do not need it, at least I could not adjust the focus. Therefore, you need to remove the excess lens. The bezel was glued - remove it with a cutter. In some cases, the lens may be sealed - you have to tinker.

After removing the rim, the convex lens is easily removed. Inside this “barrel” was a cylinder fixing the second lens, which was hidden behind a polarizing glass. If you do not fix the cylinder, the lens will not hold steady. I used PVA and a toothpick. Now you can assemble the camera back.

Make sure that the threads of the “barrel” and the latch on the chip match exactly. In my case, the thread did not make a single turn. I had to put on hot melt glue. We test to make sure the microscope is working.

There are many services on the network that allow you to broadcast an image from a webcam to a page. For example, here .
Actually on this, the optical part of the microscope can be considered finished.
We come to questions and focusing lenses. The first thought is to assemble the mechanism from lego. It will be great, if only because your child will get a cool magnifying thing compatible with his constructor.

So, if you do not mind the detail - stick to the cube. If there is no desire to build a building out of Lego, we move on.

The focus screw is made of glue stick. Satisfactory accuracy and a short step make this part indispensable. There was an idea to make it from a syringe, but there is not even satisfactory accuracy there - too much pressure must be exerted on the piston.

The washer with the glue stick sits deep and cannot directly stick our microcircuit to it. Add a link - a cap from a felt-tip pen.

We insert the tube from the cap into the washer and fill it with hot glue.

It remains to attach the chip to the cap. It took a “lego interface”. Convenient in that you can always disconnect.

For a stable design, I used a box from the designer. Theoretically, you can make it out of anything. The main thing is that the focusing screw from the glue of the pencil should be held vertically, and the light would hit the lens from below. There are already light-emitting diodes on the webcam, but the focal length does not allow their light to fall on the drug. Yes, and from the school biology course, we remember that we need to direct a ray of light through the mirror to illuminate the studied sample. I used a night light. By the way, its surface can immediately be used as preparation glass.

It remains to cut out the body and the hole in the cover for the glue stick.

We use a jigsaw and a knife. It is not worth giving the child to work with the knife on his own, it is better to help him and do it yourself. I used a screwdriver-drill for the intermediate holes, which I then “connected” with a knife.

Double-sided tape on a soft base and hot-melt adhesive will help us to fix the focusing screw vertically. I can’t imagine how we managed to do without him in childhood. Although, no, I can imagine. I poured all the PVA.

The microscope is ready! Even in form, he remotely resembled the real one. We connect it to the computer and go to the web interface .
It remains to learn how to catch the focal length. This is the hardest part of the whole process! I got it extremely small (1-3 mm). The screw, when tightened, did not direct the lens strictly vertically - it chatted from side to side, this also added difficulties. However, the increase was very decent.

1. The wing of a fly
2. The leg of a fly
3. Also the leg of a fly, but from a different angle.
4. Hair from the head of the author
And this is a video shot with the same microscope, but with a 1.2-megapixel camera matrix. Mosquito Larva:
Build process video:
Webcam 100 rubles
Glue stick 20 rubles
Night light 38 rubles
Tools do not count.
Now you know how to entertain yourself and your child on the weekend. Have a good experiment!
So, a joint leisure with the child on the weekend - we collect a usb microscope from a web camera.
An article on how to connect a conventional optical microscope to a computer has already been raised on the hub In the same place, a materiel with lenses is painted in detail. Of course, there is the opportunity to buy a ready-made usb microscope in the store, but our task is to show the child the device of a digital microscope and give an occasion for further study of the micro-world.
What do we need
1. Webcam
2. Box from the designer (for the case)
3. The case from glue-stick
4. Cap from the flamaster
5. Night flashlight
Optional: Detail-stand from the Lego man. This is if: a) it is not a pity, b) there is a desire to connect the microscope to the constructor).
Instruments:
6. Hot melt
adhesive 7. Double-sided adhesive tape on a soft base
8. Screwdriver
9. Stationery cutter
10. Mini jigsaw
Optics:
For the digital filling, a 0.3 megapixel Hama webcam was chosen, bought on sale for 100 rubles.
We disassemble the camera. In general, the principle of a USB microscope is to turn the collecting lens of a web camera and make it a magnifying lens, which will project the image onto a digital matrix. In our case, 0.3 megapixels is a tiny square.
We do not need a plastic case, so it can be sawn with a jigsaw. The main thing is not to damage the wire. Once finished with the body - you can unscrew the lens.
The lens is unscrewed very simply. But in this form, we do not need it, at least I could not adjust the focus. Therefore, you need to remove the excess lens. The bezel was glued - remove it with a cutter. In some cases, the lens may be sealed - you have to tinker.
After removing the rim, the convex lens is easily removed. Inside this “barrel” was a cylinder fixing the second lens, which was hidden behind a polarizing glass. If you do not fix the cylinder, the lens will not hold steady. I used PVA and a toothpick. Now you can assemble the camera back.
Make sure that the threads of the “barrel” and the latch on the chip match exactly. In my case, the thread did not make a single turn. I had to put on hot melt glue. We test to make sure the microscope is working.
There are many services on the network that allow you to broadcast an image from a webcam to a page. For example, here .
Actually on this, the optical part of the microscope can be considered finished.
Focusing
We come to questions and focusing lenses. The first thought is to assemble the mechanism from lego. It will be great, if only because your child will get a cool magnifying thing compatible with his constructor.
So, if you do not mind the detail - stick to the cube. If there is no desire to build a building out of Lego, we move on.
The focus screw is made of glue stick. Satisfactory accuracy and a short step make this part indispensable. There was an idea to make it from a syringe, but there is not even satisfactory accuracy there - too much pressure must be exerted on the piston.
The washer with the glue stick sits deep and cannot directly stick our microcircuit to it. Add a link - a cap from a felt-tip pen.
We insert the tube from the cap into the washer and fill it with hot glue.
It remains to attach the chip to the cap. It took a “lego interface”. Convenient in that you can always disconnect.
Housing
For a stable design, I used a box from the designer. Theoretically, you can make it out of anything. The main thing is that the focusing screw from the glue of the pencil should be held vertically, and the light would hit the lens from below. There are already light-emitting diodes on the webcam, but the focal length does not allow their light to fall on the drug. Yes, and from the school biology course, we remember that we need to direct a ray of light through the mirror to illuminate the studied sample. I used a night light. By the way, its surface can immediately be used as preparation glass.
It remains to cut out the body and the hole in the cover for the glue stick.
We use a jigsaw and a knife. It is not worth giving the child to work with the knife on his own, it is better to help him and do it yourself. I used a screwdriver-drill for the intermediate holes, which I then “connected” with a knife.
Double-sided tape on a soft base and hot-melt adhesive will help us to fix the focusing screw vertically. I can’t imagine how we managed to do without him in childhood. Although, no, I can imagine. I poured all the PVA.
The microscope is ready! Even in form, he remotely resembled the real one. We connect it to the computer and go to the web interface .
Increase
It remains to learn how to catch the focal length. This is the hardest part of the whole process! I got it extremely small (1-3 mm). The screw, when tightened, did not direct the lens strictly vertically - it chatted from side to side, this also added difficulties. However, the increase was very decent.
1. The wing of a fly
2. The leg of a fly
3. Also the leg of a fly, but from a different angle.
4. Hair from the head of the author
And this is a video shot with the same microscope, but with a 1.2-megapixel camera matrix. Mosquito Larva:
Build process video:
Budget:
Webcam 100 rubles
Glue stick 20 rubles
Night light 38 rubles
Tools do not count.
Now you know how to entertain yourself and your child on the weekend. Have a good experiment!









