mydlink cloud. Cloud storage

Cloud theme is very popular today. And there is because of that - ease of access to data, reliability of storage of these same data, and much more.
This article will talk about the free add-on "mydlink Cloud" for network disk drives DNS-325 and DNS-345 produced by the D-Link campaign.
A little background to writing the article: there was a need to share photos and videos with relatives and friends, but there was not the slightest desire to upload personal photos to a public resource. He began to sort through various options:
1) mail - everyone needs to send, do not hammer anyone, share photos to receive the mail server (someone has 10 MB, someone has 20 MB). Sat for half a day sending, uncomfortable. He refused this decision;
2) install an FTP or WEB server on your home PC and again a lot of inconvenience - the PC must be constantly on, you need to configure port forwarding on the router. I set it up, turned it on, but it didn’t work out either - there is no stationary PC at home, there is only a laptop that constantly moves around the apartment, then beyond;
3) After wasting time and efforts in vain, I undertook to study the functionality of the DNS-325 home storage. The device has a built-in FTP and WEB server, also on the manufacturer’s website there are free applications that can be installed on the DNS, expanding the basic functionality of the drive.
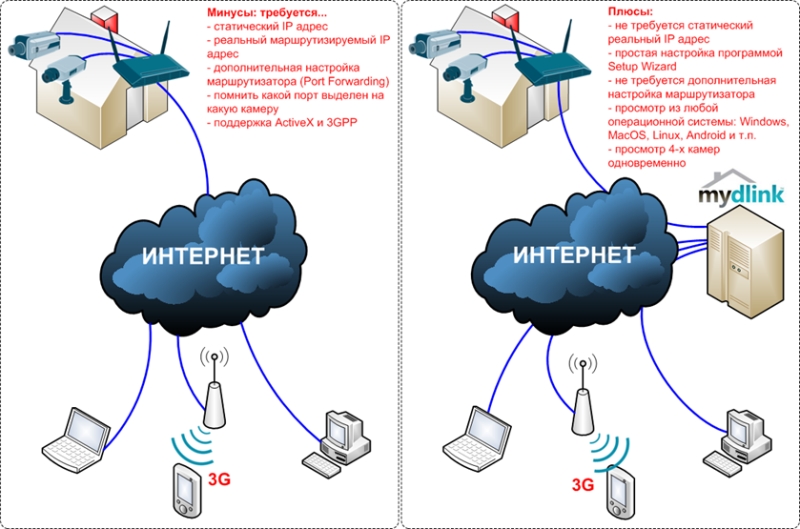
Under my DNS-325 tasks, I installed Add-On “mydlink Cloud” and was happy. Next, I’ll talk about the settings of the drive and mydlink Cloud. I’ll skip the story about downloading a new “firmware” and installing hard drives, I will leave only those points that relate to the “mydlink Cloud” setting.
By the way, Add-On “mydlink Cloud” is included in the latest firmware, so nothing needs to be installed.
Let's set up.
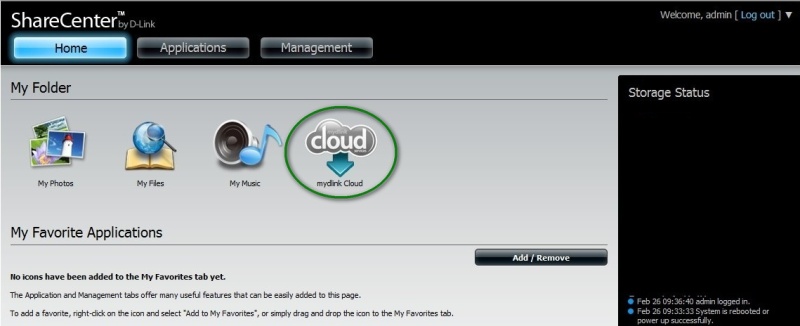
After updating the firmware, I go to the DNS-a WEB-interface and see the application I need. Like most people, to start something, I "click" the mouse on the application icon, after which a pop-up window appears with the process of downloading it.
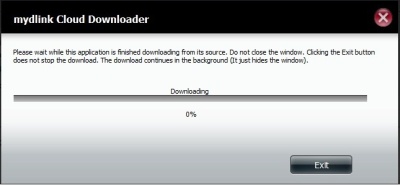
At the end of the download, the application automatically installed and started, the logo in the WEB-interface changed color from gray to blue.
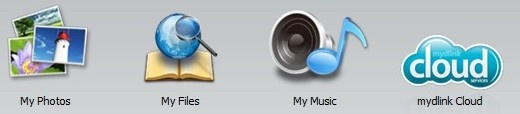
The status and application management (stop / start) is available on the DNS WEB-interface.

Next, I return to the “Application” tab, click on the mydlink Cloud logo, after which a window for creating an account appears.

For users who like to configure the device with the Russian interface, there is the option to change the language to Russian.
The images below show screen images after successful registration (left) and an error when the account name you have selected is already in use (right).
 •
• 
After registration, the user enters the WED interface of the mydlink Cloud portal, in the upper right corner displays the URL address where you can go to the application interface from anywhere in the world where there is Internet access.
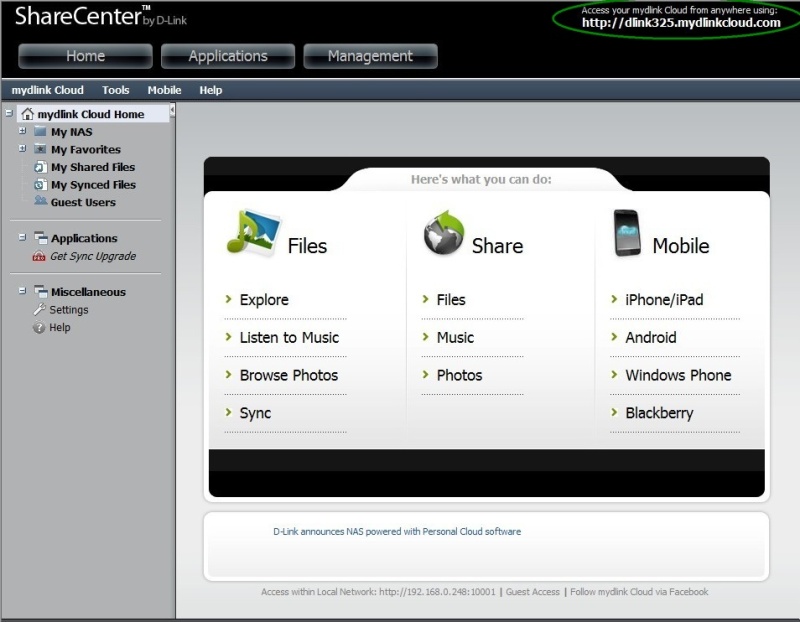
The next step is to create users and configure access rights to various folders. From the mydlink Cloud WEB interface, you can view a list of users, but there is no way to add a user. The following figure shows a list of users.
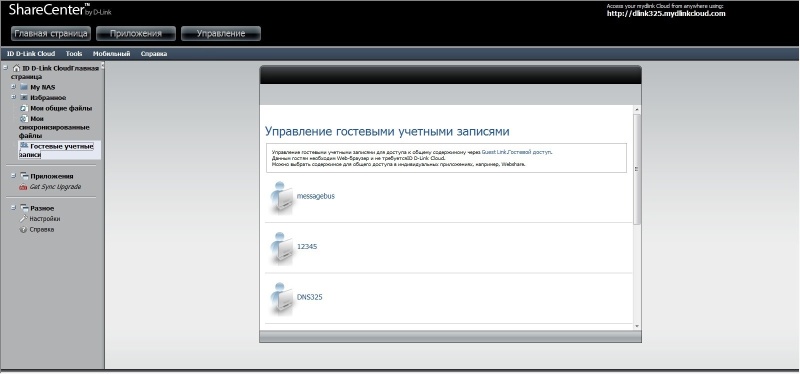
To add a user, go to the DNS DNS WEB-interface by pressing the "Management" button. Next, “Account Management” - “Users / Groups” - “Create”.
After clicking the “Create” button, the “Setup Wizard” is launched, which will step by step help create users and configure access rights to folders. You can create one user or several users with the same password and the same access rights. Below are some images of the wizard.


A few explanations for the above figures:
1 step - select the type of user, add one or more users;
Step 2 - since I create Multiple Users, in this step I need to specify the names, passwords and number of users;
Step 3 - add users to the group; I did not create a group, so at this step I can only click the next button;
Step 4 - put the corresponding checkmarks in front of the folders to which we allow / deny access via the SMB and / or FTP protocols.
Step 5 - setting a quota for created users.
Step 6 - a brief summary of the created users, click Finish.
This ends the work of the "Wizard" and the added users are displayed in the table. If necessary, you can change / delete the user.
The next step will be to configure access for created users using the mydlink Cloud software. During user creation, in step 4, I marked the folders to which I allowed / denied access. But these settings are not taken into account by mydlink Cloud. So, there are two ways to give access to clients of the mydlink Cloud application:
1 way - configure access from the drive’s WEB interface. This is done in the "Management" section, then "Account Management" - "Network Shares". Select a folder and press the “New” button to create and configure access to the new folder or the “Modify” button to change the parameters of the previously created folder.

After pressing the “New” or “Modify” button, a “Wizard” is launched, which helps to create and configure access to folders. Below are some drawings of the wizard:


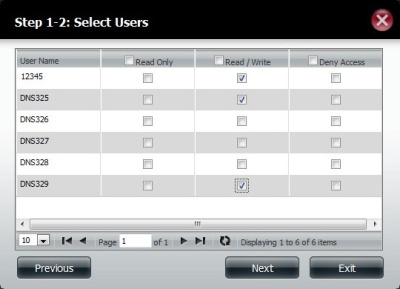
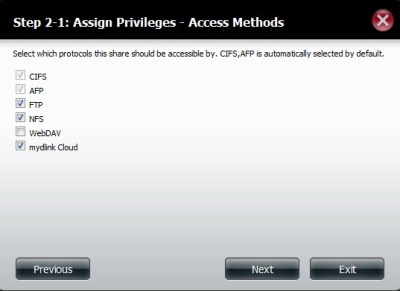
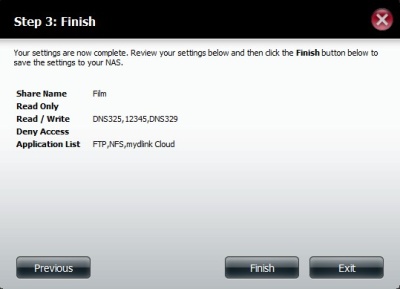
Detailed instructions are included with the device, so I’ll briefly dwell on the main configuration steps:
1 step - select the folder to which we open access;
2 step - we choose for whom we open access: to all users or to any specific;
Step 3 - since I marked “Specific User / Group”, I note which users and what can be done in the selected folder;
Step 4 - mark the protocols / technologies by which access to the selected folder is allowed. The following are intermediate steps in which we configure access using the selected protocols;
Step 5 - provides general information about the settings. After clicking Finish, the selected folder becomes available to selected users.
Step numbers may vary depending on whether the New or Modify button is pressed.
2 way - configure access from the web interface of the mydlink Cloud application. To do this, in the WEB browser we type the address obtained during registration. In my case, this is dlink325.mydlinkcloud.com . "Mydlink Cloud" will prompt you to enter the administrator password. After entering the password, we get to the WEB-interface of the application. Further, there are several ways to achieve the goal. I’ll tell you about which, in my opinion, is the simplest.
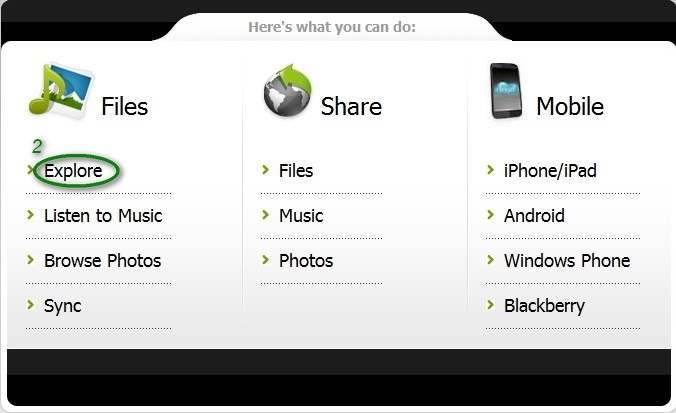
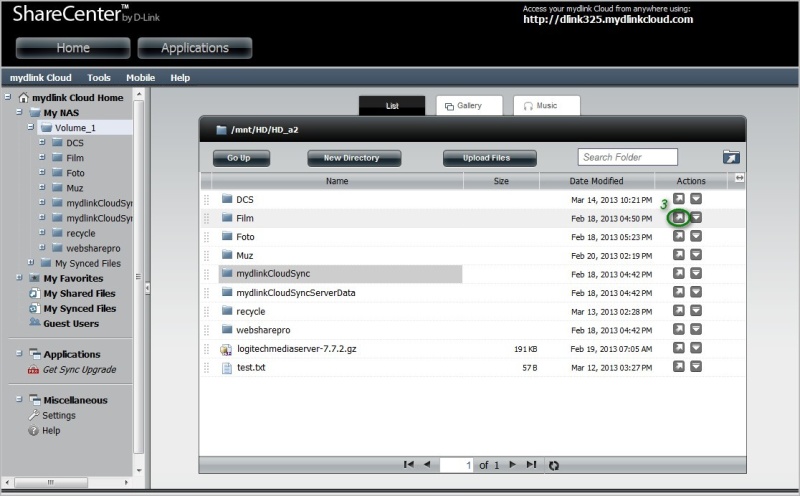
Having done the actions presented above in the figures, I opened access to the selected folders. Now anyone who knows the link to a file or folder can access them. Files are also available to all created users. To configure access restriction, click the "My Shared Files / My Shared Files" button.
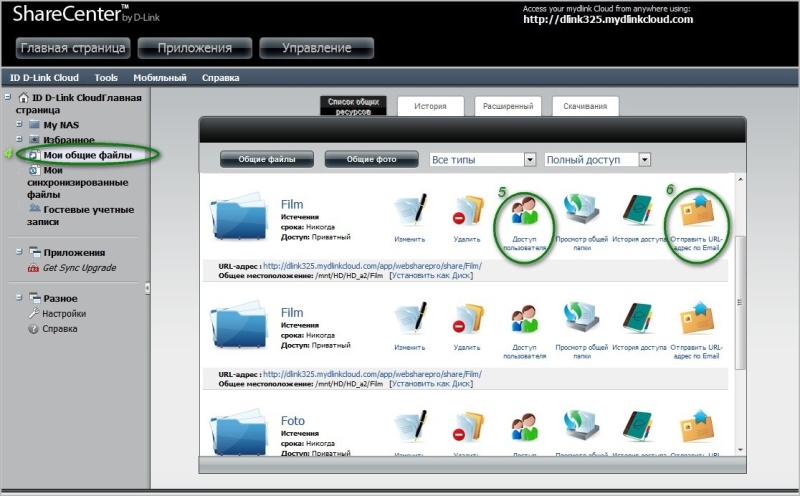
To limit access, click "User Access" and mark the users to whom I want to grant access to folders or files. Using the "Send URL by Email" button, you can send a link for access.
Above, I described two ways to share folders. Now I will tell you how these methods differ. When opening access to folders from the web interface of the mydlink Cloud application, users can only view and download files, but cannot add their own. Below I will present several images demonstrating the connection of users to the "cloud" using a PC and mobile device.

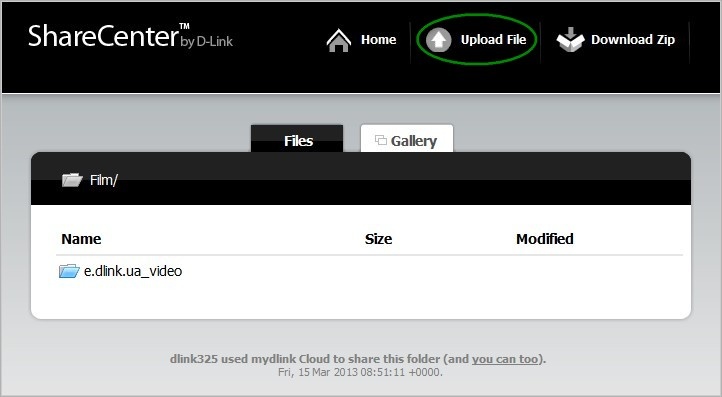
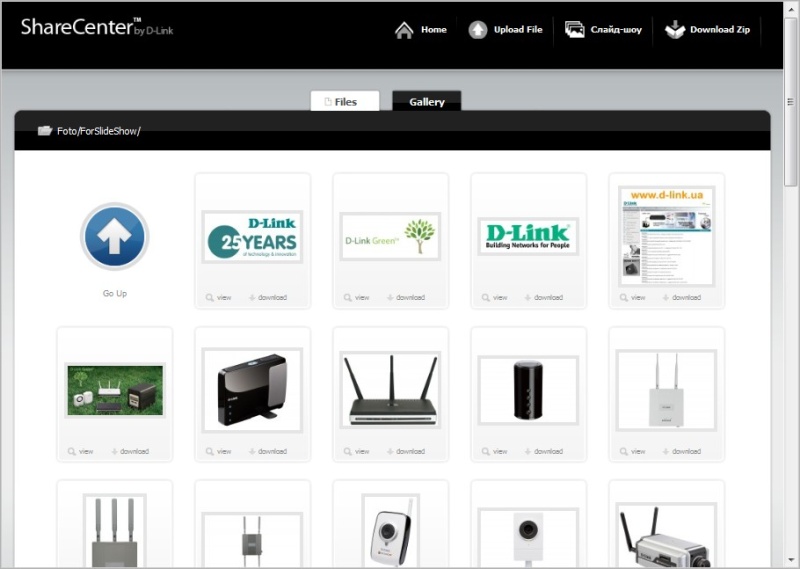
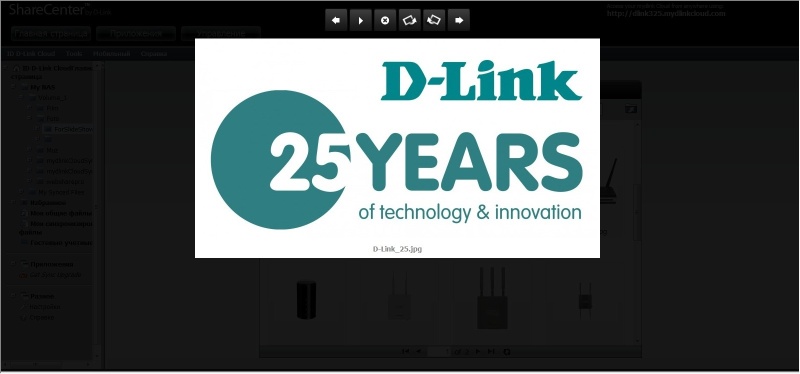
Viewing images using the built-in Slideshow functionality:
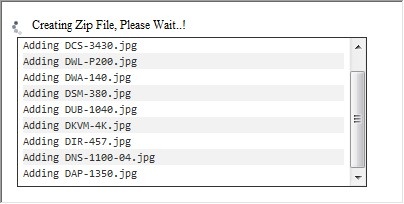
Creating an archive with the built-in tools for downloading the contents of a folder in one file:
For convenient access from mobile devices, there are mydlink Cloud client applications available for installation on platforms with Android, iOS, Windows Phone, BlackBerry OS.
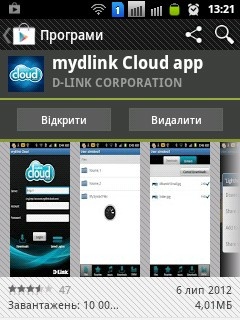
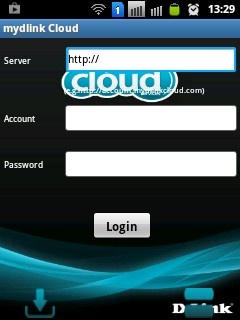
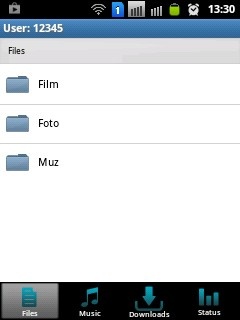
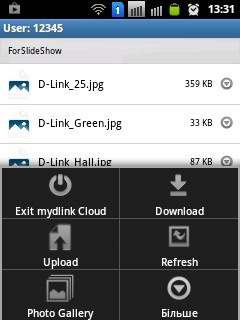
In this article I tried to briefly talk about the functionality of the "cloud" application "mydlink Cloud" for network drives DNS-325 and DNS-345, manufactured by D-Link. In addition to the above, applications for these drives have rich built-in functionality that can satisfy the needs of most users. Users who want to expand the basic functionality can take advantage of the offered free extensions located on the official website of the D-Link representative office in Ukraine dlink.ua/dns
PS I immediately admit that the article is not mine, it was written by one of our employees as an instruction. I just slightly modified it. But the topic, I think, will be of interest to many, and the users of these drives are useful.









