August 2, 2011 at 19:57
Intervalometer for SONY NEX-5 in 20 minutes and $ 0
This post I dedicate to all those who soldered Covox for BK.
What is described in this lesson is not a discovery, and quite a lot is described where , and even patented . First, a video of the final result:
And now the details:
In general, I wanted to have an intervalometer for my camera in order to experiment with time-lapse photography. Ready-made products on the network are rare, and even they cost more than $ 50 + shipping. Therefore, I decided to go my own way to enjoy not only the final function, but also the process. The first experiment was on Arduino - a implemented circuit with a relay closing the button of the standard remote control. Of course, it worked, but you can’t use this thing “in the field”.
I decided to simplify the scheme and look for IR sequences for the command I needed. And in the process, as always, it was discovered that there is a simple scheme like two pennies, which can be implemented literally from improvised materials.
As a result, it seems to me that the circuit turned out to be not only simple and quick to manufacture, but also very miniature.
Minimum:
- two IR LEDs (they can be removed from any unnecessary / broken control panels)
- one 3.5mm stereo jack from the cheapest wire (I took the one that went with the monitor in the appendage).
Optional:
- an old MP3-player, which can be used as a "dedicated" device-intervalometer. But the phone will do.
- any material for the case.
The circuit is as follows: two LEDs with both legs are soldered to each other ("+" one to "-" of the other), and then the left and right channel of the audio connector are soldered to these two wires; The "earth" from the plug is not used in any way. This is most clearly depicted by one Chinese comrade:

Since we want to achieve the miniatureness of the product, first on sandpaper we gently cut the contacting sides of both LEDs, and then we connect them with a drop of superglue. After that, bend the leads horizontally at one of the LEDs and solder them to the terminals of the first: The
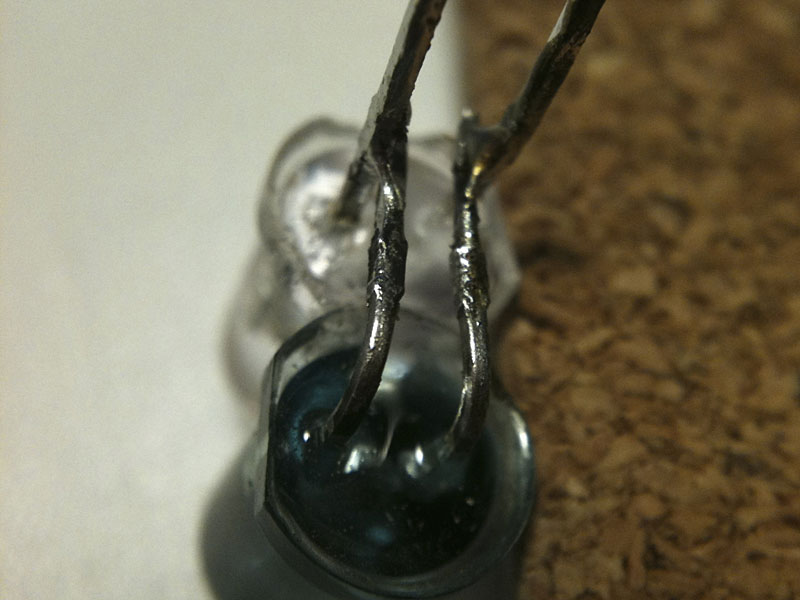
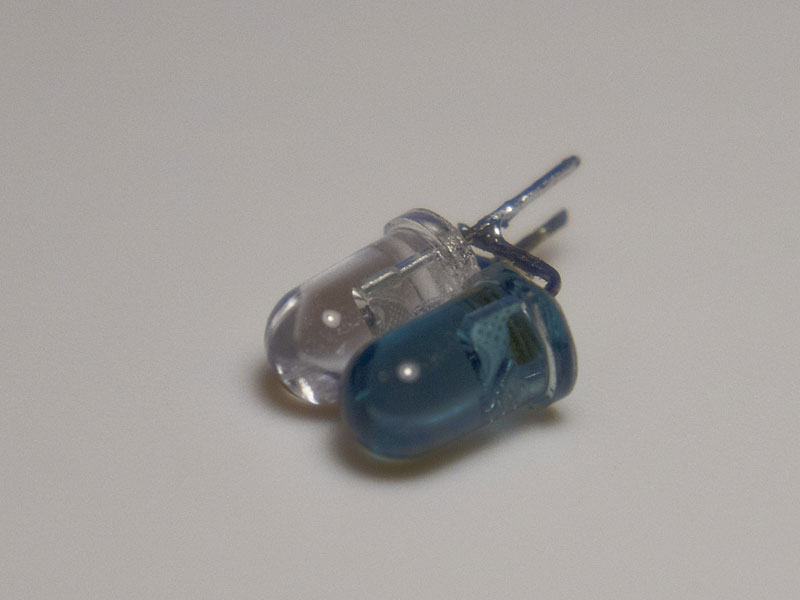
protruding metal legs need to be bitten off.
Now we take, as I already wrote, the cheapest non-separable stereo plug and with a knife we cut off all the crushed rubber, exposing its core. Solder all wiring:
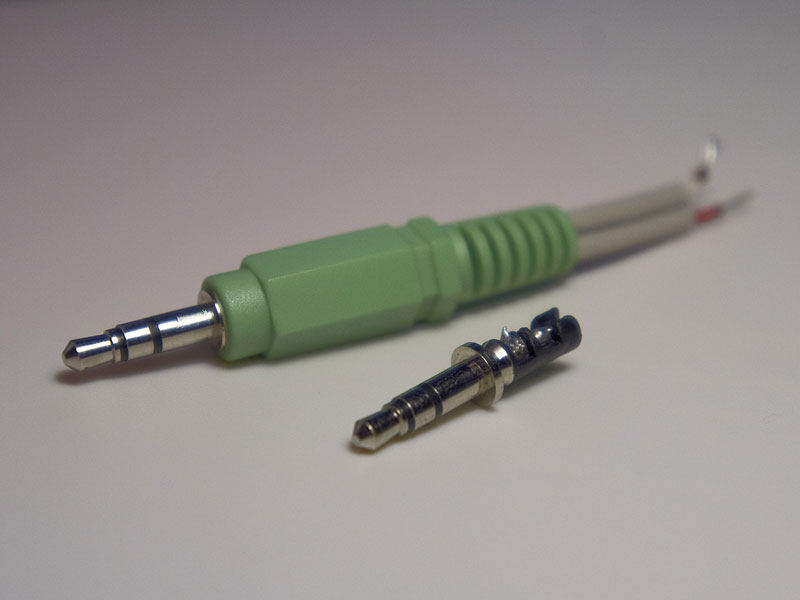
Excess plastic at the end can also be bitten off.
Now we solder two parallel metal legs-brackets of the LEDs to the two connectors of the plug:
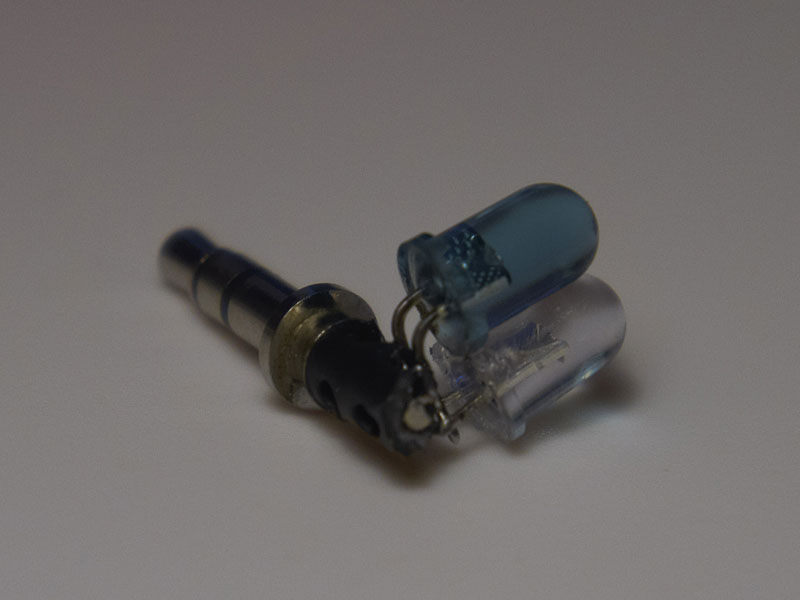
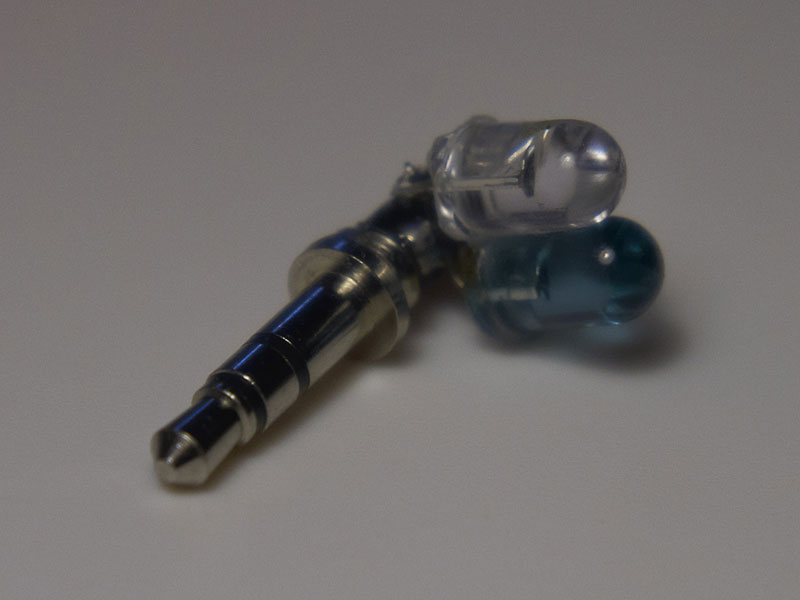
By and large, this can already be used (at least to conduct the first experiments).
We take the grandmother’s favorite MP3 player dusting on the mezzanines. In my case, it was already a 512-megabyte device, the capabilities of which are enough for the eyes.
We upload an MP3 file containing a special sequence of pulses, which our diodes reproduce as a valid IR packet (in our case, this is the shutter signal for SONY digital cameras).
We connect the unit to the player and play the file (do not forget to turn on the control mode from the IR remote control on the camera). The player is best placed at a distance of 10-40 cm from the IR receiver of the camera). The volume of the player must be set to maximum (this is important!)
After everything has worked, you can proceed to the aesthetic component. I covered the LEDs and the plug with polycaprolactone so that a strong and rigid construction is obtained, which can be safely thrown to the bottom of the backpack or in my pocket, and nothing will happen to it.
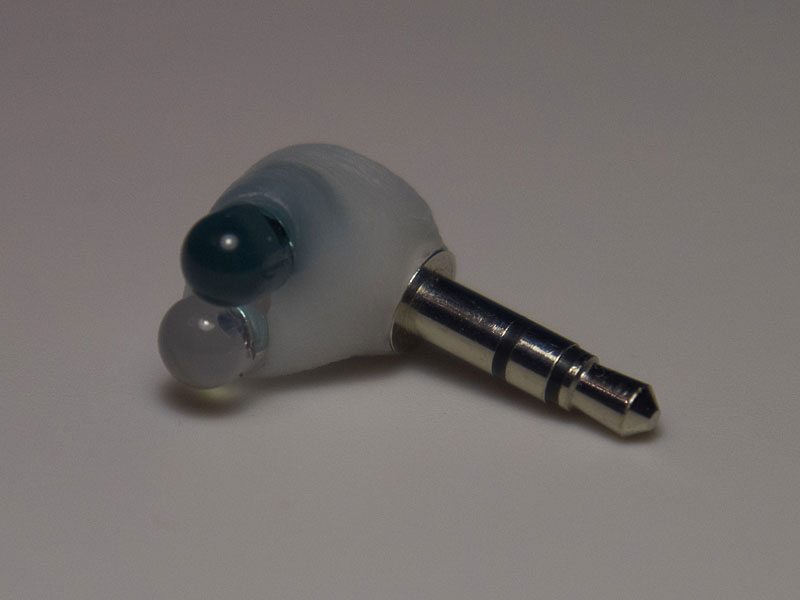

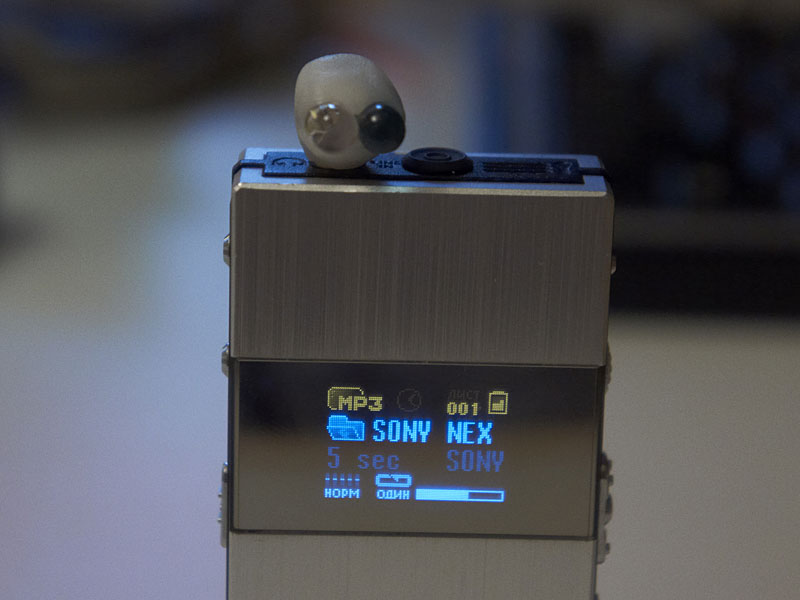
Instead of polycaprolactone (which, in fact, is the second most useful product after scotch tape and is simply obliged to be in the house of every self-respecting person), you can try to fill the circuit with hot-melt adhesive or stick around it with self-hardening plasticine.
Not SONY is the only person alive. Surely you come in to try this on some other device. Kind people did everything for us. As part of the open source package ledrem, there is a utility that converts file descriptions of IR commands in LIRC format (and it’s easy to get the latest ones).
And here the situation is very simple - all this is free of charge in any MP3-players. We create an audio track, at the beginning of which there is an IR transmission, and then silence for N seconds or minutes (it is most convenient to do this in Audacity ). We put such a track into an MP3 player and select the looped playback mode of one track. Now, until we stop playback (or until the batteries run out), the camera shutter will fire at the desired interval. You can immediately create a set of files (“5 seconds”, “10 seconds”, “30 seconds”, “1 minute”, “5 minutes”, ...), fill them all into the player and select the ones you need depending on the nature of the shooting.
And for uncompromising photographers, there are even applications for the iPhone and Android .
What is described in this lesson is not a discovery, and quite a lot is described where , and even patented . First, a video of the final result:
And now the details:
In general, I wanted to have an intervalometer for my camera in order to experiment with time-lapse photography. Ready-made products on the network are rare, and even they cost more than $ 50 + shipping. Therefore, I decided to go my own way to enjoy not only the final function, but also the process. The first experiment was on Arduino - a implemented circuit with a relay closing the button of the standard remote control. Of course, it worked, but you can’t use this thing “in the field”.
I decided to simplify the scheme and look for IR sequences for the command I needed. And in the process, as always, it was discovered that there is a simple scheme like two pennies, which can be implemented literally from improvised materials.
As a result, it seems to me that the circuit turned out to be not only simple and quick to manufacture, but also very miniature.
What do we need
Minimum:
- two IR LEDs (they can be removed from any unnecessary / broken control panels)
- one 3.5mm stereo jack from the cheapest wire (I took the one that went with the monitor in the appendage).
Optional:
- an old MP3-player, which can be used as a "dedicated" device-intervalometer. But the phone will do.
- any material for the case.
Scheme
The circuit is as follows: two LEDs with both legs are soldered to each other ("+" one to "-" of the other), and then the left and right channel of the audio connector are soldered to these two wires; The "earth" from the plug is not used in any way. This is most clearly depicted by one Chinese comrade:
Process
Since we want to achieve the miniatureness of the product, first on sandpaper we gently cut the contacting sides of both LEDs, and then we connect them with a drop of superglue. After that, bend the leads horizontally at one of the LEDs and solder them to the terminals of the first: The
protruding metal legs need to be bitten off.
Now we take, as I already wrote, the cheapest non-separable stereo plug and with a knife we cut off all the crushed rubber, exposing its core. Solder all wiring:
Excess plastic at the end can also be bitten off.
Now we solder two parallel metal legs-brackets of the LEDs to the two connectors of the plug:
By and large, this can already be used (at least to conduct the first experiments).
Testing
We take the grandmother’s favorite MP3 player dusting on the mezzanines. In my case, it was already a 512-megabyte device, the capabilities of which are enough for the eyes.
We upload an MP3 file containing a special sequence of pulses, which our diodes reproduce as a valid IR packet (in our case, this is the shutter signal for SONY digital cameras).
We connect the unit to the player and play the file (do not forget to turn on the control mode from the IR remote control on the camera). The player is best placed at a distance of 10-40 cm from the IR receiver of the camera). The volume of the player must be set to maximum (this is important!)
1 ... 2 ... Click!
After everything has worked, you can proceed to the aesthetic component. I covered the LEDs and the plug with polycaprolactone so that a strong and rigid construction is obtained, which can be safely thrown to the bottom of the backpack or in my pocket, and nothing will happen to it.
Instead of polycaprolactone (which, in fact, is the second most useful product after scotch tape and is simply obliged to be in the house of every self-respecting person), you can try to fill the circuit with hot-melt adhesive or stick around it with self-hardening plasticine.
How to create such audio files?
Not SONY is the only person alive. Surely you come in to try this on some other device. Kind people did everything for us. As part of the open source package ledrem, there is a utility that converts file descriptions of IR commands in LIRC format (and it’s easy to get the latest ones).
So what about an intervalometer?
And here the situation is very simple - all this is free of charge in any MP3-players. We create an audio track, at the beginning of which there is an IR transmission, and then silence for N seconds or minutes (it is most convenient to do this in Audacity ). We put such a track into an MP3 player and select the looped playback mode of one track. Now, until we stop playback (or until the batteries run out), the camera shutter will fire at the desired interval. You can immediately create a set of files (“5 seconds”, “10 seconds”, “30 seconds”, “1 minute”, “5 minutes”, ...), fill them all into the player and select the ones you need depending on the nature of the shooting.
And for uncompromising photographers, there are even applications for the iPhone and Android .