Fullmetal NAS

Background
There were just no cases on the Habré and on these your Internet. Iron was rearranged in everything from factory buildings to toasters. It all boiled down to the following — let's do it on the mother with atom — the process, we will reduce the noise as much as possible, put it in a small case and put it on the table where it will rustle with a fist, or vice versa, bother with the old iron - after sorting it out, hide this device somewhere Something in the toilet / closet / closet.
Well, at atom'e, I was not going to collect anything, since I have no corny. I preferred the second option, it suited me more, but I do not have such a toilet where to put all this and the option was invented a little different. Idea

Actually, this idea was prompted by a bag of cement that was lying in my corridor for a year and a half, after repair
True, they are made of rather thin iron and screwed somehow to the walls (while I was working as an installer, I saw a lot of boxes torn “with meat” from the walls and broken with crowbars, and even with a grinder they were cut no worse than sausages). So you had to take something thicker and screw it to the wall in the common corridor, let it make a noise there how much it fits. "Well, wait a minute ..."

Something thicker, it’s a safe or fireproof closet, in the country house it was too huge, which means we need another. This beast was found in the local police department, since the local “bunkers of the motherland” are full of such a written-off “sacred metal”. Here in this form I got a cabinet, 100500 layers of peeling paint, a rolled up lock, in general, all the charms of life. But 5 millimeter steel. Peeling off the paint. We lubricate the hinges, put a new lock, admire ... "- Something you are, the cheymadan is a bit thick ..." There are many places, there is not enough functionality. Cut off 1/3 of the box with the back of the grinder. Unfortunately, there was only one sheet of metal in the farm that was suitable for a drawer, and even with holes, but oh well, everything is not visible from behind early.
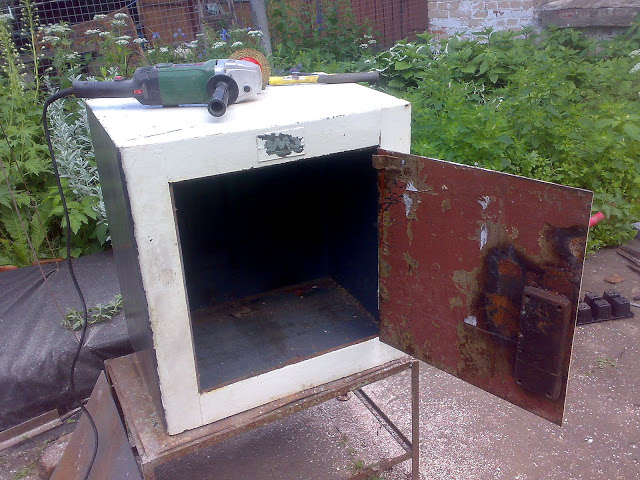


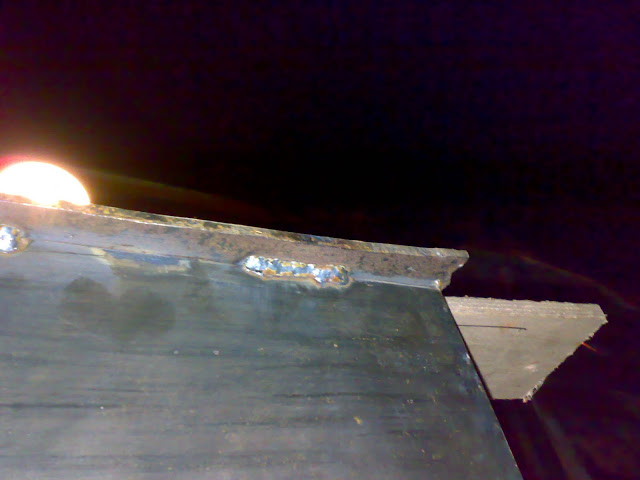
Cook a new wall. After the box significantly lost weight, ugly ears remained at the back wall. Cut off. The abrasive disk took metal very poorly, had to be cut with a cutting diamond, it took about an hour to each side. Packing Box found, it remains to decide what to do next. Of course, you can simply bring the power and network from the router there, put the system unit in the cabinet, and forget about it for a long time. All the same, I decided to go the other way and make an armored system. Place the filling on the walls of the box itself, close the ventilation openings with grilles, and bring the power and start to the turnkey case.


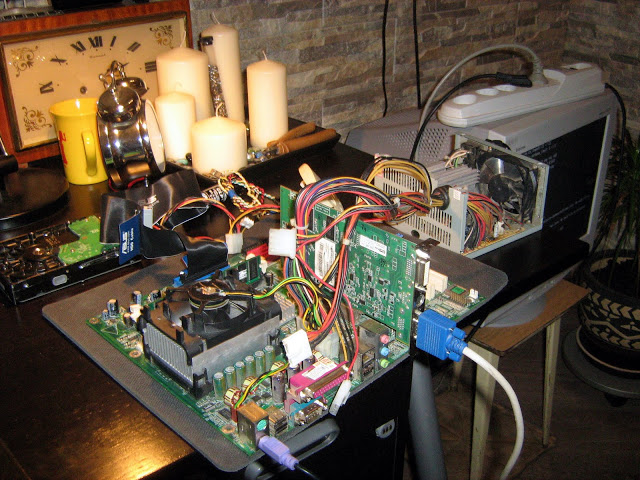
NAS does not require plague powers, an old iron will do, but even with it there were problems. Everything except the mother and mother was found quickly enough, but I could not get these details in any way. I was already desperate, but then a friend came up with a trivial request to fix his computer and lo and behold, an old system engineer was lying around in his garage.
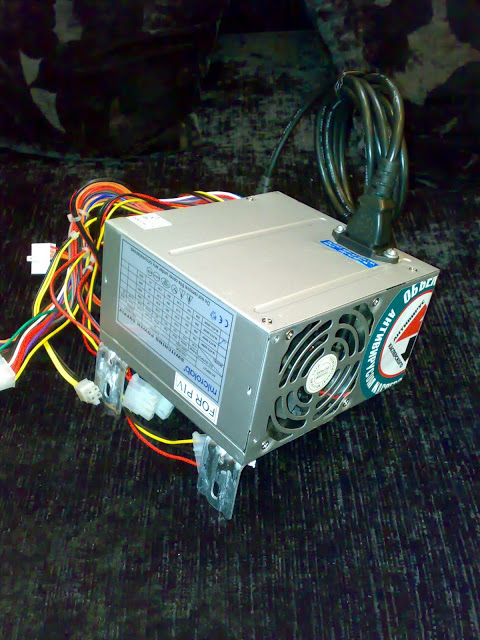
An autopsy showed that everything is not so bad. The old computer turned out to be equipped with a p4 - 2.8 GHz processor, a mother with a RAID controller and sATA connectors (by the way, in the host computer that I repaired, it turned out to be even weaker than the percentage, well, now who cares). With the help of 2 corners, a handful of bolts from the children's designer, a soldering iron and a drill, we are modernizing the power supply for new needs. We transfer the power socket to the upper wall and fix the corners.
We glue the excess ventilation hole from the old power socket without hesitation with a mega epic sticker, now the power supply is officially pumped and covered by the hand of Kaspersky. Also in the bins of the motherland 2 old system units were found, they were safely dissected, and parts of them were put into operation. The shield of one of them became a mount for the mother, and the baskets of both were amputated and connected into one. Two sliding loops were attached to the top of the basket (as in the drawers of the table). I thought that this is the best mounting option, providing quick access to the basket and good airflow. A support bar was attached to the bottom of the basket for more secure fit and less vibration. Ventilation and other holes
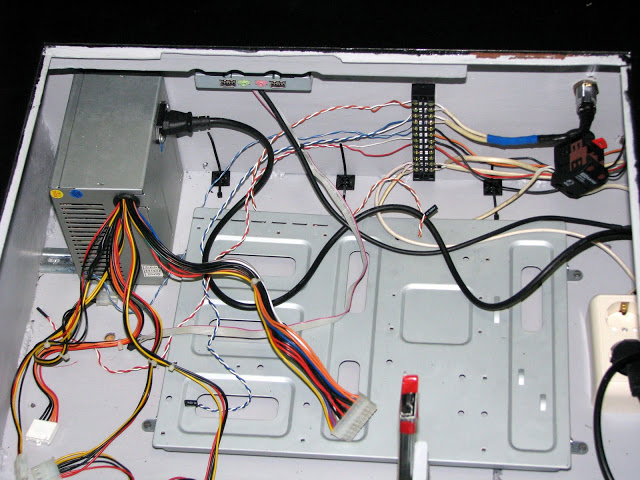
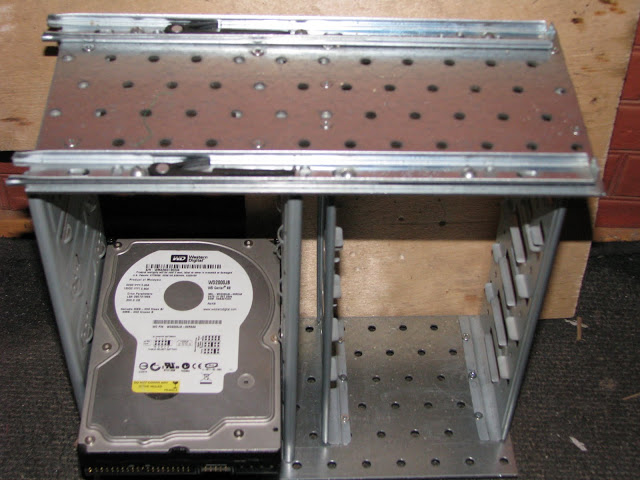
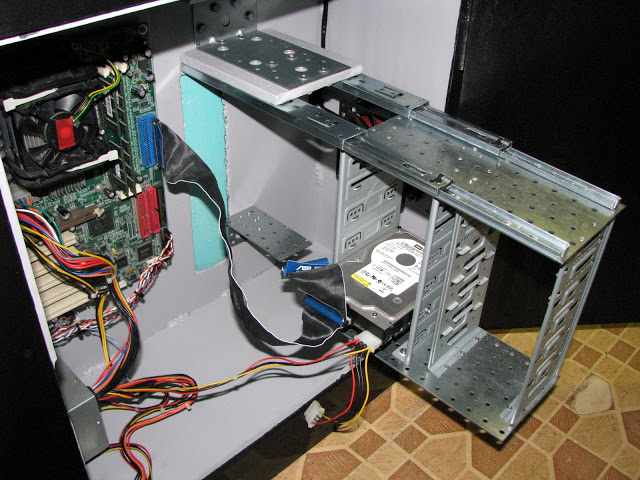

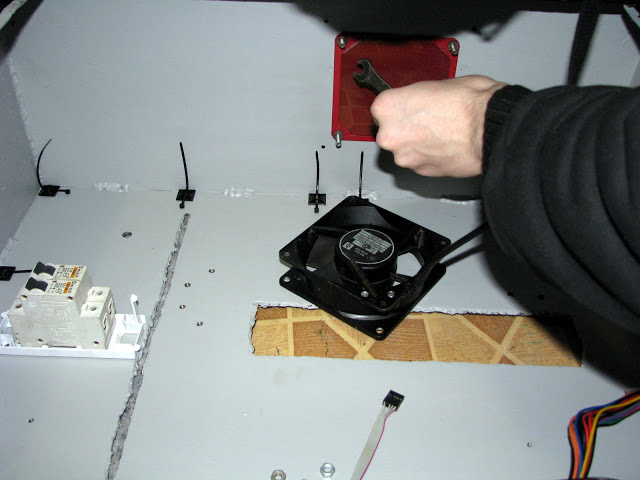
For ventilation, it was decided to make 2 square windows, under a 120 mm cooler for cooling hard and 80 mm for the power supply. Why a window, and not say drill holes or cut through the "gills" grinder?
Well, because there is less trouble, and I don’t have the skill of art cutting with a grinder, and it’s quite difficult to drill holes (I already saw such craftsmen, the first rows still nothing, and then “hello from a big hangover ...”).
We cut! By the way, cutting a square hole with a round disk, a small size, is quite problematic. We close the outside with a large ventilation grill, and inside with a fine mesh. Everything is beautiful and reliable.
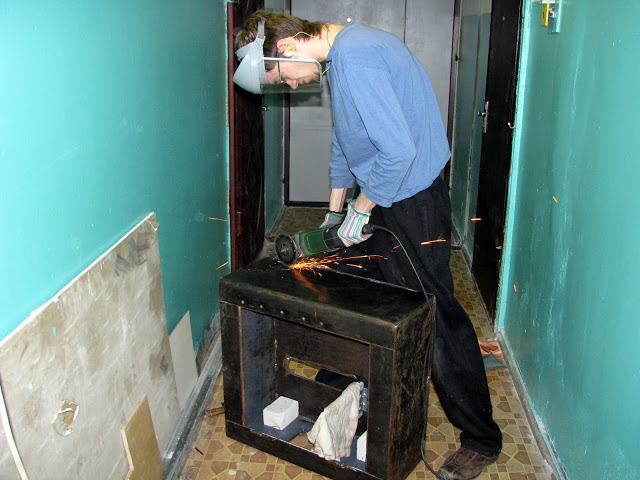
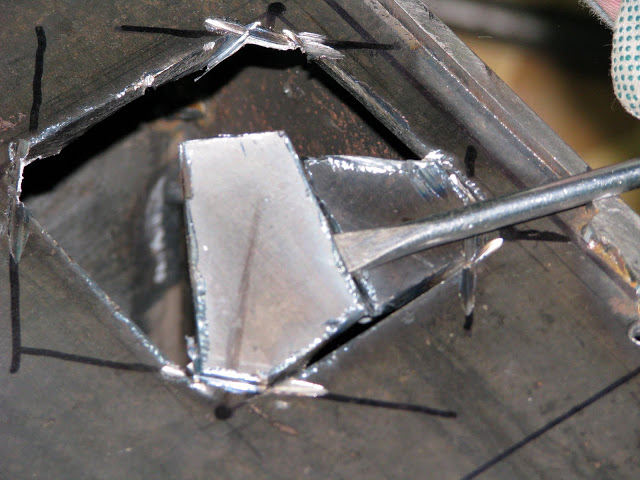

I also had to suffer with holes for electromechanical locks, there were no drills with a diameter of 22 mm needed to install the lock on the farm, and a toad frankly strangled me to pay 500 pe for it.
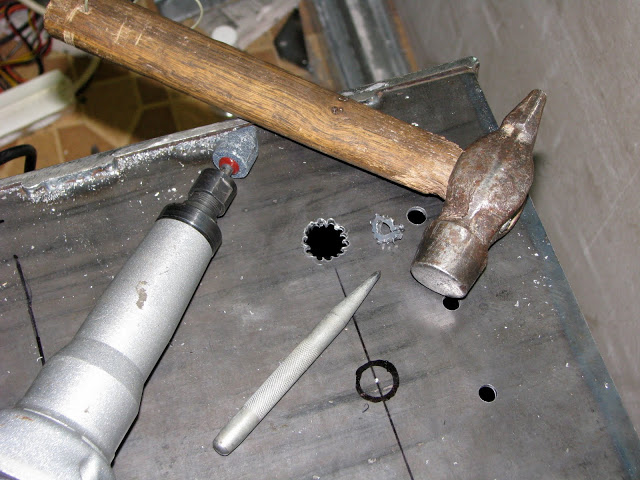
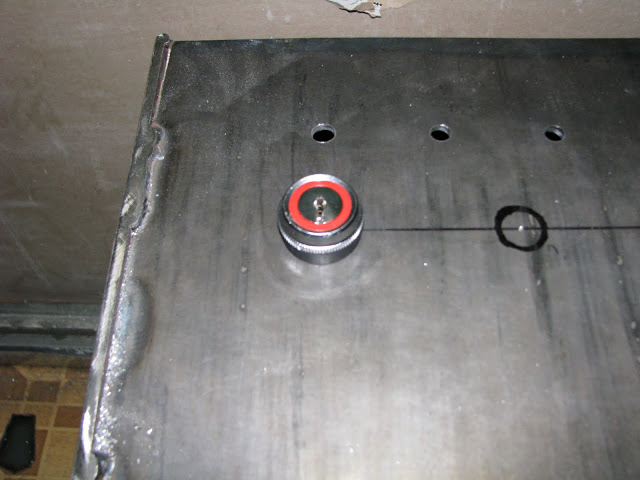
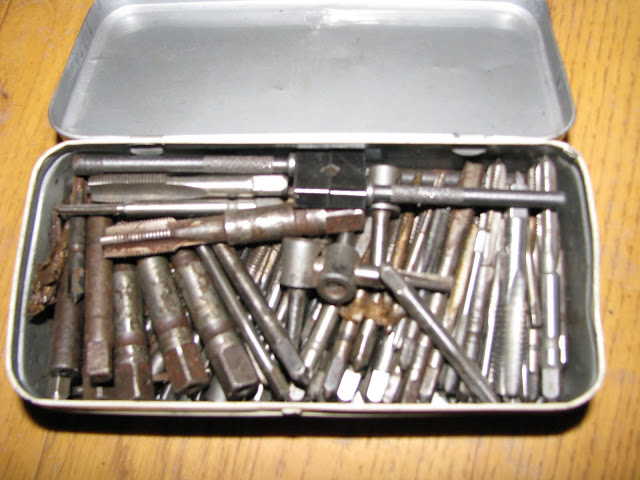
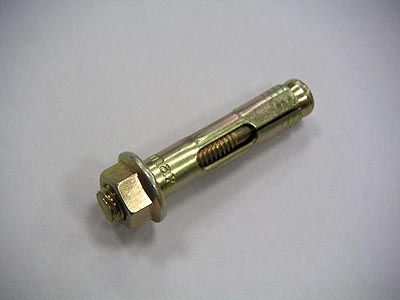
I had to drill a "camomile". And bore it. All other holes for bolts for fastening the mother, hards and other equipment were drilled, and then a thread was cut in them with a tap (fortunately, the thick walls held the bolts securely and allowed them to abandon the nuts). The protruding ends of the bolts were cut off, so I achieved a “clean” back wall, which allowed me to push the box close to the wall and subsequently pull it with anchor bolts, like this. At the same time, any bolt can be removed if desired to replace or repair equipment. About wires


I think many people know that wires from the shield do not enter the apartment using magic, but through special cable channels. True, in many old houses they are clogged with construction waste and their further use is a waste of time and Fairy (according to the assurance of many of my familiar installers and personal experience, this is the best detergent for pulling the cable).
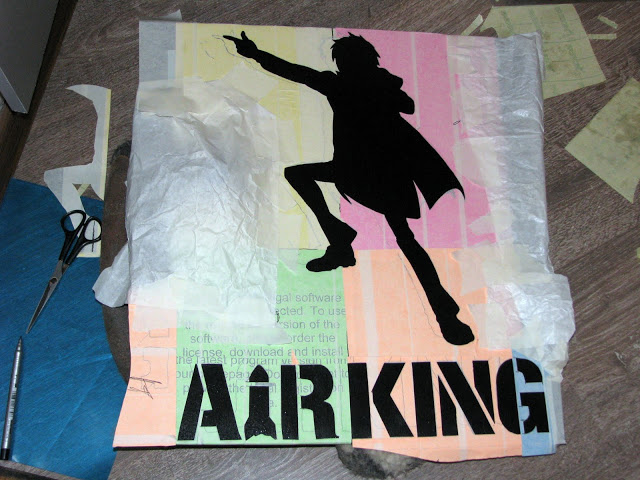
Having phoned the wall and finding the cable channel, I dragged the wires through the shield to the apartment. This allowed us to get rid of external wiring and vandal attacks on wires. The final stage We disassemble everything back, paint. I painted the outside with Hammerait (Why them? For 2 reasons, I consider it to be the best paint for metal, and I had it), an inner simple gray paint for metal. The door was painted using a stencil (

more about painting the door ). We give paint to dry, we begin assembly. We display 2 locks (1 - 220 network, 2 - power and reset) and 3 indicators (1 - 220 network, 2 - power, 3 - hdd) on the external part of the case. We fix the cooler. We lay out and fasten the wires. (By the way, I don’t advise taking Nevsky Fasteners ties, terribly oak). We finish the assembly, push it to the wall, connect the electricity, tighten the anchor. Everything can be run! Here is the result. A few words about OSes. I used FreeNAS (which has become almost the standard for self-assembled NAS's). There was an attempt to use the version from the 8th branch, but it seemed to me still very crude and it was decided to return to stable 7.


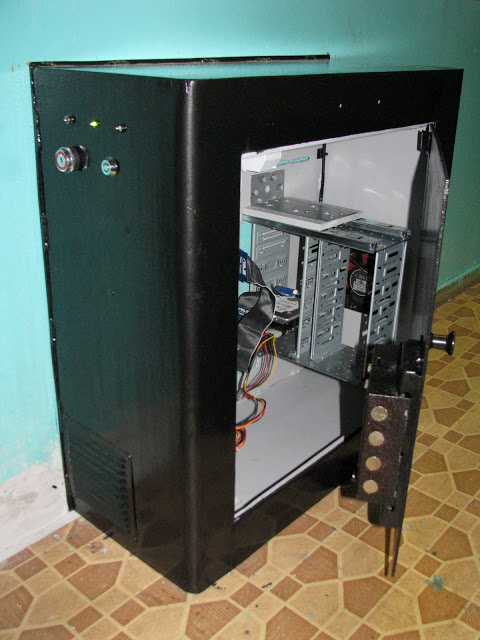
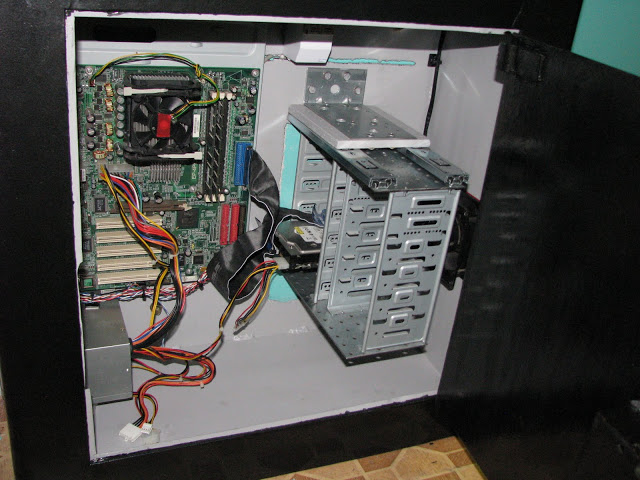
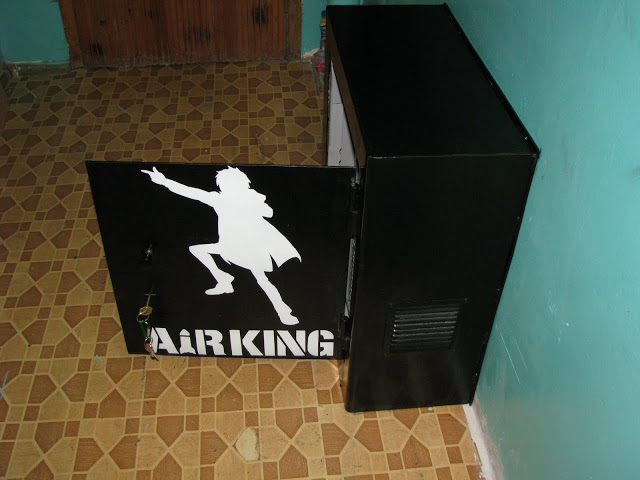
At the moment, there is only one hard test. I will buy more money.
Thanks for attention!
PSSee the rest of the photo tools and assemblies .
