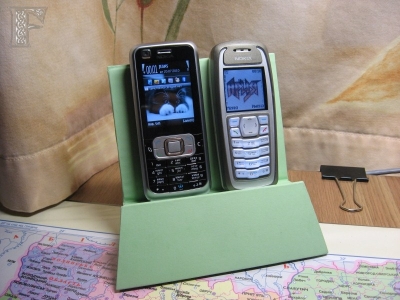
"Double" do-it-yourself charging station for phones
For a long time, both of my phones did not have a permanent place of registration on the table and lay around anywhere until the idea came up to get them a stand. But in stores, most of the coasters are designed for one phone, and even take a prohibitive amount of usable space (buying two coasters is not an option). Especially the other day I got a Bluetooth headset for the main phone, so there was a need to keep it closer to charging, and the ability not to pull it and not mess with a wired earphone when talking. Inspired by the habratopic “iPhone Dock in 15 Minutes,” I decided to figure out something similar, but for two phones at once.
The materials used were dense multilayer cardboard (about 2 mm thick), pasting paper (3 sheets found in strategic stocks), PVA glue, and one office clothespin of the smallest size.
Tools - scalpel, steel ruler, scissors, punch.
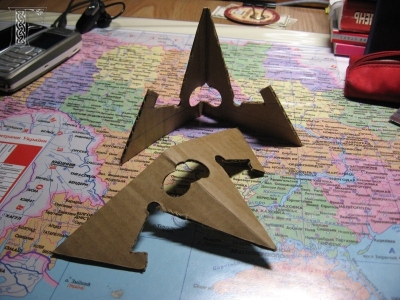
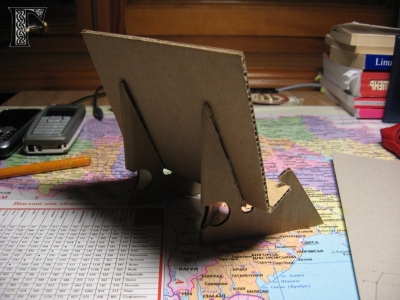
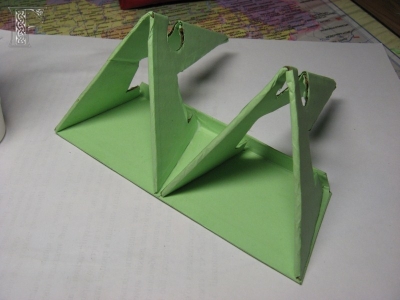
Pictures are clickable. First, on a thick cardboard according to the pattern (traditional ruler and pencil, or Corel or AutoCAD, by choice. I preferred a pencil) four details are marked out - two supports, a stand and a front “screen”. Then they are cut with a sharp scalpel under the ruler. The smoother the details, the smoother the whole structure will be. Stand Feet
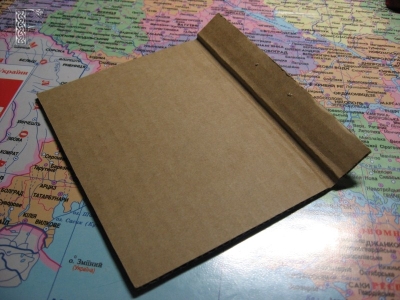
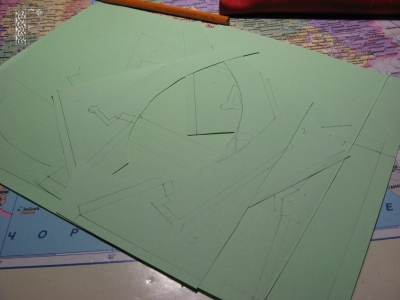
Immediately it is worth noting that the holes in the back could not be punched. But the idea and layout changed in the process, and initially the cords of the chargers had to stretch into these holes. Pre-assembly, front view Pre-assembly, rear view On the sheets of paper for pasting on the same patterns, “wrappers” for each part with allowances are marked and cut. The paper is gently smeared with glue, glued and smoothed. Details remain to dry in such position in which they should remain subsequently (bends are considered). When all the parts have dried, the assembly of the base begins. The butt ends are glued to the front screen.
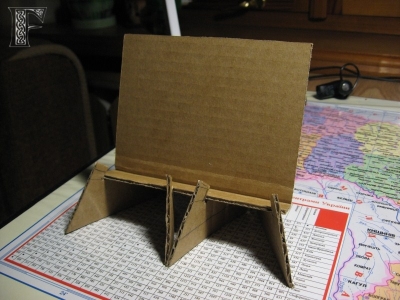
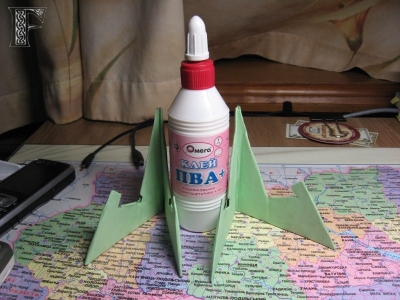
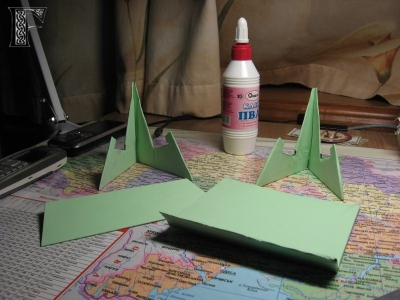
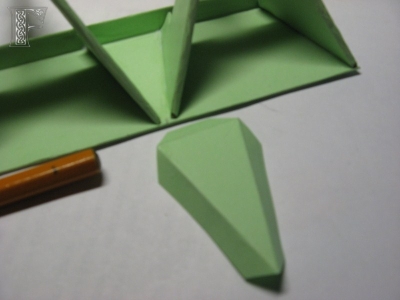
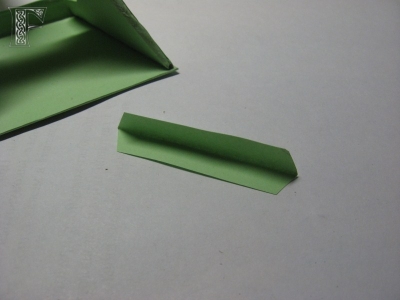
To strengthen the structure at this stage, fastening stickers were added - a triangle with sides in the middle between the supports, and the corners inside each support are closer to the edge of the screen.
Triangular fasteners Corner strips In the stand itself, punch holes are made for the charging connectors. It’s worth taking the size so that the connector fits tightly in the hole, and only a metal tip sticks up, then the phones will stand straight. It was originally intended to punch holes strictly in the center of each half. But since the phones have charging sockets on the side, and even from opposite sides, it was decided to shift them to the middle. This makes it possible to store phones on a stand, even when they do not need to be charged.
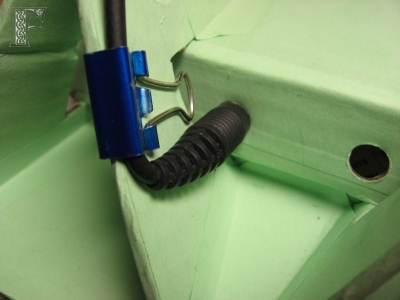
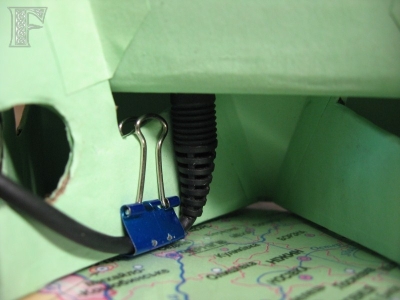
In order to be able to disconnect the wires (and take them with you on a trip, for example), they were attached with a regular office clip of the smallest size (about 1 cm wide).
The stand is glued with PVA glue to the upper part of the supports and fixed with stripes-corners.
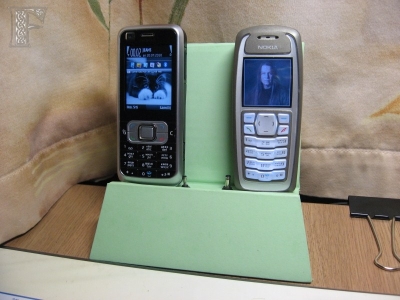
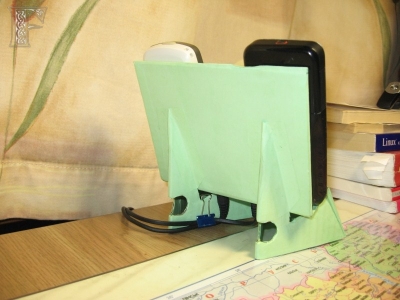
We’ll plug in the hole. Wire fastening. So the phones stand when they charge. If you don’t need to charge, they move away from the chargers, but still fit on the stand. So the design looks behind. The stand passed a three-day test drive and quite passed the test. If desired, it can be painted / stuck with stickers / outline, but hands have not reached this point yet.
The materials used were dense multilayer cardboard (about 2 mm thick), pasting paper (3 sheets found in strategic stocks), PVA glue, and one office clothespin of the smallest size.
Tools - scalpel, steel ruler, scissors, punch.
Pictures are clickable. First, on a thick cardboard according to the pattern (traditional ruler and pencil, or Corel or AutoCAD, by choice. I preferred a pencil) four details are marked out - two supports, a stand and a front “screen”. Then they are cut with a sharp scalpel under the ruler. The smoother the details, the smoother the whole structure will be. Stand Feet


Immediately it is worth noting that the holes in the back could not be punched. But the idea and layout changed in the process, and initially the cords of the chargers had to stretch into these holes. Pre-assembly, front view Pre-assembly, rear view On the sheets of paper for pasting on the same patterns, “wrappers” for each part with allowances are marked and cut. The paper is gently smeared with glue, glued and smoothed. Details remain to dry in such position in which they should remain subsequently (bends are considered). When all the parts have dried, the assembly of the base begins. The butt ends are glued to the front screen.


To strengthen the structure at this stage, fastening stickers were added - a triangle with sides in the middle between the supports, and the corners inside each support are closer to the edge of the screen.
Triangular fasteners Corner strips In the stand itself, punch holes are made for the charging connectors. It’s worth taking the size so that the connector fits tightly in the hole, and only a metal tip sticks up, then the phones will stand straight. It was originally intended to punch holes strictly in the center of each half. But since the phones have charging sockets on the side, and even from opposite sides, it was decided to shift them to the middle. This makes it possible to store phones on a stand, even when they do not need to be charged.


In order to be able to disconnect the wires (and take them with you on a trip, for example), they were attached with a regular office clip of the smallest size (about 1 cm wide).
The stand is glued with PVA glue to the upper part of the supports and fixed with stripes-corners.
We’ll plug in the hole. Wire fastening. So the phones stand when they charge. If you don’t need to charge, they move away from the chargers, but still fit on the stand. So the design looks behind. The stand passed a three-day test drive and quite passed the test. If desired, it can be painted / stuck with stickers / outline, but hands have not reached this point yet.


