JAF Smartphone Firmware Guide
After the topic, make your firmware for the Nokia 5530 and the like, I decided to flash my smartphone, but immediately ran into a number of problems. Basically, they did not seem to be collecting firmware (more on that in the aforementioned topic), namely, filling the finished version in smart. Therefore, I will try to describe the entire process of flashing step by step on the example of my Nokia 5530, but I will add a couple of words to the above topic.
A lot of screenshots
So, to everything that is indicated in the above topic, I would like to add:
STEP 1
I do not advise putting a daw near the hacking point. After installing the firmware, RomPatcher + was in the kit, but did not open, and did not react in any way, so we can assume that the smart is not hacked. But to remove or reinstall it is no longer received, since it is "built-in", accordingly, you will have to reflash it again.
Touch control is best left - this is the same slide strip that you need to drag your finger on an incoming call. Otherwise, you will have to manually unlock the phone.
Rotate the home screen. If your phone in life looks like this:
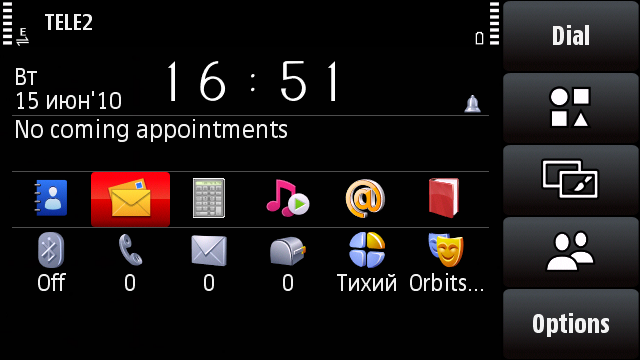
then you can leave the main screen turning, since this also turns the dialer menu and the incoming call screen:
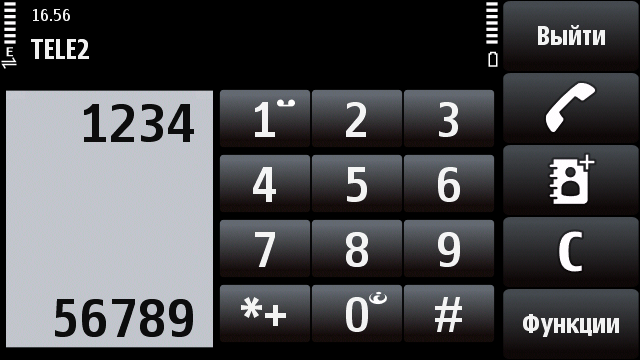

(this is the very “touch control”).
If your phone does not use foreign desktops and lives in an upright position, then you can not “turn” it, as it will look like this:

It is worth mentioning that the main screen will not be in this form all the time. It will respond to the accelerometer in the same way as other folders / programs.
Put the remaining items at your discretion.
STEP 2
Here I would like to focus on the item “theme effects”
I set myself the Ultimate effects, and I can say that they do not slow down at all and are in perfect harmony with the effects of handyshell 2, i.e. the windows change with slides, the effect of changing the spatial orientation and viewing pictures is well implemented (just in case: a link to iFolder )
In the program menu, simply select the folder with the effects.
Everything seems to be here. You collect the finished file, delete some crap in the file name at the beginning (the program will remind you of everything) and replace the file in the Products folder. I have this file, respectively RM-504_20.0.080_prd.rofs2.V05
Data recovery
Frankly, I do not know whether it is possible to restore files from the old firmware to the new one. I just took another nokia (e51), and in synchronization mode I dropped all calendars, SMS, contacts, and more.
Actually firmware
First you need to remove everything related to Nokia OVI / PC Suit. It is desirable along with everything that lies in the registry. Only drivers for the cable can be left.
So, it is assumed that the firmware you have already downloaded and installed. If not, then you need to take it here .
Further, here we download all three files that appear under the download heading and install them. After that, you must always establish compatibility mode with XP SP2.
We go into the Start JAF icon or in j_emu.exe, select the Thomas key and immediately go to the BB5 tab.
Digression # 1
Actually from this moment I started having problems. In general, I will not describe them for a long time, since there were many of them. I can only make a reservation that in the “live” phone mode, I could not say goodbye.
Therefore, I was stitching in DeadUSB mode. To do this, remove the battery from the phone for 2-3 minutes, and then put it in place, not including. In this form, the phone and attach to the cable.
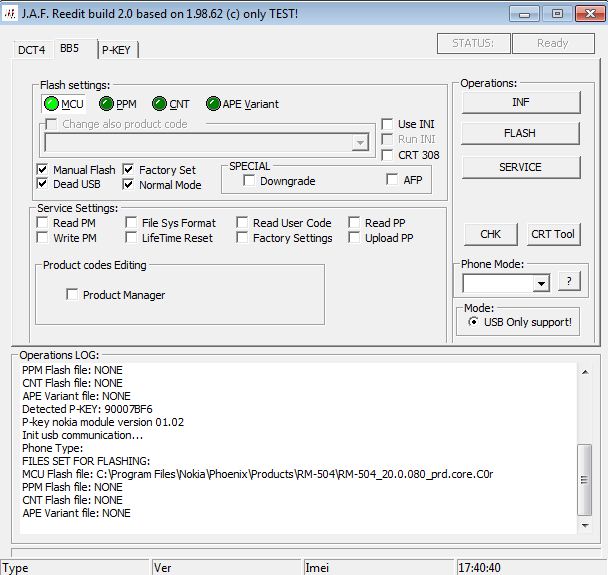
Thus, according to the selected method of "Dead phone" shoot daw CRT 308 , and put the check: Factory the Set, the Manual the Flash, the Normal mode, DEAD the USB (all in total)

Next most hemorrhoids:
1) Click the first green MCU button and select the file for the insertion (In fact, this file has the extension * .C00, you just need to rename it to * .C0R.):

It looks like this:
2) Next, click on the second green PPM button and select the localization file (this is the one we shredded earlier) :

Here's what it looks like:

3) Click the third green button CNT (this is the graphics).
Digression # 2
I could not understand what the program wanted from me, since none of the files suited. It turned out that the following should be done:
At the bottom of the window, in the column, change the file name from DCT4 to All files : any

of these files can be selected. I remember that C01 is a red topic, and C06 is a pink one. I won’t remember exactly the rest. Somewhere there is blue, yellow and gray.
It looks:

4) We press the last green APE VARIANT button (I don’t know what it is):

Total before the firmware we have the following:
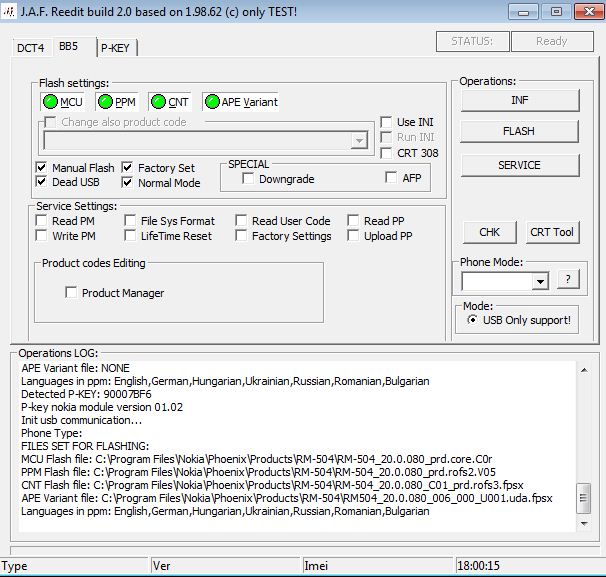
5) (sic!) Here we must act quickly . We perform the following sequence of actions:
Click Flash and agree - plug the phone into a power outlet (!) - immediately press and hold the power button until the screen lights up.
Everything, installation has gone. It goes quickly - about 5 minutes. Then on the screen something like this lights up:

or such:

Another 30 seconds pass, and the program reports that everything went well. You can safely tear out the phone and wait.
In total, I flashed it 7-8 times, of which 2 times it did not
turn on right away, but after 5 minutes. As a result, I can say that the phone began to run much faster, never rebooted and was generally happy. Thank you for your attention and good luck!
Performed on Win7 x86 Ult
ATTENTION! You do everything at your own peril and risk!