Shrew is a free alternative to Cisco VPN Client
Faced the problem of installing the Cisco VPN Client on Windows 7, and besides x64,
if you can run x86 with a shamanic tambourine on Windows 7, then all attempts will be futile on x64 (Cisco almost does not want to make the x64 Vpn Client).
I’m going to search engines ... and we see the following ways out of the situation:
1. Installing AnyConnect VPN Client, which works on x64 but does not have IPSec (does not fit).
2. Create a Windows x86 virtual machine and install the Cisco VPN Client.
3. Install one of a bunch of alternative paid clients (by the way, not one of them worked)
4. Installing Windows x86 (and the ability to get BSOD on Win7 after installing Cisco Client) :)
All of the above methods are mildly impractical :)
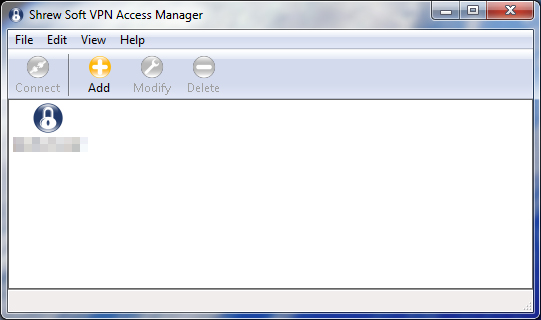
5. Installing a free Shrew's OpenSource client (by the way, it is not only for Windows, but also for nix systems)
We go along path 5 :)
Download Shrew from the official site
I’ll give an example of how to configure tunneling with group authentication (“Group Authentication”):
1) Create a new connection profile (Add button)
and in the General tab in the “Host Name or IP address” field, specify the IPSec gateway address and port
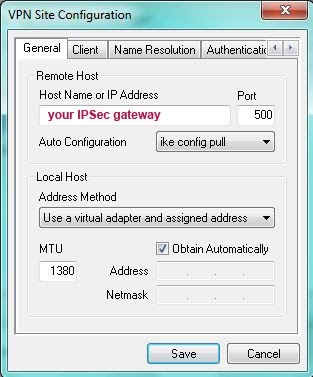
2) Go to the “ Client ”,
select force-rfc in the NAT traversal section (leave the rest by default)
3) Go to the“ Name Resolution ”tab (here you can leave everything by default, in most cases, when correctly configured, the Cisco VPN Server will return the necessary addresses)
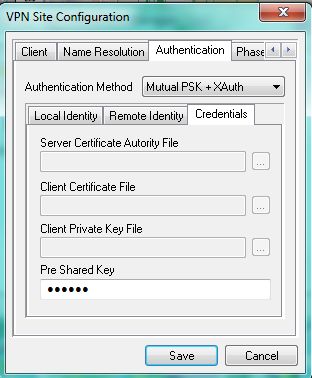
4) We turn to the «Authentication» tab
Install «Authentication method» in Mutual PSK + Xauth (use if the method utentifikatsii for IPSec Group ID or partitioning key)
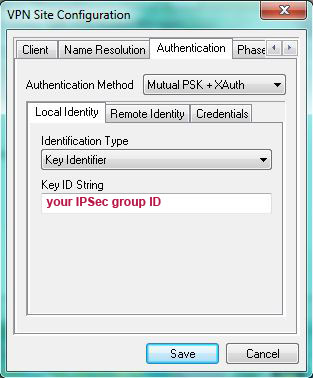
4.1) Go to the “Local Identity” sub-item, set “Identification Type” = “Key Identifier”
and enter the IPSec group ID in the “Key ID String” field
4.2) Go to the “Remote Identity” sub-item, set “Identification Type” = “Any”
4.3) Let's go to the “Credentials” sub-item and enter our IPSec Group Password in the
“Pre Shared Key” field
5) Tabs: Phase 1, Phase 2 and Policy do not need any settings, leave everything by default
6) Save the connection settings .
7) Press the Connect button,
enter your credentials.
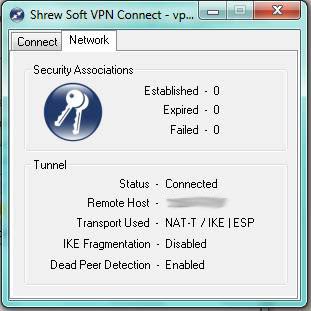
If everything is fine, in the log we will see the coveted phrase “tunnel enabled”
I hope my description comes in handy in facilitating the creation of tunnels on Windows x64.