Mobile stand for Chinese machine tools. Or how to place them in an apartment
Ladies and gentlemen, hello!
I decided to write this article after reading the comment in the article Programming in JavaScript for a lathe from QwertyOFF
And of course, show how I did it.
It will be about a welded pedestal, the highlight of which is its mobility - the pedestal along with the machines can be moved around the apartment.
This cabinet was my first welded construction, so in some places flaws are noticeable. The curbstone was made in 2015. and still serves.
TTX:
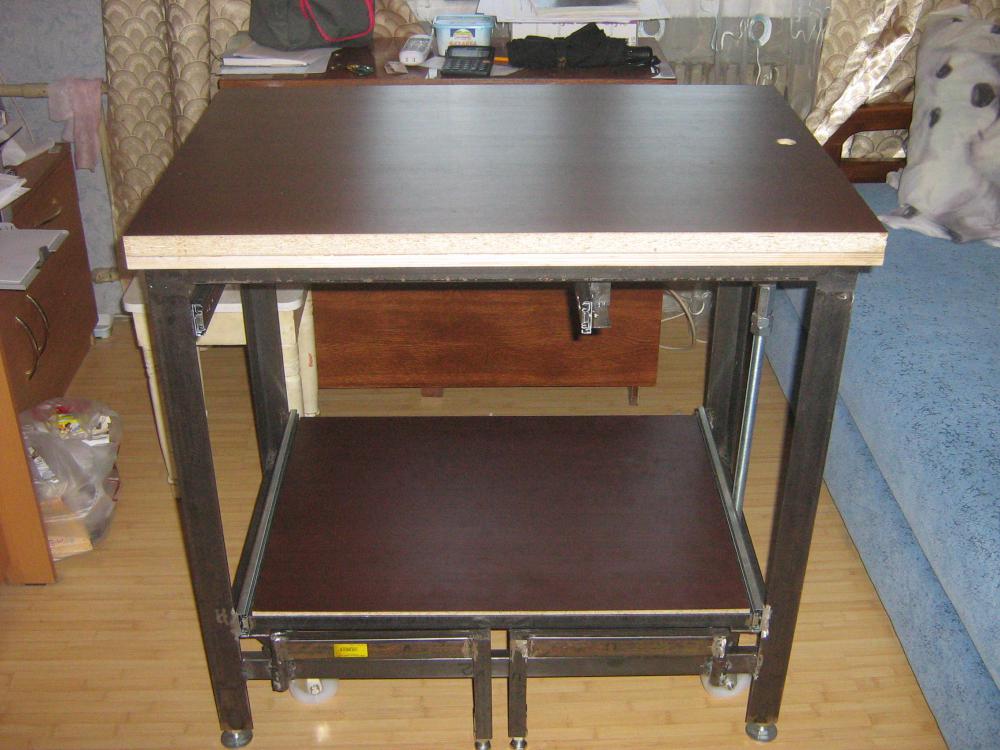
Dimensions (on the countertop WxHxD): 870x860x590;
Maximum load when wheel bearings are released (dynamic): 400kg. (The seller stated that each wheel in the dynamics can withstand 100 kg, i.e. 4 wheels = 400 kg.)
Iron:
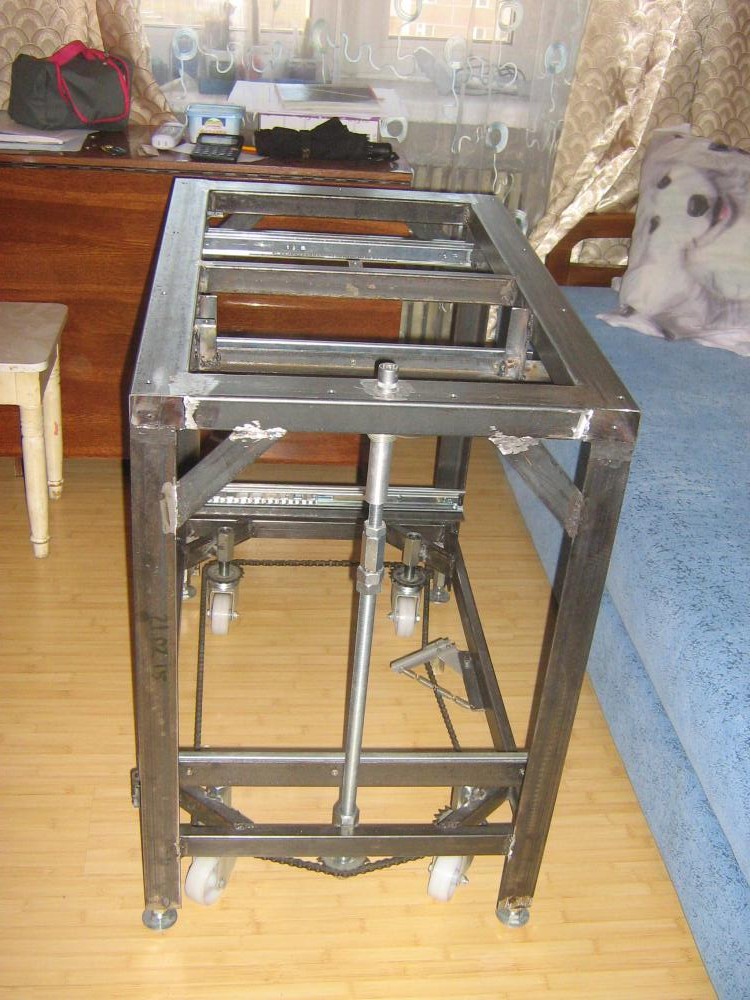
First, the upper part from prof. 60x440x4 pipes, the plane was plywood with cut corners, onto which pipes were fastened with clamps and cooked. It turned out perfectly (angles and geometry).
Next, it was necessary to weld the legs from the corner 50x50x5. It was a nightmare :) It was necessary to weld each leg, taking into account the angles on two sides and still butt. I did not have magnetic corners, and now I don’t. Therefore, I used iron strips + clamps to fix the leg at an angle of 90 degrees. Naturally, at first he cooked with tacks and after reconciling the corners, completely.
Next, welded the bottom frame already in place of prof. pipes 40x20x2.
Front view:

I think from the pictures it’s already clear how raising / lowering the stand on the wheels is carried out.
A bit of detail.
Sprockets and chain - bicycle.
“Reducers” for wheel bearings: connecting nuts + M20 stud. The diameter of the hole in the wheel support is 15 mm. Therefore, the diameter of the M20 stud from the side of the wheel was reduced to threading M14. On each sprocket, spot welded M14 body washer (alignment is not so important, but still tried to align it in the center). As a result: a hairpin + an asterisk with a washer + a wheel support + a nut / a counter nut of M14.
Legs: M20 bolts + body washers.
“Reducer”: The
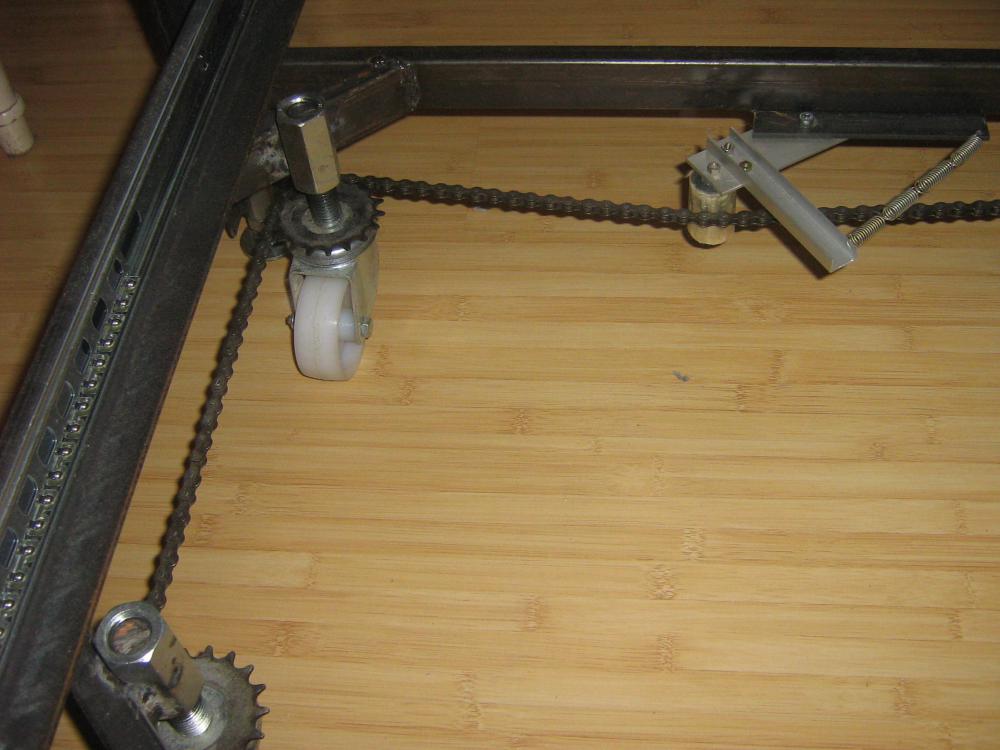

pin that transmits rotation had to be “reduced” to M16 in order to weld the end head for the ratchet wrench on the contrary (so that the hole diameter in the upper professional pipe is smaller).
The lower shelf is welded from the corners 25x25x3, where a countertop 25 mm thick is embedded. The countertop is attached to the corners using furniture legs 10x6 (the upper countertop is the same).
The lower shelf is extendable (ball guides of full extension are used). I even stood on the lower shelf and skated a bit - I could stand it :) The

stops for the lower shelf, when it is pulled out, are made of corners 25x25x3
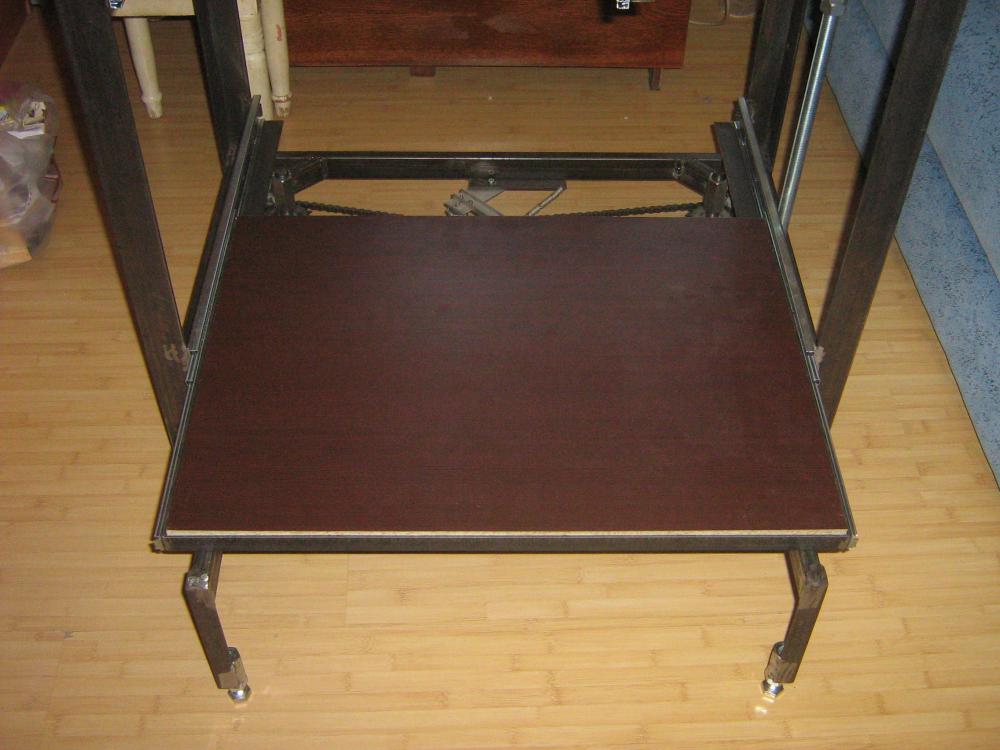
Which are inserted into the door hinges:
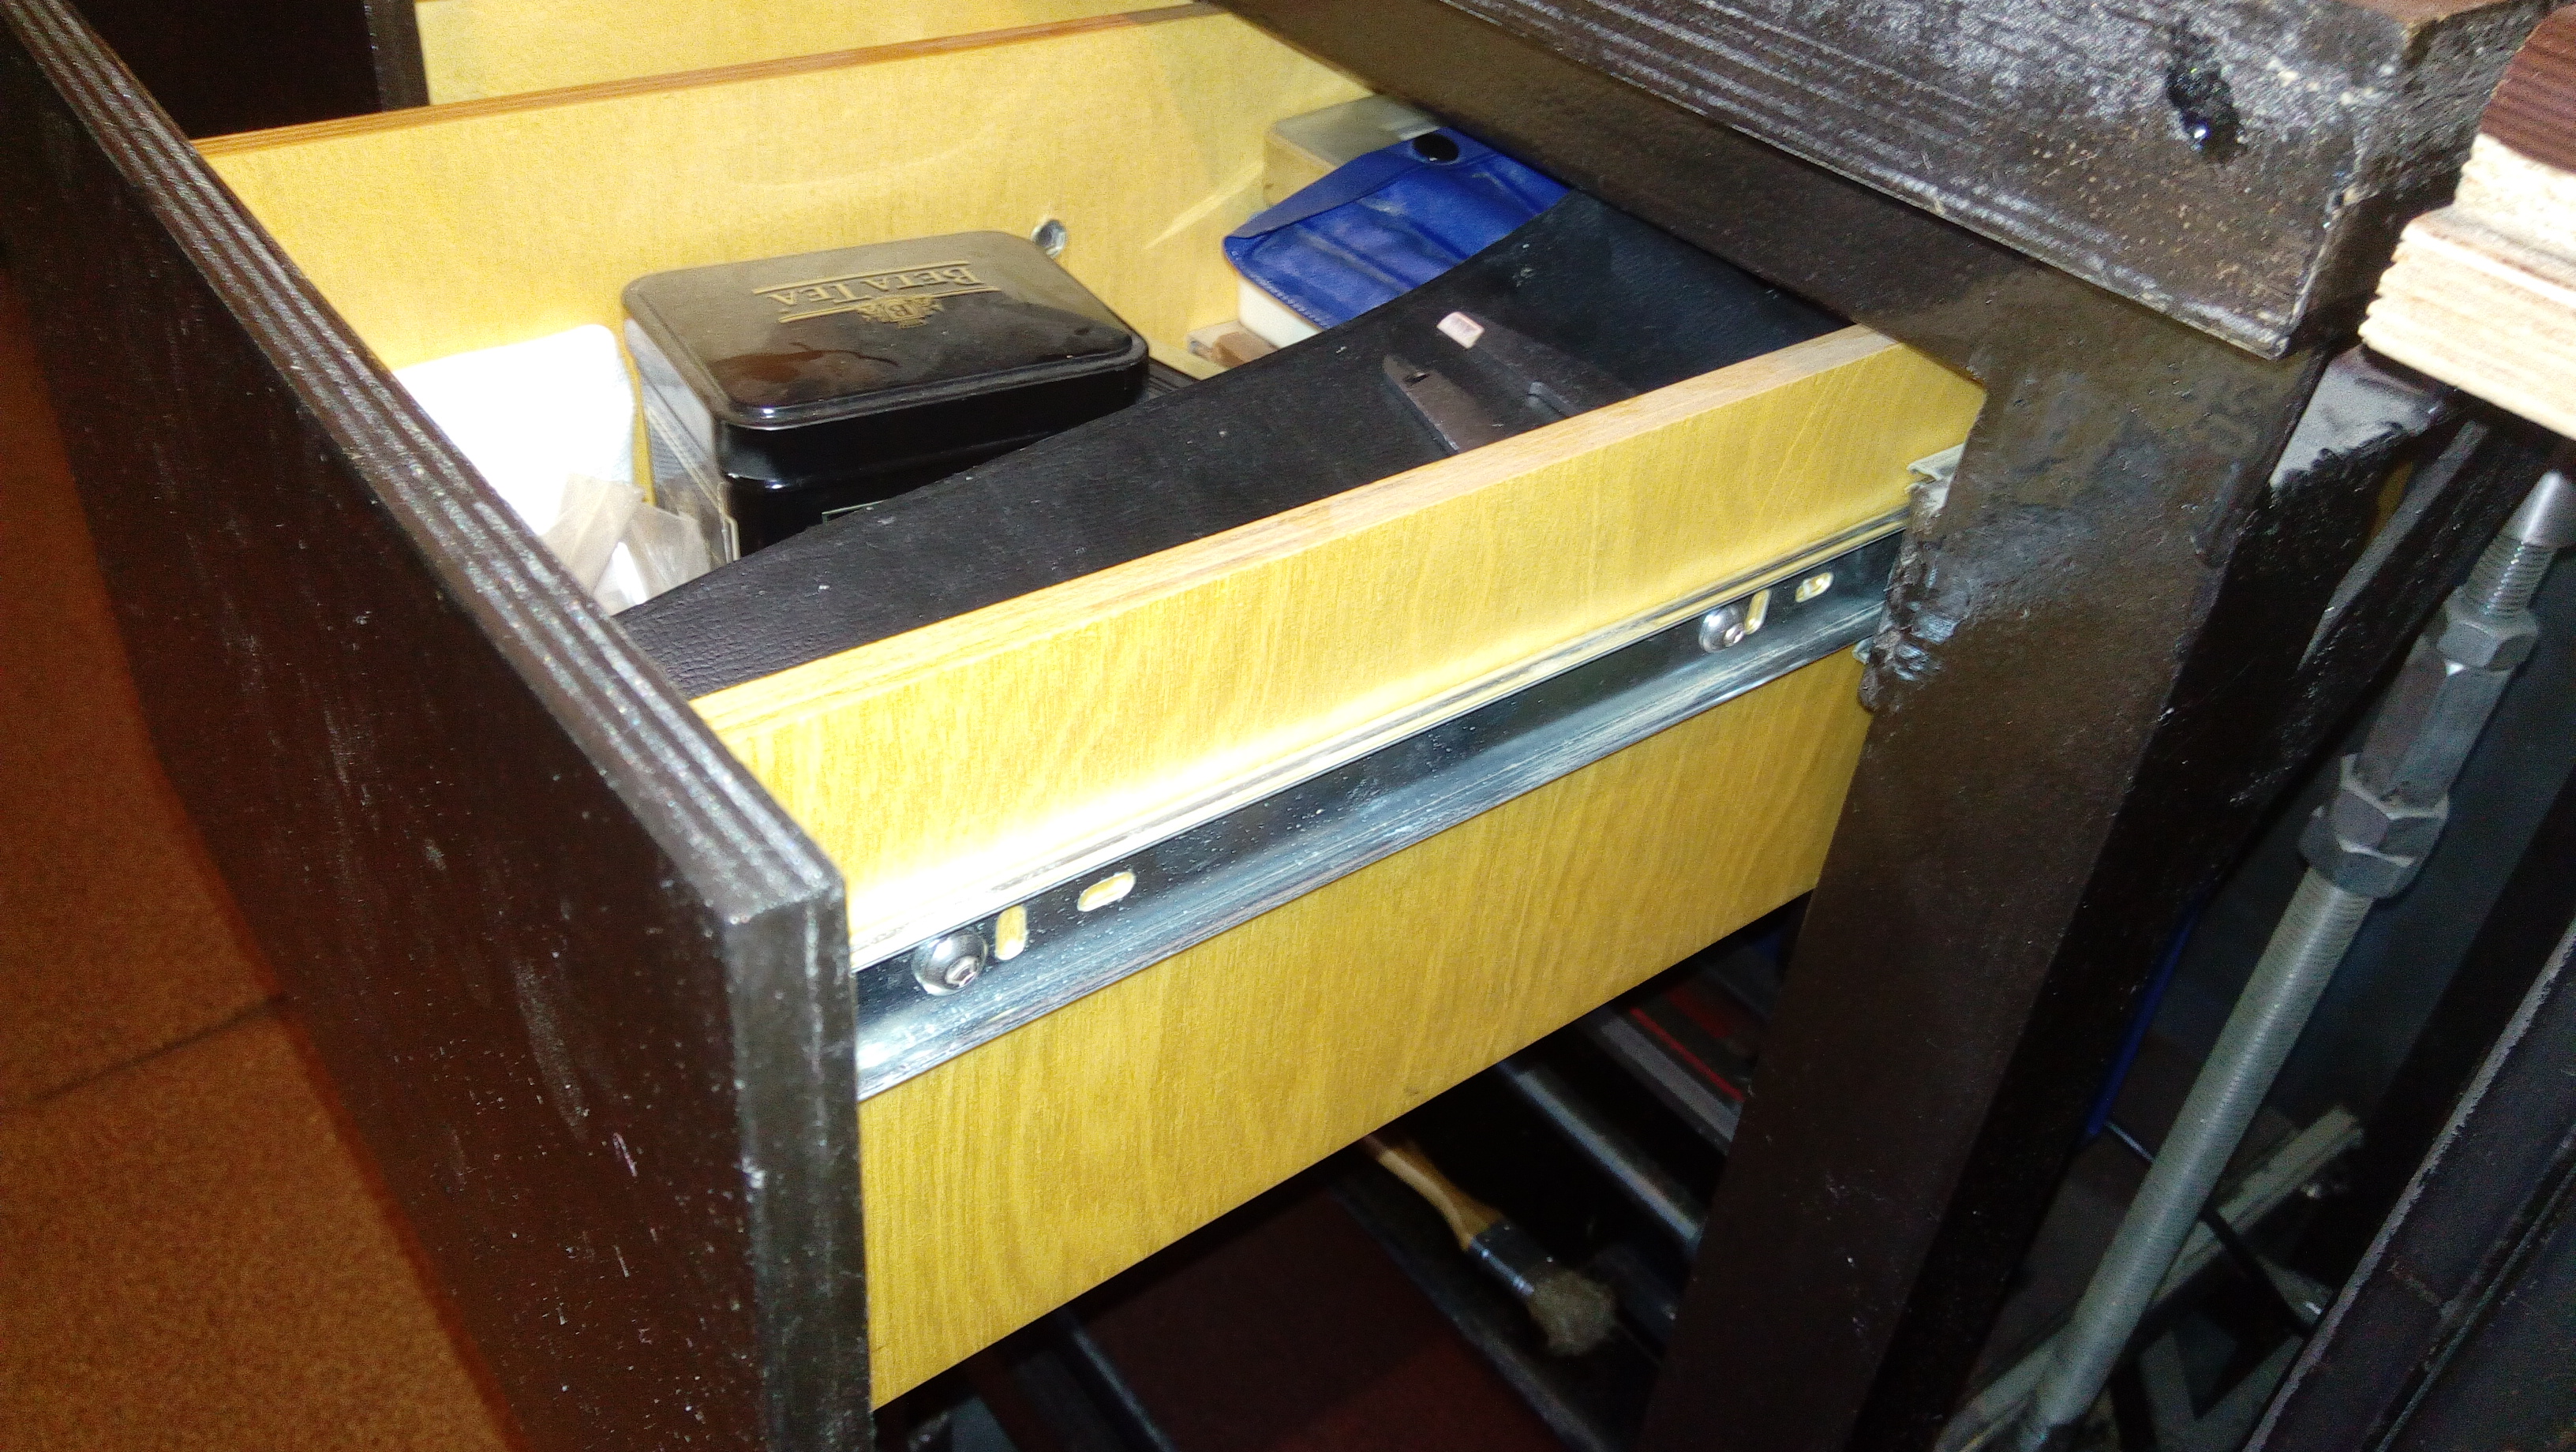
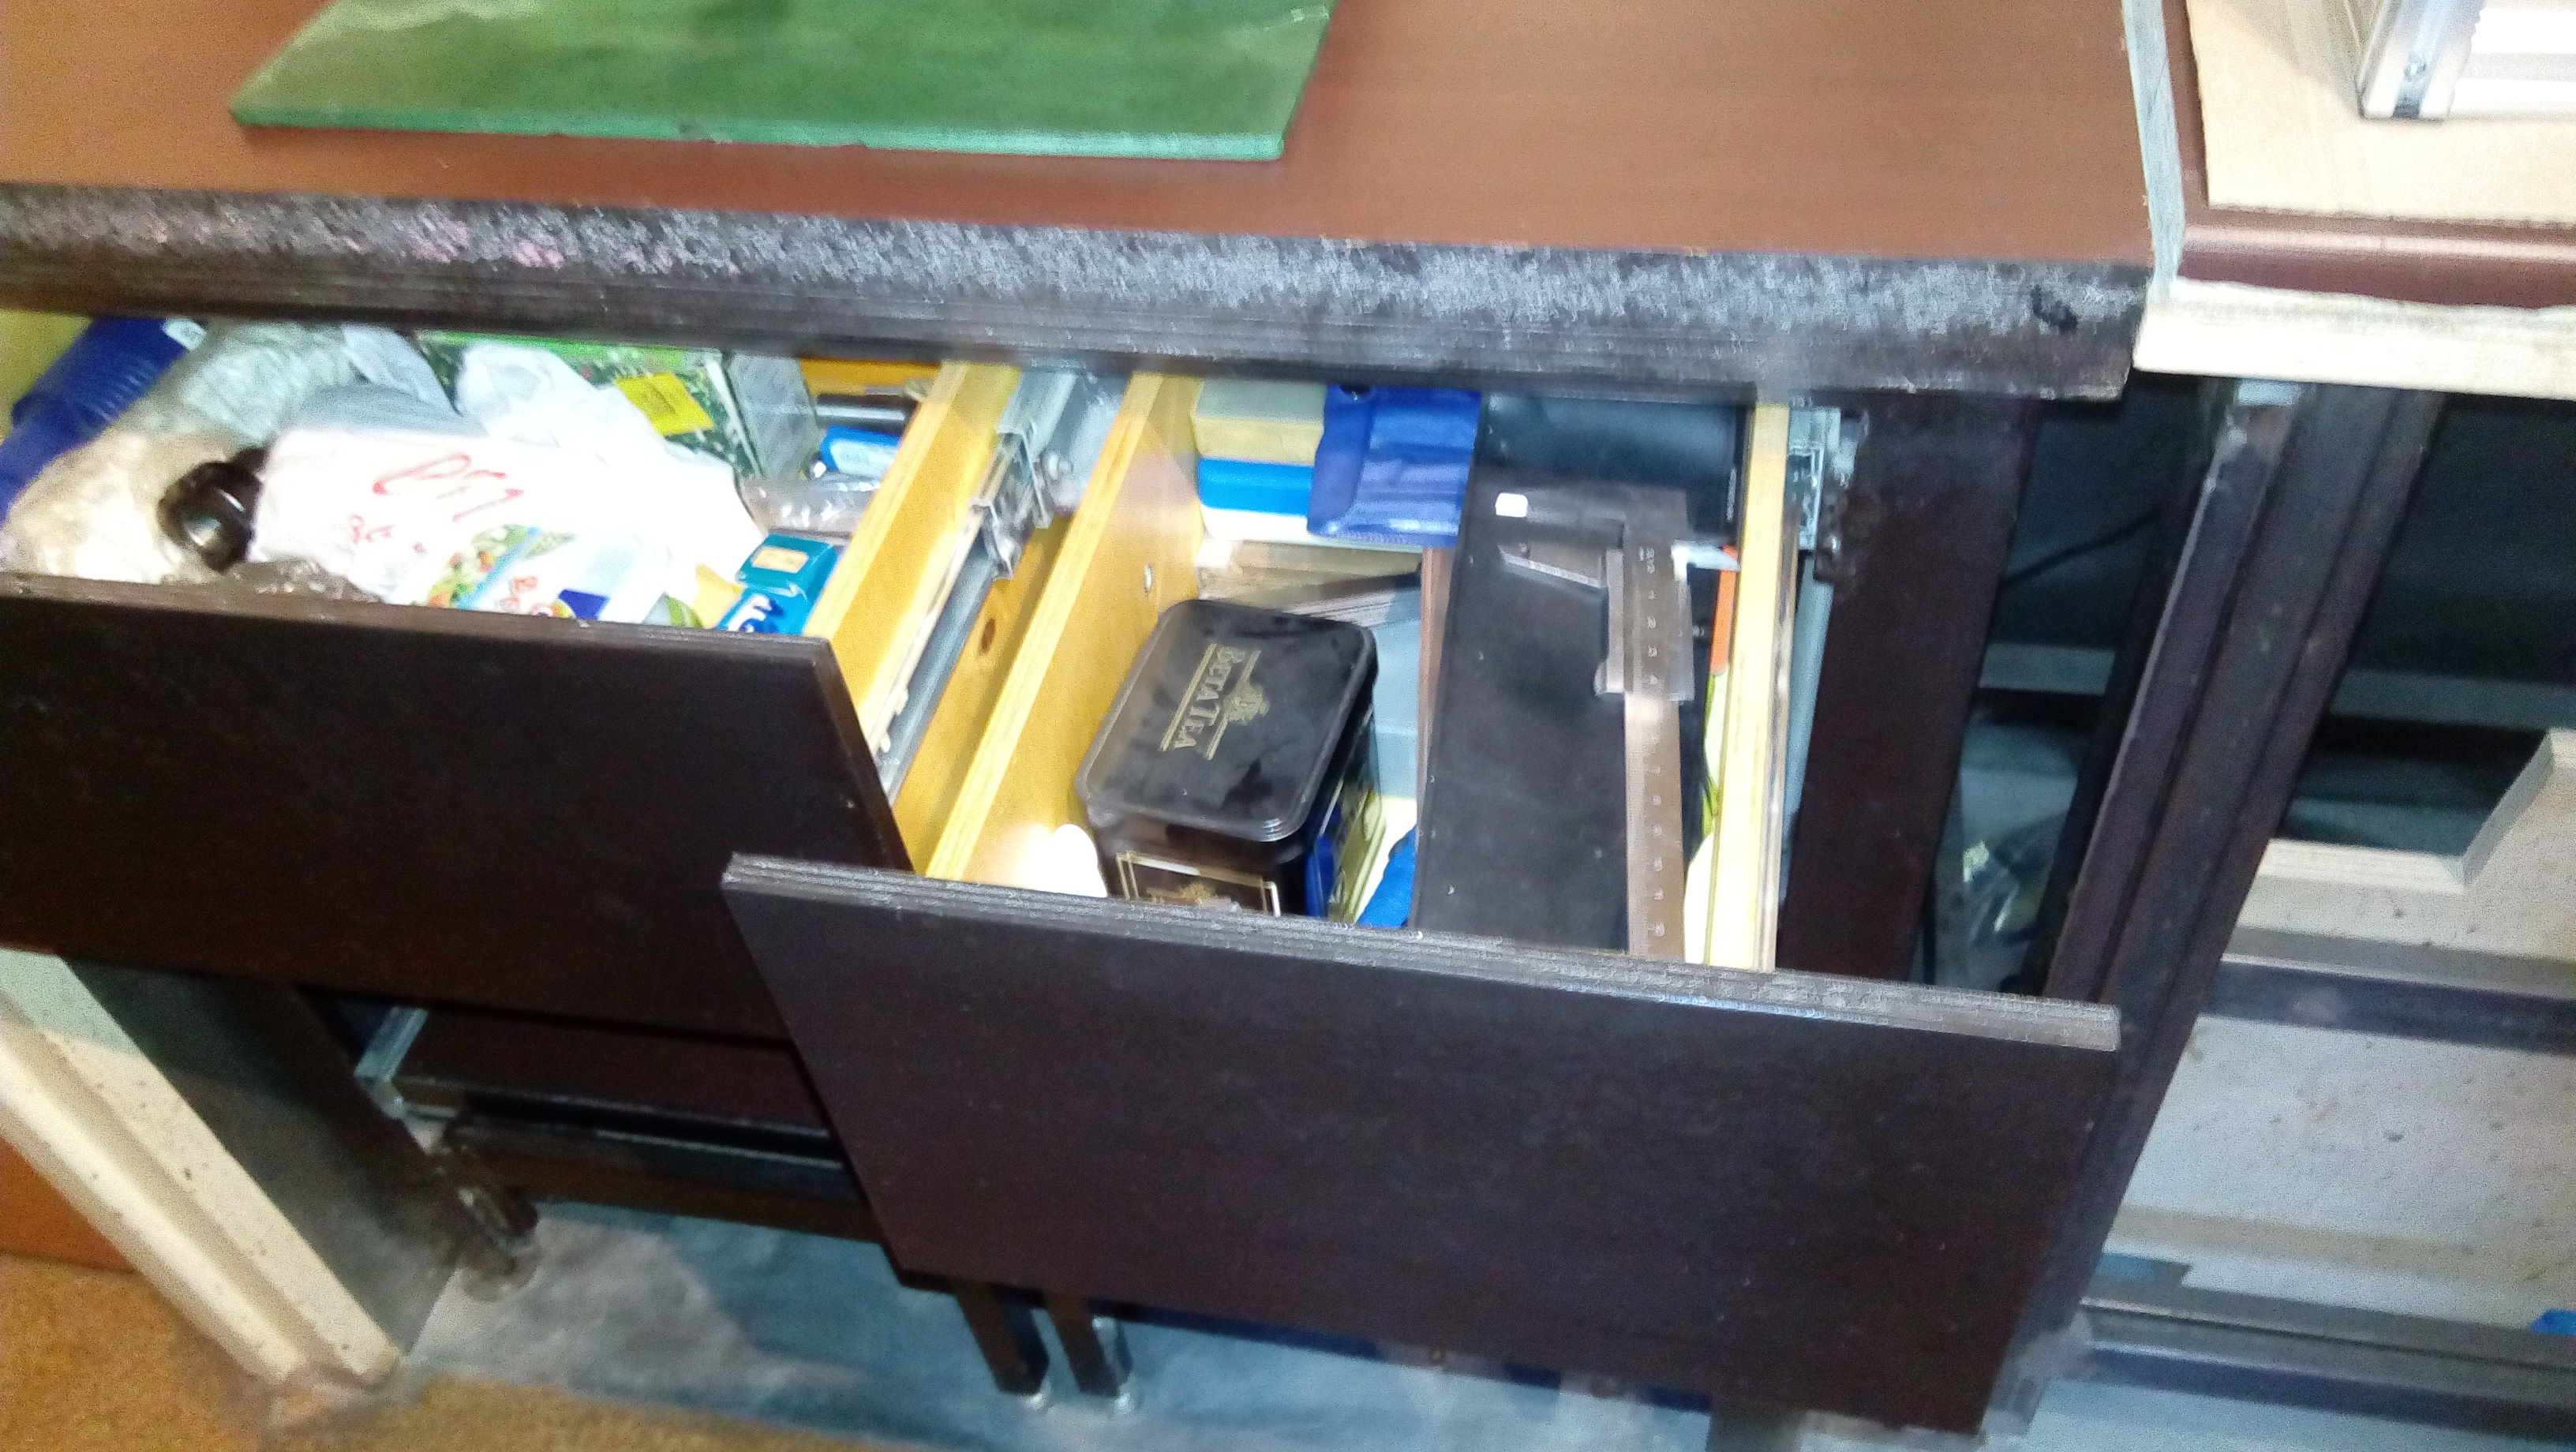
And there are two drawers left, and they are also attached to the ball guides. Boxes of plywood 10mm. reinforced. Grooves are made by a milling cutter on a tree, everything is glued together.
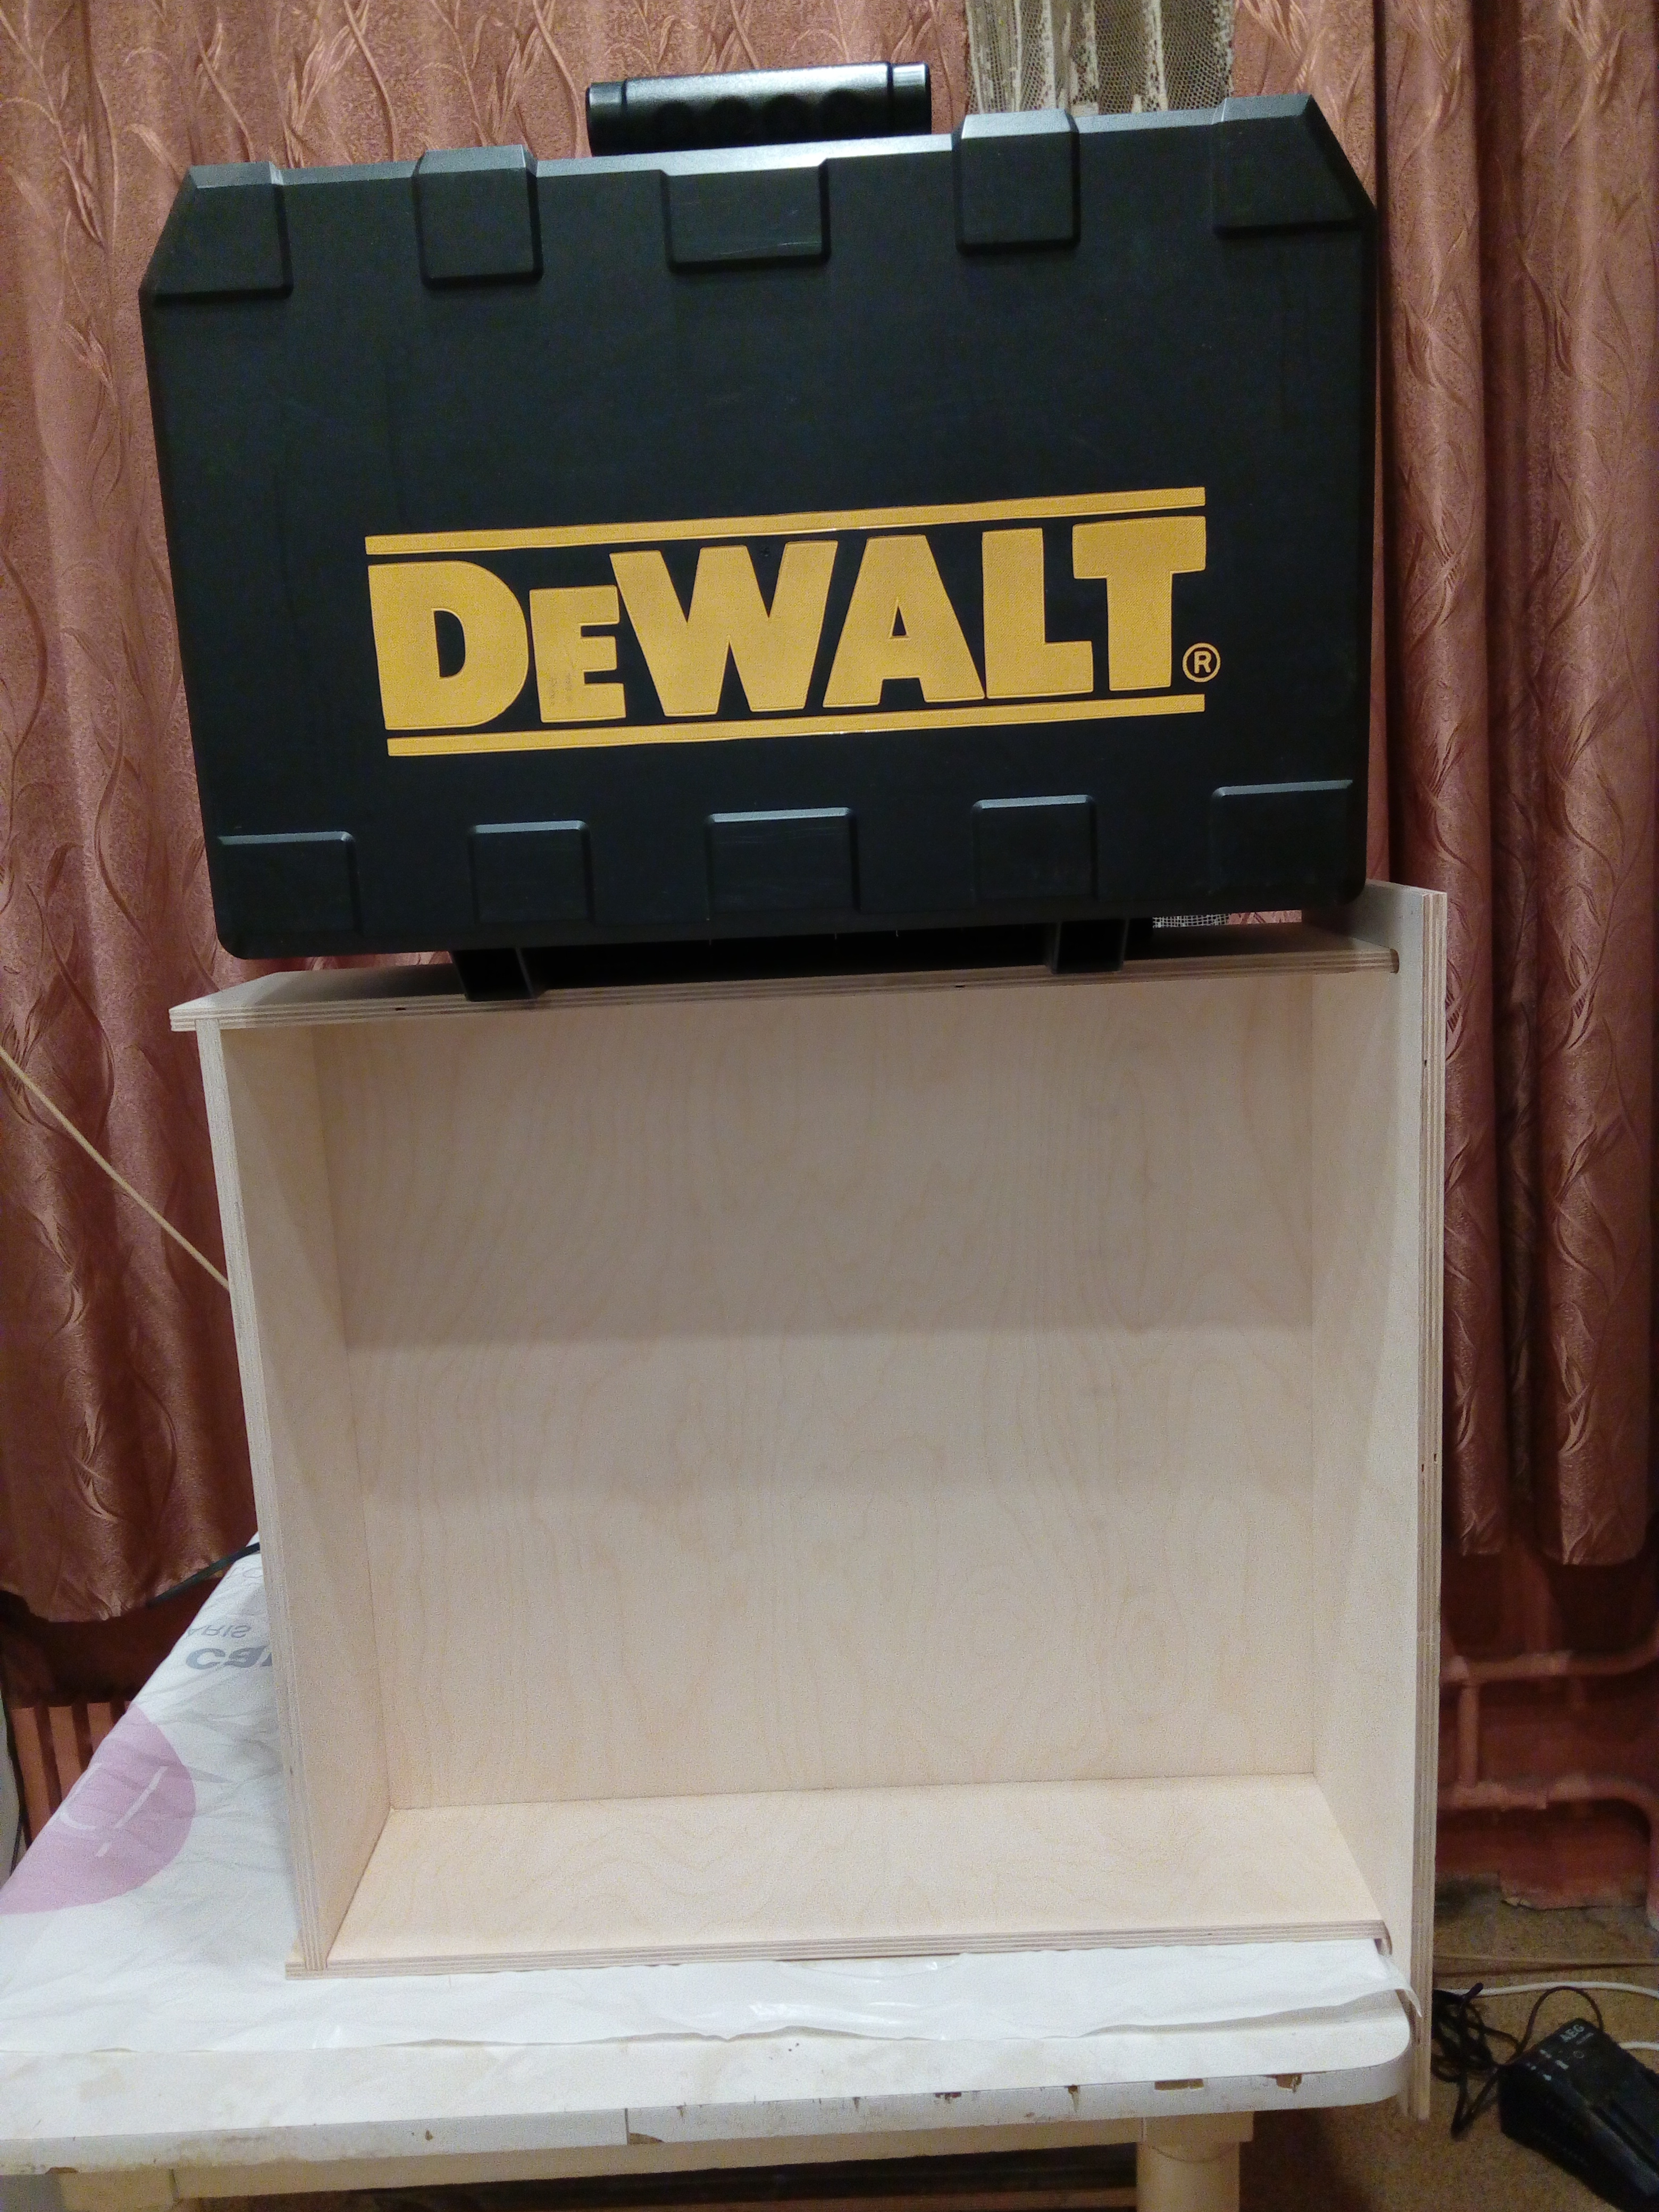
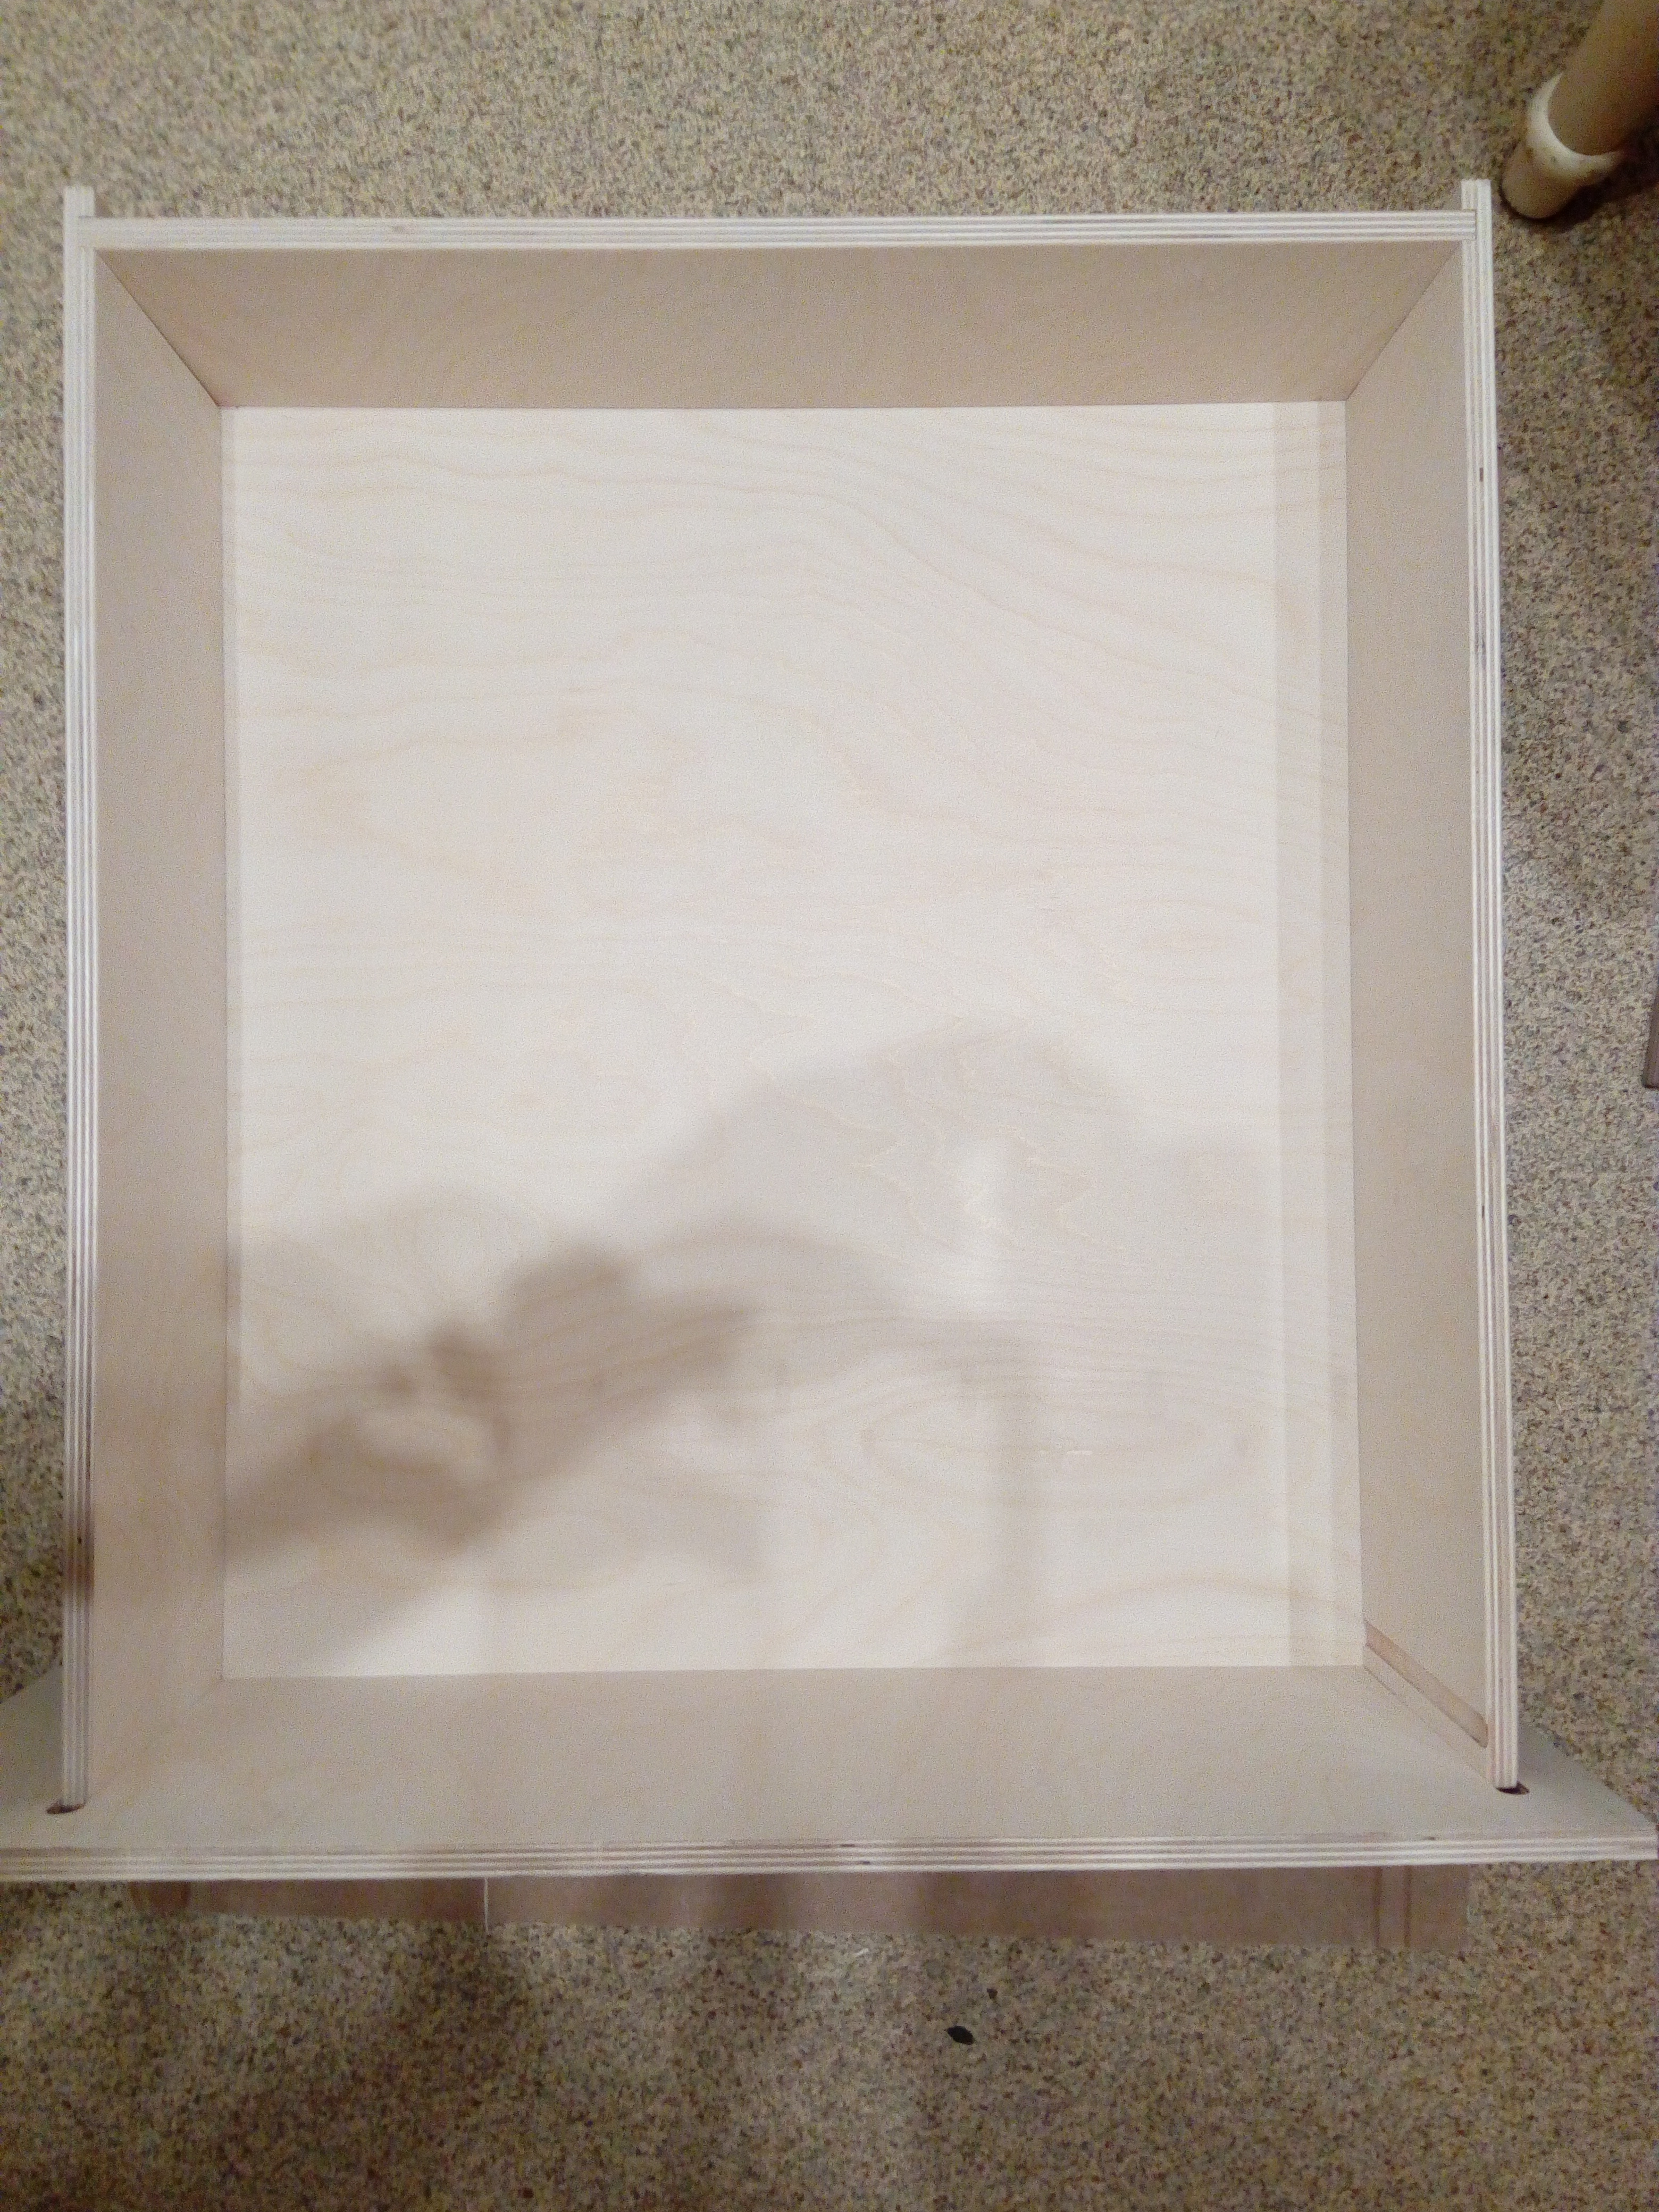
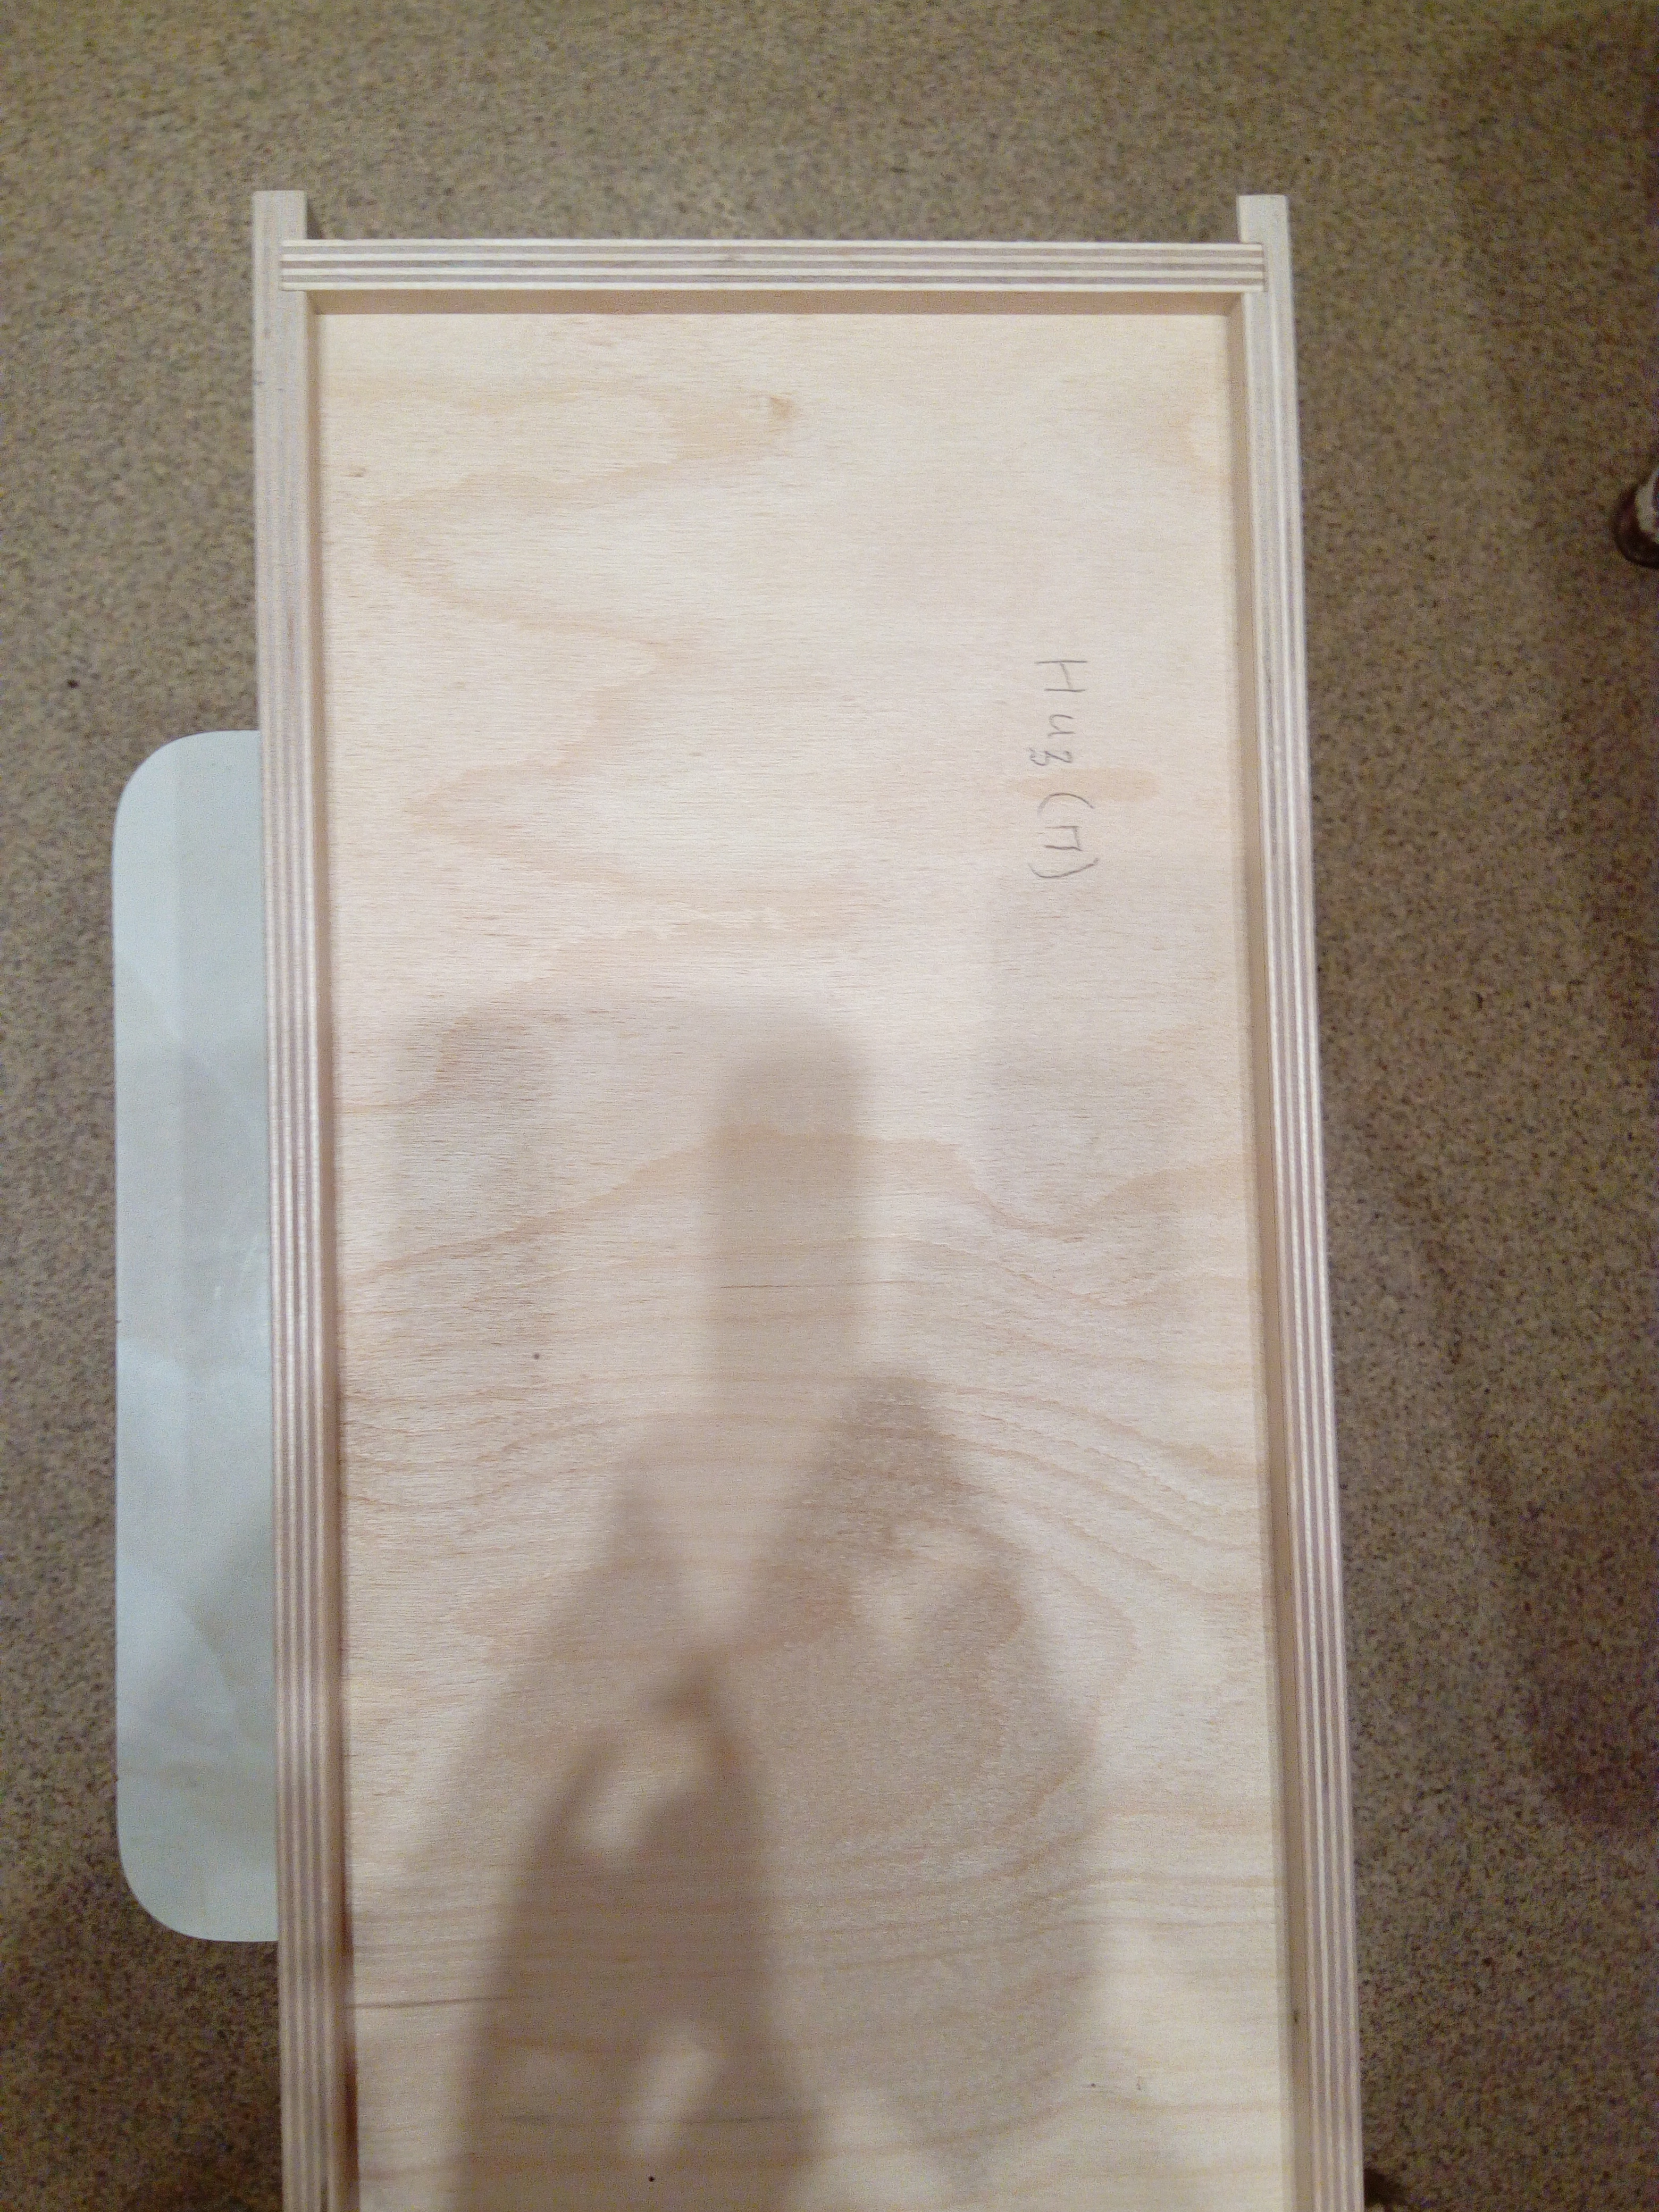
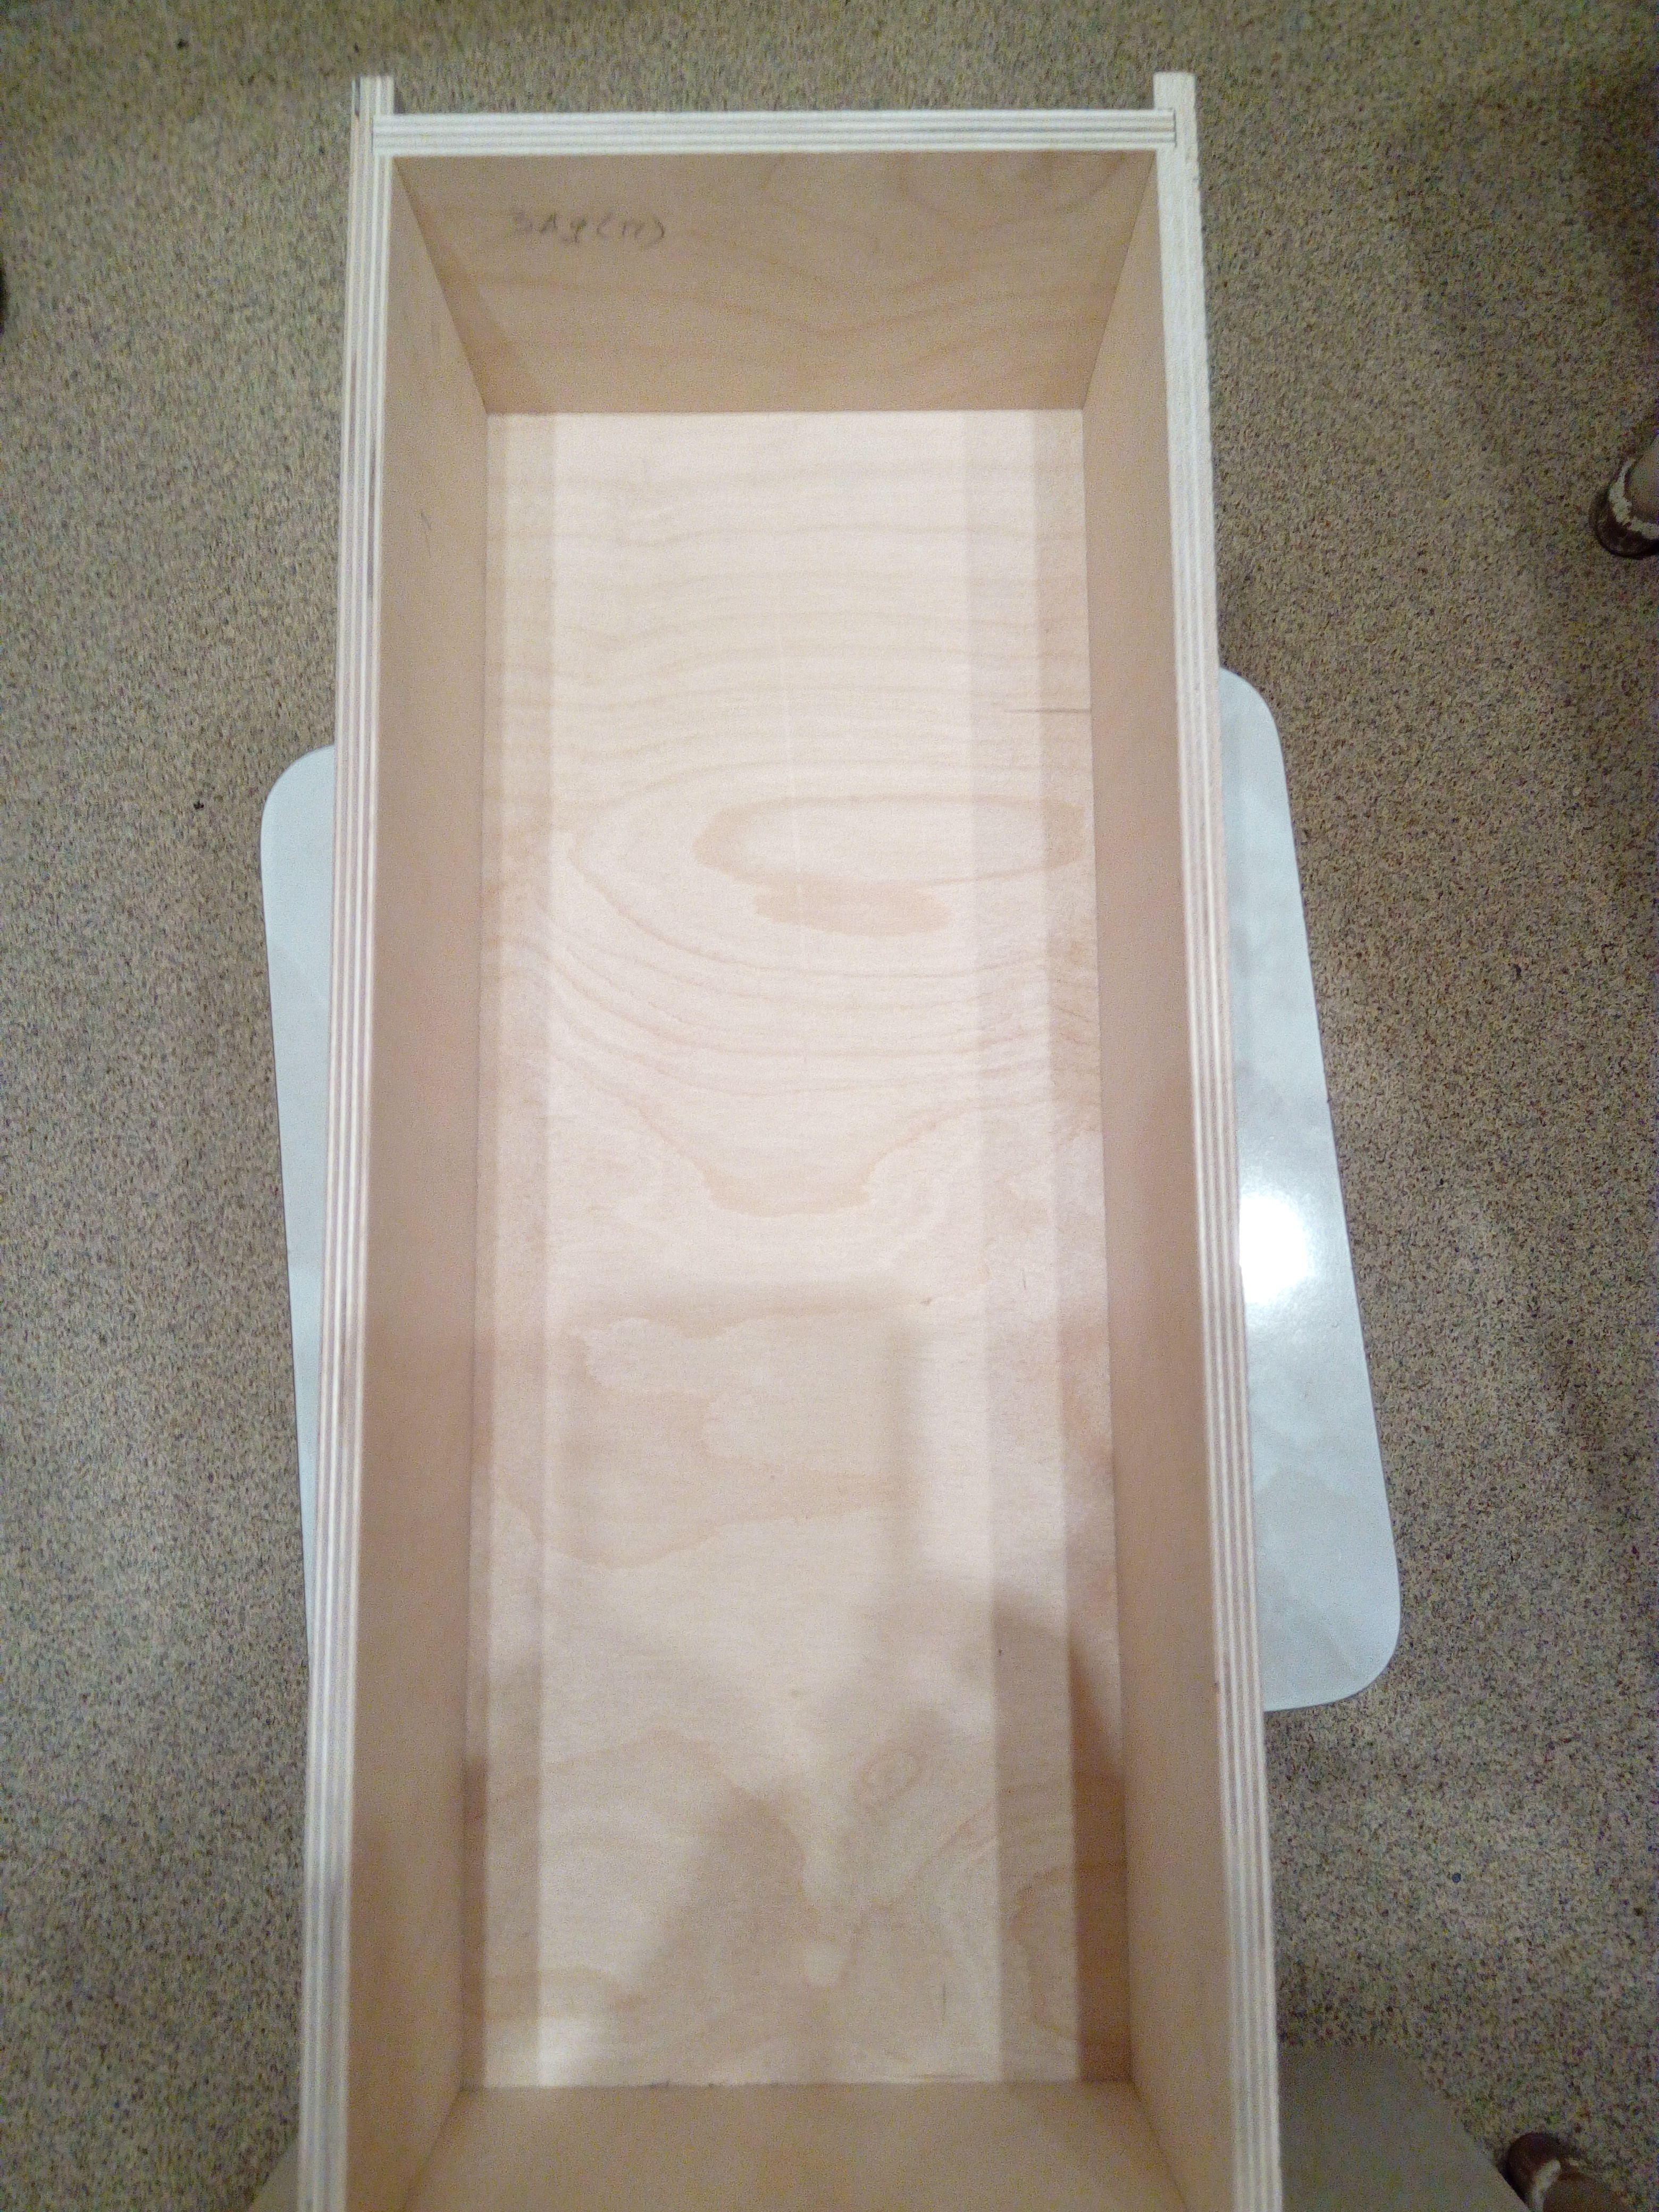
In the drawers there will be equipment for machines (milling cutters, drills, chucks, etc.), so the guides are attached to them with the help of futoro.
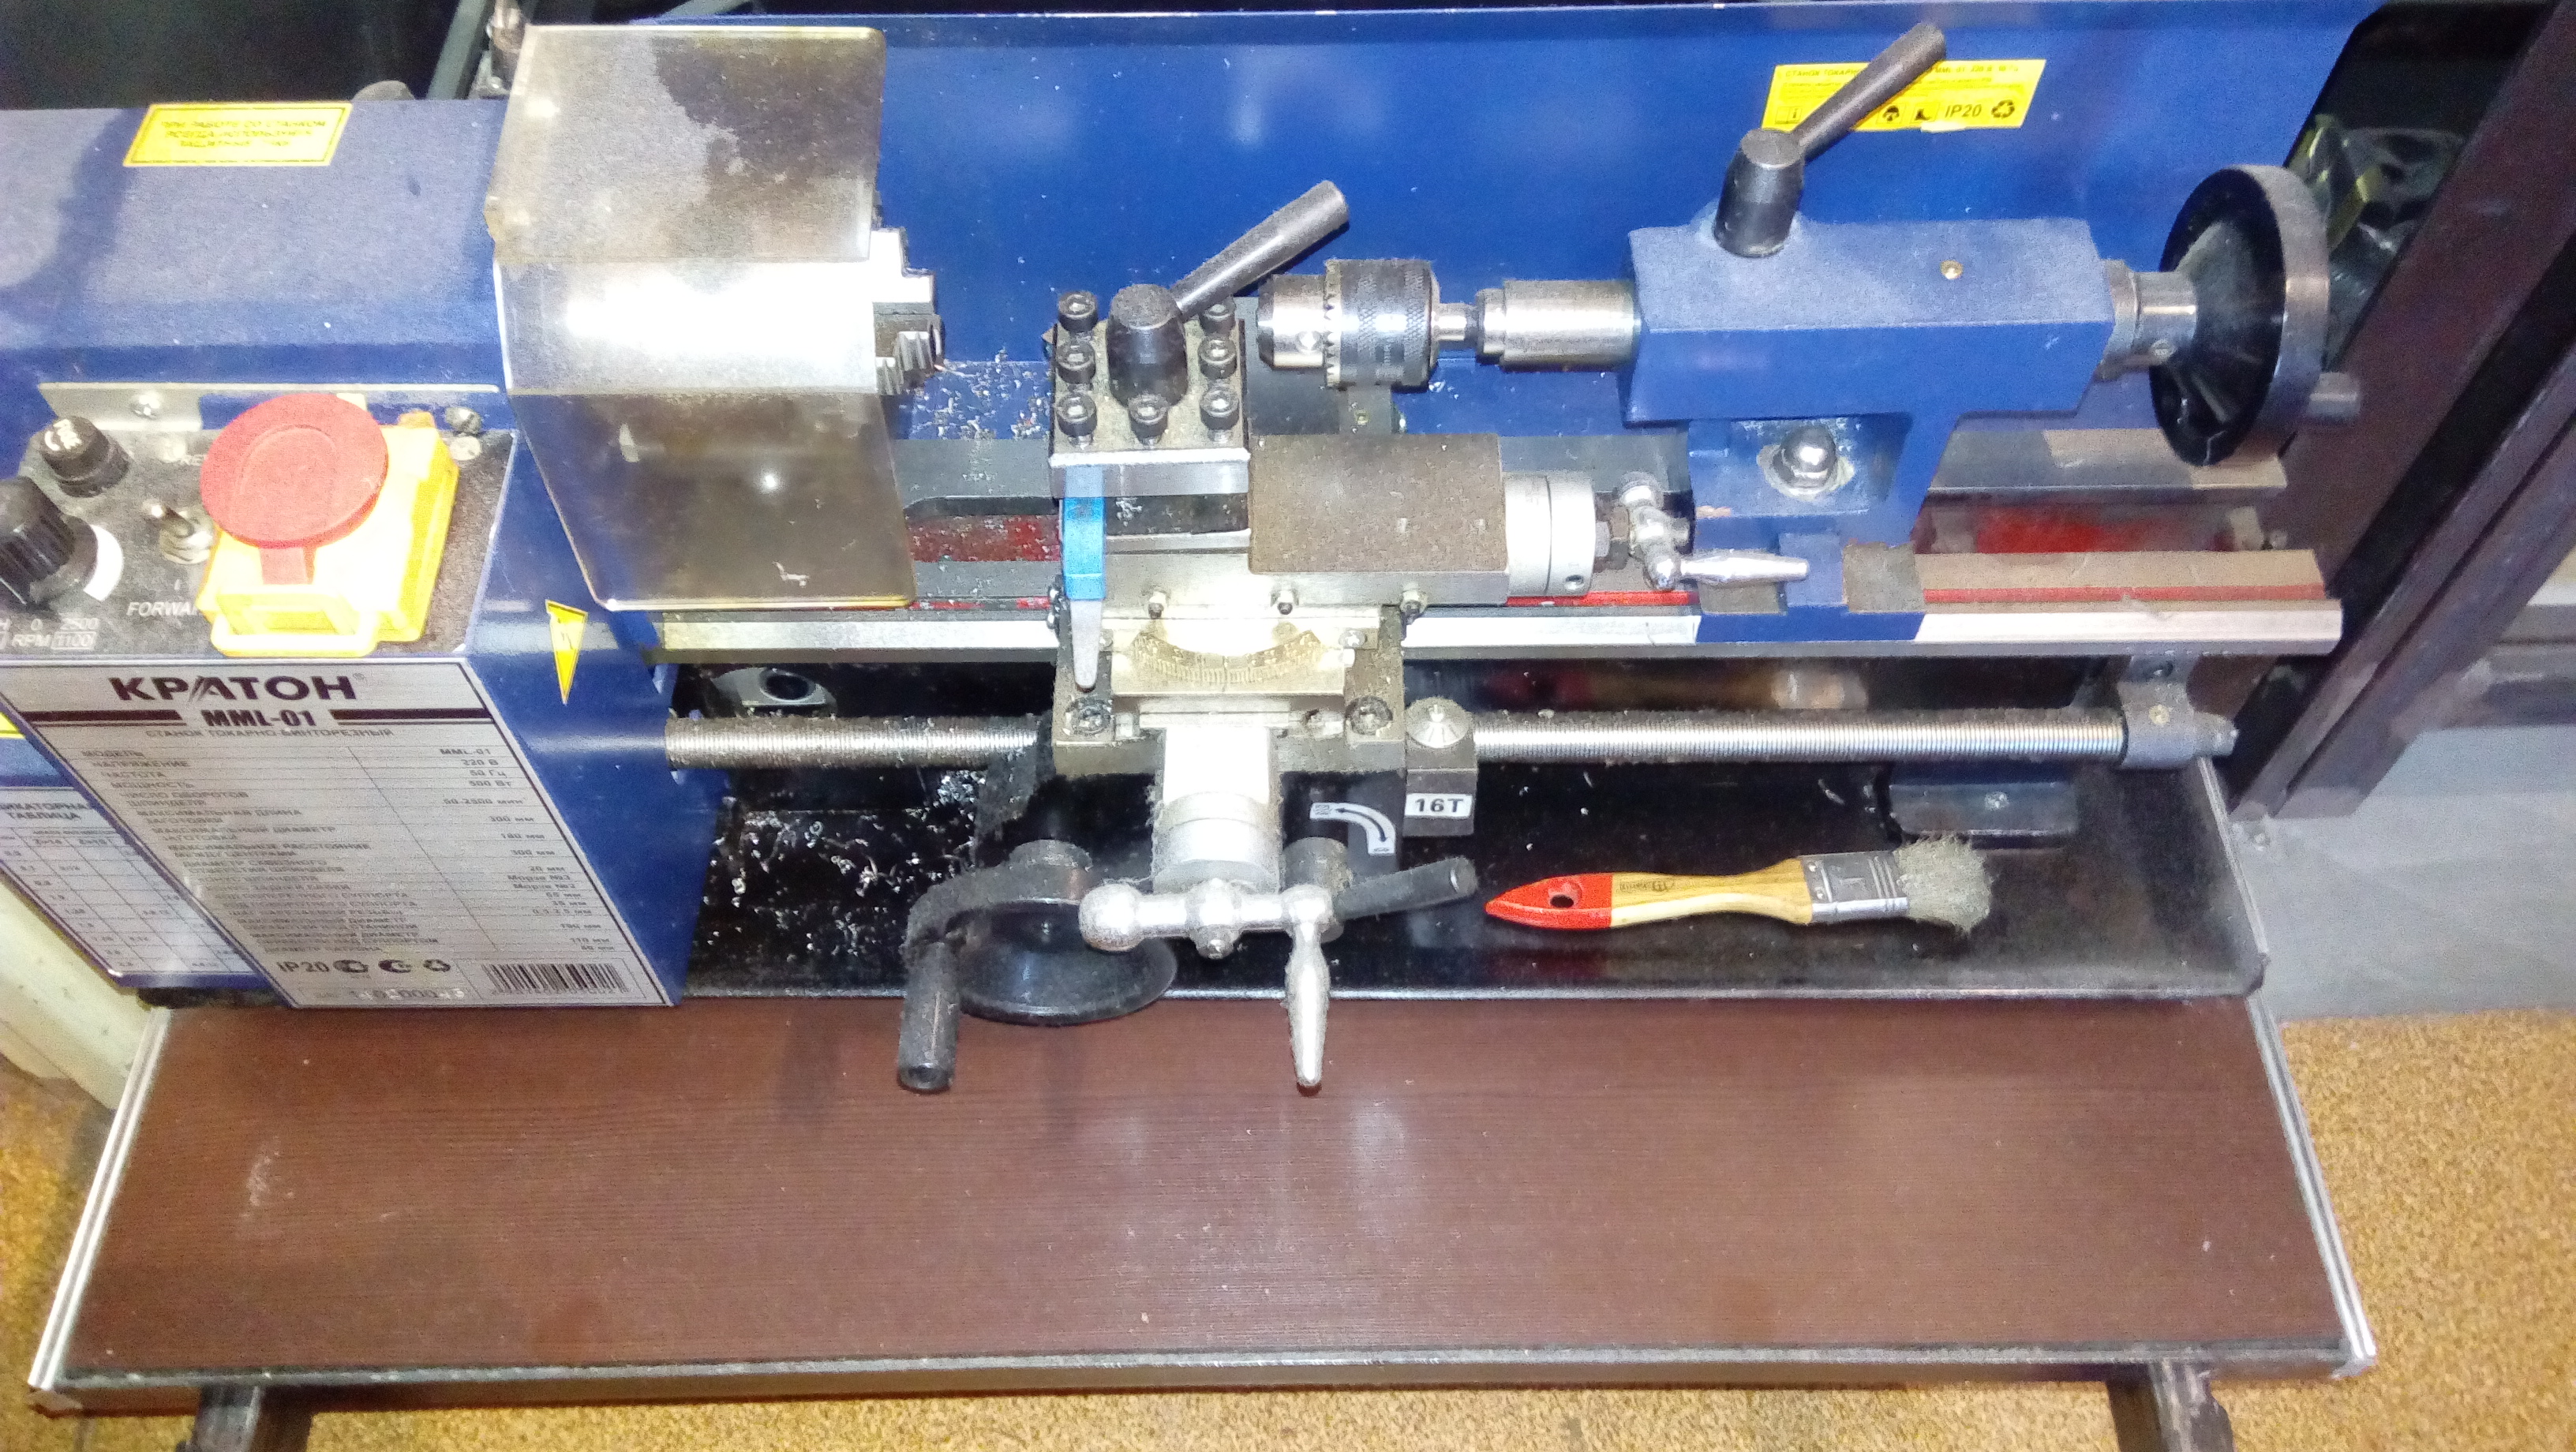
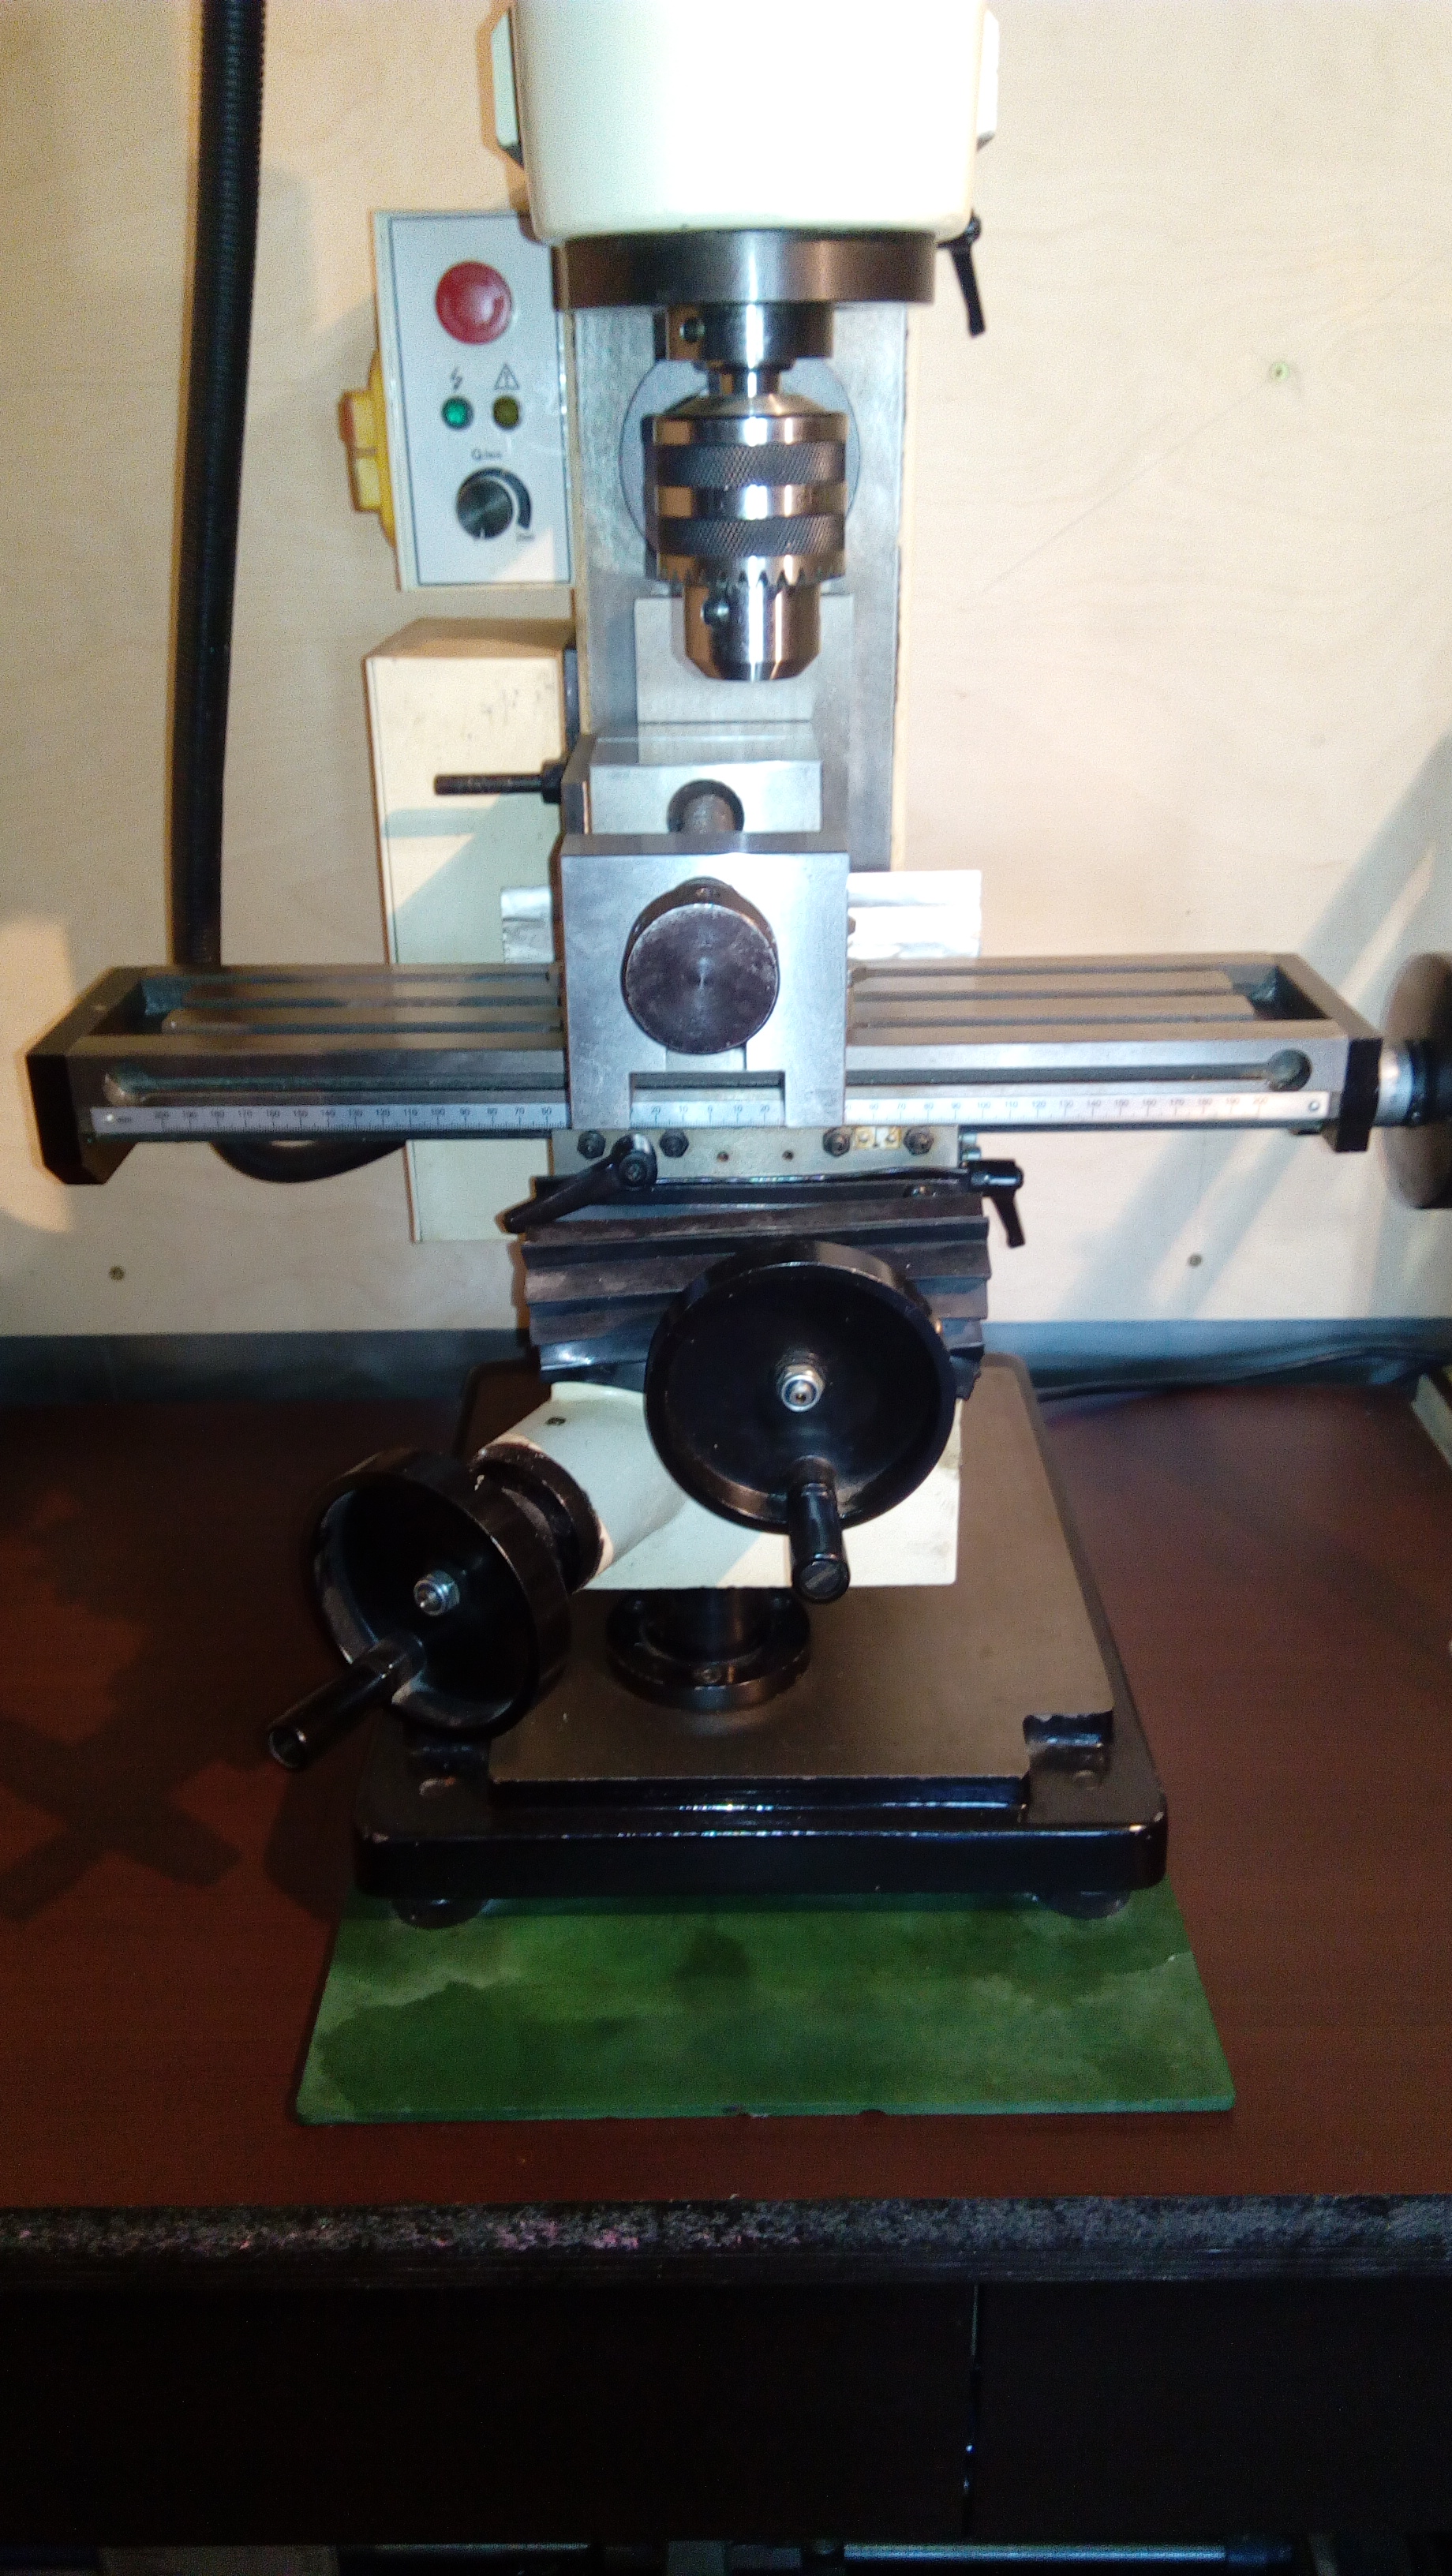
Well, the result (I wildly apologize for the quality of the following pictures):
Thank you all.
I decided to write this article after reading the comment in the article Programming in JavaScript for a lathe from QwertyOFF
I can hardly imagine how you can keep a lathe, even one in the apartment, except that you have a room that you do not mind at all.
And of course, show how I did it.
It will be about a welded pedestal, the highlight of which is its mobility - the pedestal along with the machines can be moved around the apartment.
This cabinet was my first welded construction, so in some places flaws are noticeable. The curbstone was made in 2015. and still serves.
TTX:
Dimensions (on the countertop WxHxD): 870x860x590;
Maximum load when wheel bearings are released (dynamic): 400kg. (The seller stated that each wheel in the dynamics can withstand 100 kg, i.e. 4 wheels = 400 kg.)
Iron:
First, the upper part from prof. 60x440x4 pipes, the plane was plywood with cut corners, onto which pipes were fastened with clamps and cooked. It turned out perfectly (angles and geometry).
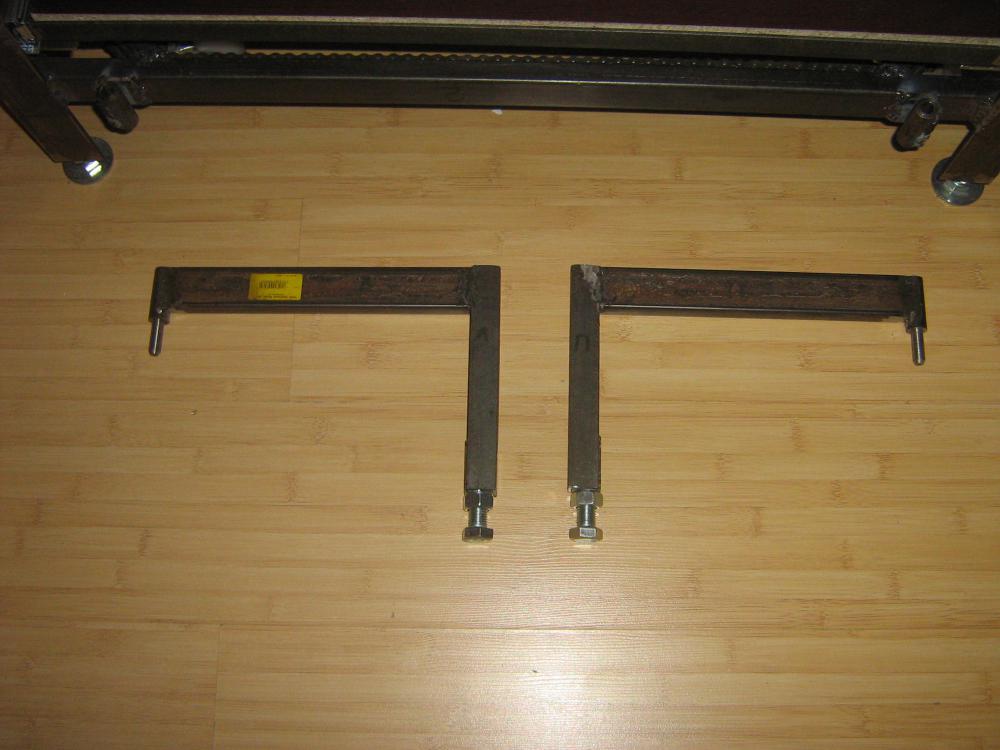
Next, it was necessary to weld the legs from the corner 50x50x5. It was a nightmare :) It was necessary to weld each leg, taking into account the angles on two sides and still butt. I did not have magnetic corners, and now I don’t. Therefore, I used iron strips + clamps to fix the leg at an angle of 90 degrees. Naturally, at first he cooked with tacks and after reconciling the corners, completely.
Next, welded the bottom frame already in place of prof. pipes 40x20x2.
Front view:
I think from the pictures it’s already clear how raising / lowering the stand on the wheels is carried out.
A bit of detail.
Sprockets and chain - bicycle.
“Reducers” for wheel bearings: connecting nuts + M20 stud. The diameter of the hole in the wheel support is 15 mm. Therefore, the diameter of the M20 stud from the side of the wheel was reduced to threading M14. On each sprocket, spot welded M14 body washer (alignment is not so important, but still tried to align it in the center). As a result: a hairpin + an asterisk with a washer + a wheel support + a nut / a counter nut of M14.
Legs: M20 bolts + body washers.
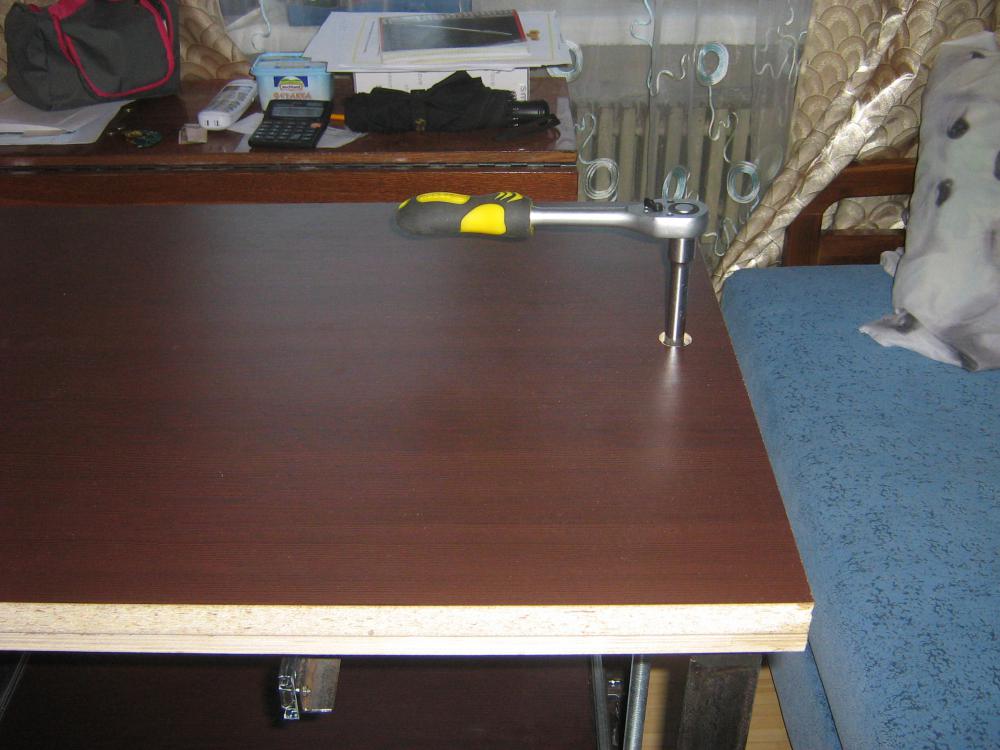
“Reducer”: The
pin that transmits rotation had to be “reduced” to M16 in order to weld the end head for the ratchet wrench on the contrary (so that the hole diameter in the upper professional pipe is smaller).
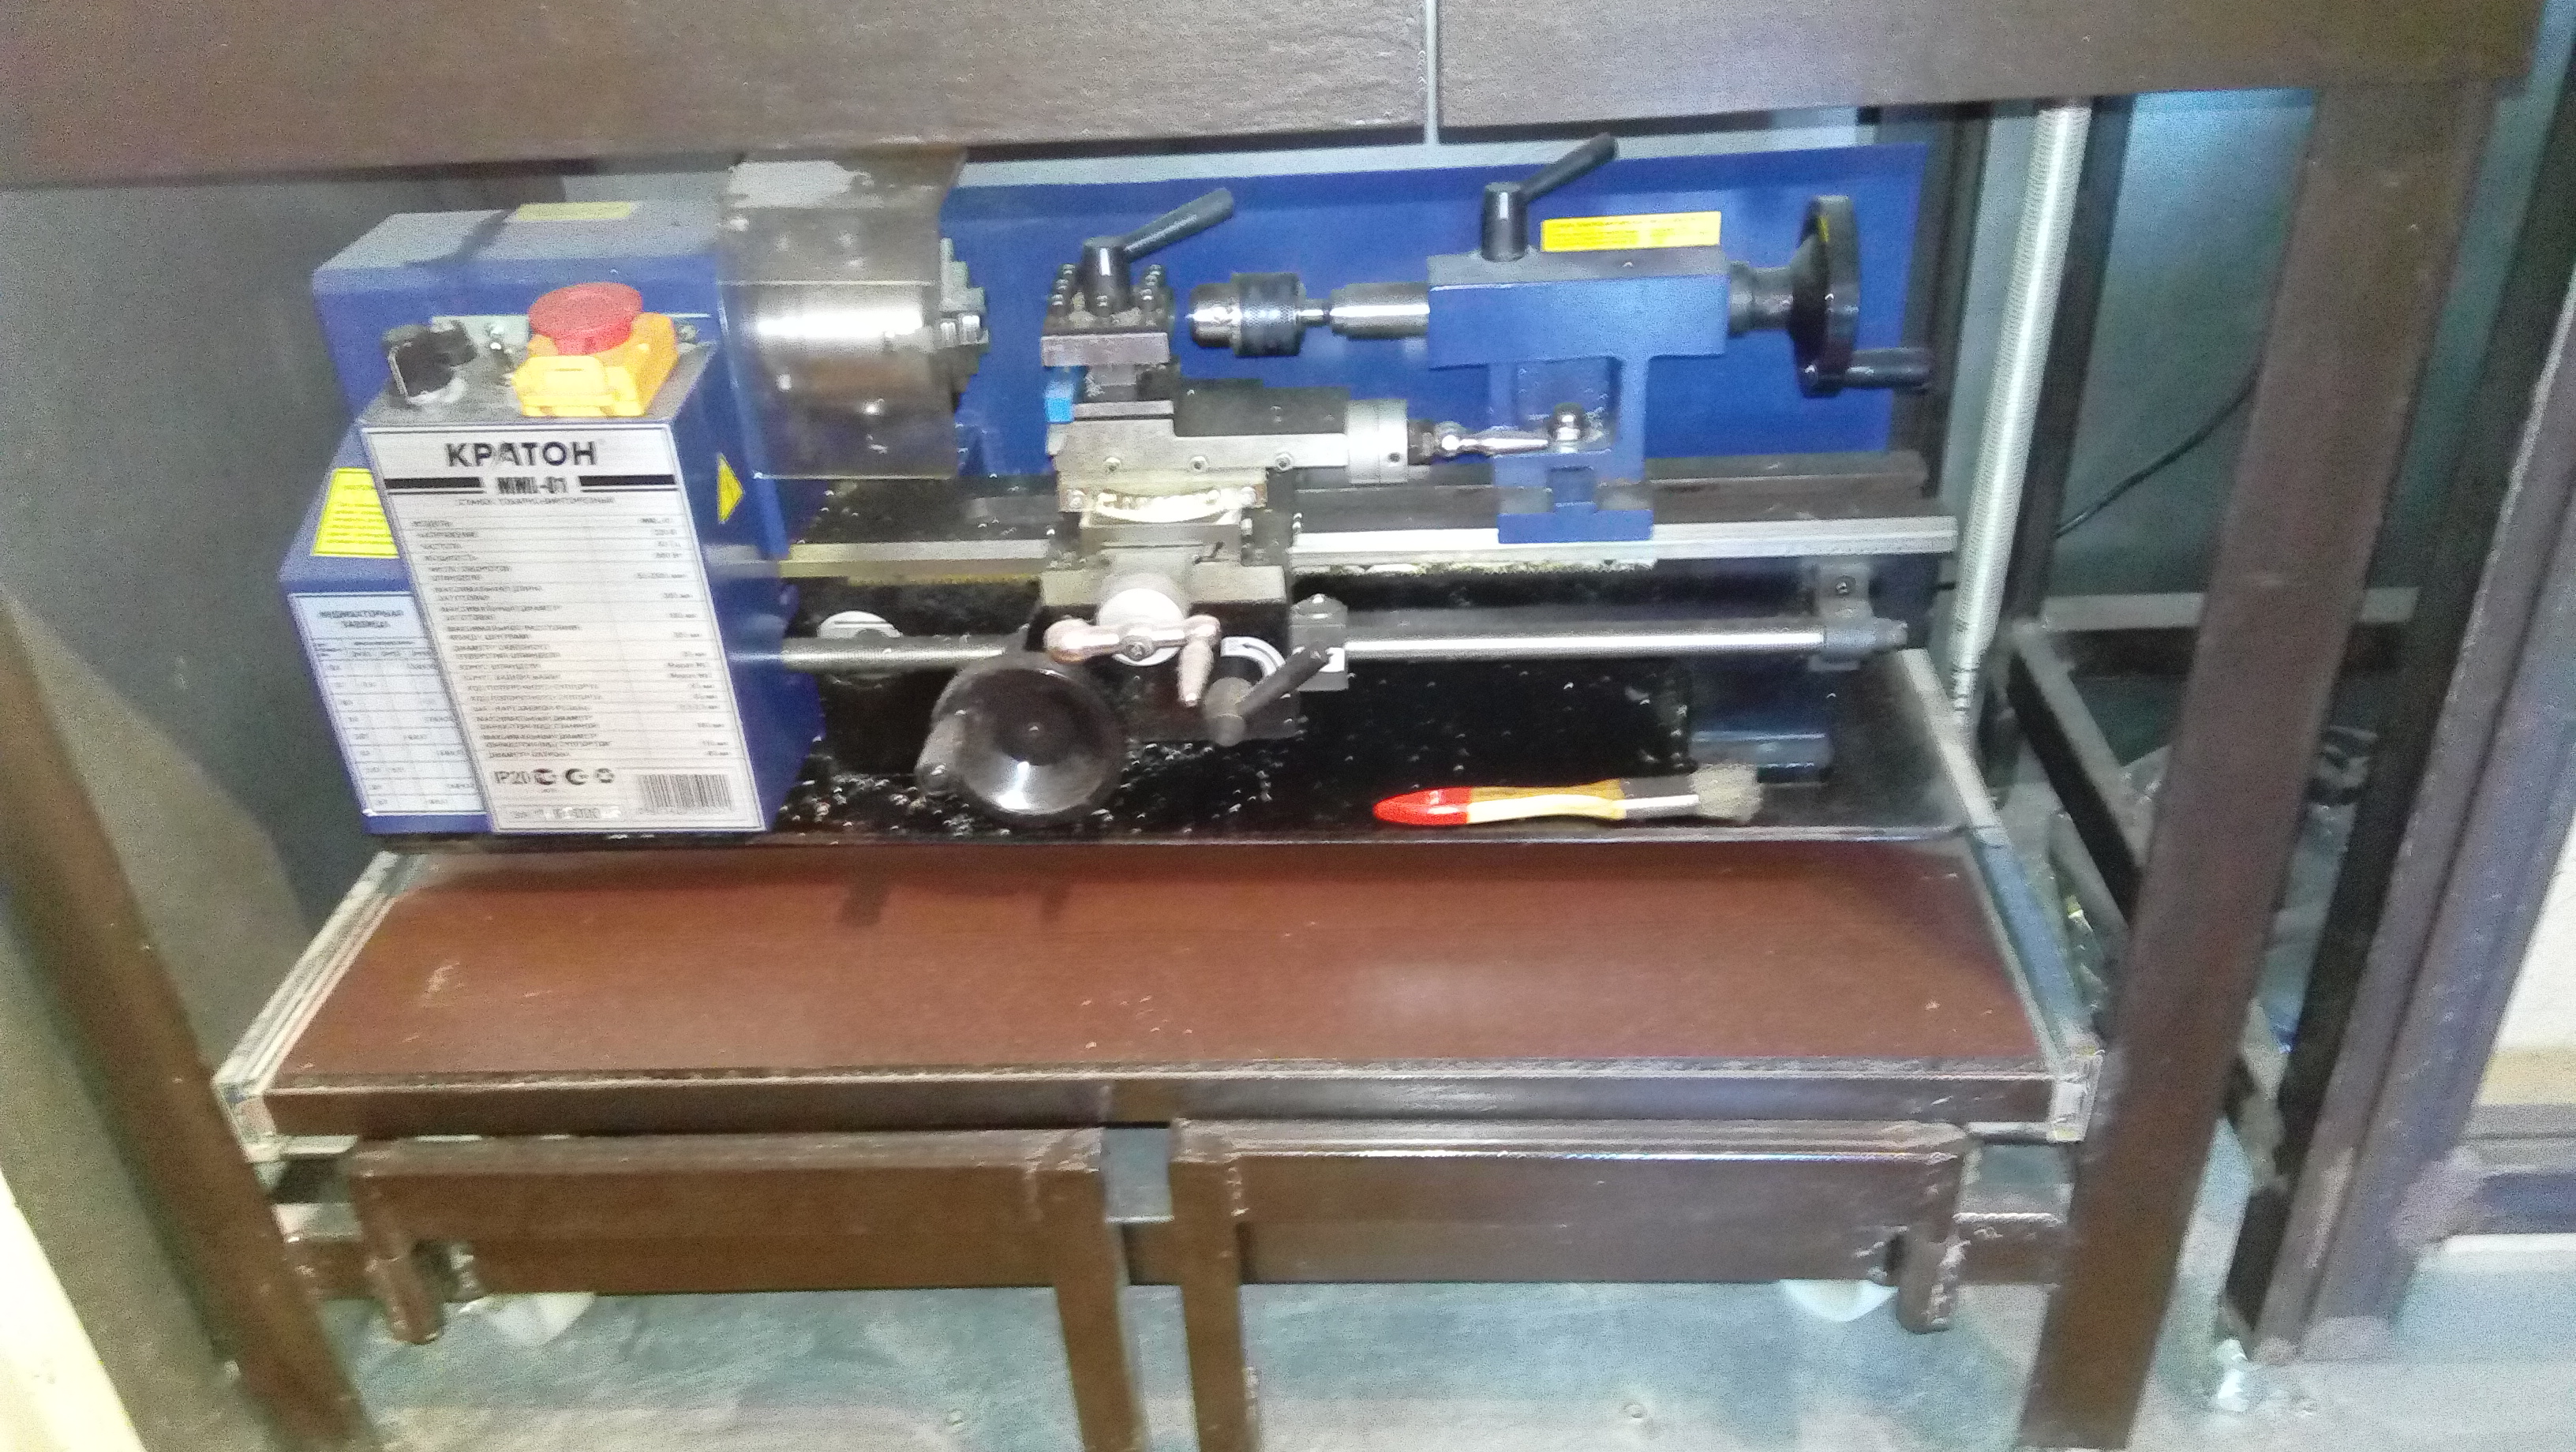
The lower shelf is welded from the corners 25x25x3, where a countertop 25 mm thick is embedded. The countertop is attached to the corners using furniture legs 10x6 (the upper countertop is the same).
The lower shelf is extendable (ball guides of full extension are used). I even stood on the lower shelf and skated a bit - I could stand it :) The
stops for the lower shelf, when it is pulled out, are made of corners 25x25x3
Which are inserted into the door hinges:
And there are two drawers left, and they are also attached to the ball guides. Boxes of plywood 10mm. reinforced. Grooves are made by a milling cutter on a tree, everything is glued together.
In the drawers there will be equipment for machines (milling cutters, drills, chucks, etc.), so the guides are attached to them with the help of futoro.
Well, the result (I wildly apologize for the quality of the following pictures):
Thank you all.