DIY book scanner
The idea of assembling a book scanner appeared after I had to scan a rather voluminous book. I scanned it on a regular flatbed scanner and it took quite a while. And just as much time was spent on post processing to achieve a more or less acceptable quality and ease of reading the material received.
How it all began. In the beginning was the word, and the word was obscene. Because after the whole epic with the scanning of the book, there were no other words.
The question has become relevant. Having rummaged through the Internet, I found ready-made solutions for book scanners. So to speak from the manufacturer. But the cost of such complexes evoked sad thoughts, I can not afford it.
Having sat and with a brain, I came to the conclusion that we need to make such a scanner ourselves. And most importantly, I can make such a scanner myself. After all, what is the design of the book scanner. This is a cradle for a book with a certain angle, stands for mounting cameras and lighting, as well as a program for the subsequent processing of the received photos.
The main material for the scanner I chose: wood and plastic. It is easier to handle at home. As well as standard hardware from the hardware store.
There are no photographs of the manufacturing process itself. The presented photos show the assembly sequence of the scanner and I will briefly describe what and why.
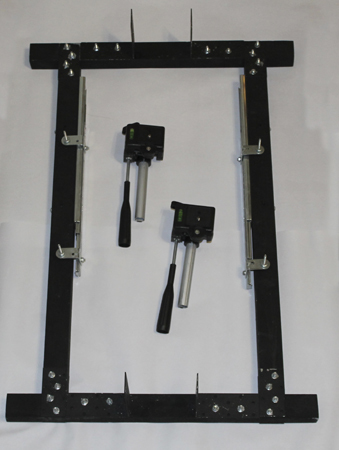
The base of the scanner.
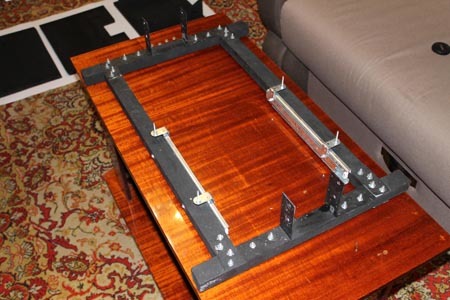
Material: wooden block, steel plates, corner for mounting vertical racks, furniture rails on which the base of the book cradle will be installed.
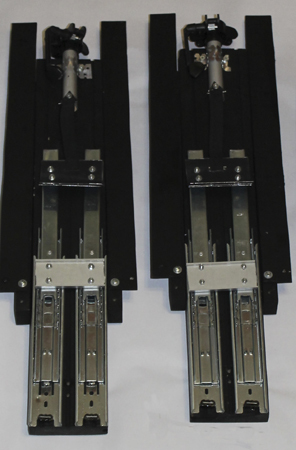
The uprights left and right are identical.
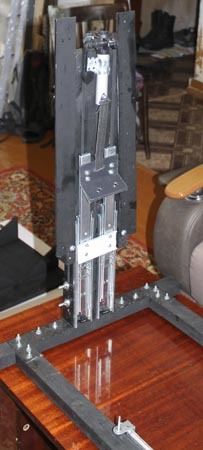
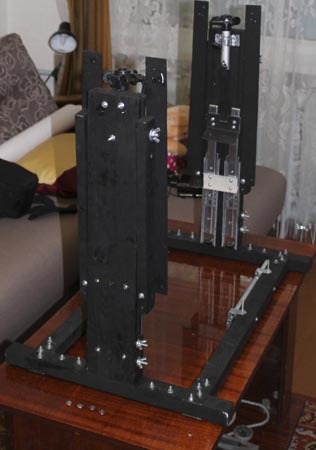
Material: wooden block, furniture guides on which the clamping glass will be attached, the upper part of the usual tripod in which the mount for the camera will be mounted.
Everything is fixed on the base with bolts.
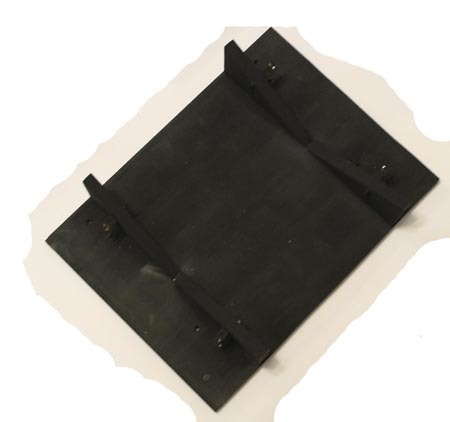
The base of the cradle.
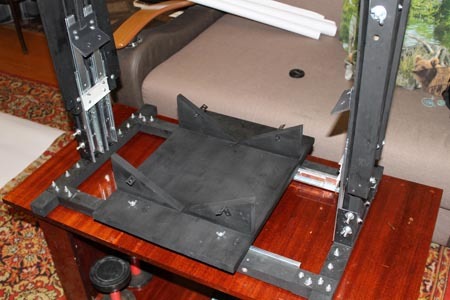
Material: furniture panel 18 mm thick. It is fixed on the guide bases.
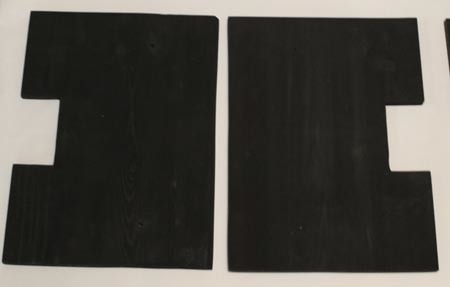
The wings of the cradle.
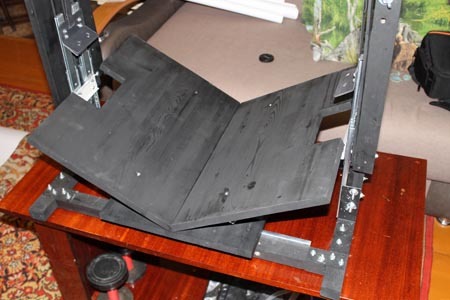
Material: furniture panel 18 mm thick. At the cradle, the camber angle is 120 degrees. That allows you to carefully handle the book without damaging it.
A stiffener bar joins the uprights.

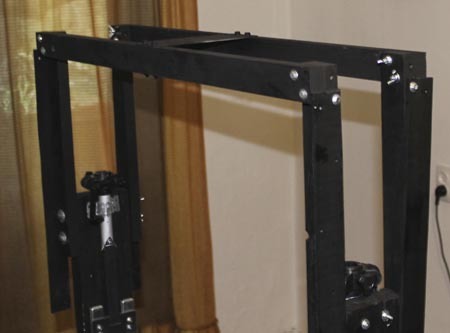
Material: wooden block, steel plate.
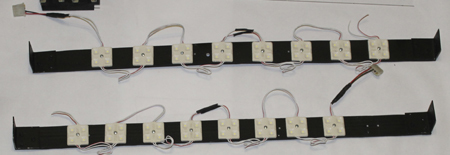
Lighting strips are attached to the plastic rails.
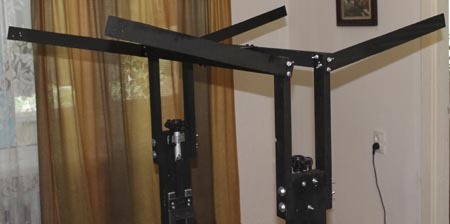
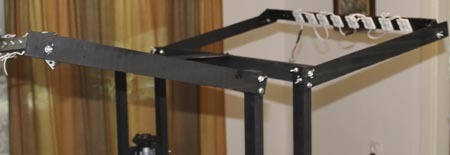

Material: plastic, metal corner, LED modules for 4 LEDs with a total power of 23W, 8 modules on each side.
Mount for the camera.
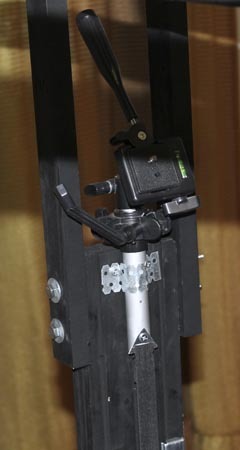

Standard from a tripod.
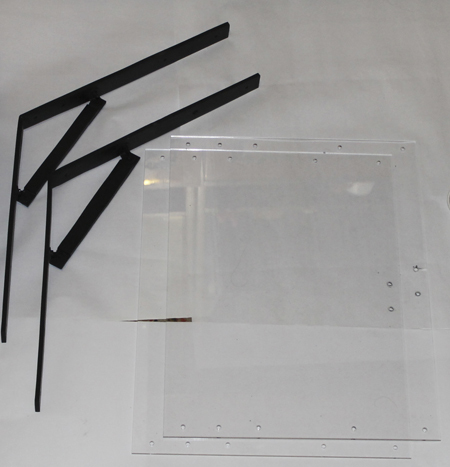
Clamping glass.
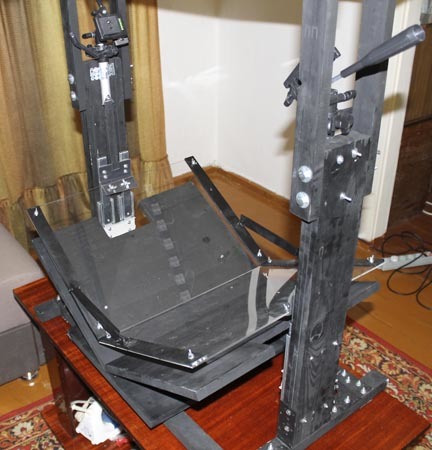
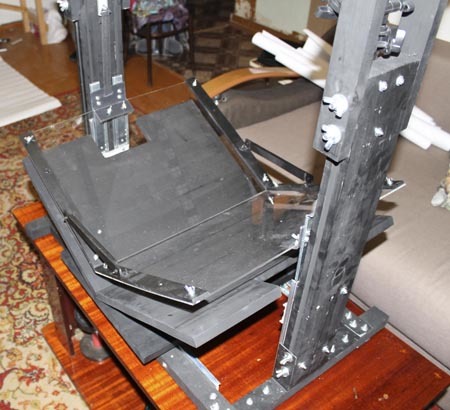
Material: plexiglass 5 mm thick., Two plates are used interconnected by plastic triangles.
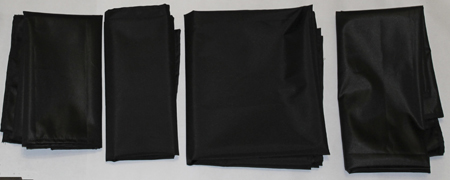
The whole structure is closed by light-shading curtains.
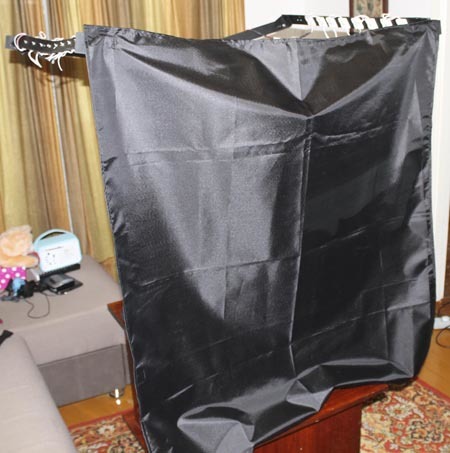
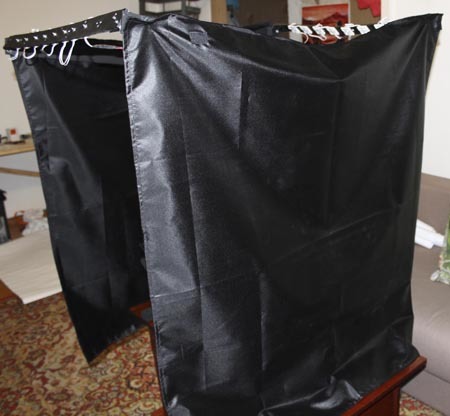
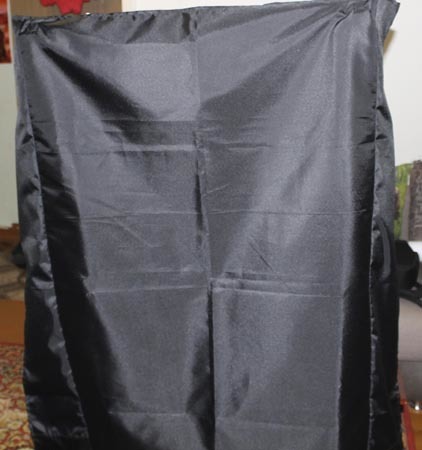
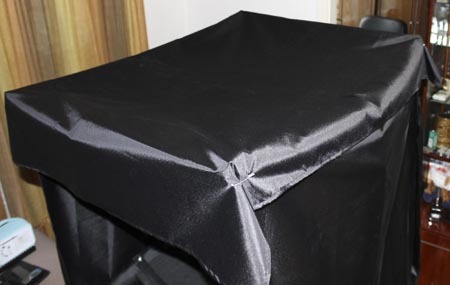
Black fabric raincoat fabric.
View of the scanner from the workplace.
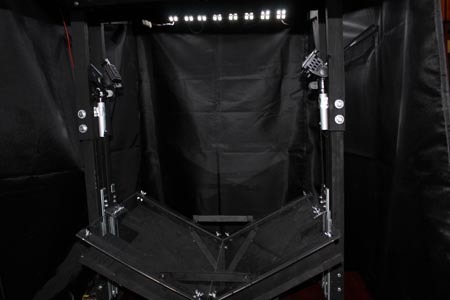
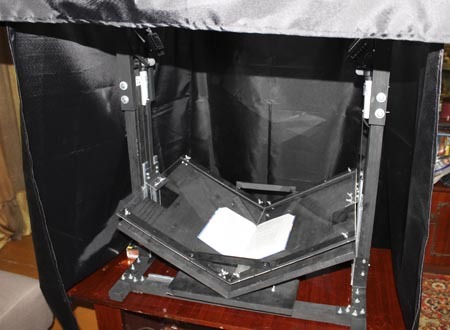
Photo picking.
Vertical racks.
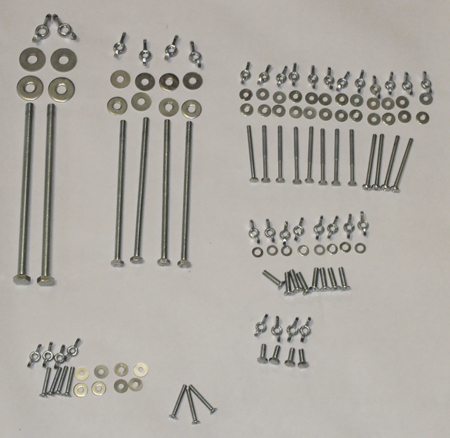
Fasteners.
Lighting.
The base of the cradle.
The wings of the cradle.
Scanner base and camera mount.
Crossbar stiffness.

Nutrition.

Clamping glass.
Lightproof curtains.
An example of working with a scanner.
Using the link below you can download the archive with video of working with the scanner, photo of assembly units, photo of assembly order, specification of the necessary materials and hardware for manufacturing the scanner, drawings of scanner parts.
All materials on the scanner can be downloaded here .
Thank you for attention.
How it all began. In the beginning was the word, and the word was obscene. Because after the whole epic with the scanning of the book, there were no other words.
The question has become relevant. Having rummaged through the Internet, I found ready-made solutions for book scanners. So to speak from the manufacturer. But the cost of such complexes evoked sad thoughts, I can not afford it.
Having sat and with a brain, I came to the conclusion that we need to make such a scanner ourselves. And most importantly, I can make such a scanner myself. After all, what is the design of the book scanner. This is a cradle for a book with a certain angle, stands for mounting cameras and lighting, as well as a program for the subsequent processing of the received photos.
The main material for the scanner I chose: wood and plastic. It is easier to handle at home. As well as standard hardware from the hardware store.
There are no photographs of the manufacturing process itself. The presented photos show the assembly sequence of the scanner and I will briefly describe what and why.
The base of the scanner.

Material: wooden block, steel plates, corner for mounting vertical racks, furniture rails on which the base of the book cradle will be installed.
The uprights left and right are identical.


Material: wooden block, furniture guides on which the clamping glass will be attached, the upper part of the usual tripod in which the mount for the camera will be mounted.
Everything is fixed on the base with bolts.
The base of the cradle.

Material: furniture panel 18 mm thick. It is fixed on the guide bases.
The wings of the cradle.

Material: furniture panel 18 mm thick. At the cradle, the camber angle is 120 degrees. That allows you to carefully handle the book without damaging it.
A stiffener bar joins the uprights.


Material: wooden block, steel plate.
Lighting strips are attached to the plastic rails.


Material: plastic, metal corner, LED modules for 4 LEDs with a total power of 23W, 8 modules on each side.
Mount for the camera.


Standard from a tripod.
Clamping glass.


Material: plexiglass 5 mm thick., Two plates are used interconnected by plastic triangles.
The whole structure is closed by light-shading curtains.


Black fabric raincoat fabric.
View of the scanner from the workplace.


Photo picking.
Vertical racks.

Fasteners.

Lighting.

The base of the cradle.

The wings of the cradle.

Scanner base and camera mount.

Crossbar stiffness.

Nutrition.

Clamping glass.

Lightproof curtains.

An example of working with a scanner.
Using the link below you can download the archive with video of working with the scanner, photo of assembly units, photo of assembly order, specification of the necessary materials and hardware for manufacturing the scanner, drawings of scanner parts.
All materials on the scanner can be downloaded here .
Thank you for attention.
