The first law of robotics: do no harm to the humanitarian mindset
Hello!
As a hobby, I make various stuff from games, movies, etc. Recently, more and more often the need has arisen to electrify their “products” in some way. The main dream, of course, is to master servo control. For such a noble purpose, I decided to get acquainted with robotics.
I refused the idea of “naked” to study Arduino right away - it seemed too complicated for a beginner who, from electrical engineering, at best remembers a couple of formulas. So I began to study commercially available robotics kits. I settled on two options - sets from Lego (about which I read here on geektimes) and from bq. In the end, I settled on the second. Why?
- Price. The Mindstorms that I liked are worth some kind of space money;
- Various accessories. As an experienced legguide told me, a lot of interesting pieces for robots (for example, tracks on wheels) can hardly be bought from us and must be ordered from behind a hill. It’s not a fact that they would be useful to me, but the fact itself slightly upset - interesting spare parts are not supplied separately from the sets;
- Robots from bq are not just called PrintBot. At the heart of all designs is 3D printing, and all files are freely available. As an experienced owner of several printers, I realized - mine!
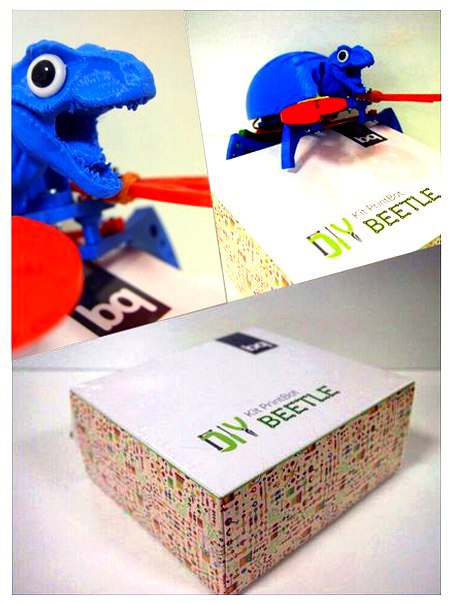
In the end, I bought two sets - the kit de Robotica and printBot Beetle. The first is a lot of electronic components for "free creativity", and the second is a full-fledged designer of a robot bug.
I’ll say about Kit de Robotica right away - I’ve not mastered it. As a result, he assembled a Robot-Crab for guidance from the Internet. It turned out interesting, great. I acquired the important skill “uploading finished firmware via Arduino”. Unfortunately, the robot had only one function - to step forward. I eventually dismantled it and returned the electronic components to the box, until better times. But most importantly, the wall of misunderstanding slowly began to crumble. The primary fear in front of all this electronics is gone. But about the second robot, the Beetle, I would like to tell in more detail.
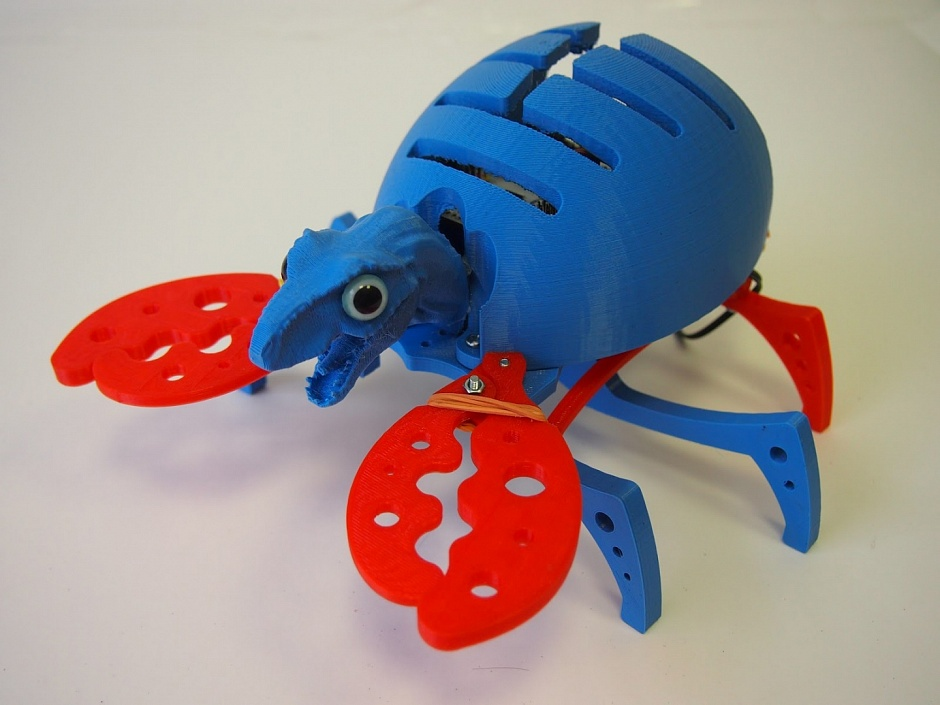
What is the fundamental difference between a beetle and a crab?
- Control. In the basic version of the assembly, the Crab can only move forward, but the Beetle is already equipped with an infrared sensor and light sensors. In addition, like Crab, it can be connected via bluetooth, but more on that later;
- The principle of movement. If the Crab fingered, the Beetle travels with the help of wheels communicating with each other by tires;
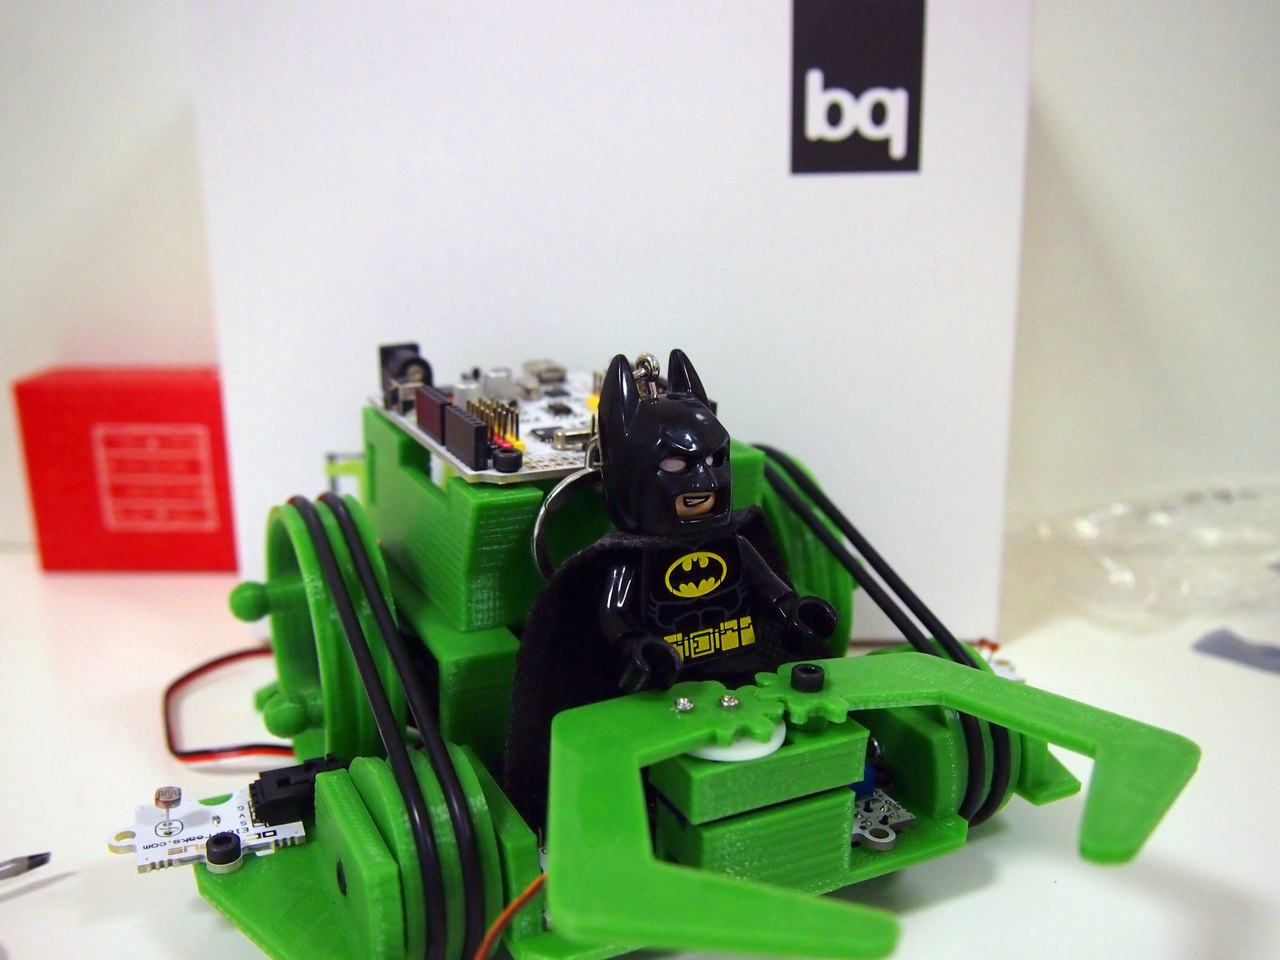
- Functional. Despite the presence of as many as two claws, Crab could only walk and, in the case of my design, viciously glance at T-Rex's doll eyes. The beetle in this regard is much more interesting due to the fact that its stings are truly functional;
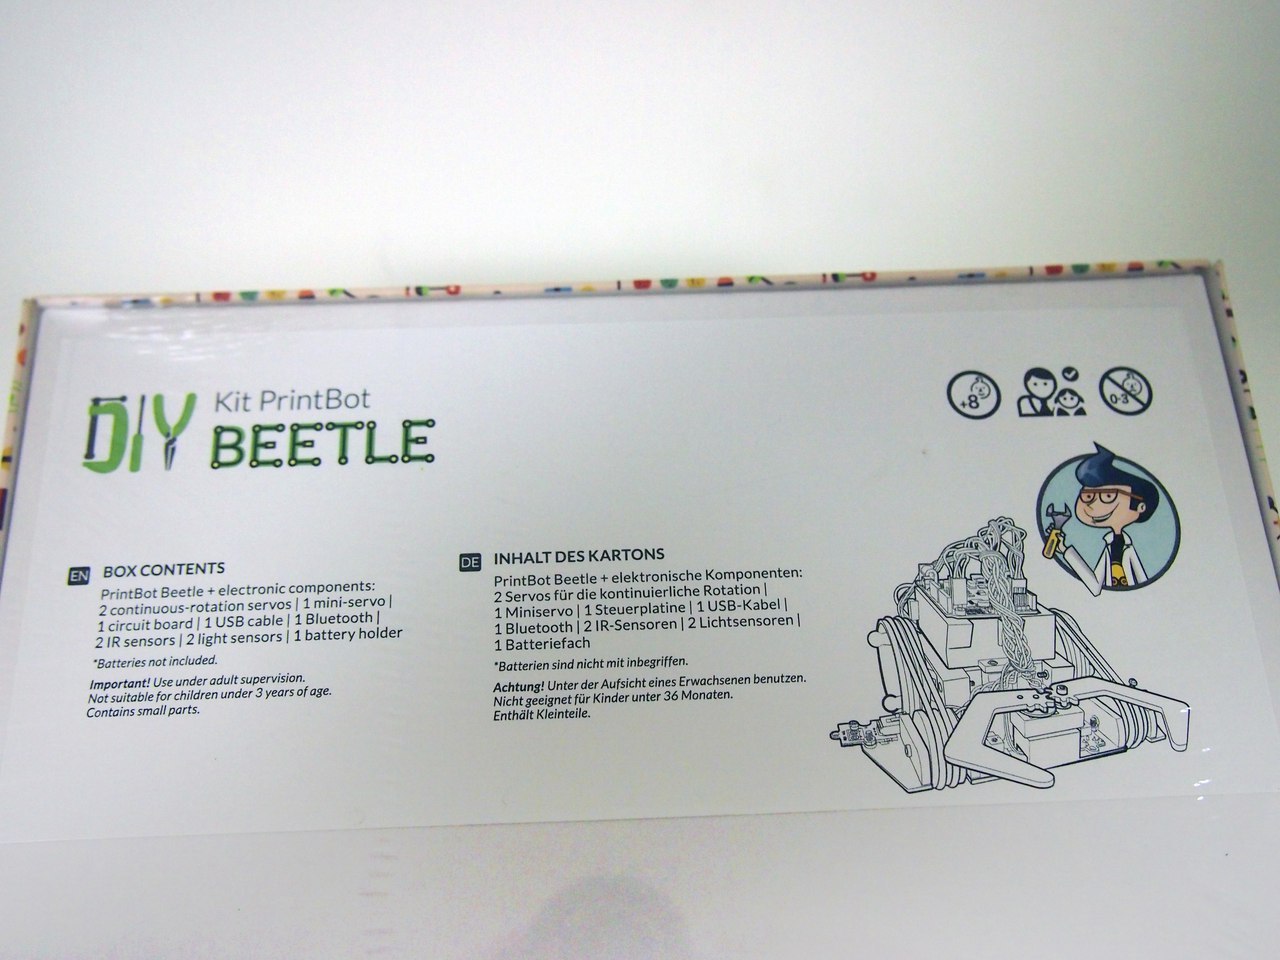
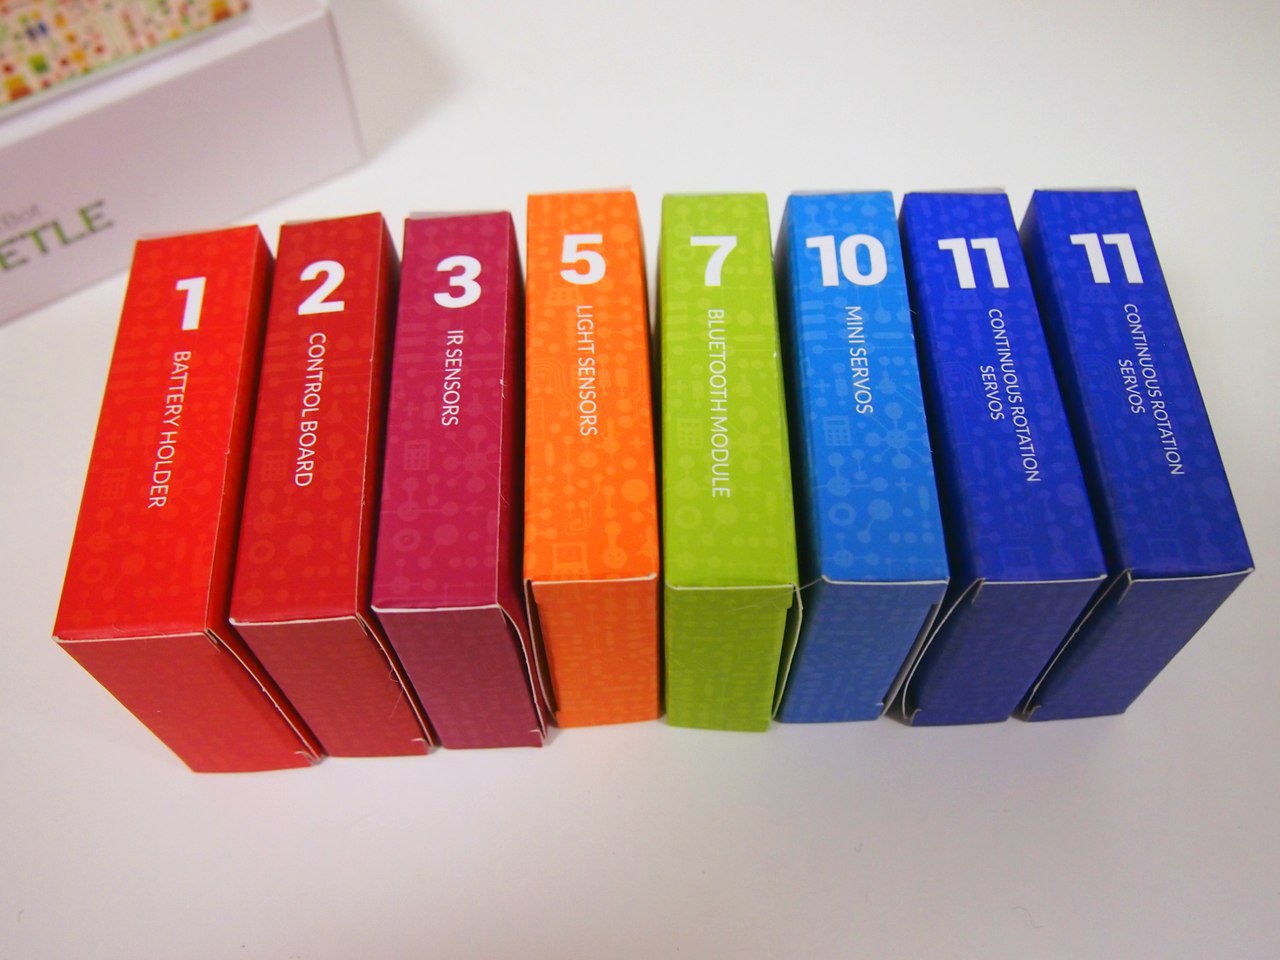
On the back of the package is a complete list of the electronics contained in the box. Also there is a schematic illustration of a robot that is assembled from this set.
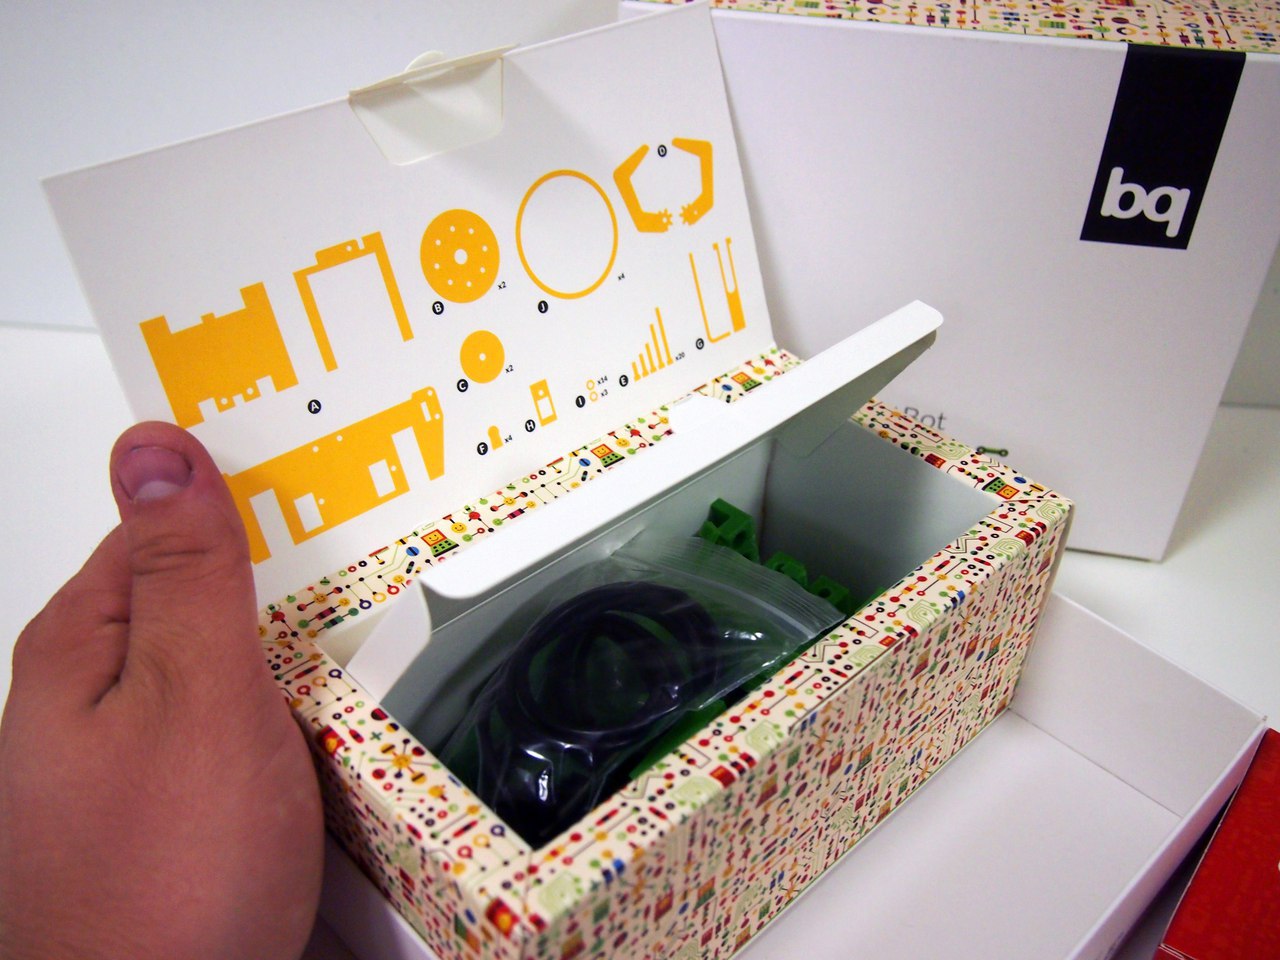
Cheeky uppacking:
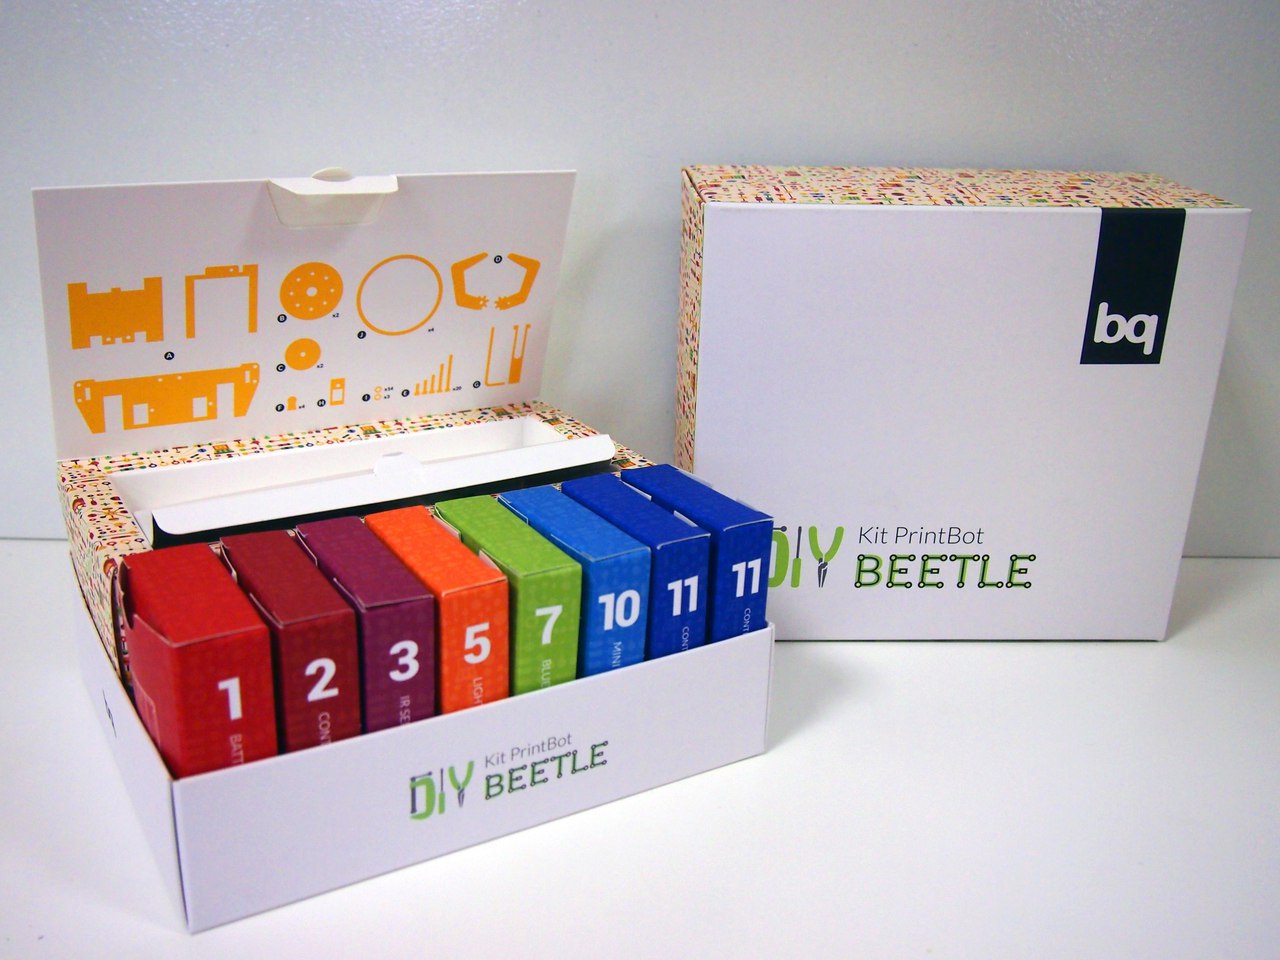
If electronic components were described on the back of the box, then printed parts are on the inside of the “tongue”. As you can see from the boxes inside, these are all the same elements from a set of robotics. But pay attention! Some rooms are clearly not enough. This is due to the fact that for the construction of the robot obviously not all the electronics that are supplied in the kit are needed.
By the way, at first I was afraid that the set does not include printed elements. But everything turned out to be in its place - in a separate, closed section.
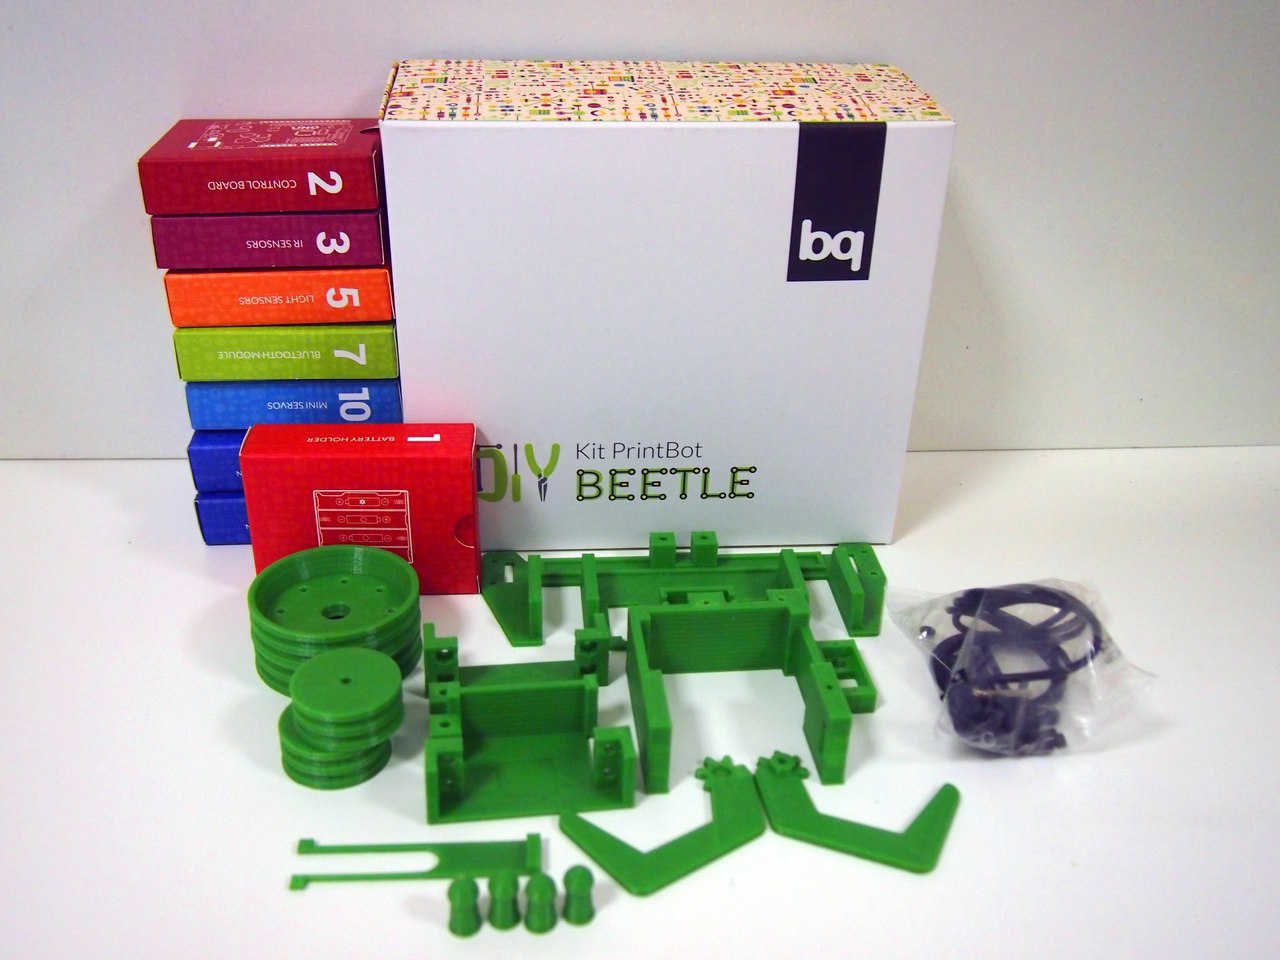
Thus, a fully unpacked robotics kit for the Beetle looks like this:
Let's start the assembly process. But before that, as usual, a selection of useful links:
- Assembly instructions for the robot (http://diwo.bq.com/programando-un-huyeluz/). Yes, again DIWO, yes, again in Spanish. But bq simply has an incredible ability to make instructions so clear that even a child can handle it. Technically, for children, most of these instructions were written;
- Programming the robot (http://diwo.bq.com/programando-un-huyeluz/). It is interesting for the most part to those who want to use the Beetle’s sensors and simply master simple programming for such robots. What a strange visualization of block codes, you ask? More about this later;
- Hand calibration (http://diwo.bq.com/calibracion-de-la-pinza-del-printbot-beetle/). Everything is simple here. No calibration - there is no adequately working “hand”;
The link list says nothing about the “blue tooth” and firmware due to the fact that I want to draw more attention to them a little lower in the text.
ASSEMBLY.
There is a simple law in the assembly of robots from bq - do not try to be smarter than the instructions. In the course of work, I tried several times to “overtake” the instruction or optimize, but in the end it resulted only in the fact that individual nodes had to be reassembled. It's a shame!
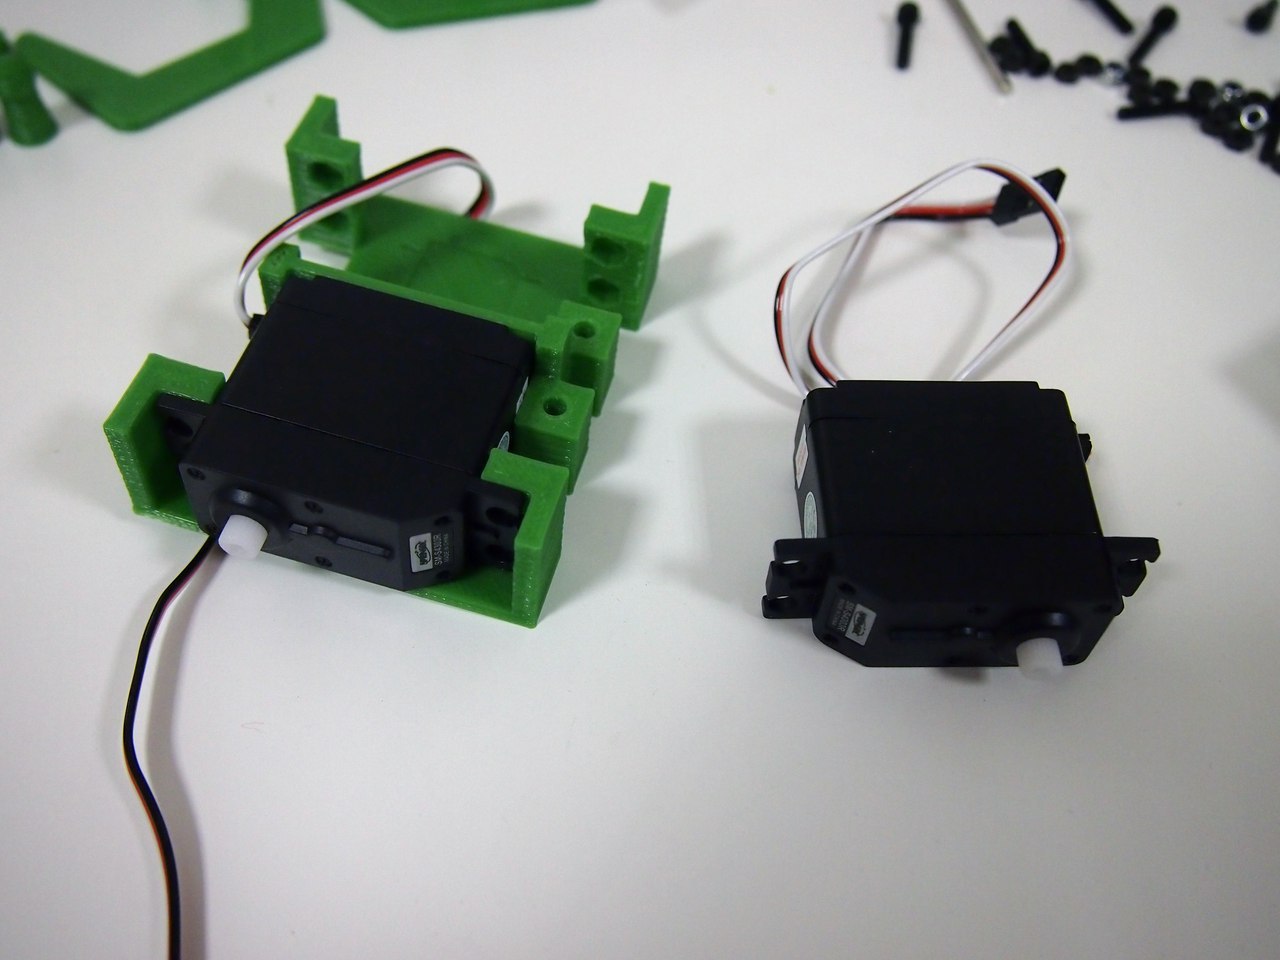
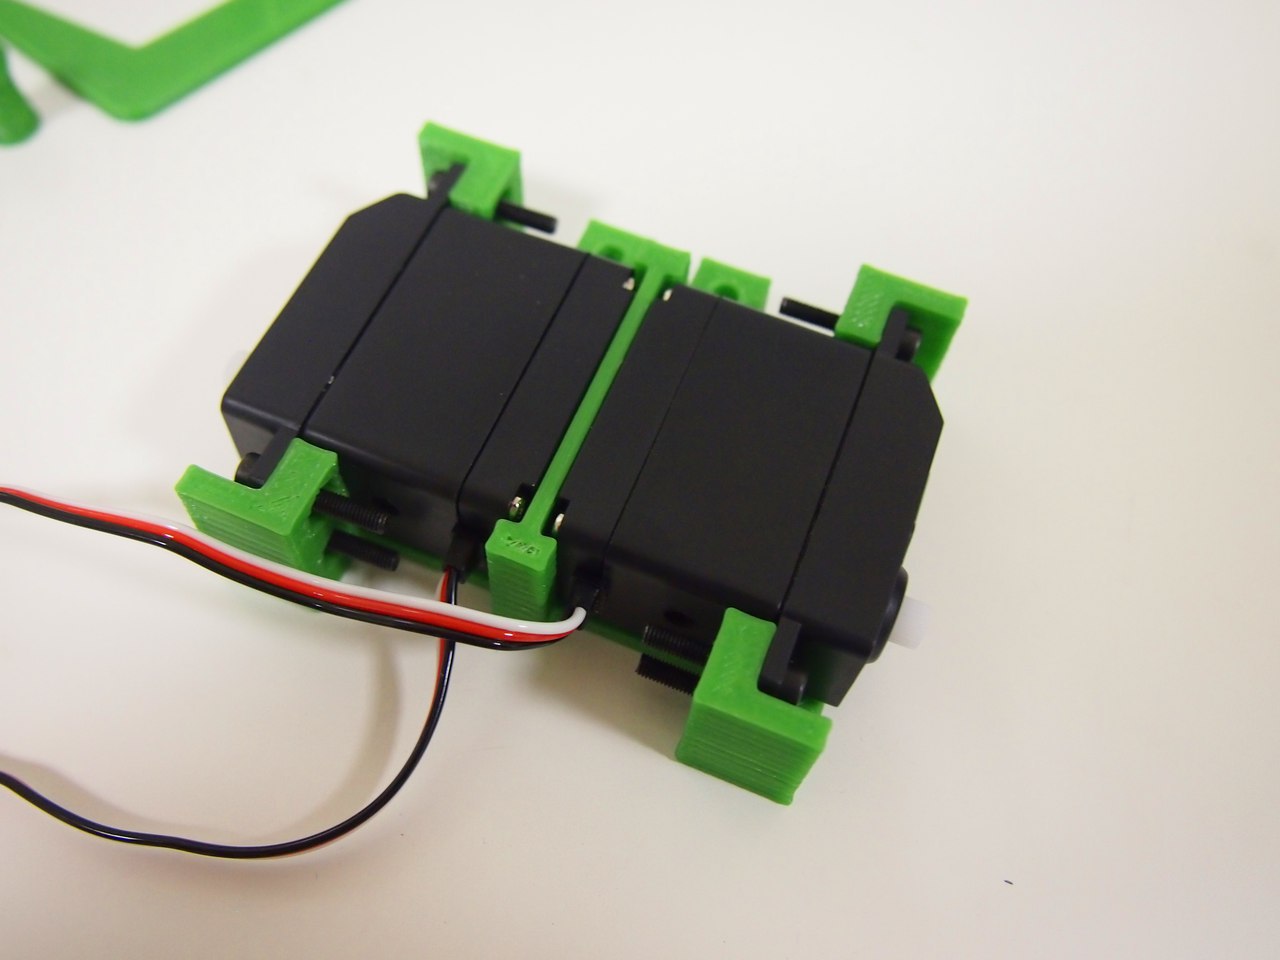
We begin the assembly by installing large servos on the platform. These guys are our engine, the future foundation for big wheels.
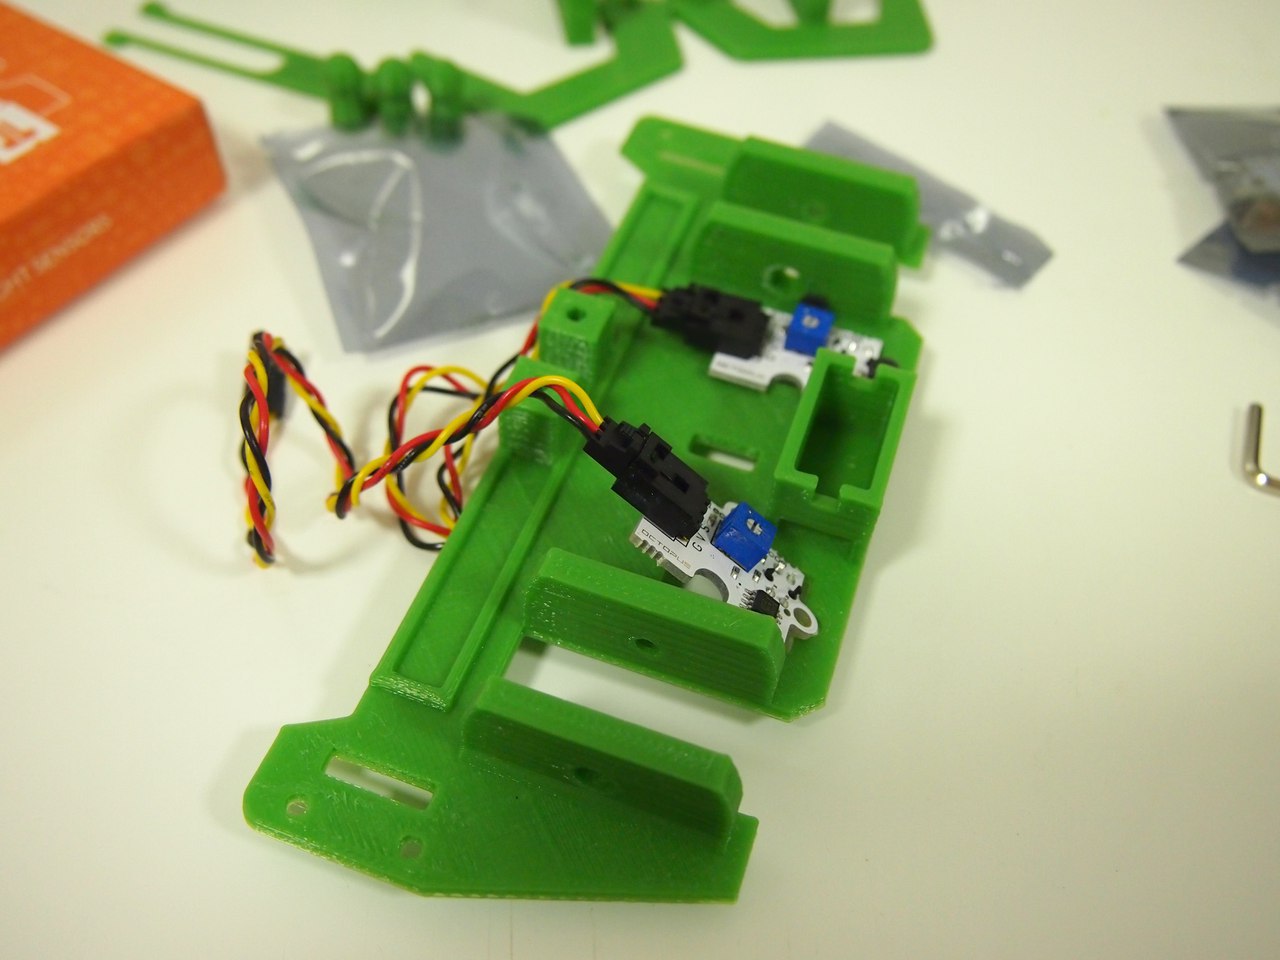
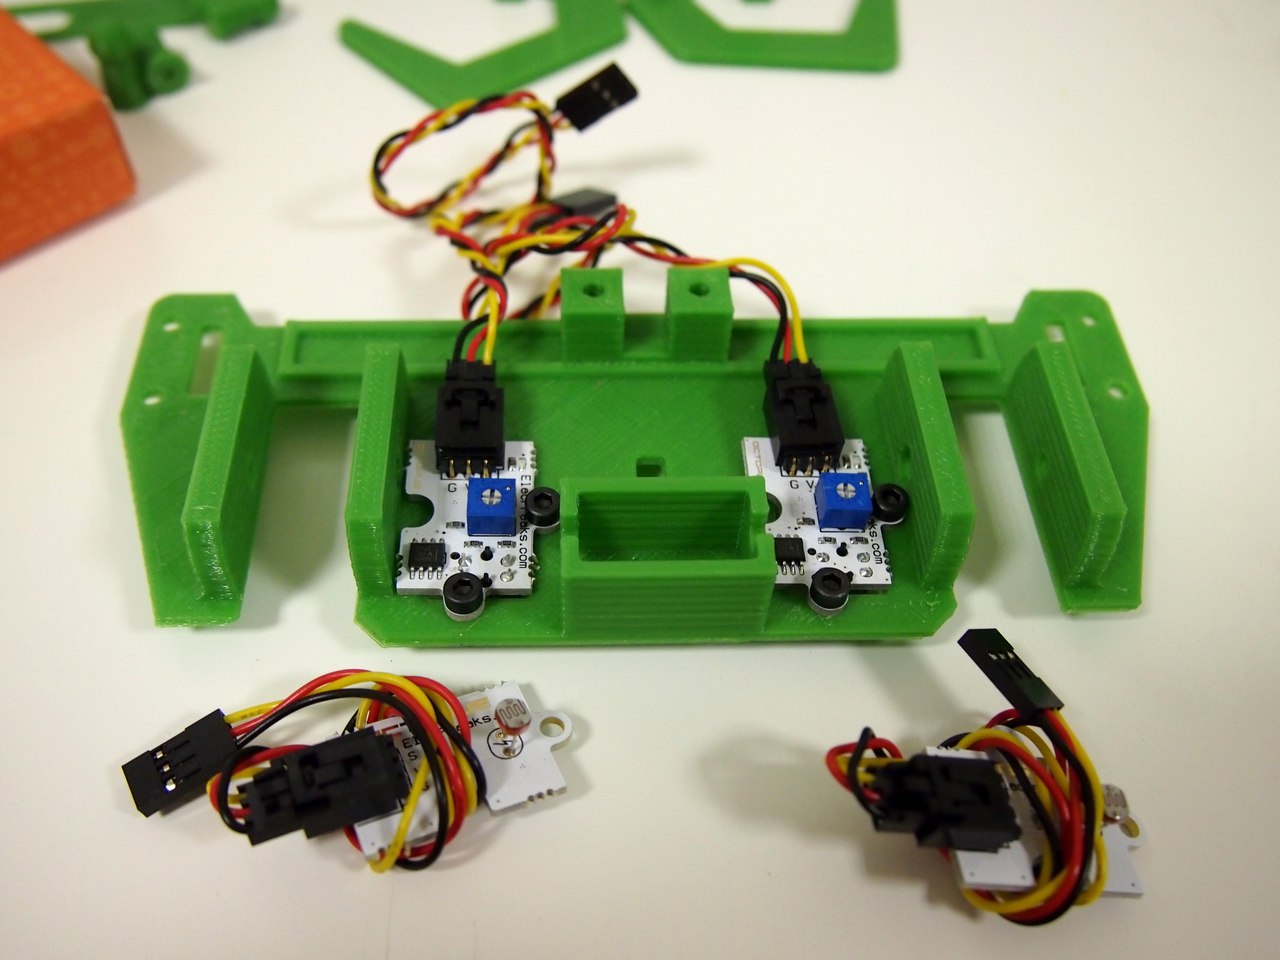
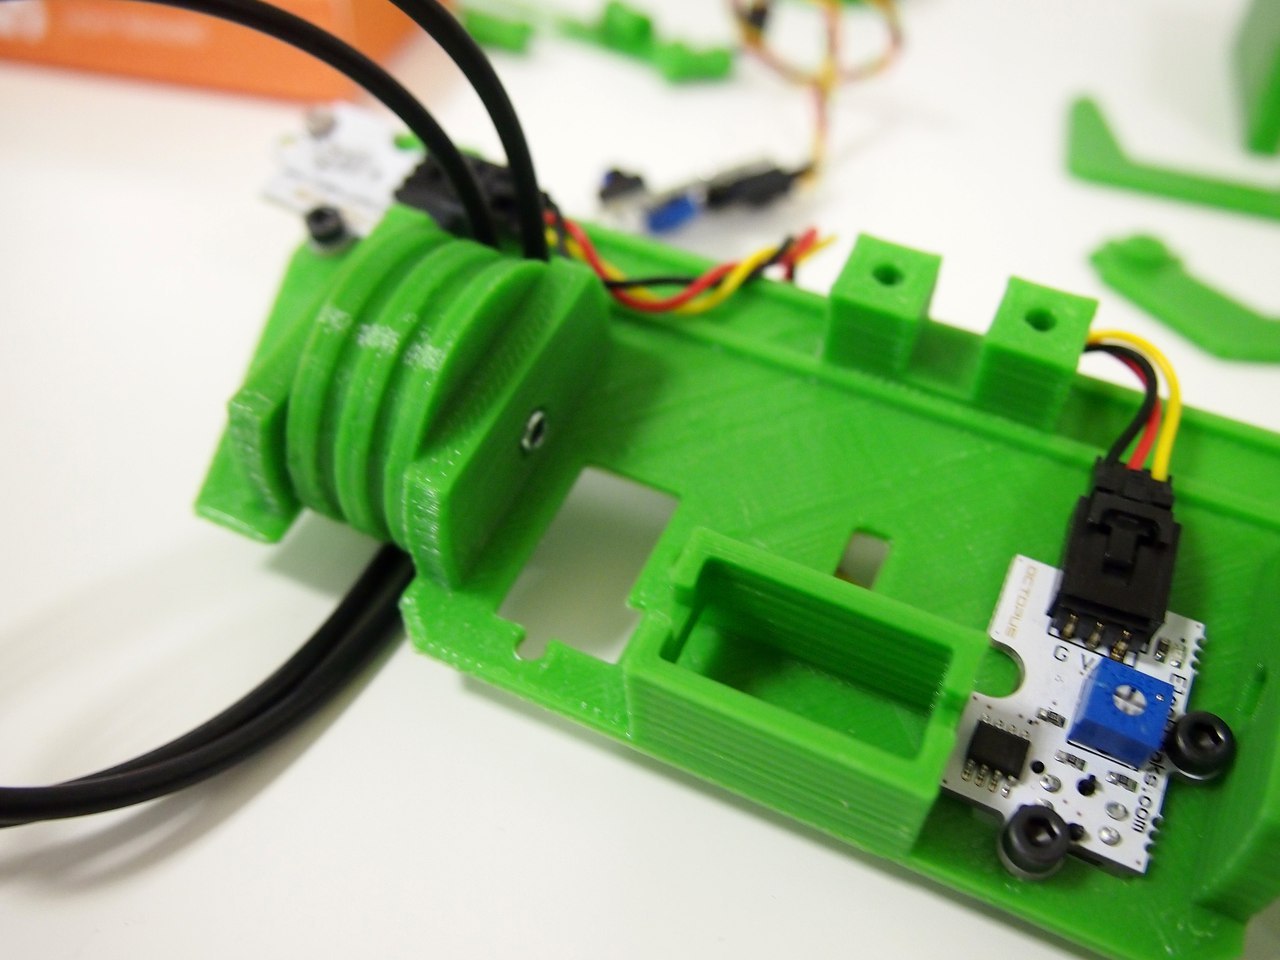
Then we start installing the sensors on another platform, the main part of the body. The main thing here is not to confuse the IR and light sensors. But then the fun begins:
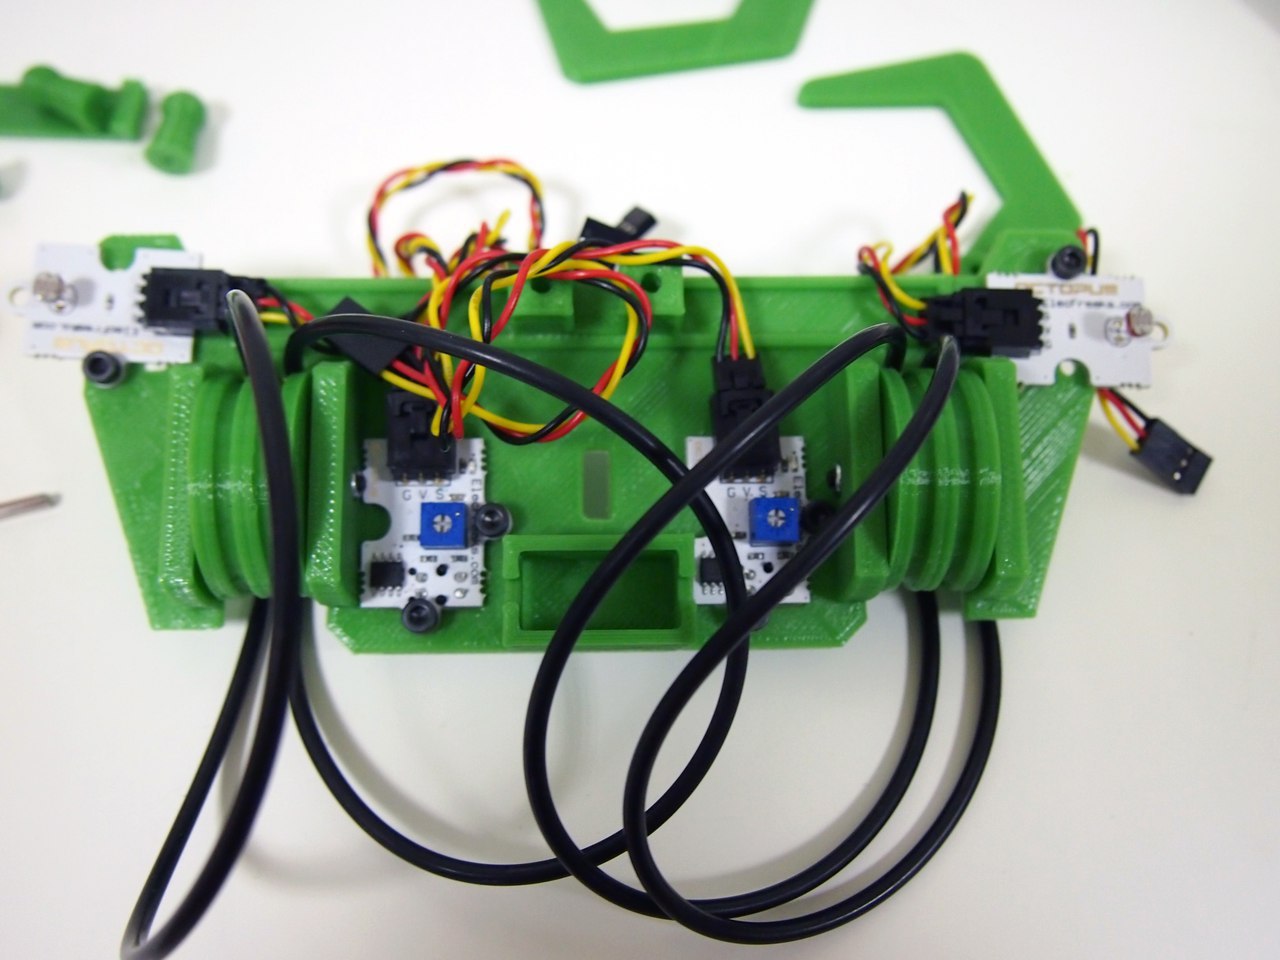
Turning on the tough guy, I, God knows why, installed the tires on small wheels immediately and fixed these wheels on the platform with screws. Was it in the instructions? Not. Why did I do this? That is another question. Subsequently, I had to reassemble all this.
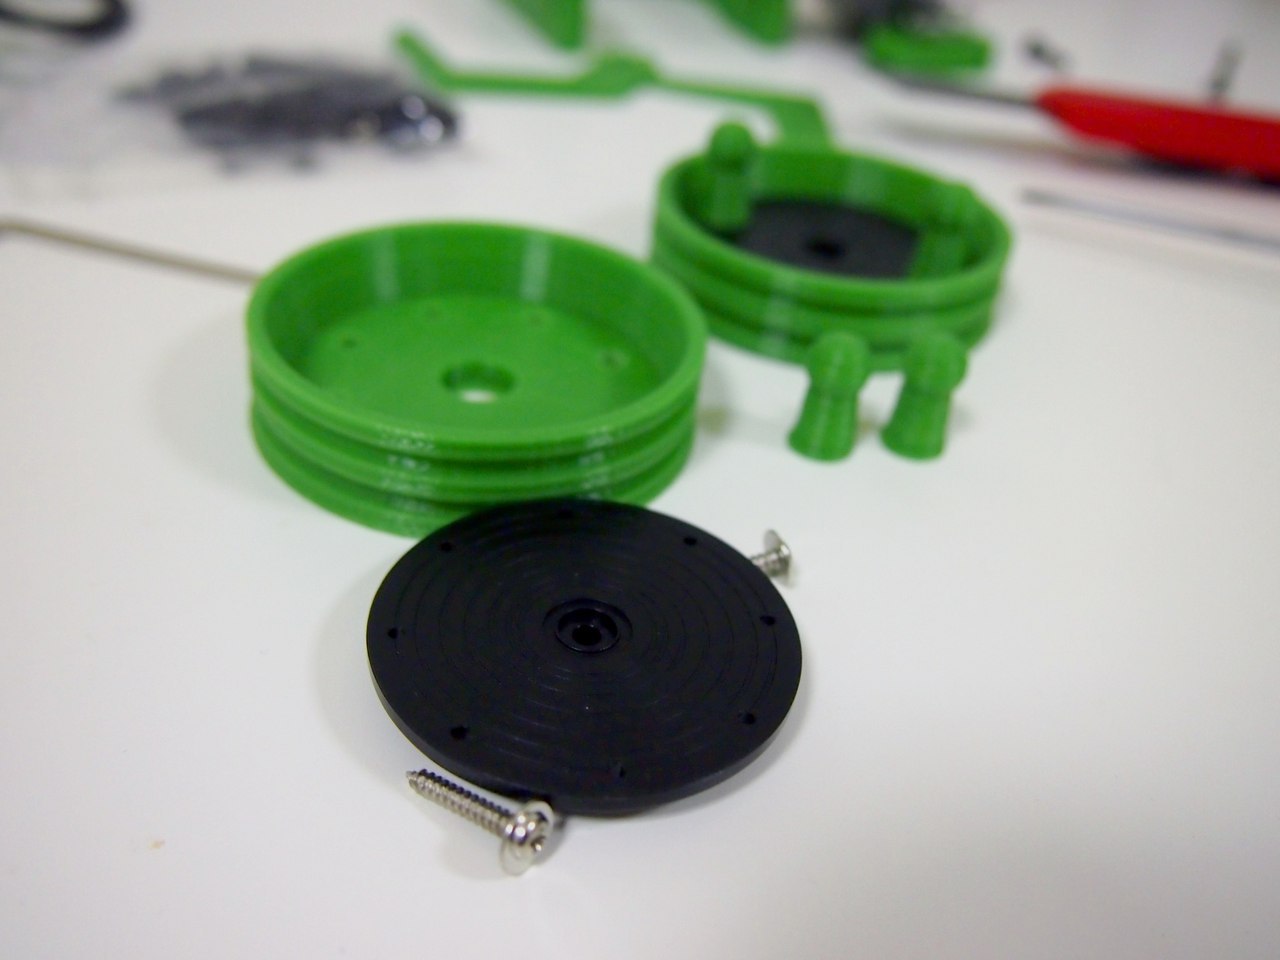
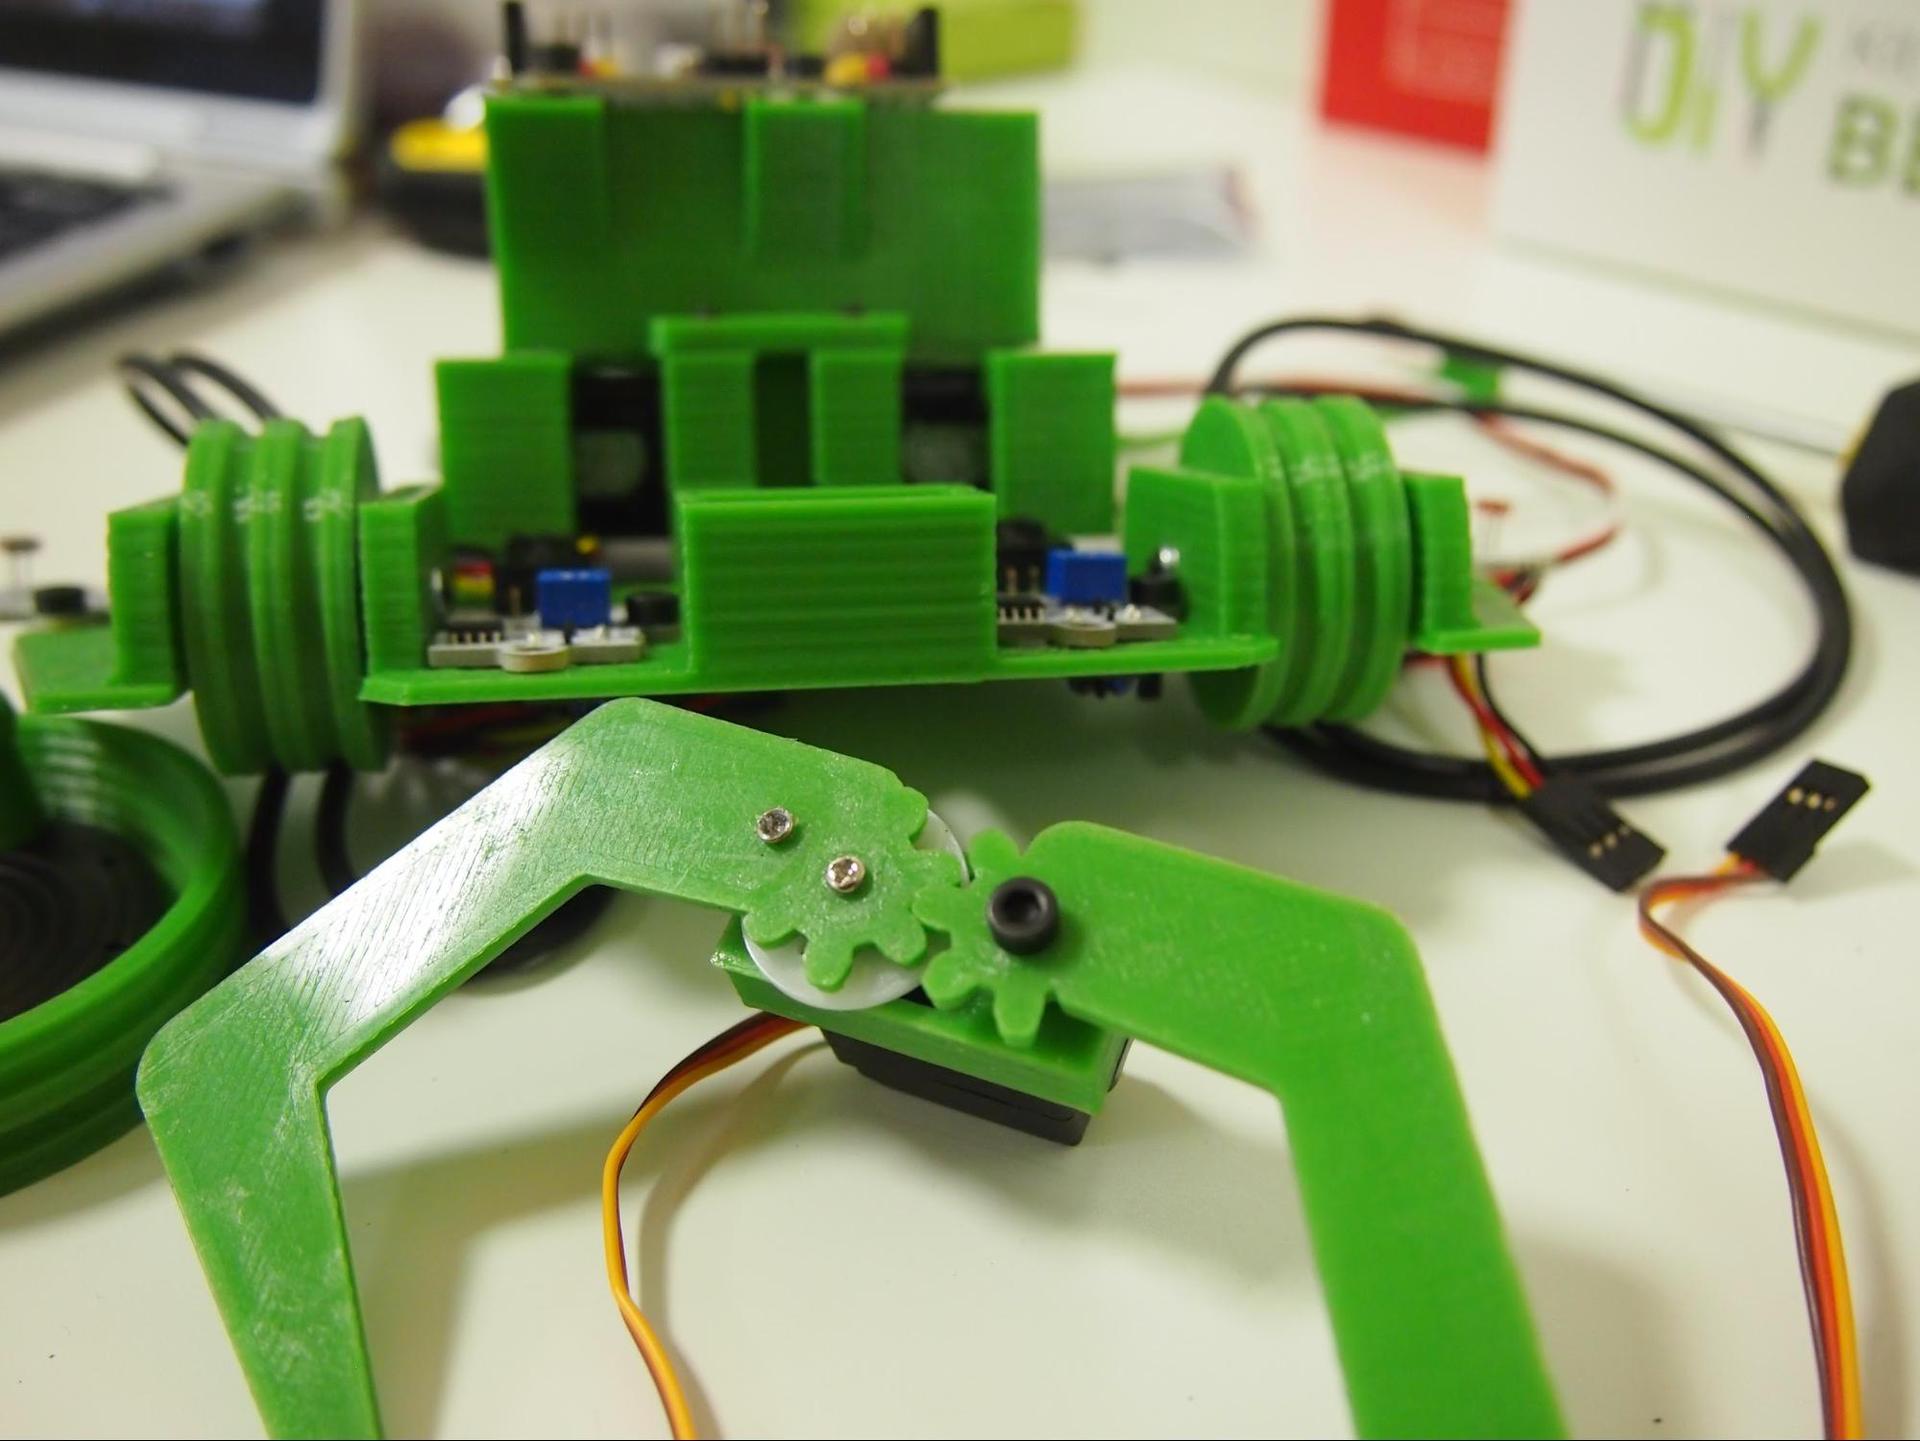
Big wheels assemble extremely simply. What is nice, the sticking sharp ends of the screws “close” with small cylinders with a sphere.
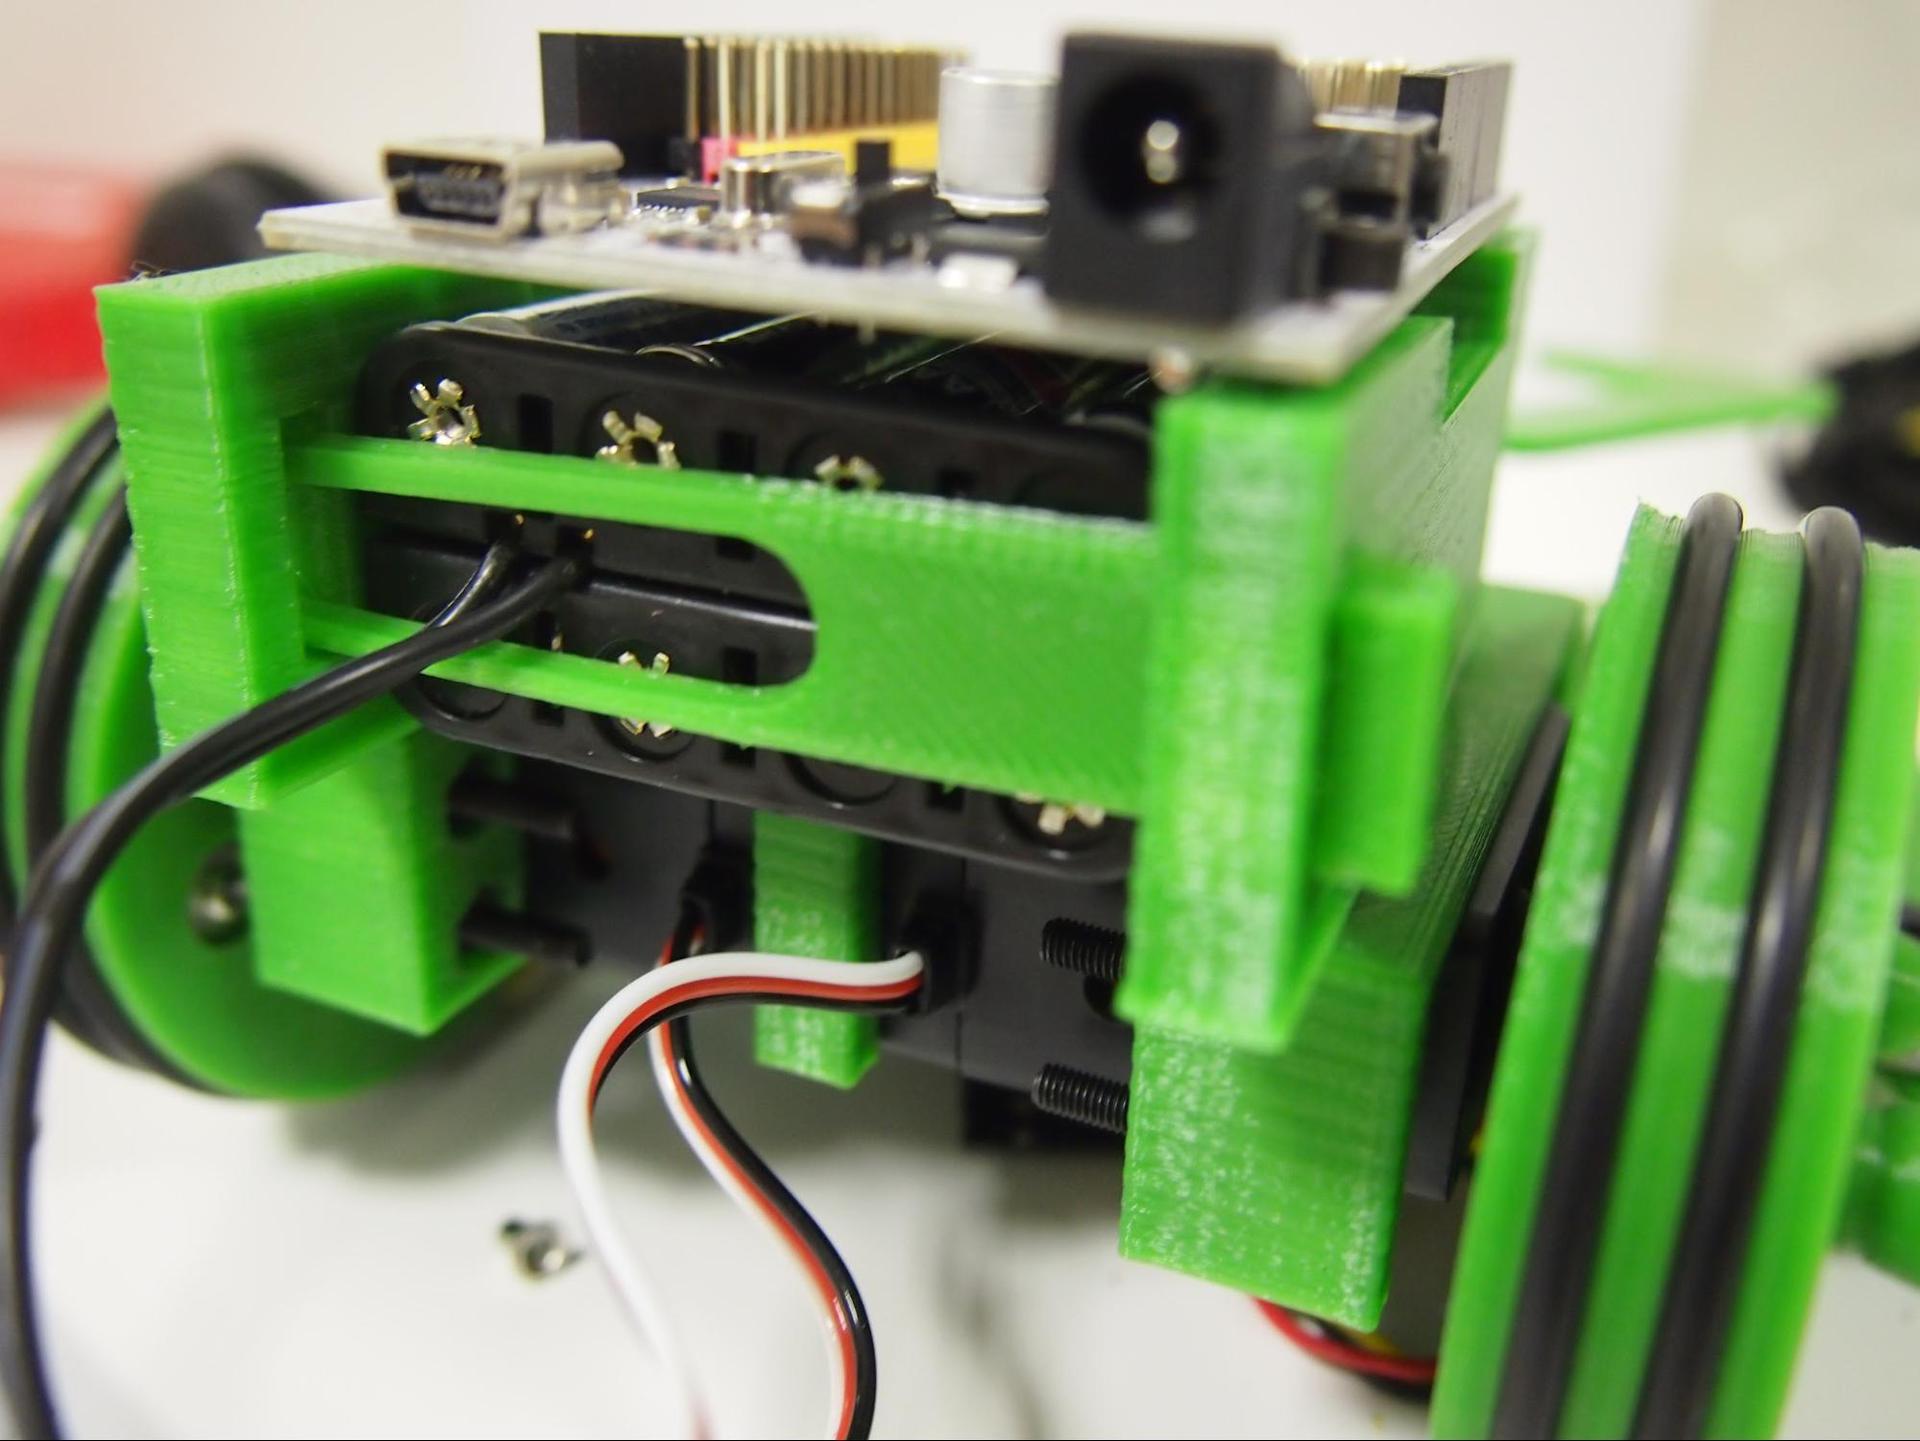
After all the elements are somehow installed on the supporting platforms, it's time to put the electronic board:
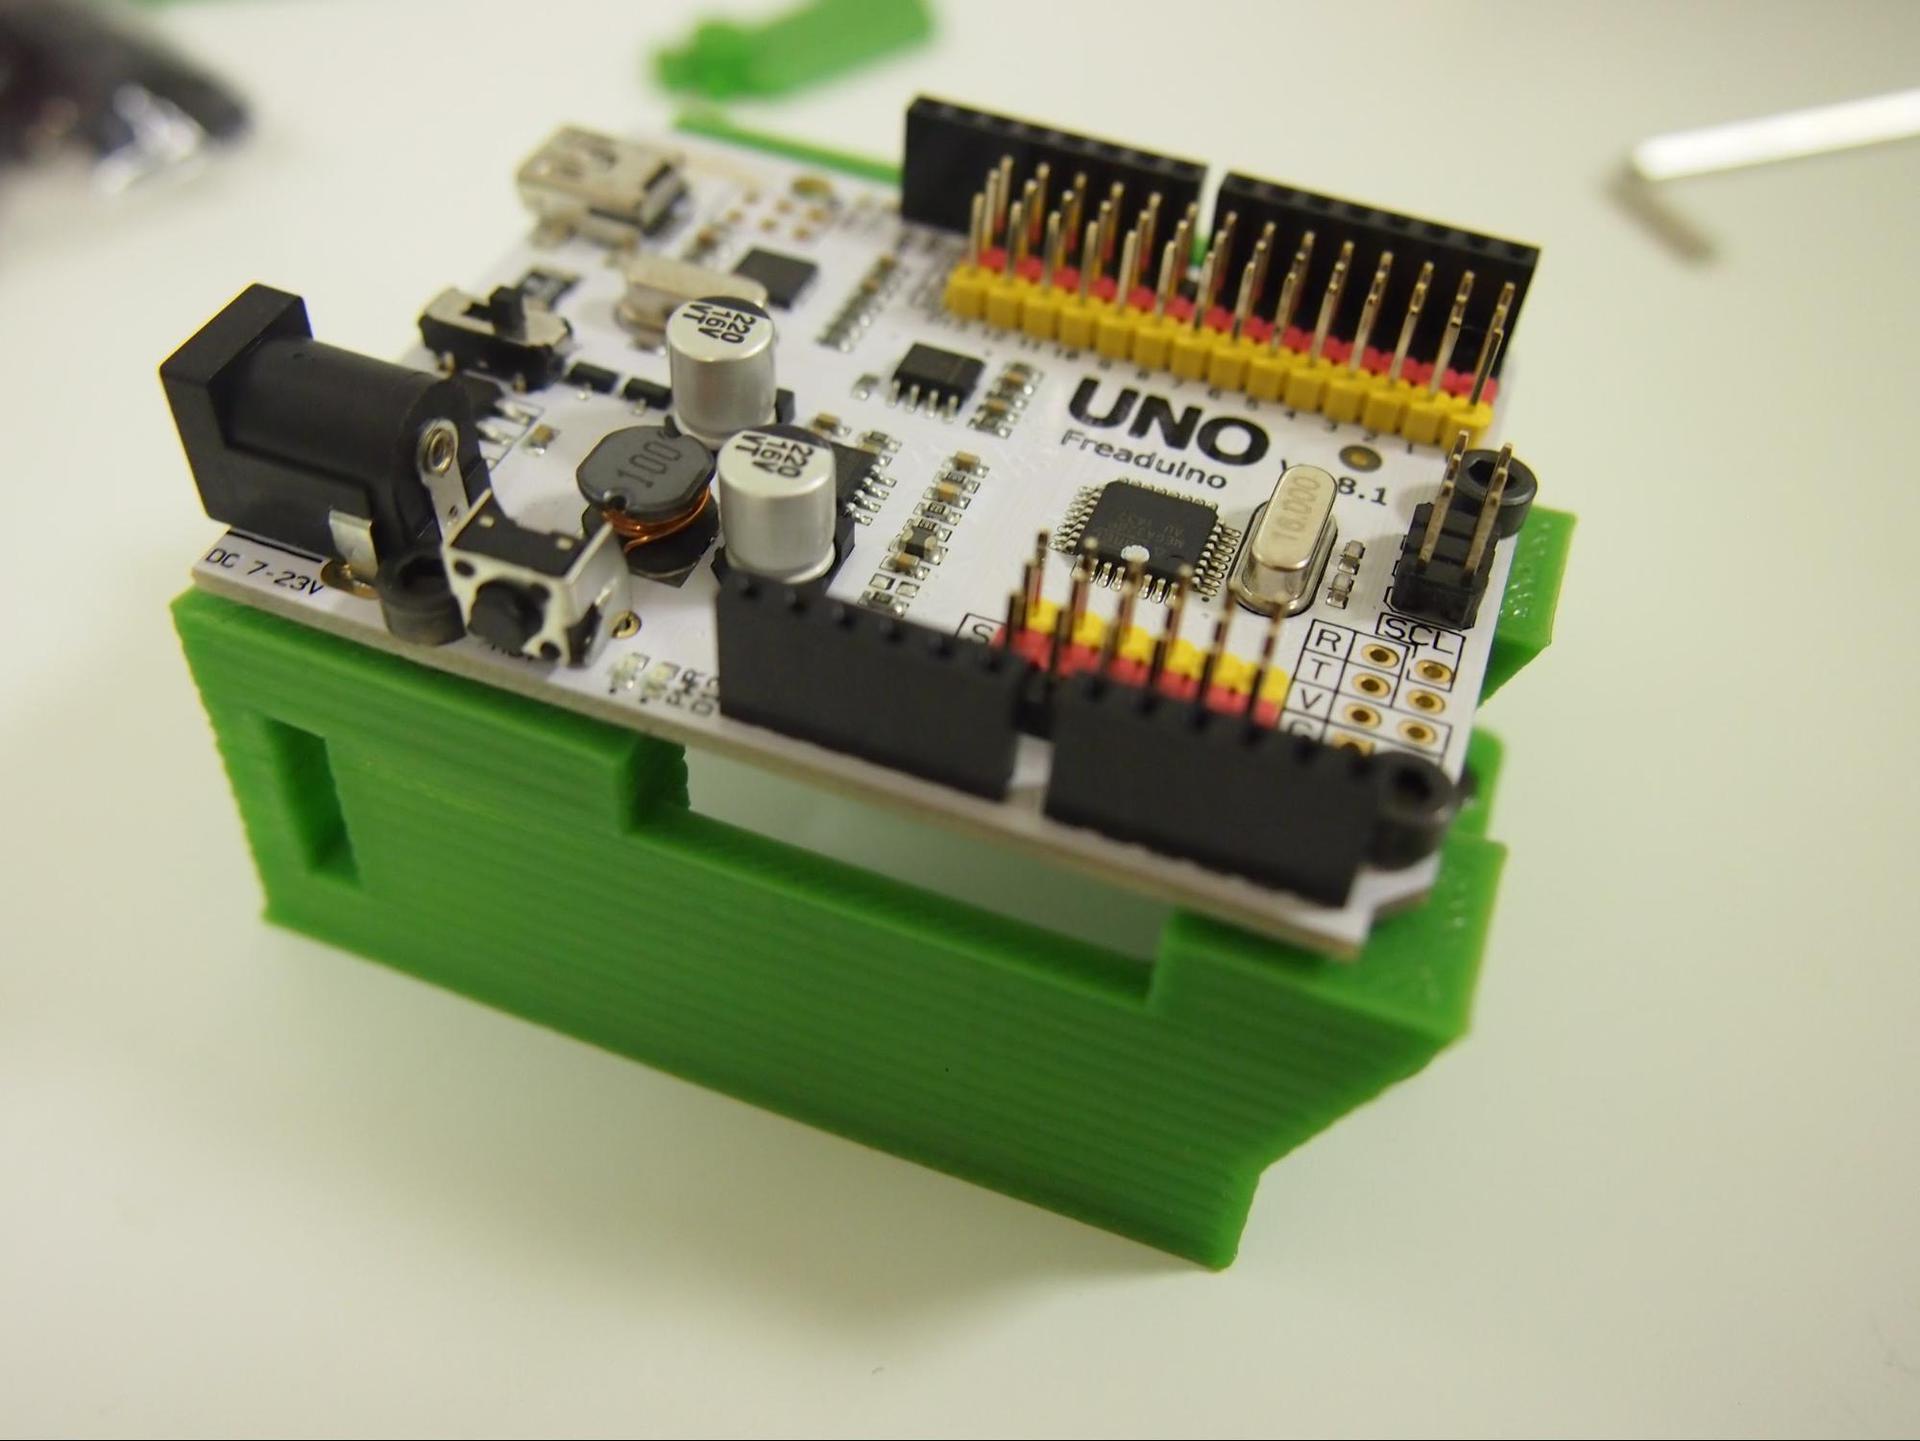
My robot model included Arduino Uno. They say that new robots use another board of their own design. It differs, for example, in that a bluetooth module is already integrated into it.
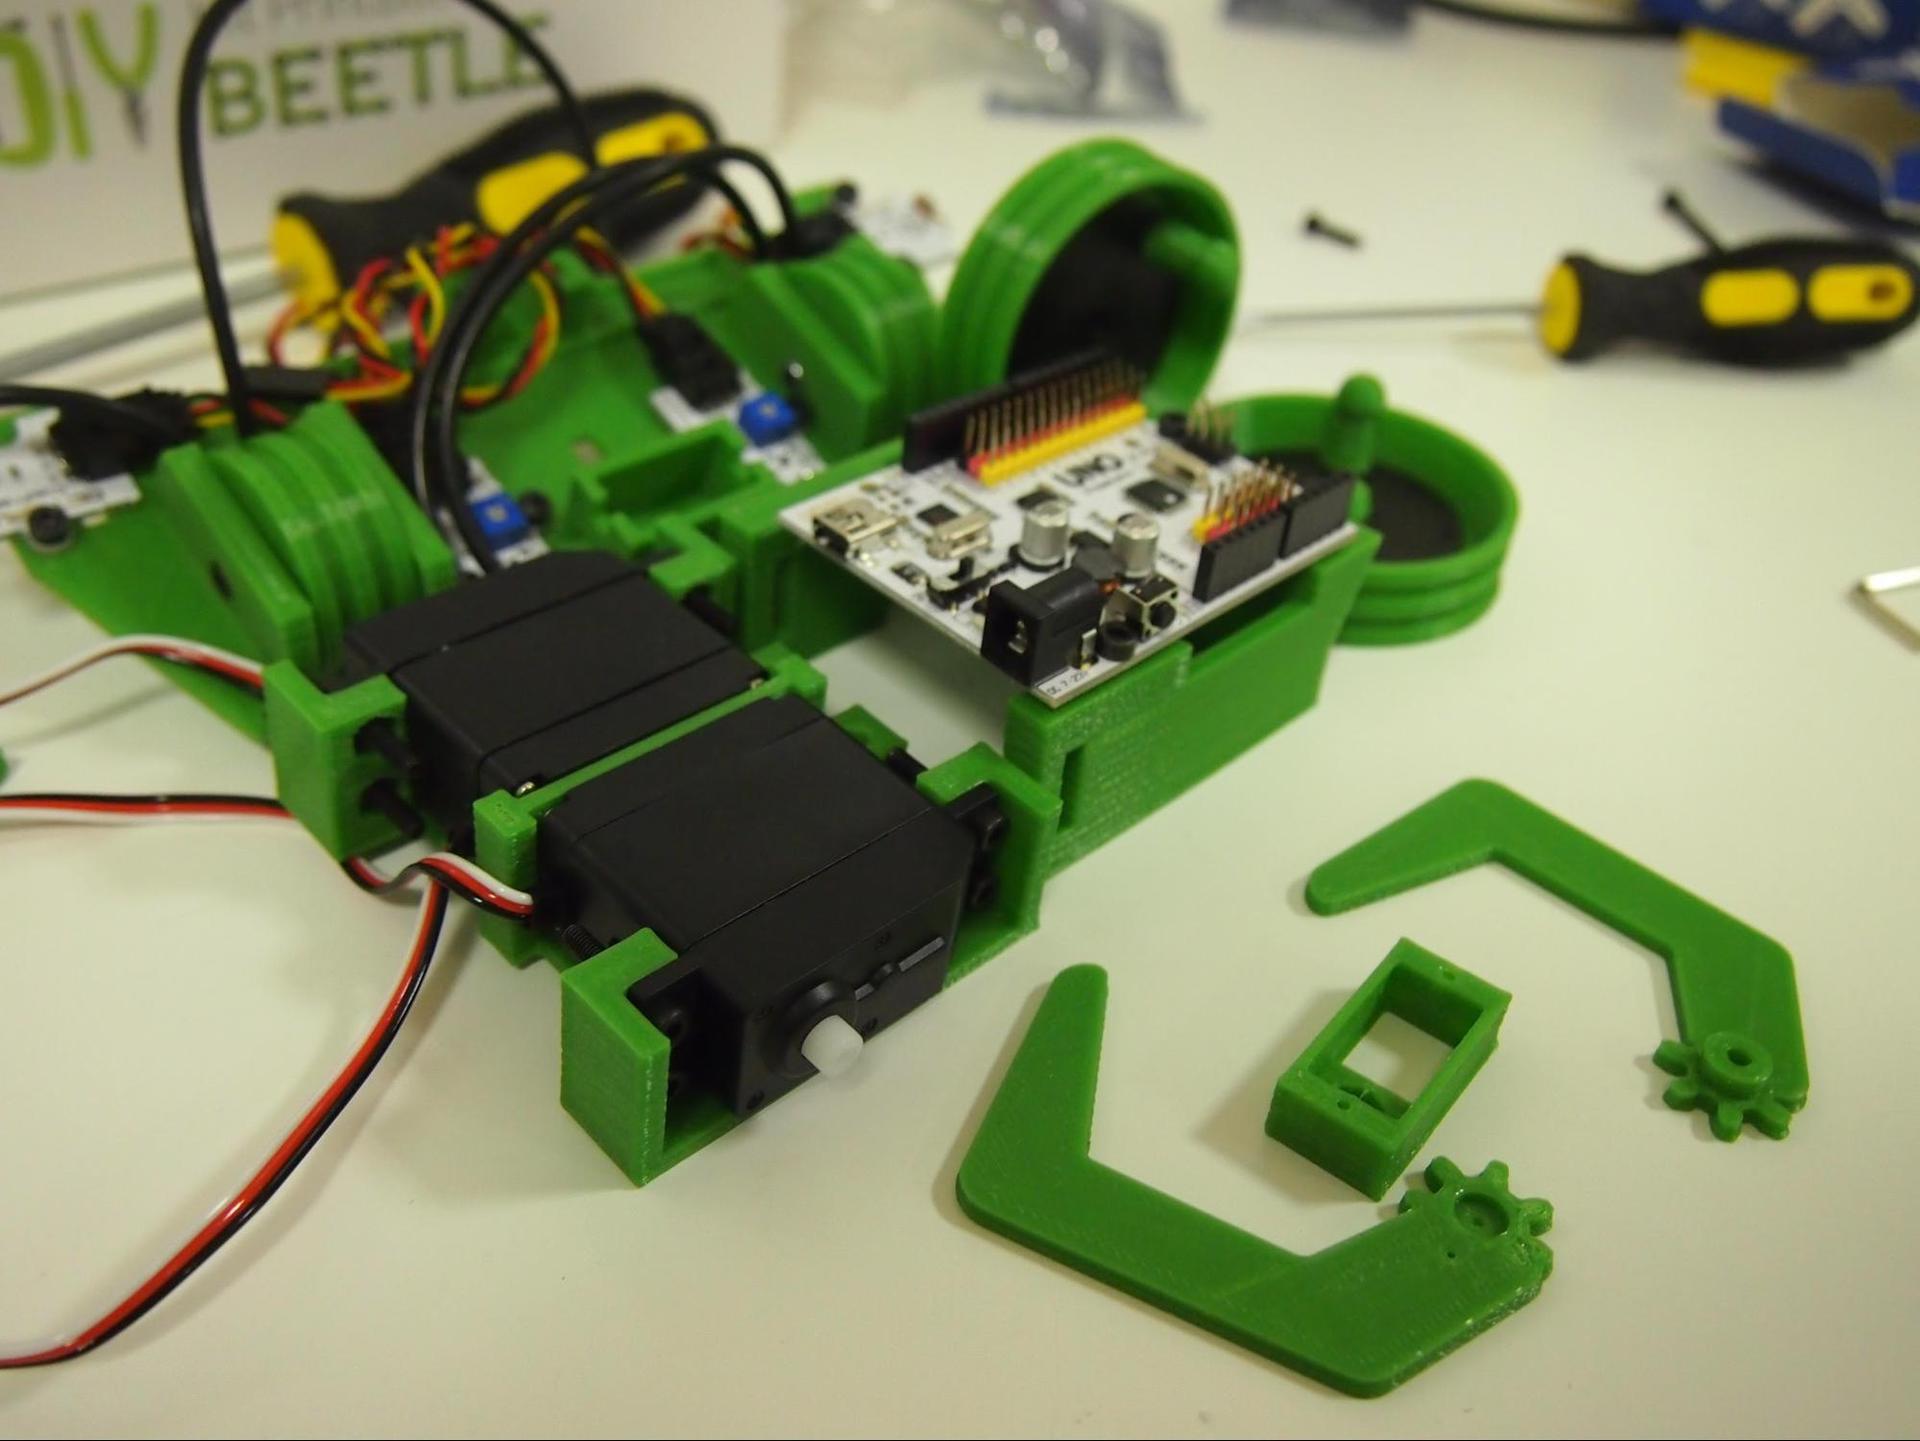
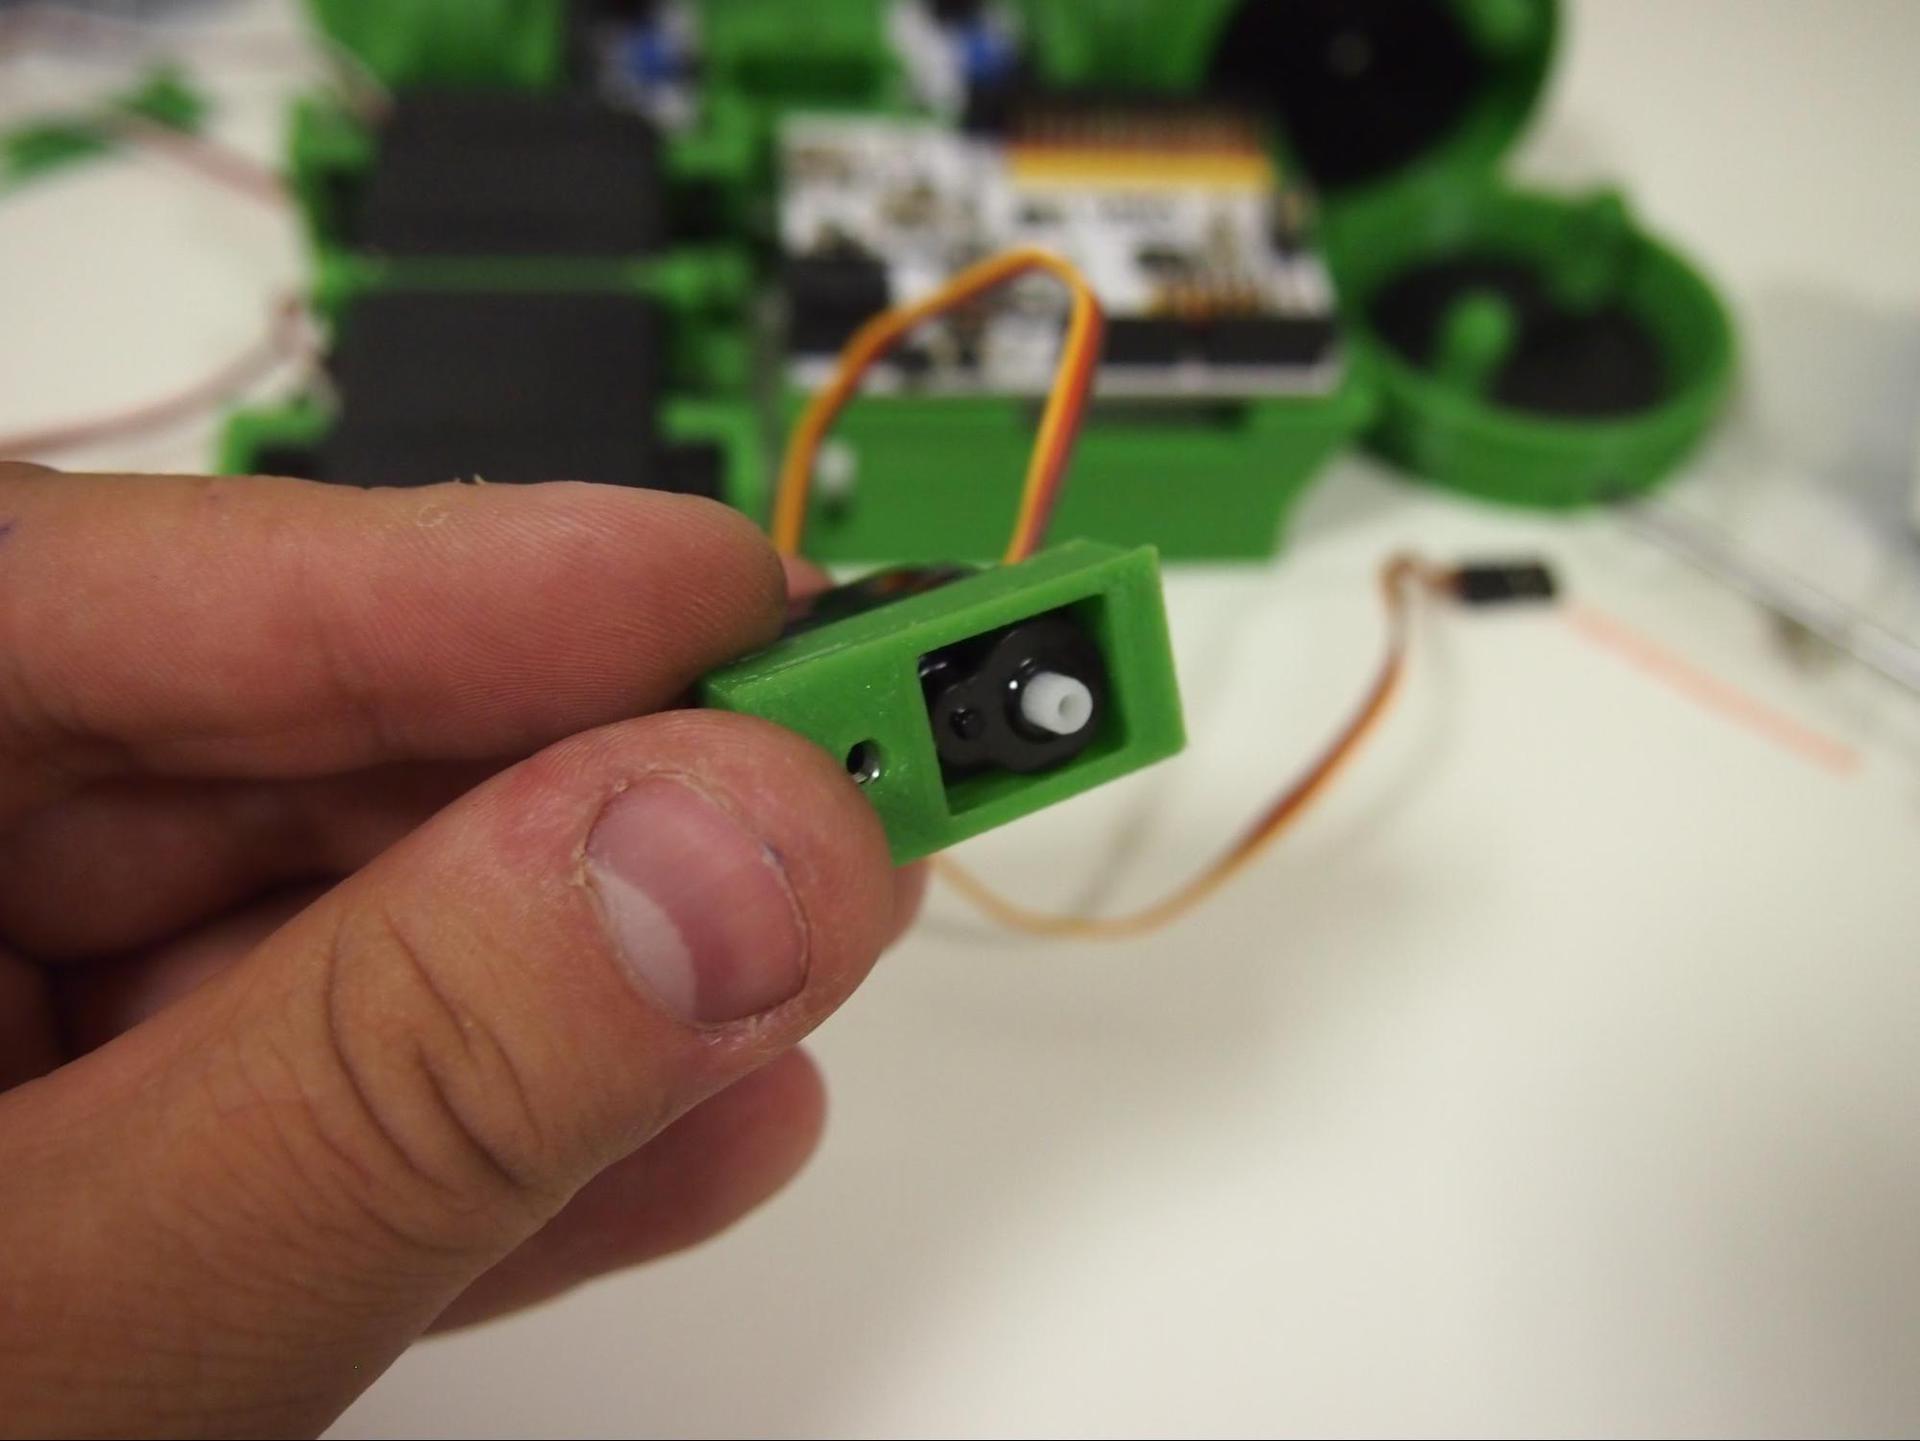
Well, now our bug only needs it; it is easy to assemble, and the grip is controlled with a small servo.
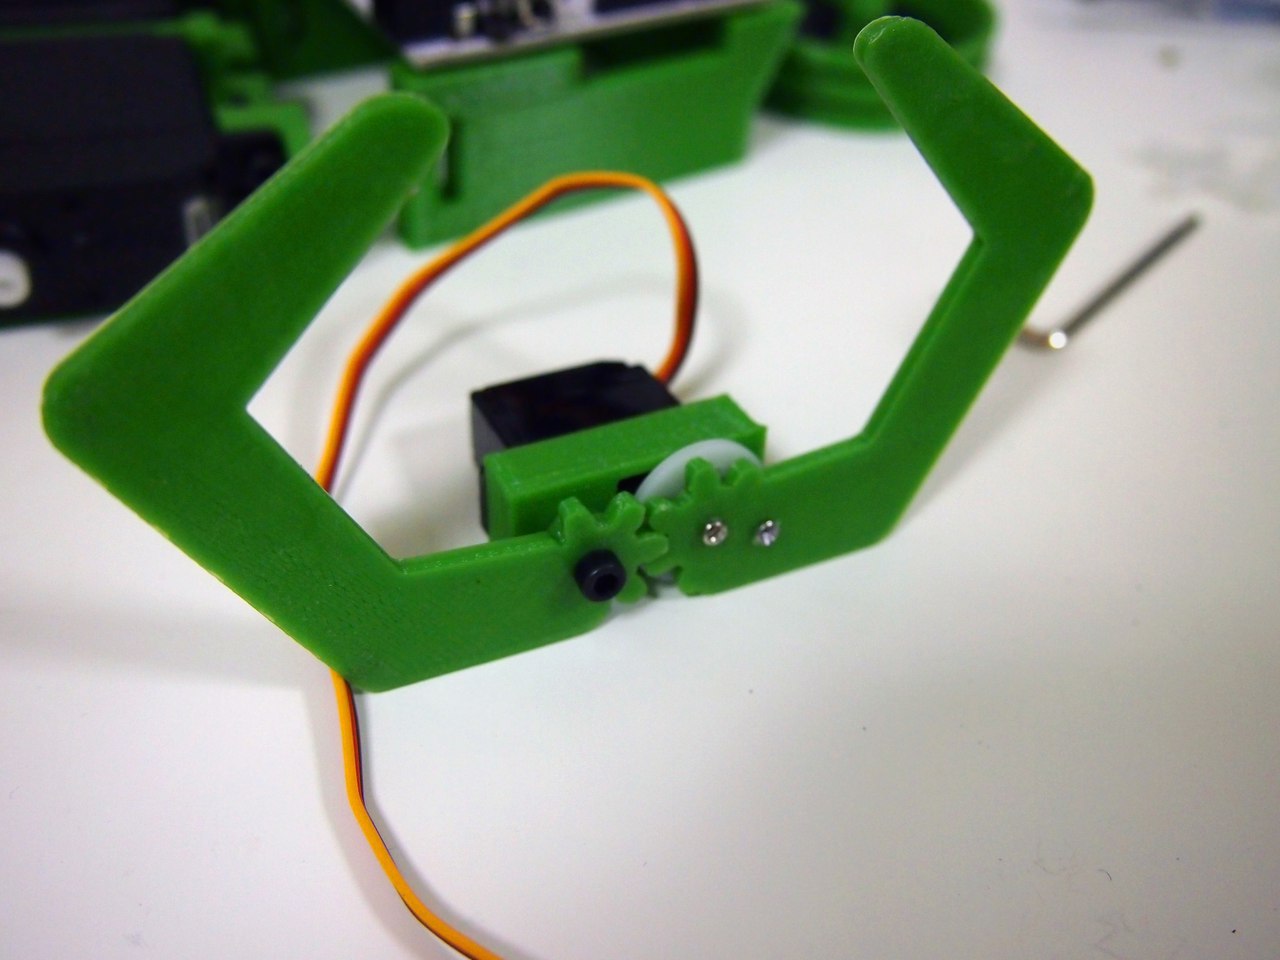

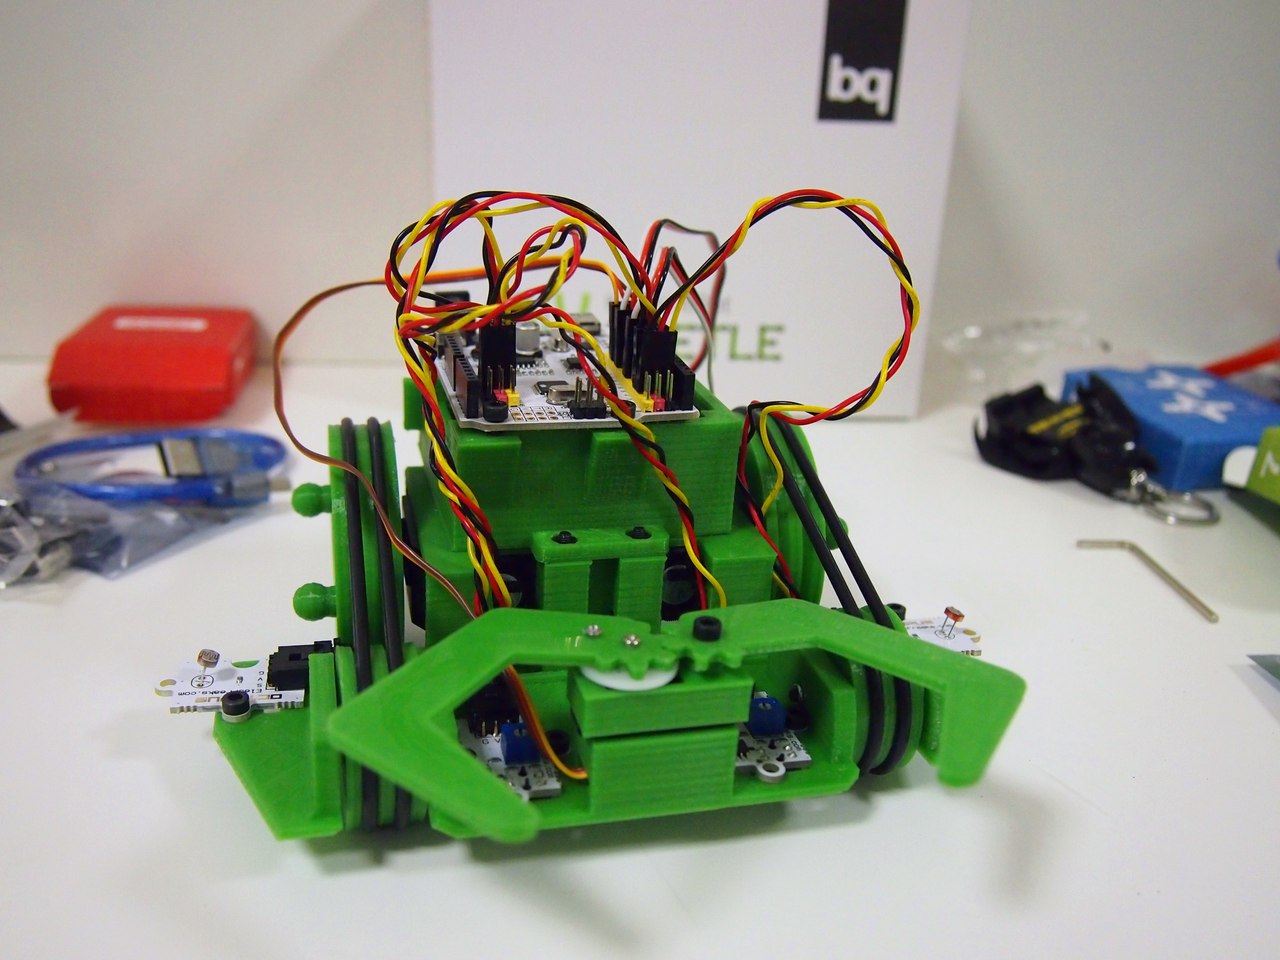
Now mount all the elements:
FIRMWARE.
Although the Beetle turned out to be cute, without a “soft” filling it is useless.
- From here (diwo.bq.com/wp-content/uploads/2014/12/Robopad_Programas_PrintBots.zip) you can download all the firmware for the main bq robots;
- And here (http://diwo.bq.com/robopad-3/) you will meet Robopad and connect the bluetooth module to the robot;
IMPORTANT MOMENT: the robot refused to flash with me until I disconnected the bluetooth module. Therefore, it is logical that I recommend uploading firmware without it.
And now about the most interesting - Robopad!
Robopad is a software from bq, which is a robot control interface. It includes only Tadpole, Beetle and Evolution, the latest robot in the bq lineup. But at the same time, the application itself is completely open and you can add your own development if you wish.
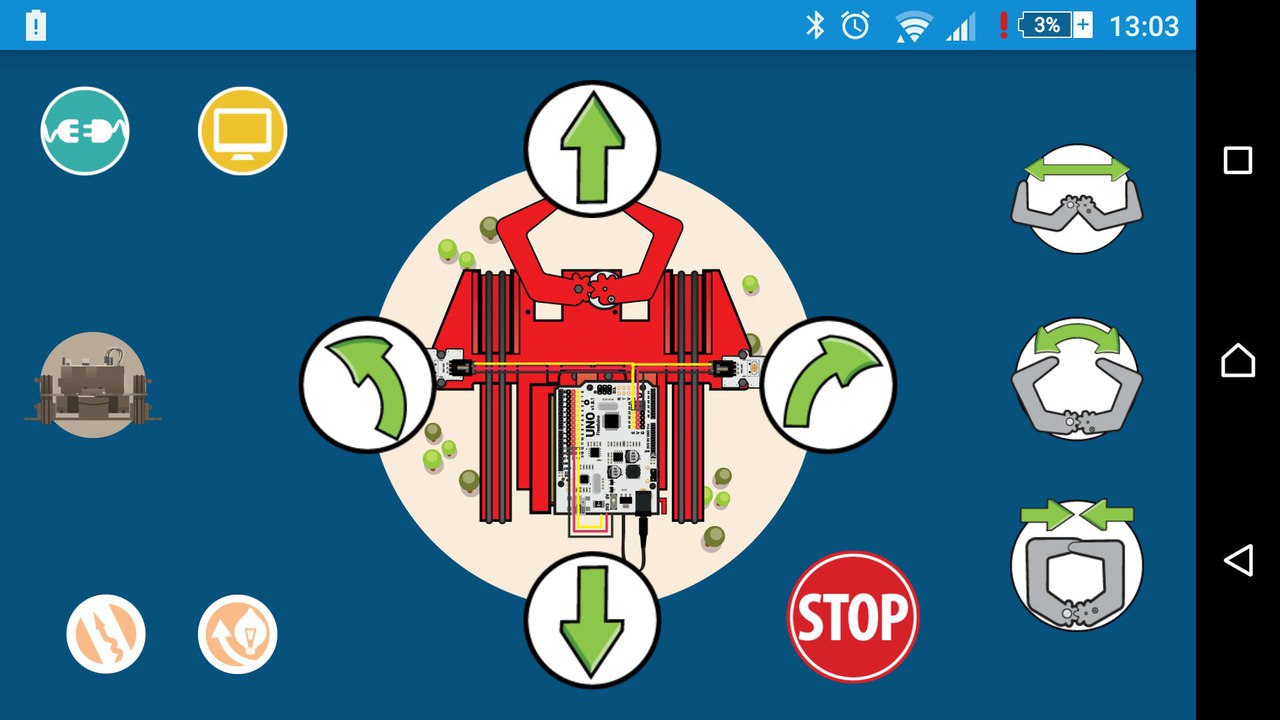
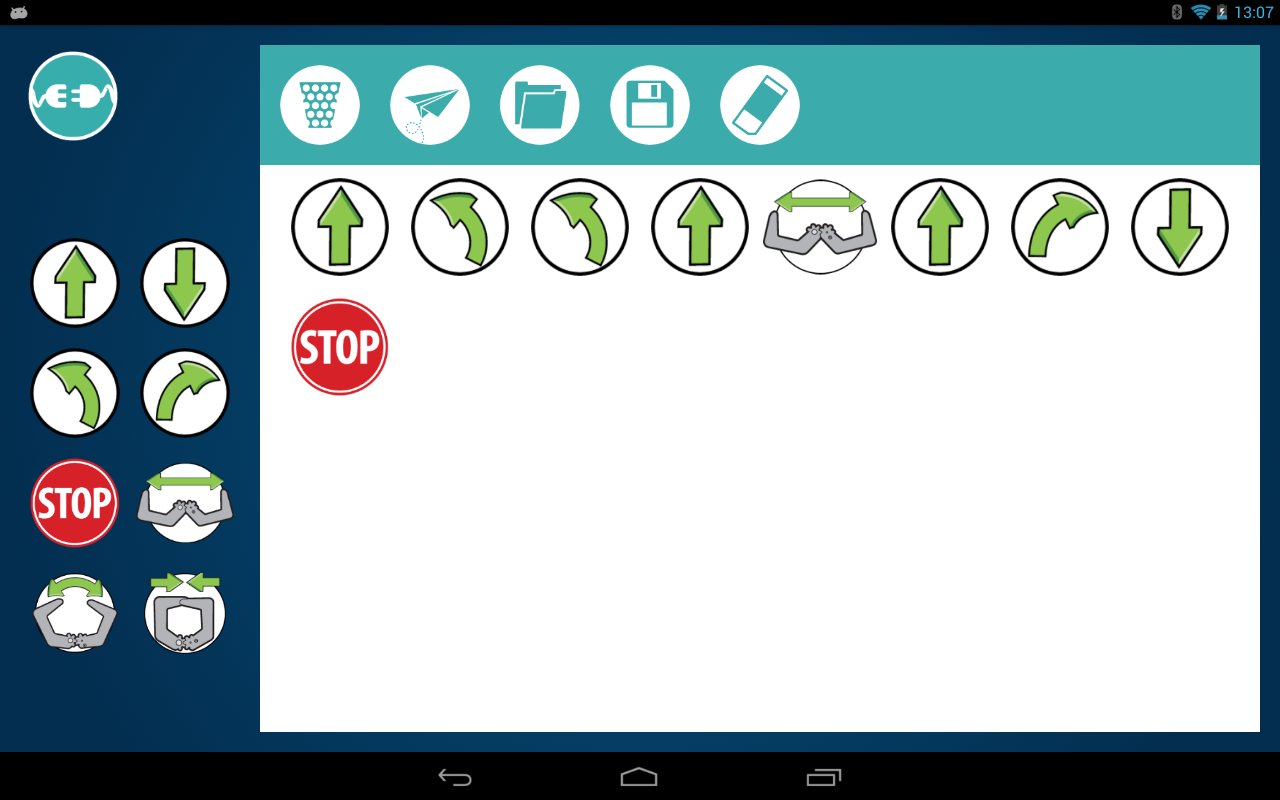
Robopad comes in two versions - regular and plus-plus. The difference between the second and the first is that you can set the sequence of actions for the robot and after pressing the button with the image of an air plane, the robot will execute the commands in exactly the order in which you composed them.
The application works great both on a mobile and on a tablet. For example, most often I use it on Sony Z1 - the phone is good, but obviously not top-end in performance. But the application does not slow down and the robot quickly performs all the tasks, immediately after clicking on the corresponding button.
In a nutshell, the app is a pulp. If I had all these application kits in my childhood, I probably wouldn’t get out of all this Spanish robotics. But in fact, I do not touch even half of the robotic potential of the entire set of electronics in the arsenal. The app, the kits is good. But it is impossible not to mention ...
BITBLOQ

bitbloq is a service that for me personally fully justifies all these robotic kits. This is a visual programming service. In other words, all logic is built using graphic blocks and subsequently translated into code. This is a real salvation for those who do not know how to program, in particular for Adruino. It looks something like this:
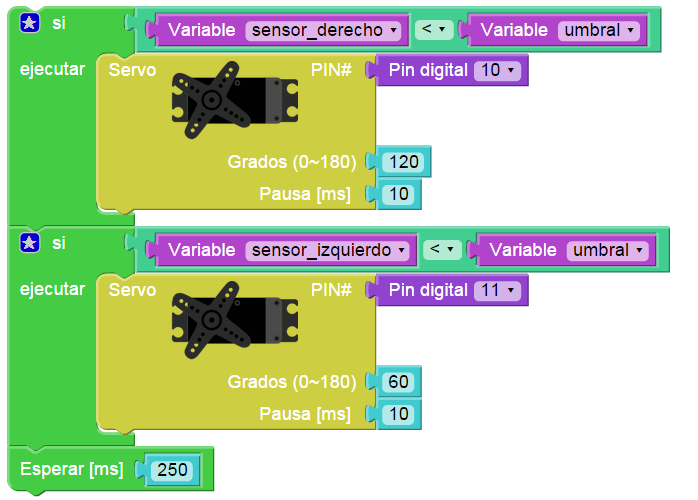
From the categories on the left, you select blocks and stand between them communication, logic, etc. In the tab on the right CODE on the right, you can always see how what you add out of colored bricks looks like the eyes of a real programmer.
The service itself turned out to be a real gift for me. I don’t know how to program from the word “completely”, and all this beauty makes my mini-dream of mastering servos real!
Instead of an afterword.
Robotics kits are great - fact. Thanks to them, I got at least some idea of electronics. They are unlikely to be of interest to already “advanced users”, but for me, as I said, they were able to help cut a window into the world of servos, electronic components and just robots. Having become acquainted with bitbloq, I will now seriously take up kit de Robotica, and Beetle ... Beetle, most likely, I will dismantle and give it to my nephew - we will see if the child who is in the second grade can handle the assembly.
Thanks for attention.
I hope the material was useful to you.
PS A little video demonstrating the capabilities of this robot: