February 7, 2018 at 00:42
Animations in Android on the shelves (Part 2. Complex animations)
Part 1. Basic animations
Part 2. Complex animations
Part 3. “Low-level” animations
Part 4. Transition animations
Part 5. Libraries for working with animations
The tools described in the previous part were relatively low-level and there are much simpler ways to achieve beautiful animations in Android resorting to direct drawing graphics or changing the properties of objects.
In this part, we will consider as little as possible efforts to get beautiful animations.
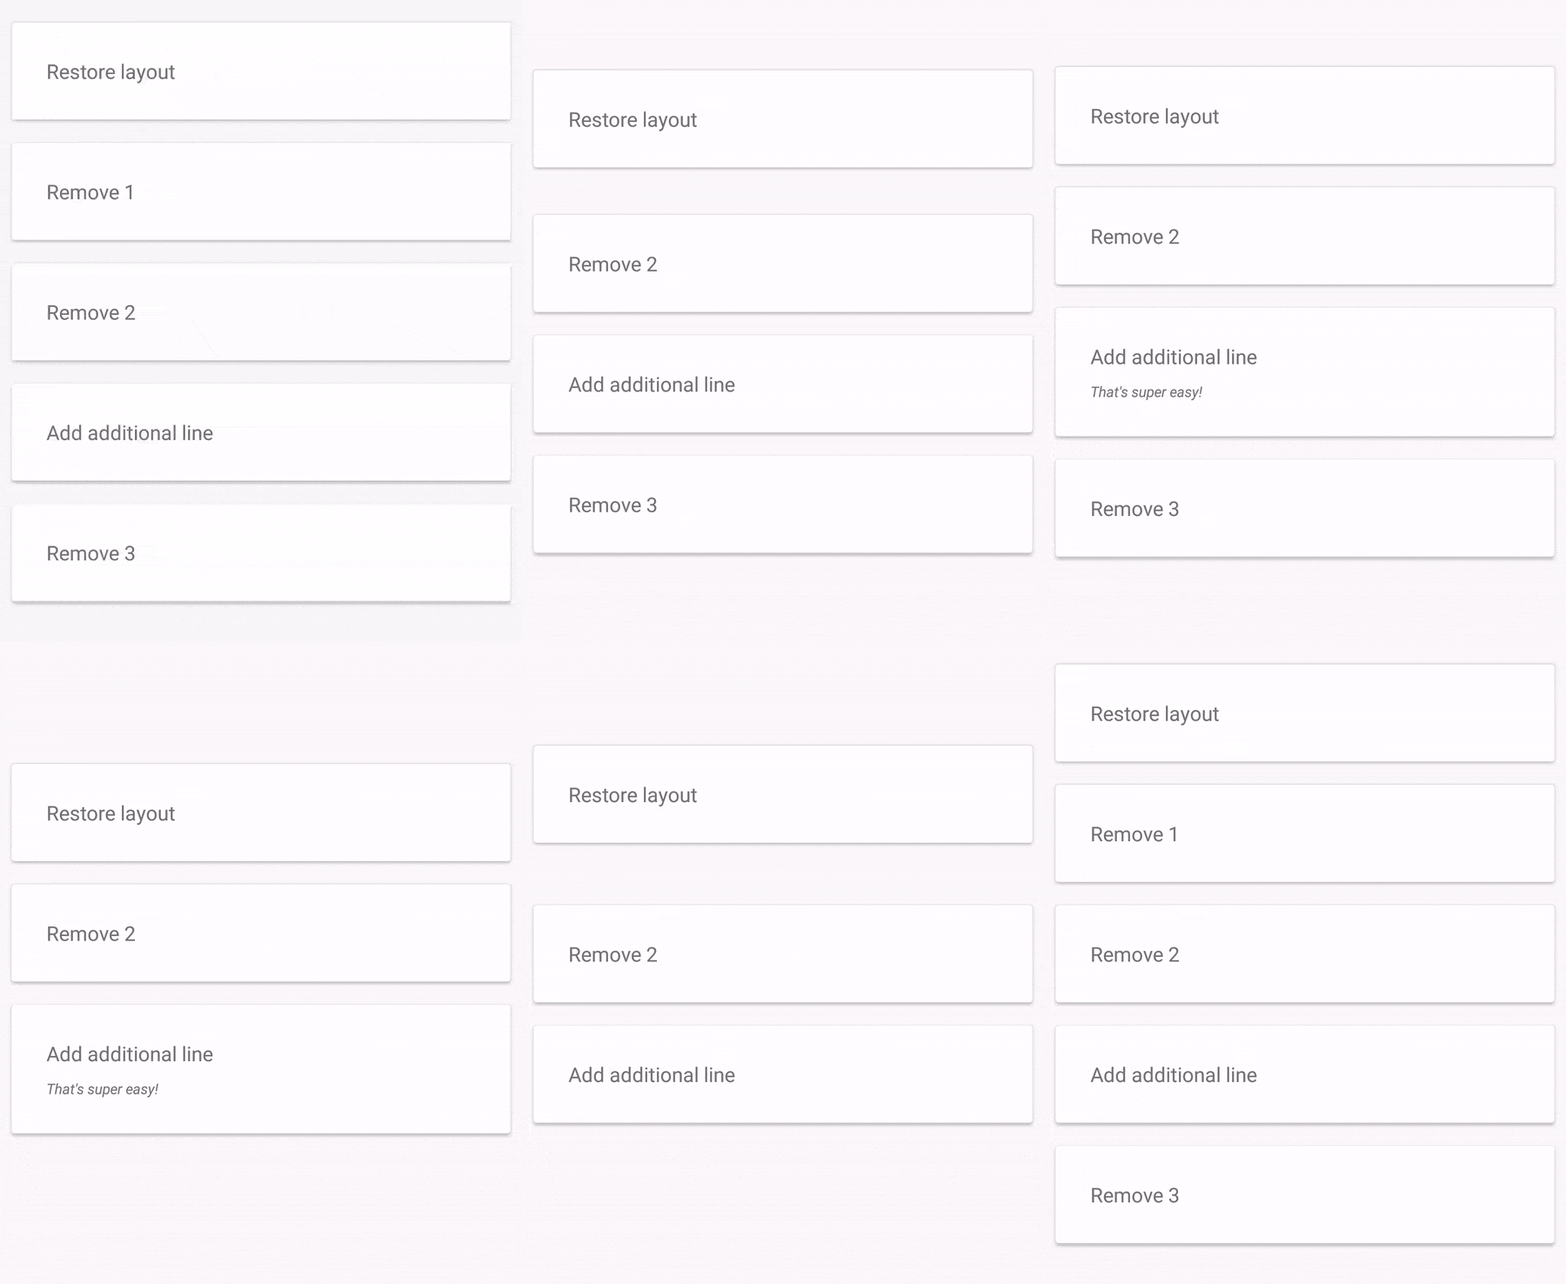
All we need to do to get the animation as in the GIF above is to add a flag
Okay, I was a little cunning when I said that to get the animation as in the GIF above, you just need to set the flag. Adding
Now for sure. If you want to somehow customize this behavior, then
• Application:
Basic animation of changes to objects on the scene.
• Advantages:
Minimum labor costs
• Disadvantages:
Weak customization

Starting with API 19, Android introduced a new framework that allows you to create complex animations involving a large number of elements and a minimum of code.
There are two main options for its use:
1) Use
To create an animation, you need to call TransitionManager.beginDelayedTransition (ViewGroup) before making changes to our View and pass the ViewGroup that we want to animate to it. The framework will remember the state of the View and start the animation on the next frame.
2) Creating scenes
Creating animations in this case comes down to creating two similar xml that are responsible for the initial and final state of your animations. Accordingly, the id of the objects in xml must match to give the framework the opportunity to find a match (In fact, it
Customization in the Transitions framework is achieved by passing the Transition object to the second parameter. It is used by default
or
And if you look inside,
- disappearing objects
are animated
- resizing is animated - appearing objects are animated
• Application:
Animation of a large number of objects
• Advantages:
Minimum labor costs
Available customization
All examples can be viewed and studied here
Part 2. Complex animations
Part 3. “Low-level” animations
Part 4. Transition animations
Part 5. Libraries for working with animations
The tools described in the previous part were relatively low-level and there are much simpler ways to achieve beautiful animations in Android resorting to direct drawing graphics or changing the properties of objects.
In this part, we will consider as little as possible efforts to get beautiful animations.
Part 2. Complex animations
1. Animation of layout changes (aka animateLayoutChanges)
All we need to do to get the animation as in the GIF above is to add a flag
animateLayoutChangesto our ViewGroup in xml. Now, when we delete or add an element to our container, or change its properties, they will be automatically animated.Okay, I was a little cunning when I said that to get the animation as in the GIF above, you just need to set the flag. Adding
animateLayoutChangesactually sets up LayoutTransitionour ViewGroup. But LayoutTransition by default animates only a change in the visibility of objects in the layout. Therefore, if we want to change the properties of the object (for example, width and height), we need to enable this option separately:val layoutTransition = viewGroup.layoutTransition
layoutTransition.enableTransitionType(LayoutTransition.CHANGING)
Now for sure. If you want to somehow customize this behavior, then
LayoutTransitionthere is a method setAnimatorthat allows you to set your own animation of changes. Well, the most hardcore guys can always write their own LayoutTransition. • Application:
Basic animation of changes to objects on the scene.
• Advantages:
Minimum labor costs
• Disadvantages:
Weak customization
2. Transitions framework
Starting with API 19, Android introduced a new framework that allows you to create complex animations involving a large number of elements and a minimum of code.
There are two main options for its use:
1) Use
TransitionManager.beginDelayedTransition(ViewGroup)To create an animation, you need to call TransitionManager.beginDelayedTransition (ViewGroup) before making changes to our View and pass the ViewGroup that we want to animate to it. The framework will remember the state of the View and start the animation on the next frame.
TransitionManager.beginDelayedTransition(viewGroup)
2) Creating scenes
Creating animations in this case comes down to creating two similar xml that are responsible for the initial and final state of your animations. Accordingly, the id of the objects in xml must match to give the framework the opportunity to find a match (In fact, it
beginDelayedTransitionalso creates scenes, one at the time of the call, and the second at the next frame. After that it starts the animation between them).var sceneA = Scene.getSceneForLayout(viewGroup, R.layout.scene_a, context)
var sceneB = Scene.getSceneForLayout(viewGroup, R.layout.scene_b, context)
private fun expand() {
TransitionManager.go(sceneB)
}
private fun collapse() {
TransitionManager.go(sceneA)
}
Customization in the Transitions framework is achieved by passing the Transition object to the second parameter. It is used by default
AutoTransition(), so the code below will work exactly the same as the code above.TransitionManager.go(sceneA, AutoTransition())
or
TransitionManager.beginDelayedTransition(viewGroup, AutoTransition())
And if you look inside,
AutoTransitionyou will notice that the animations will occur in sequence in the following order: - disappearing objects
are animated
- resizing is animated - appearing objects are animated
setOrdering(ORDERING_SEQUENTIAL);
addTransition(new Fade(Fade.OUT)).
addTransition(new ChangeBounds()).
addTransition(new Fade(Fade.IN));
• Application:
Animation of a large number of objects
• Advantages:
Minimum labor costs
Available customization
All examples can be viewed and studied here