August 12, 2017 at 14:43
Telegram bot development using Spring
Do you telegram bots? Does your development productivity want the best? Looking for something new? Then I ask for cat.
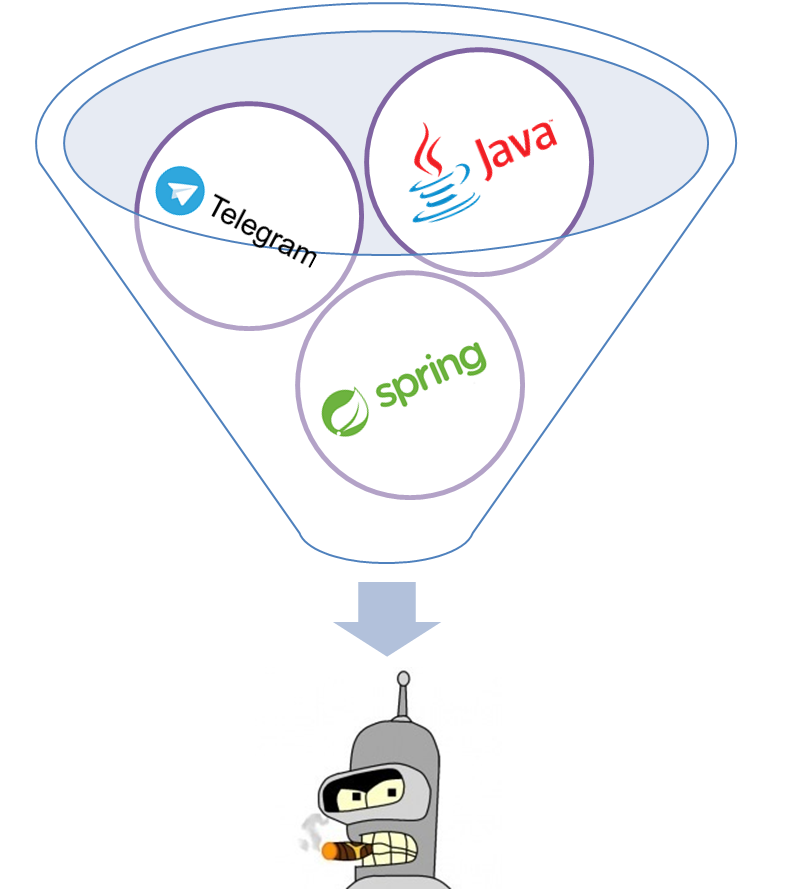
The idea is this: to slam the spring mvc architecture and port it to the telegram api.
It should look something like this:
@BotController
public class SimpleOkayController {
    @BotRequestMapping(value = "/ok")
    public SendMessage ok(Update update) {
        return new SendMessage()
                .setChatId(update.getMessage().getChatId())
                .setText("okay bro, okay!");
    }
}
or
@BotController
public class StartController {
    @Autowired
    private Filter shopMenu;
    @Autowired
    private PayTokenService payTokenService;
    @Autowired
    private ItemService itemService;
    @BotRequestMapping("/shop")
    public SendMessage generateInitMenu(Update update) {
            return  new SendMessage()
                    .setChatId(update.getMessage().getChatId().toString())
                    .setText("Товары моего магазинчика!")
                    .setReplyMarkup(shopMenu.getSubMenu(0L, 4L, 1L)); // <--
    }
    @BotRequestMapping(value = "/buyItem", method = BotRequestMethod.EDIT)
    public List bayItem(Update update) {
        ....................
        Item item = itemService.findById(id); // <--
        return Arrays.asList(new EditMessageText()
                .setChatId(update.getMessage().getChatId())
                .setMessageId(update.getMessage().getMessageId())
                .setText("Подтвердите ваш выбор, в форме ниже"),
                new SendInvoice()
                        .setChatId(Integer.parseInt(update.getMessage().getChatId().toString()))
                        .setDescription(item.getDescription())
                        .setTitle(item.getName())
                        .setProviderToken(payTokenService.getPayToken())
                        ........................
                        .setPrices(item.getPrice())
        );
    }
}
This provides the following benefits:
- No need to write custom logic to select a message handler from the user
- Ability to inject various beans into our @BotController
- As a consequence of the previous two paragraphs, a significant reduction in the amount of code
- Potentially (although I have not done it yet) the arguments of the custom handler method can be expressed as those arguments that are really needed!
- Ability to create serious enterprise solutions using spring
Let's now see how this can be brought about in our project.
@Target({ElementType.TYPE})
@Retention(RetentionPolicy.RUNTIME)
@Component
public @interface BotController {
    String[] value() default {};
}
@Target({ElementType.METHOD})
@Retention(RetentionPolicy.RUNTIME)
public @interface BotRequestMapping {
    String[] value() default {};
    BotRequestMethod[] method() default {BotRequestMethod.MSG};
}
We create our container of handlers in the form of a regular HashMap
public class BotApiMethodContainer {
    private static final Logger LOGGER = Logger.getLogger(BotApiMethodContainer.class);
    private Map controllerMap;
    public static BotApiMethodContainer getInstanse() {
        return Holder.INST;
    }
    public void addBotController(String path, BotApiMethodController controller) {
        if(controllerMap.containsKey(path)) throw new BotApiMethodContainerException("path " + path + " already add");
        LOGGER.trace("add telegram bot controller for path: " +  path);
        controllerMap.put(path, controller);
    }
    public BotApiMethodController getBotApiMethodController(String path) {
        return controllerMap.get(path);
    }
    private BotApiMethodContainer() {
        controllerMap = new HashMap<>();
    }
    private static class Holder{
        final static BotApiMethodContainer INST = new BotApiMethodContainer();
    }
}
We will store wrapper controllers in the container (for the @BotController and @BotRequestMapping pair)
public abstract class BotApiMethodController {
    private static final Logger LOGGER = Logger.getLogger(BotApiMethodController.class);
    private Object bean;
    private Method method;
    private Process processUpdate;
    public BotApiMethodController(Object bean, Method method) {
        this.bean = bean;
        this.method = method;
        processUpdate = typeListReturnDetect() ? this::processList : this::processSingle;
    }
    public abstract boolean successUpdatePredicate(Update update);
    public List process(Update update) {
        if(!successUpdatePredicate(update)) return null;
        try {
            return processUpdate.accept(update);
        } catch (IllegalAccessException | InvocationTargetException e) {
            LOGGER.error("bad invoke method", e);
        }
        return null;
    }
    boolean typeListReturnDetect() {
        return List.class.equals(method.getReturnType());
    }
    private List processSingle(Update update) throws InvocationTargetException, IllegalAccessException {
        BotApiMethod botApiMethod = (BotApiMethod) method.invoke(bean, update);
        return botApiMethod != null ? Collections.singletonList(botApiMethod) : new ArrayList<>(0);
    }
    private List processList(Update update) throws InvocationTargetException, IllegalAccessException {
        List botApiMethods = (List) method.invoke(bean, update);
        return botApiMethods != null ? botApiMethods : new ArrayList<>(0);
    }
    private interface Process{
        List accept(Update update) throws InvocationTargetException, IllegalAccessException;
    }
}
Now, when we have this code base, the question arises: how to make Spring automatically fill the container so that we can use it?
To do this, we implement a special bean - BeanPostProcessor. This makes it possible to catch the beans during their initialization. Our controllers have the default scope - singleton, which means they will be initialized with the start of the context!
@Component
public class TelegramUpdateHandlerBeanPostProcessor implements BeanPostProcessor, Ordered {
    private static final Logger LOGGER = Logger.getLogger(TelegramUpdateHandlerBeanPostProcessor.class);
    private BotApiMethodContainer container = BotApiMethodContainer.getInstanse();
    private Map botControllerMap = new HashMap<>();
    @Override
    public Object postProcessBeforeInitialization(Object bean, String beanName) throws BeansException {
        Class beanClass = bean.getClass();
        if (beanClass.isAnnotationPresent(BotController.class))
            botControllerMap.put(beanName, beanClass);
        return bean;
    }
    @Override
    public Object postProcessAfterInitialization(Object bean, String beanName) throws BeansException {
        if(!botControllerMap.containsKey(beanName)) return bean;
        Object original = botControllerMap.get(beanName);
        Arrays.stream(original.getClass().getMethods())
                .filter(method -> method.isAnnotationPresent(BotRequestMapping.class))
                .forEach((Method method) -> generateController(bean, method));
        return bean;
    }
    private void generateController(Object bean, Method method) {
        BotController botController = bean.getClass().getAnnotation(BotController.class);
        BotRequestMapping botRequestMapping = method.getAnnotation(BotRequestMapping.class);
        String path = (botController.value().length != 0 ? botController.value()[0] : "")
                    + (botRequestMapping.value().length != 0 ? botRequestMapping.value()[0] : "");
        BotApiMethodController controller = null;
        switch (botRequestMapping.method()[0]){
            case MSG:
                controller = createControllerUpdate2ApiMethod(bean, method);
                break;
            case EDIT:
                controller = createProcessListForController(bean, method);
                break;
            default:
                break;
        }
        if (controller != null) {
            container.addBotController(path, controller);
        }
    }
    private BotApiMethodController createControllerUpdate2ApiMethod(Object bean, Method method){
        return new BotApiMethodController(bean, method) {
            @Override
            public boolean successUpdatePredicate(Update update) {
                return update!=null && update.hasMessage() && update.getMessage().hasText();
            }
        };
    }
    private BotApiMethodController createProcessListForController(Object bean, Method method){
        return new BotApiMethodController(bean, method) {
            @Override
            public boolean successUpdatePredicate(Update update) {
                return update!=null && update.hasCallbackQuery() && update.getCallbackQuery().getData() != null;
            }
        };
    }
    @Override
    public int getOrder() {
        return 100;
    }
}
We initialize the context in which all our bins are written and - voila! You can select handlers for messages, for example, like this:
public class SelectHandle {
    private static BotApiMethodContainer container = BotApiMethodContainer.getInstanse();
    public static BotApiMethodController getHandle(Update update) {
        String path;
        BotApiMethodController controller = null;
        if (update.hasMessage() && update.getMessage().hasText()) {
            path = update.getMessage().getText().split(" ")[0].trim();
            controller = container.getControllerMap().get(path);
            if (controller == null) controller = container.getControllerMap().get("");
        } else if (update.hasCallbackQuery()) {
            path = update.getCallbackQuery().getData().split("/")[1].trim();
            controller = container.getControllerMap().get(path);
        }
        return controller != null ? controller : new FakeBotApiMethodController();
    }
}
Postscript
Telegram is developing very rapidly. Using bots, we can organize our stores, give commands to our various online things, organize blog channels and much much more. And most importantly, all this in a single application!
References: