May 2, 2017 at 12:36
How to run servlets from Eclipse on an SAP Cloud Platform
This is the fourth publication in the framework of assistance to the participants of the contest "SAP Coder-2017" .
You want to try the SAP Cloud Platform, but you're more used to working in Eclipse. No problems! You can explore new opportunities in the most comfortable conditions. But all in order.
Today we’ll show you how to develop a servlet in Eclipse and run it in the SAP Cloud Platform. Step 1. First, let's determine the versions of Java and Eclipse. SAP recommends using Java 7 for Eclipse Mars (4.5). So let's do it. Java 7 can be downloaded from here . Eclipse Mars we take here . Following the classic scenario for Windows applications, we install both. Step 2. If you have not worked with the SAP Cloud Platform, then first you need to register

. For non-commercial use, for individual developers, SAP provides free perpetual access to the SAP Cloud Platform.
"What's the catch?" - you ask. SAP imposes certain restrictions on the amount of resources provided, for example, 1 GB of memory for HANA, 1 database instance, 100 MB for the repository, 2 mobile applications, and so on. All details are listed on the SAP website .
After registering, you can go to the SAP Cloud Platform. The home page of your account on SCP looks something like this
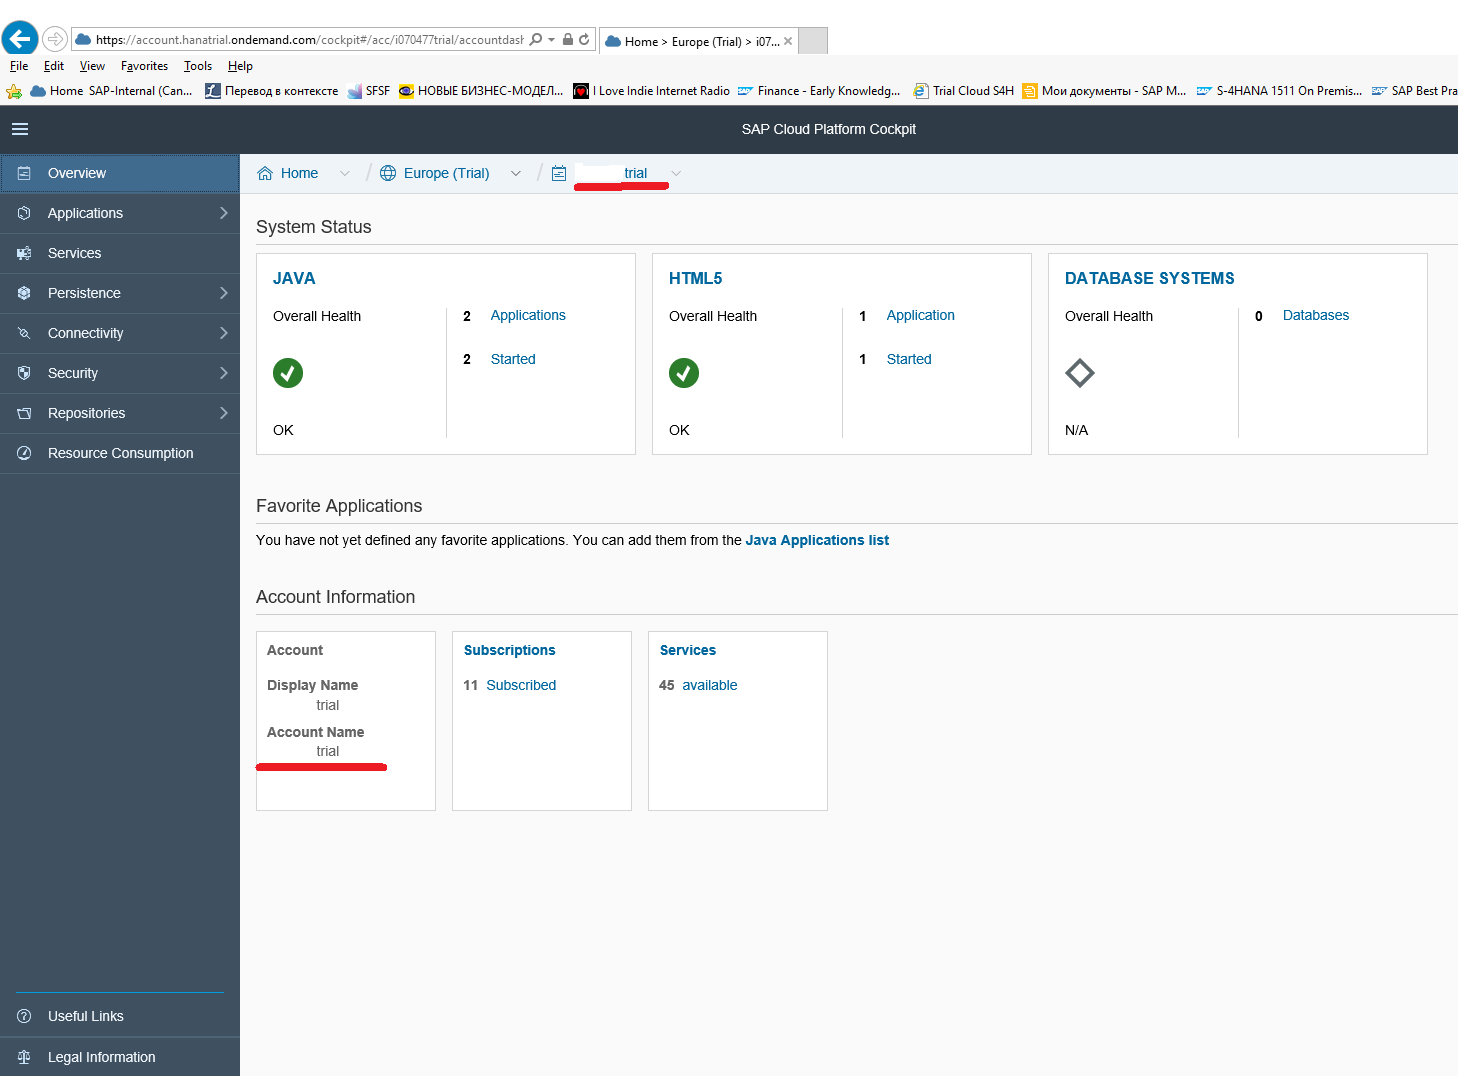
Here, note that the username and account may be different (in the screenshot are underlined with red lines).
Step 3. Connect Eclipse to the SAP Cloud Platform Server. To do this, start Eclipse, then select the menuWindow → Preferences . In the Preferences window that opens, on the left, select Server → SAP Cloud Platform. Fill in the following fields of the
Landscape host: hanatrial.ondemand.com
Account name: <name of your free account from step 2>
User name: <username of your free account from step 2> .

Please note that these field values can only be used for a free account. To connect to a productive SAP Cloud Platform server, use a different server name and a different account.
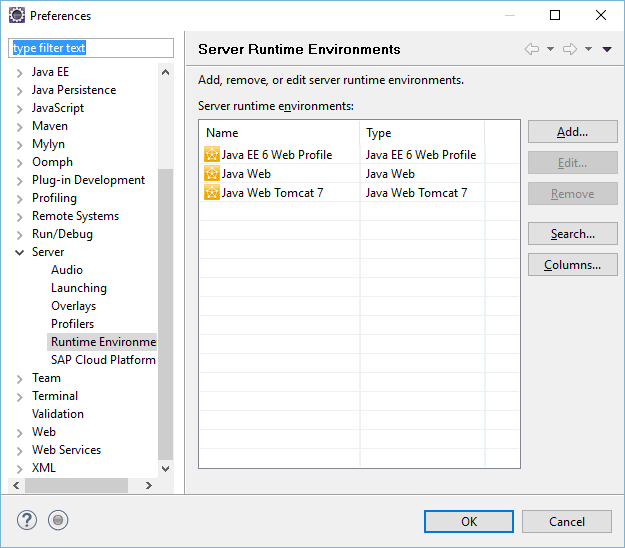
Step 3. Now connect the SAP libraries to Eclipse. SAP provides several versions of the SCP SDKfor Java development: Java Web, Java Web Tomcat 7, Java Web Tomcat 8, Java EE 6 Web Profile. Which version of the SDK to choose depends on the task. For this example, I downloaded Java Web , Java Web Tomcat 7, and Java EE 6 Web Profile . Download and unpack archives. Next, in Eclipse, in the same menu Window → Preferences, select Server → Runtime Environment and add libraries.
Step 4. The SAP Cloud Platform uses its own version of the JVM. SAP JVM- This is a fully certified Java Standard Edition Virtual Machine for Java 7, developed on the basis of Oracle HotSpot VM and JDK and equipped with additional features such as SAP JVM Profiler for configuring and monitoring applications running on the SAP Cloud Platform. For a consistent development and startup environment, you can deploy the SAP JVM locally and connect to Eclipse. To do this, download the SAP JVM and unpack the archive. Next, in Eclipse, from the menu Window → Preferences, select Java → Installed JREs.

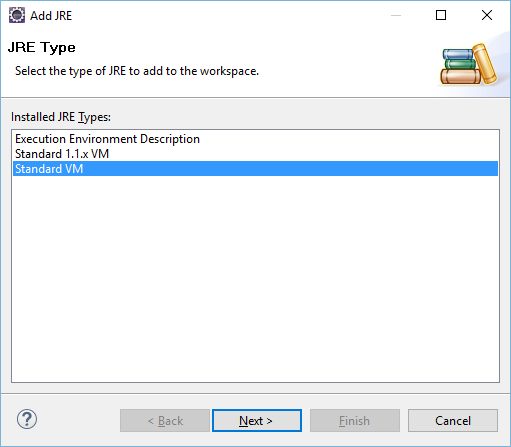
Click Add, in the window that opens, select Standard VM, click Next
and select the folder where the JVM has just been unpacked.
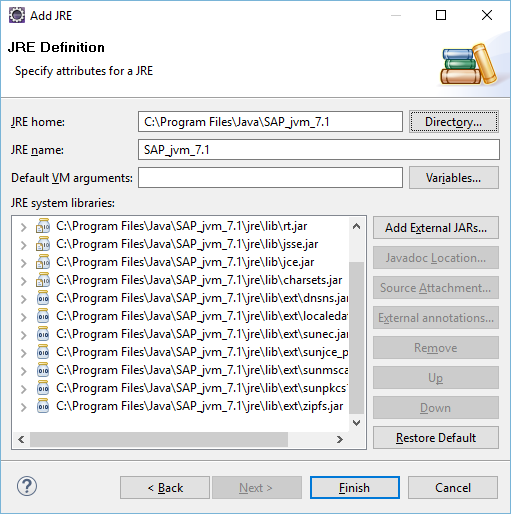
You can specify the SAP JVM as the primary runtime (i.e., the default).
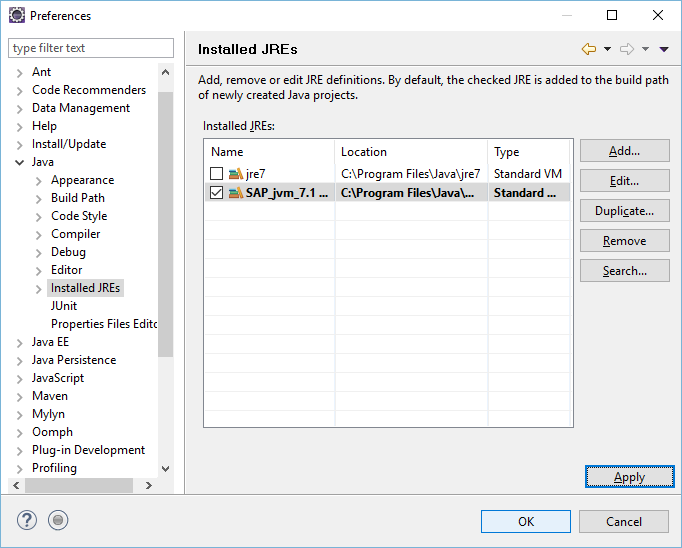
Step 5. We configured Eclipse, connected all the SAP SDK libraries. In order not to deviate from tradition, let's now create a HelloWorld application based on Java servlets. To do this, create a Dynamic Web Project in Eclipse .
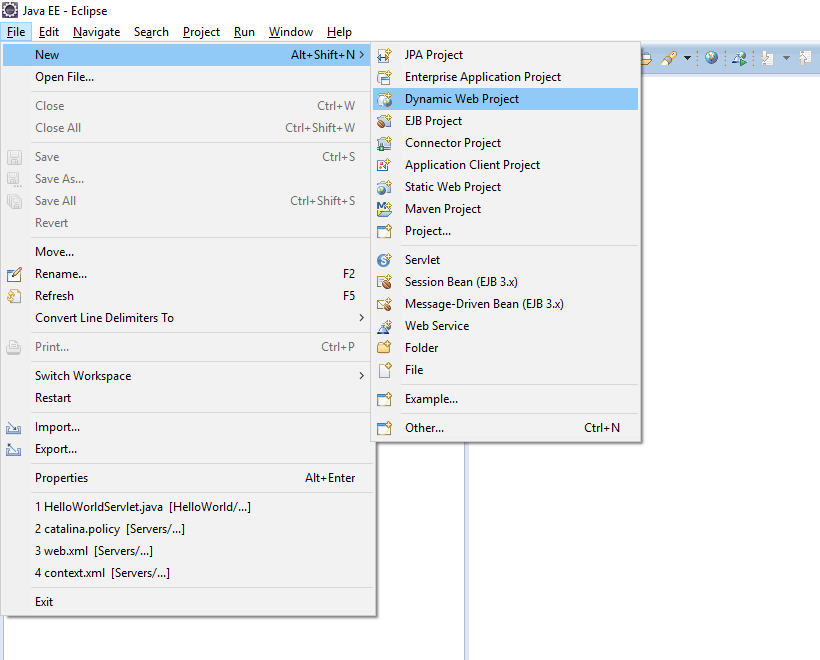
Let's call the HelloWorld
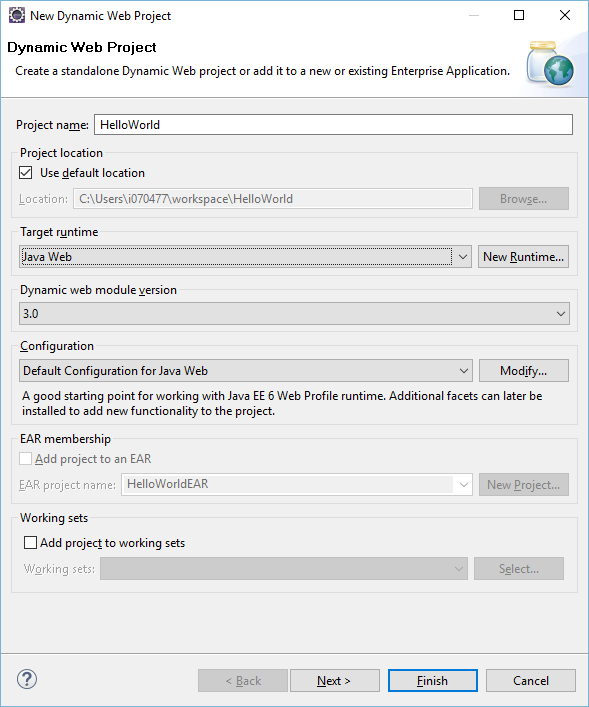 project .
 Next, add the servlet to the project.

Set the following values for the
Java
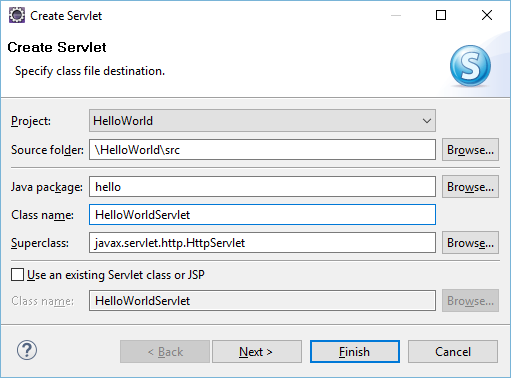 fields in the package: hello Class name: HelloWorldServlet
For convenience, you can simplify URL mappings .
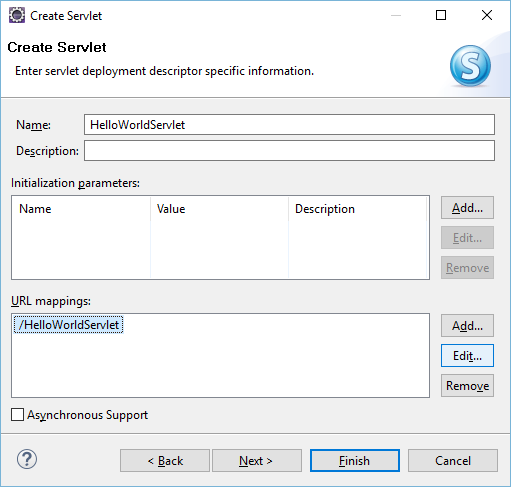
To do this, select / HelloWorldServlet and replace it with / .

Replace the code in the doGet (...) method with
response.getWriter (). Println ("Hello World!");
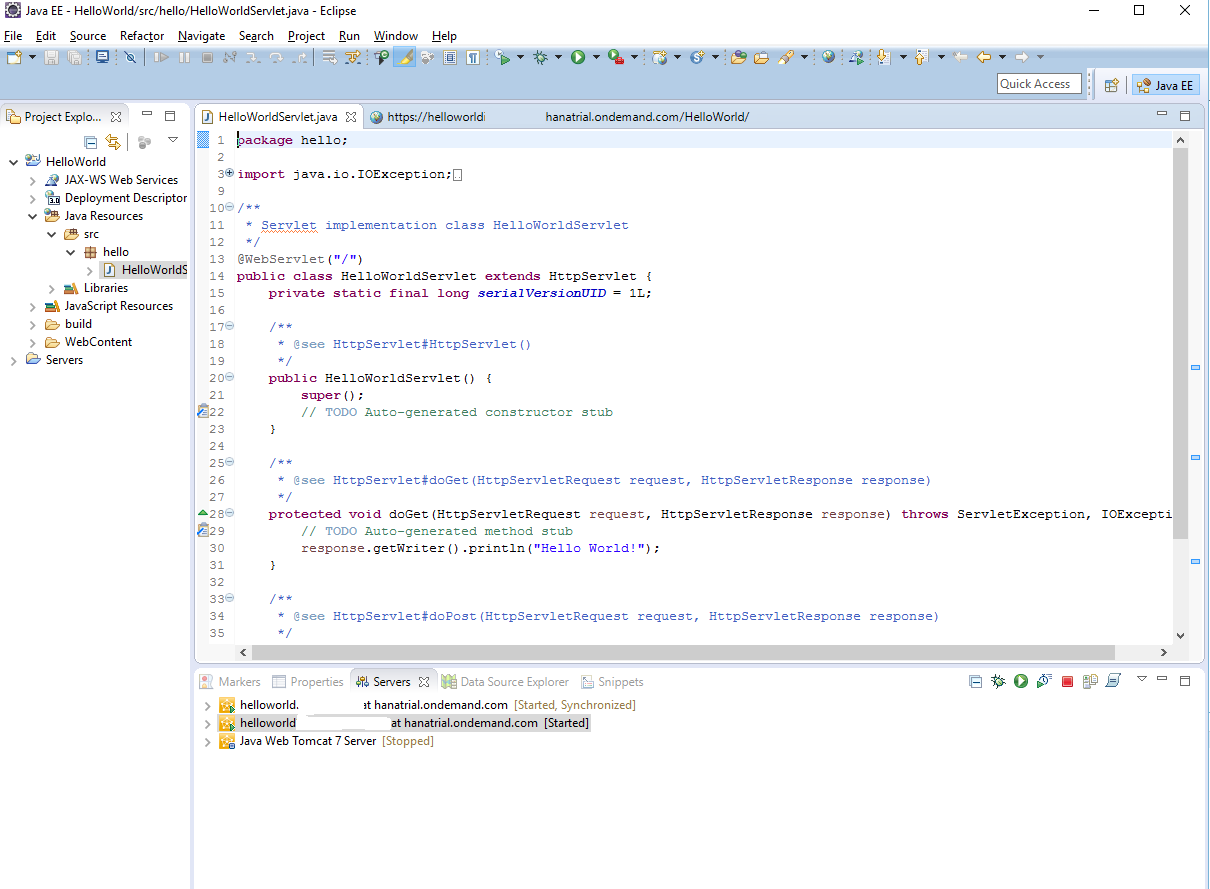
Step 6. The application is ready. The last step left is to launch the application on the SAP Cloud Platform. To do this, select the menu Run → Run As → Run on Server .

In the window that appears, manually select the SAP Cloud Platform server.

In the next step, you will need to enter the name of your account on SCP, username and password.
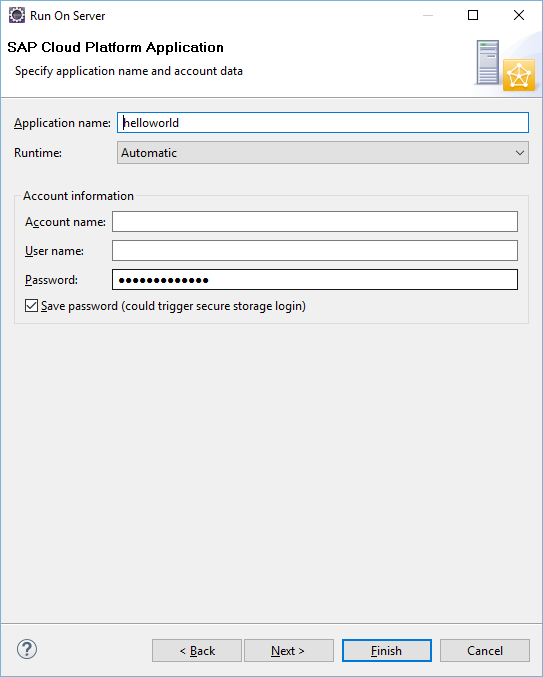
Step 7. In conclusion, let's go to the SAP Cloud Platform and find our application there.
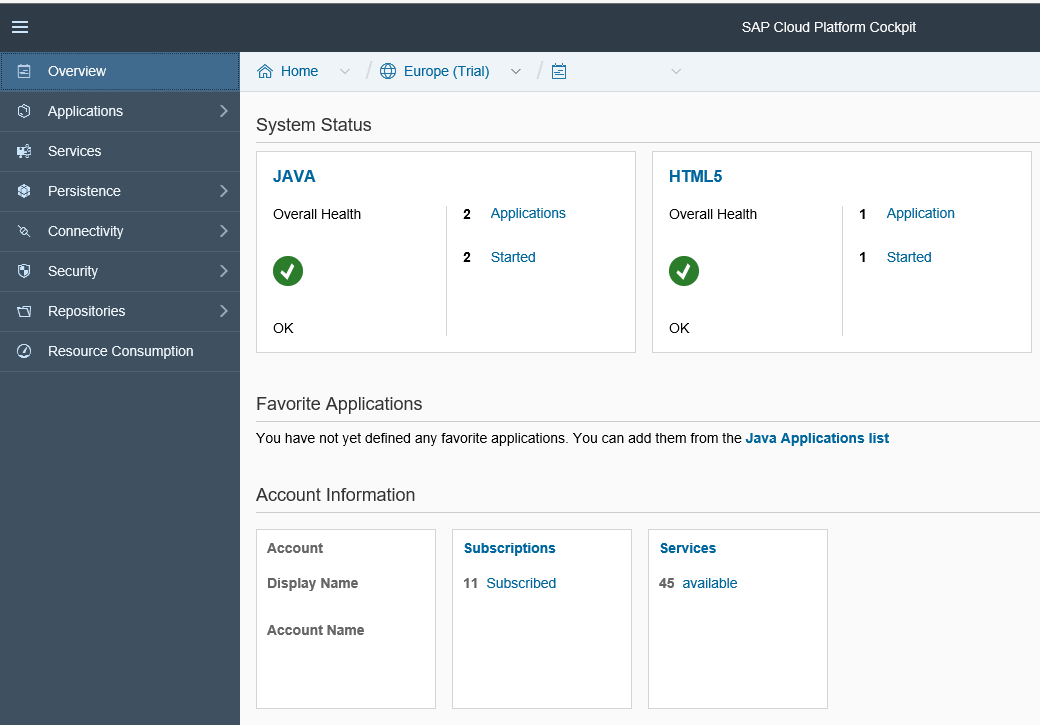
In SAP Cloud Cockpit, we see that two applications are running in the account.
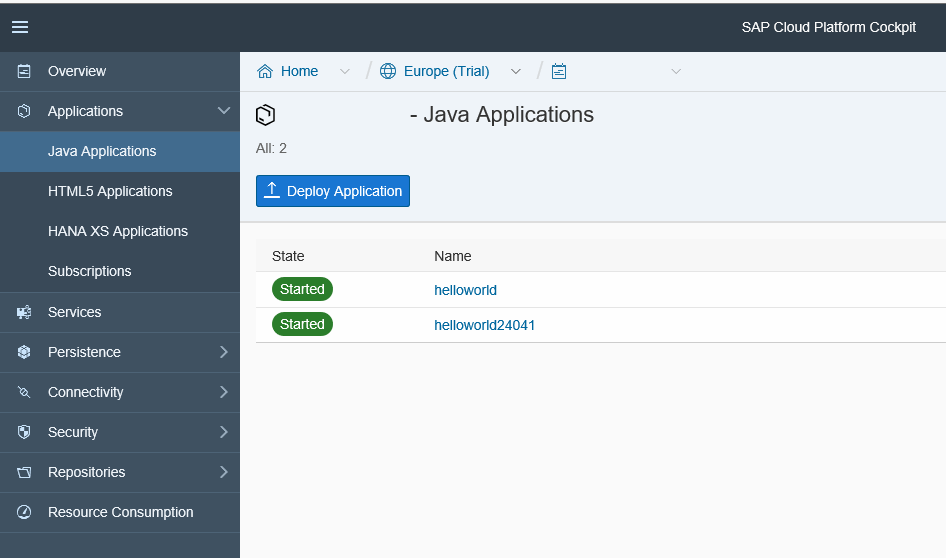
We select our application. The control and monitoring panel opens, where you can find the application URL

and run it in a separate window.
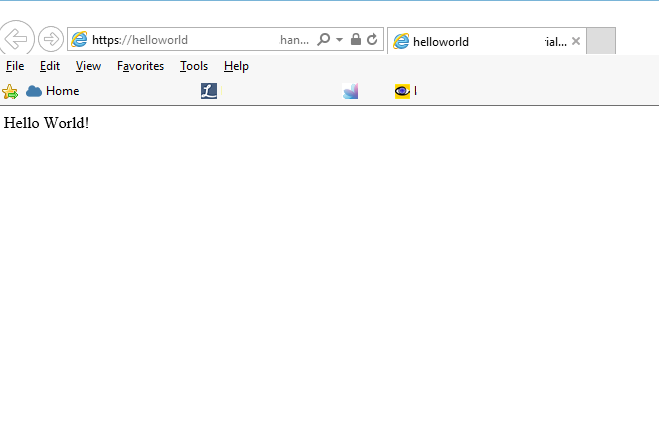
Success in using the SAP Cloud Platform!