October 17, 2016 at 07:08
Xcode: probably the best way to work with storyboards
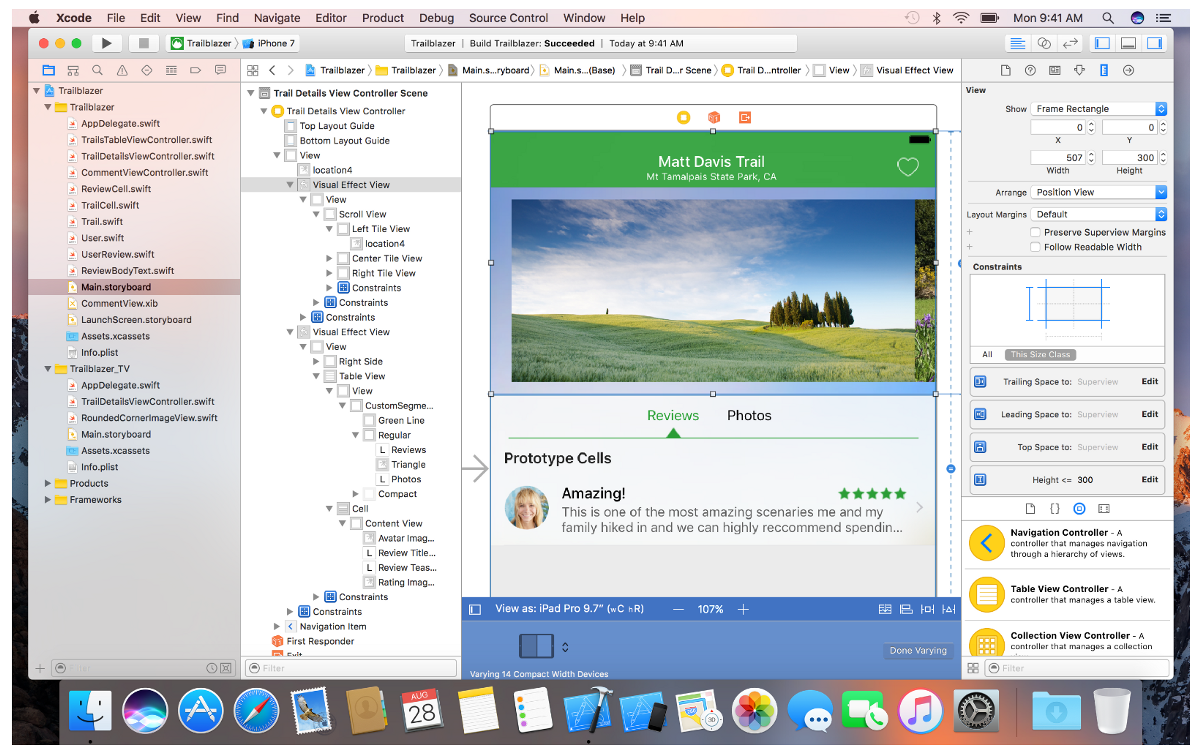
This post is a free translation of Xcode: A Better Way to Deal with Storyboards by Stan Ostrovskiy
Some code examples in the original article are outdated (due to the release of Swift 3) and have been changed in the translation.
Tips and tricks for working with Interface Builder.
Apple has seriously improved Interface Builder in the new Xcode 8. The use of size classes has become more intuitive, the ability to scale the storyboard is very convenient, and the full preview directly in Interface Builder is just great. For those who had doubts about using Interface Builder, this can be a good plus.
On the other hand, many developers still have some problems with Interface Builder when they create large multi-screen applications with complex navigation.
In this article, I will share some of the best practices for working with storyboards in your project. Are you already using Interface Builder, or just taking the first steps in this direction? - In any case, these tips will be useful to you.
1. If you are working in a team, use a separate storyboard for each screen. Even if you work alone, it will surely become a good habit.
Does your project have one main.storyboard file that looks like this?
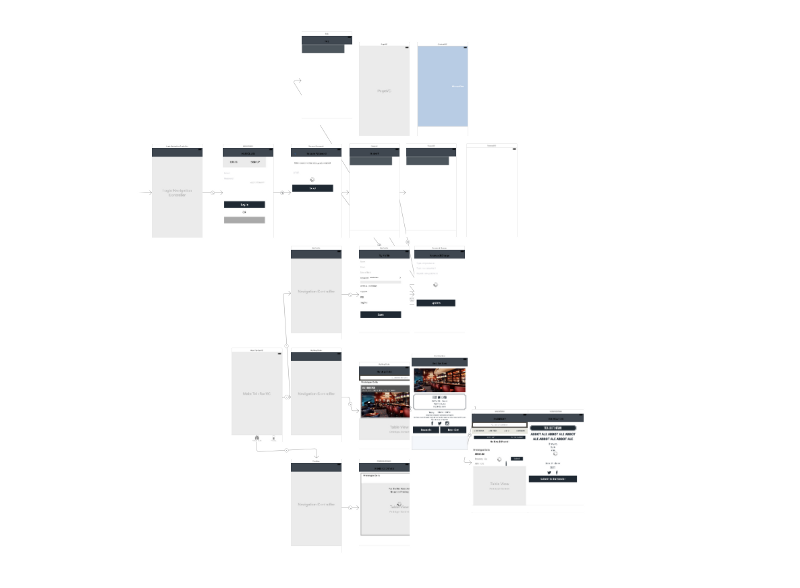
From the point of view of the designer, everything is fine: the UI and navigation are completely visible. And this is exactly what Interface Builder was created for.
But for the developer, this carries many problems:
- Version control: Conflicts of merging storyboards are very difficult to solve, so working in separate storyboards will make your team's life easier.
- The storyboard file becomes voluminous and difficult to navigate. How often do you accidentally change constraint with a mouse click in the wrong view controller?
- You need to assign your storyboard ID to each view controller and this can lead to errors: you need to “hardcode” this ID every time you want to use this view controller in the code.
How to connect different storyboards in your project? There are two ways.
Use the links to storyboards referencing that appeared in Xcode 7.
- Link storyboards directly in code.
You can read more about the first method here .
I will talk about the second method, since it is widely used for complex projects.
2. Use the same names for the storyboard file and for the associated controller class (descendant of the UIViewController).
This will simplify the naming rules, as well as give some "goodies" about which we will discuss in paragraph 3.
3. Initialize the storyboard directly in the controller class.
When it comes to initializing a view controller through a storyboard, I often see the following code:
let storyboard = UIStoryboard(name: “Main”, bundle: nil)
let homeViewController = storyboard.instantiateViewController(withIdentifier: “HomeViewController”)
It's a little bit dirty: you need to name a storyboard, you need a storyboard ID for the view controller, and you need to use this pattern every time you create a HomeViewController.
It is better to transfer this code to the controller class itself and use the static method to initialize the controller using the storyboard:
class HomeViewController: UIViewController {
    static func storyboardInstance() -> HomeViewController? {
        let storyboard = UIStoryboard(name: “HomeViewController”, bundle: nil)
        return storyboard.instantiateInitialViewController() as? HomeViewController
    }
}
If you follow the previous tip (same file names), you can avoid the "harcode" of the storyboard name and use String (describing :) :
let storyboard = UIStoryboard(name: String(describing: self), bundle: nil)Make sure the storyboard file has the same name as the controller class. Otherwise, your application will crash when you try to create a link to such a storyboard.
This makes your code more readable and fault tolerant:
class HomeViewController: UIViewController {
    static func storyboardInstance() -> HomeViewController? {
        let storyboard = UIStoryboard(name: String(describing: self), bundle: nil)
        return storyboard.instantiateInitialViewController() as? HomeViewController
    }
}
If you want to access the view controller through instantiateInitialViewController (), make sure you specify this view controller as initialViewController in Interface Builder. If you have multiple view controllers on the same storyboard, you will have to use instantiateViewController (withIdentifier: _)
Now, initializing such a view controller will take one line:
let homeViewController = HomeViewController.storyboardInstance()Simple and clear, right?
You can use the same approach to initialize a view from nib:
class LoginView: UIView {
    static func nibInstance() -> LoginView? {
        let nib = Bundle.main.loadNibNamed(String(describing: self), owner: nil, options: nil)
        return nib?.first as? LoginView
    }
}
4. Do not overload your project with transitions on the storyboard.
You won’t have transitions if you follow the advice from point 1. But even if you have several view controllers in the same storyboard, using segues to navigate between them is not a good idea:
- You need to give a name to each transition (segue), which in itself can lead to errors. Hardcoding name strings is bad practice.
- The prepareForSegue method will be simply unreadable when you work with several segue in it using the if / else or switch branch operators .
What is the alternative? When you want to go to the next view controller by clicking on a button, just add IBAction for this button and initialize the view controller in code: this is just one line, as you remember from point 3.
@IBAction func didTapHomeButton(_ sender: AnyObject) {
    if let nextViewController = NextViewController.storyboardInstance() {
        // initialize all your class properties
        // nextViewController.property1 = …
        // nextViewController.property2 = …
        // either push or present the nextViewController,
        // depending on your navigation structure
        // present(nextViewController, animated: true, completion: nil)
        // or push
        navigationController?.pushViewController(nextViewController, animated: true)
    }
}
5. Unwind segue? No, have not heard.
Sometimes navigation involves returning the user to the previous screen.
A very common mistake: use the new transition to navigate to the previous view controller. Such a transition creates a new instance of the view controller, which is already in the stack, instead of removing the current view controller and thus returning to the previous one.
Starting with iOS 7, Interface Builder gives you the ability to "unwind" the navigation stack.

Unwind segue allows you to specify a return to the previous screen. It sounds pretty simple, but in practice it takes some extra steps and only confuses the developer:
- Normally, when you create an action for an action button, Interface Builder will create an IBAction for you . In the same case, it is expected that the code is already written before you hold down “Ctrl” and drag the action from your button to “Exit”.
- Обычно когда вы создаете действие для кнопки, код этого действия создается в том же классе, которому и принадлежит кнопка. Для Unwind Segues, вам нужно писать код в классе того вью-контроллера, в который этот переход произойдет.
- Метод prepareForUnwind будет иметь все те же недостатки, что и метод prepareForSegue (см. предыдущий пункт).
Каков же более простой способ?
Проще делать это в коде: вместо создания действия "unwind" для вашей кнопки, создайте обычный IBAction и используйте dismissViewController или popViewController (в зависимости от вашей навигации):
@IBAction func didTapBackButton(_ sender: AnyObject) {
    // if you use navigation controller, just pop ViewController:
    if let nvc = navigationController {
        nvc.popViewController(animated: true)
    } else {
        // otherwise, dismiss it
        dismiss(animated: true, completion: nil)
    }
}
На сегодня это все. Я надеюсь, вы найдете что-то полезное для себя.
От переводчика:
Thanks to the method described in this article, I greatly simplified the work with storyboards in my current project. While I worked on it alone - everything was fine, but as soon as other developers appeared - working with the storyboard turned into real hell. From despair, we practically switched to the "banana method" (you can read here in the "Pass the banana" section).
Of course, ideally, you will need to come to VIPER sooner or later . But this will be another post.