Introducing Telerik AppBuilder
- Tutorial

Many web developers ignore the area of application development, citing the fact that studying mobile development technologies will take a lot of time. In part, it is, studying the development of native applications for mobile platforms practically implies not only the use of new programming languages, but also patterns.
If you are one of these developers, you should pay attention to the development of hybrid applications, as you can work with a language that you already know, be it HTML5 or JavaScript. Moreover, you can use popular frameworks, for example: Twitter Bootstrap or jQuery Mobile to develop your applications.
Now, for those who are interested, I propose to immerse yourself in the Telerik AppBuilder, a powerful cloud development environment that makes the hybrid application development process incredibly easy. In this tutorial, we will learn what AppBuilder can offer and, in the process of getting to know each other, we will build a simple hybrid application.
Why Telerik AppBuilder?
One of the main reasons to use AppBuilder is a full online IDE. It allows you to create, test and even publish hybrid applications from any computer or mobile device, without the need to download it.
The ability to create iOS applications running on Windows or Linux is another advantage.
And finally, AppBuilder’s affiliation with the Telerik Platform gives you the opportunity to use features such as analytics, pop-up notifications, user authorization, and cloud storage.
Let's start creating the application!
All you need to get started is a Telerik account. If you don’t have one yet, you can create one using the free 30 day version.
We open a new window in the browser and go to the Telerik Platform. Immediately after authorization, you will be taken to a page with a list of your applications.
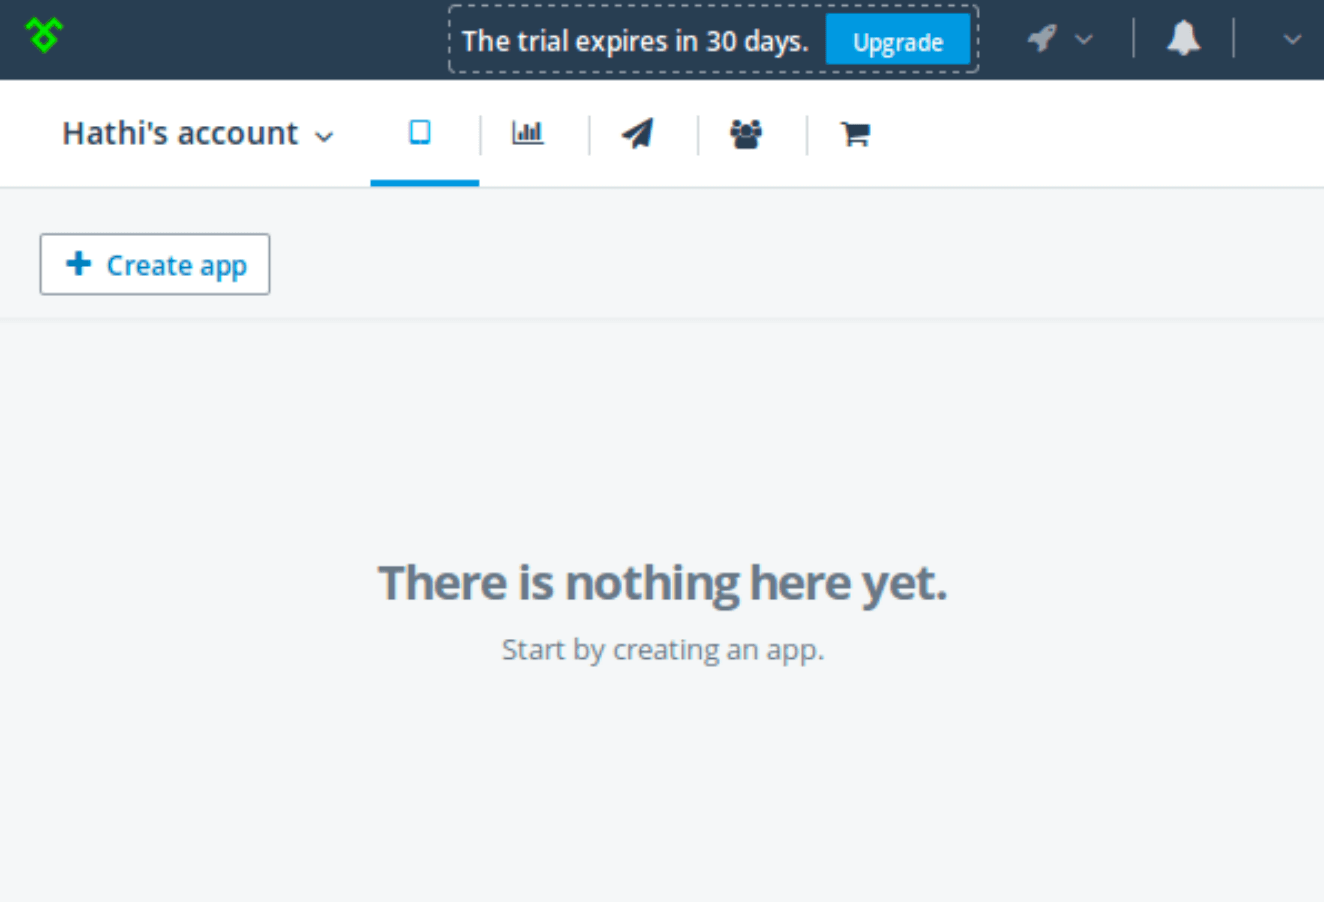
After clicking on the Create app, you will be asked a few questions regarding the application being developed.
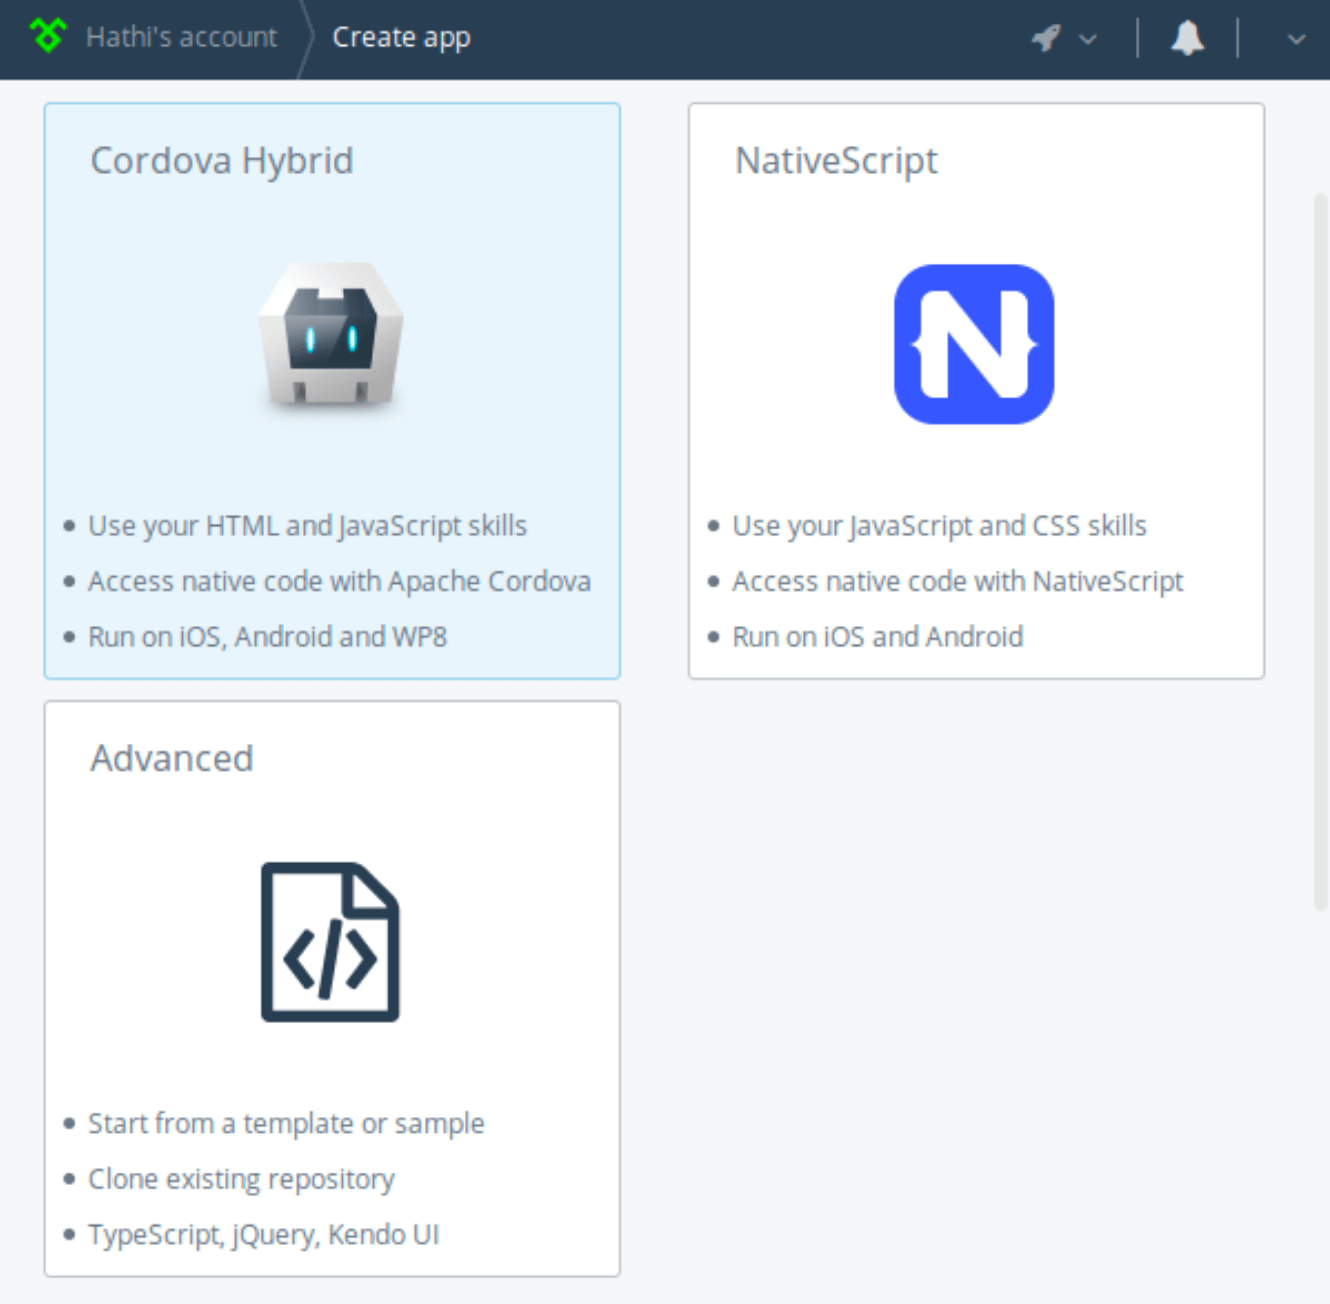
First you need to select the type of application you are developing, we will choose Cordova Hybrid since we will create an application using Apache Cordova, a popular framework for developing hybrid applications.
Now let's give our application a name and description.
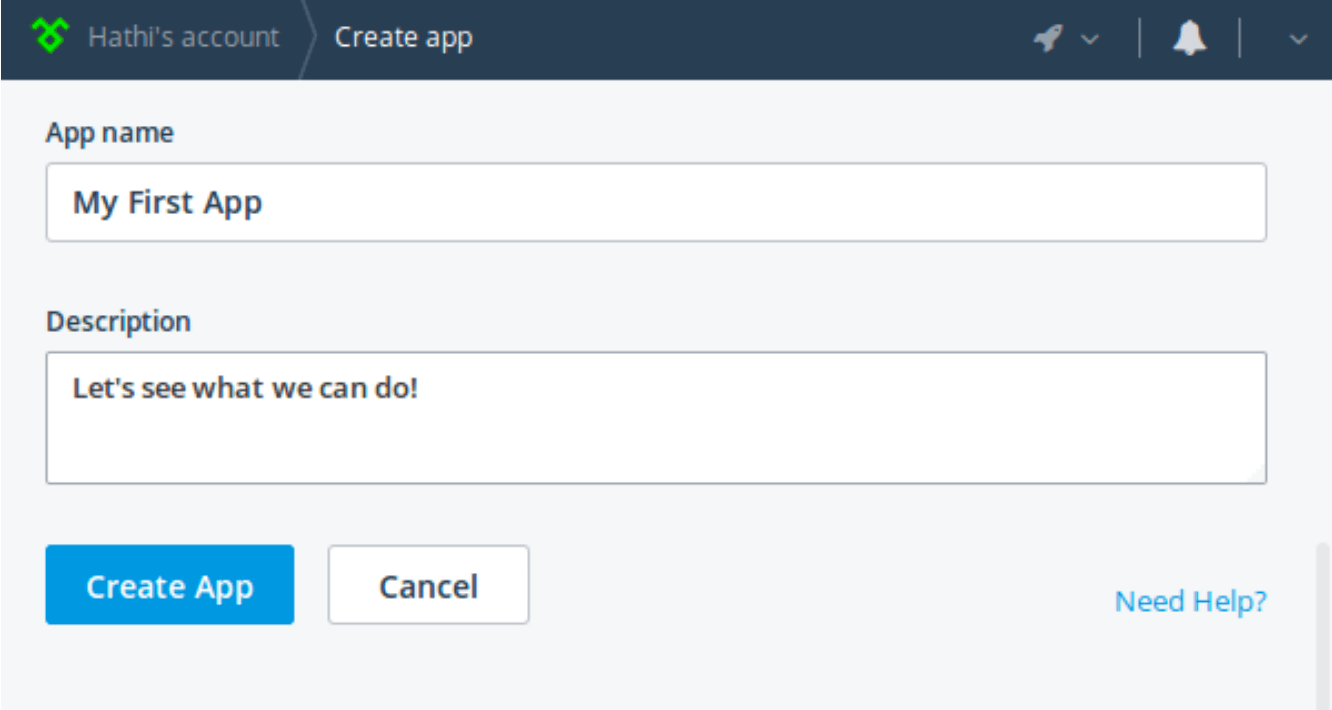
Click Create App to generate a customized hybrid application that uses the default Kendo UI framework.
Create Views
Once the application is created, you will be taken to the Views service. With this service you can create views without HTML code.
Create a simple converter application. It will have two views:
Converter in which the user will enter the weight in kilograms.
About will show application information.
Let's start with About. Select Home View and click Change view type. You will see several patterns. Click on the About template.

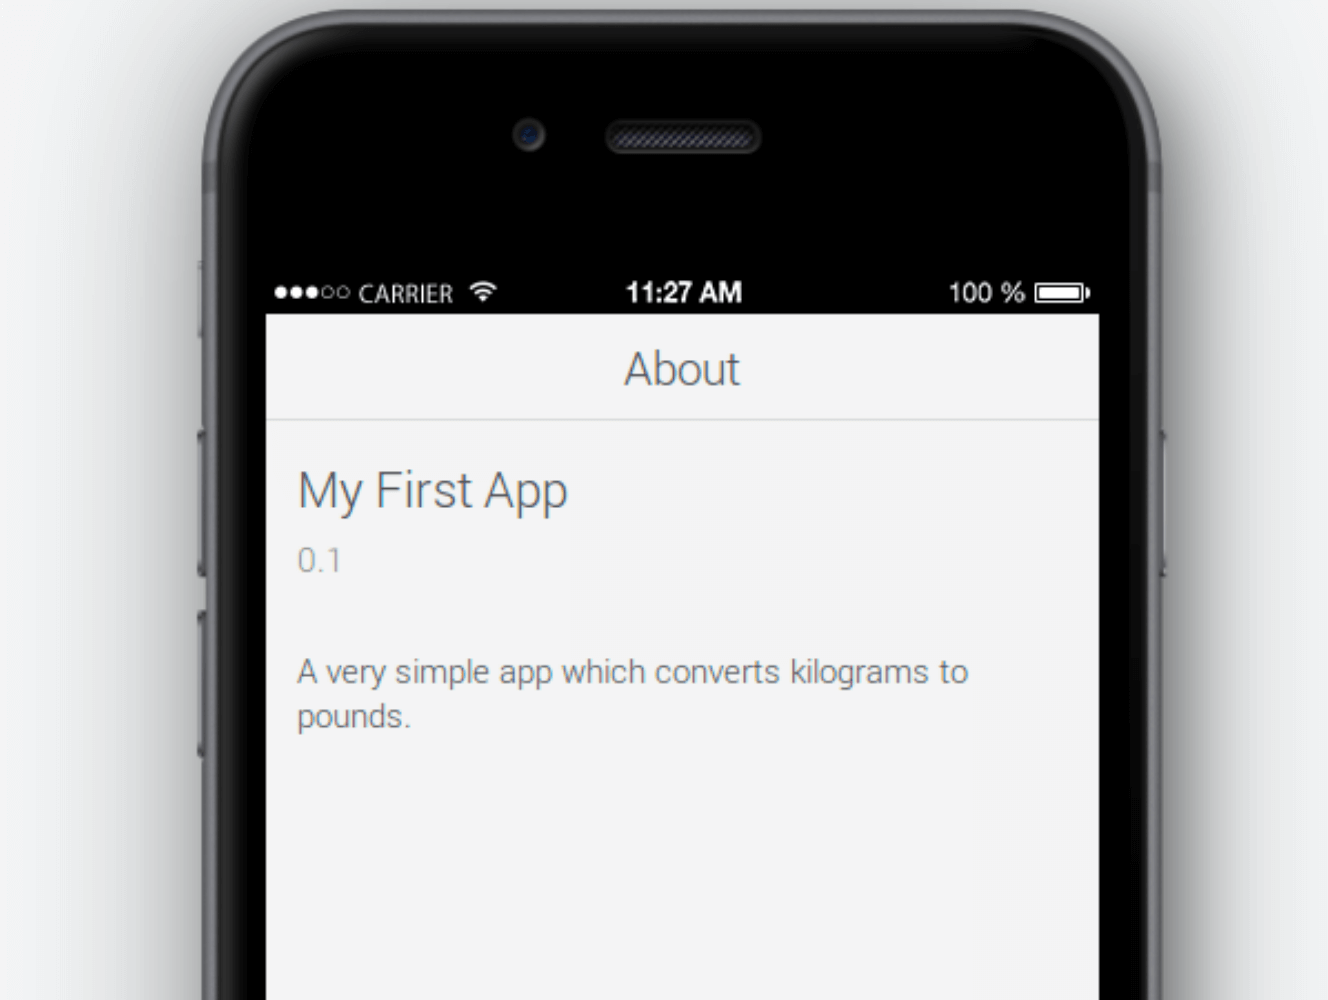
In the next screen, we set the title for About and click on Template to customize the contents of the view. As a rule, “about” has: name, version and description. Therefore, fill out these fields properly. The template also includes social media buttons. We will not use them today, so we uncheck the Contact us, Facebook and Twitter buttons.
As soon as you click on the Apply button, you will have the opportunity to see the view that you just created.
Now let's click on the Add View button and create a view converter. You will again be asked to select a template. This time, select the Form template, since this view will have two input fields:
- The first field to enter the weight in kilograms.
- The second will show the cost.
On the next screen, fill in the Title and Name field for the converter. In order to add input fields, click on Form Fields and then click on the Add form fields button. Now you need to select the field types.
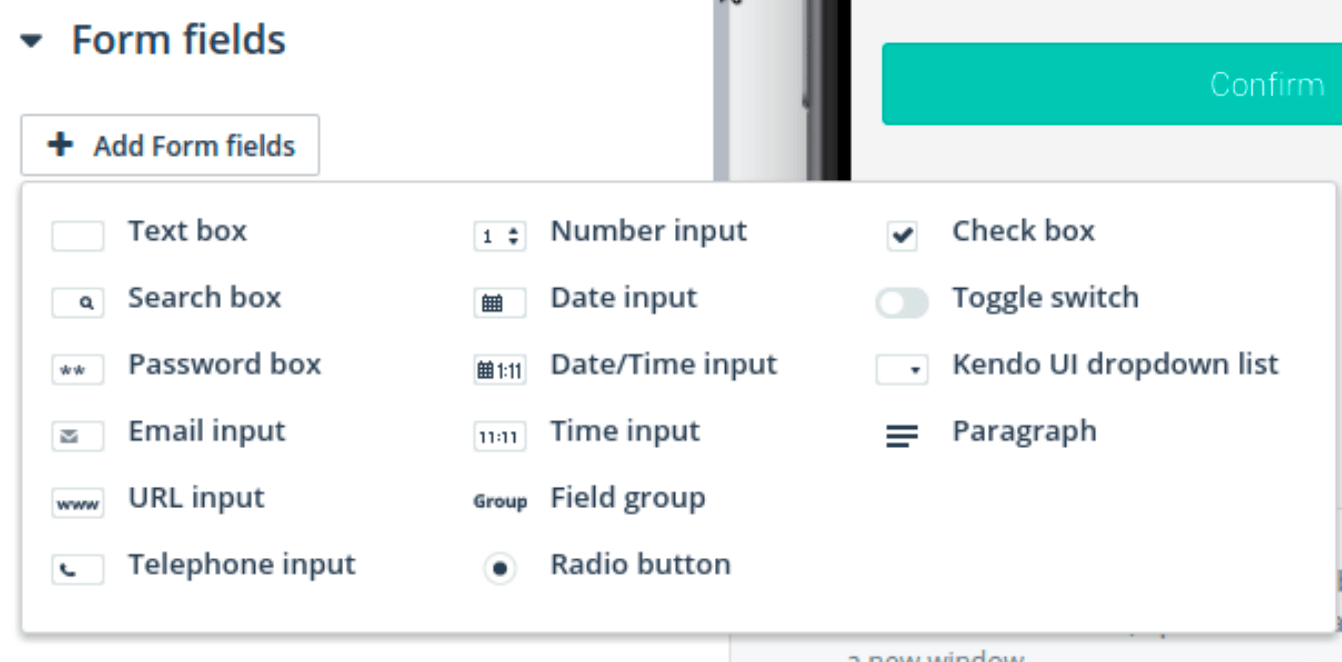
Since the weight should be in kilograms, select Number input. Call it kgs and give it the appropriate label.
Similarly, create a text field and name it result. Make sure you also give it the appropriate label.
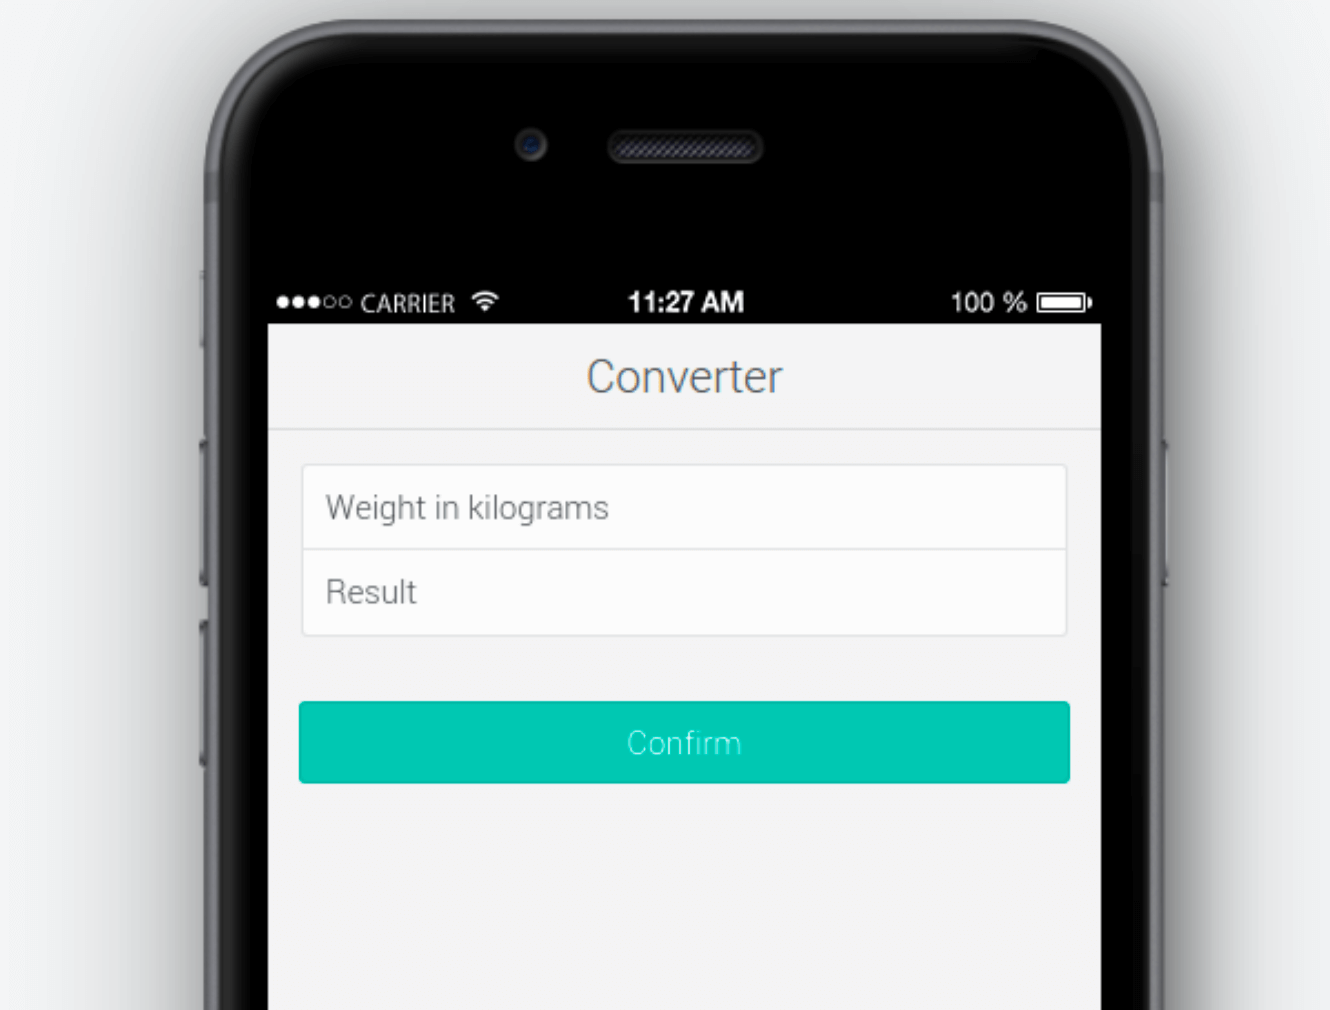
Now that the fields are ready click on the Buttons. The form template includes confirm and cancel buttons. We do not need the cancel button, therefore, uncheck it.
Click Apply, save the changes. Now the view should look like this:
Customize the navigation template
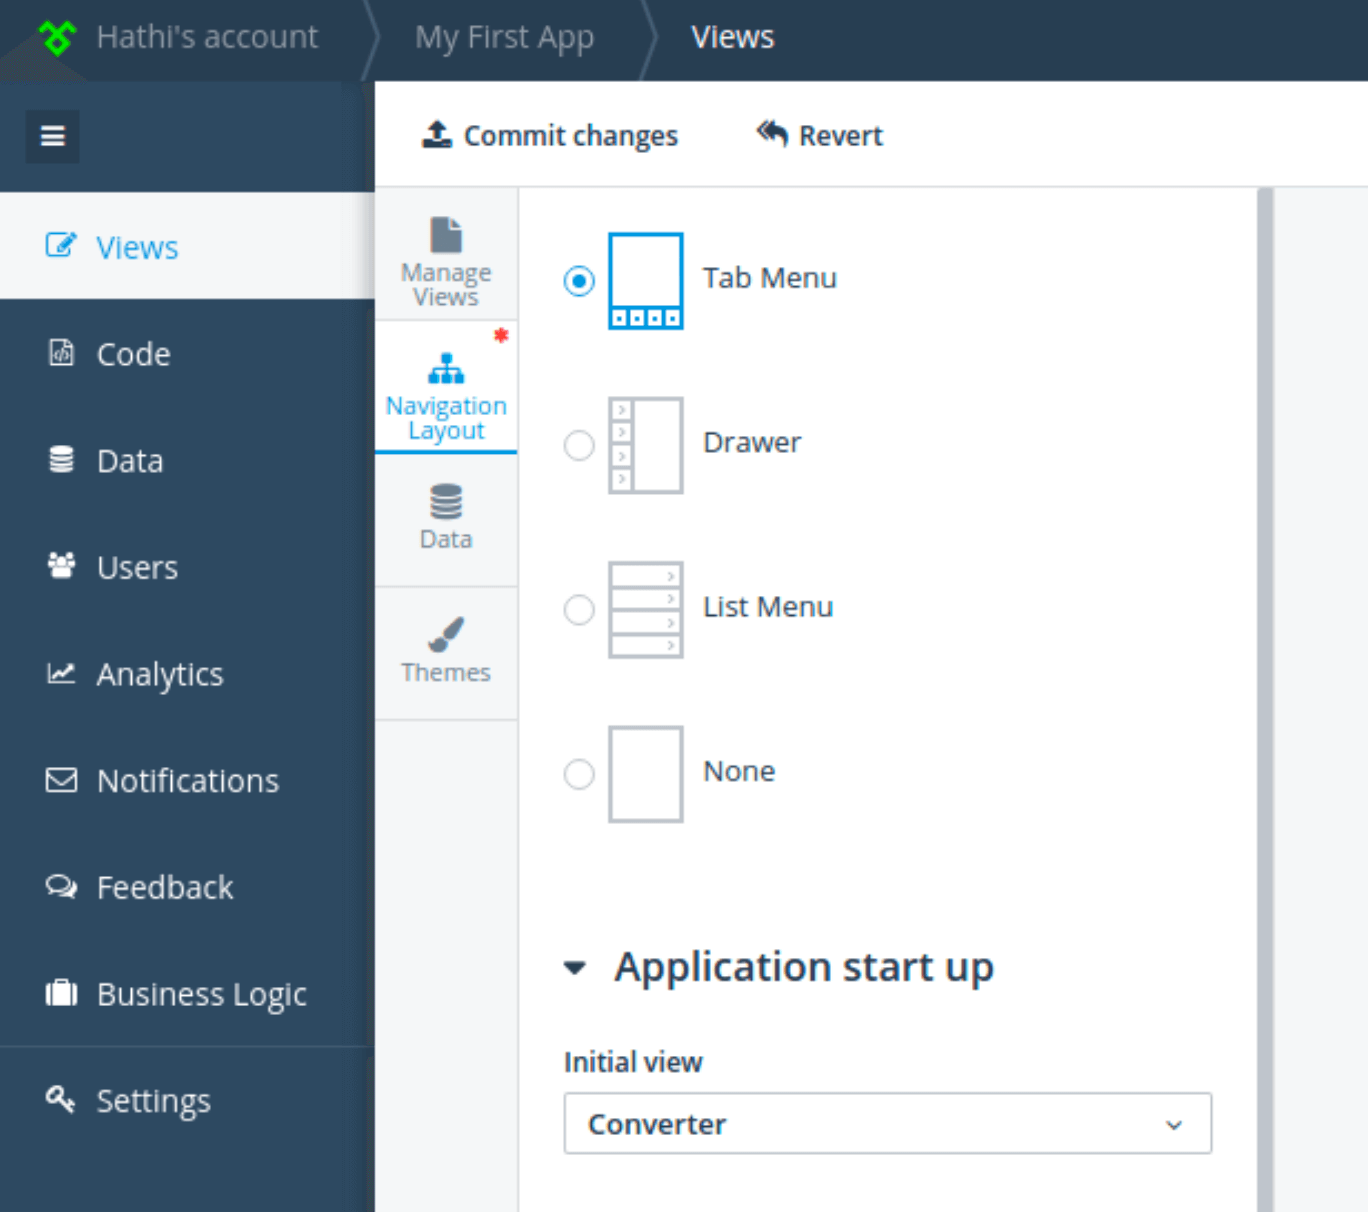
We will create the ability to switch between windows, for this we will use the navigation template. To configure navigation, switch to the Navigation section.
The application will use the Tab Menu as a template for navigation.
About, by default, is the main page of the application. To use the converter as the main page, click on Application start up and select Converter as the Initial view.
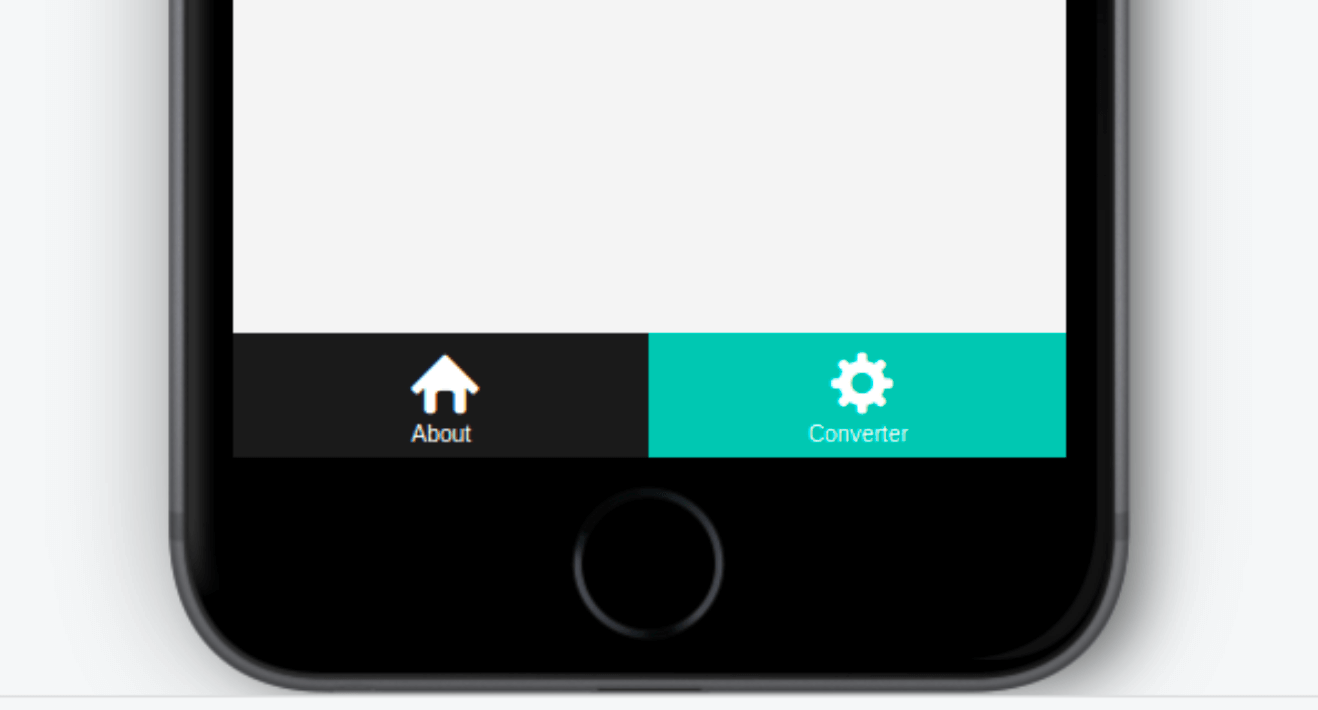
The navigation menu will look like this:
We create the logic of the application
Now that the user interface is ready, let's build the conversion mechanism using JavaScript code.
To open the editor you need to click on Code. There you will find a directory for each of the generated pages that contain the view.html and index.js files.
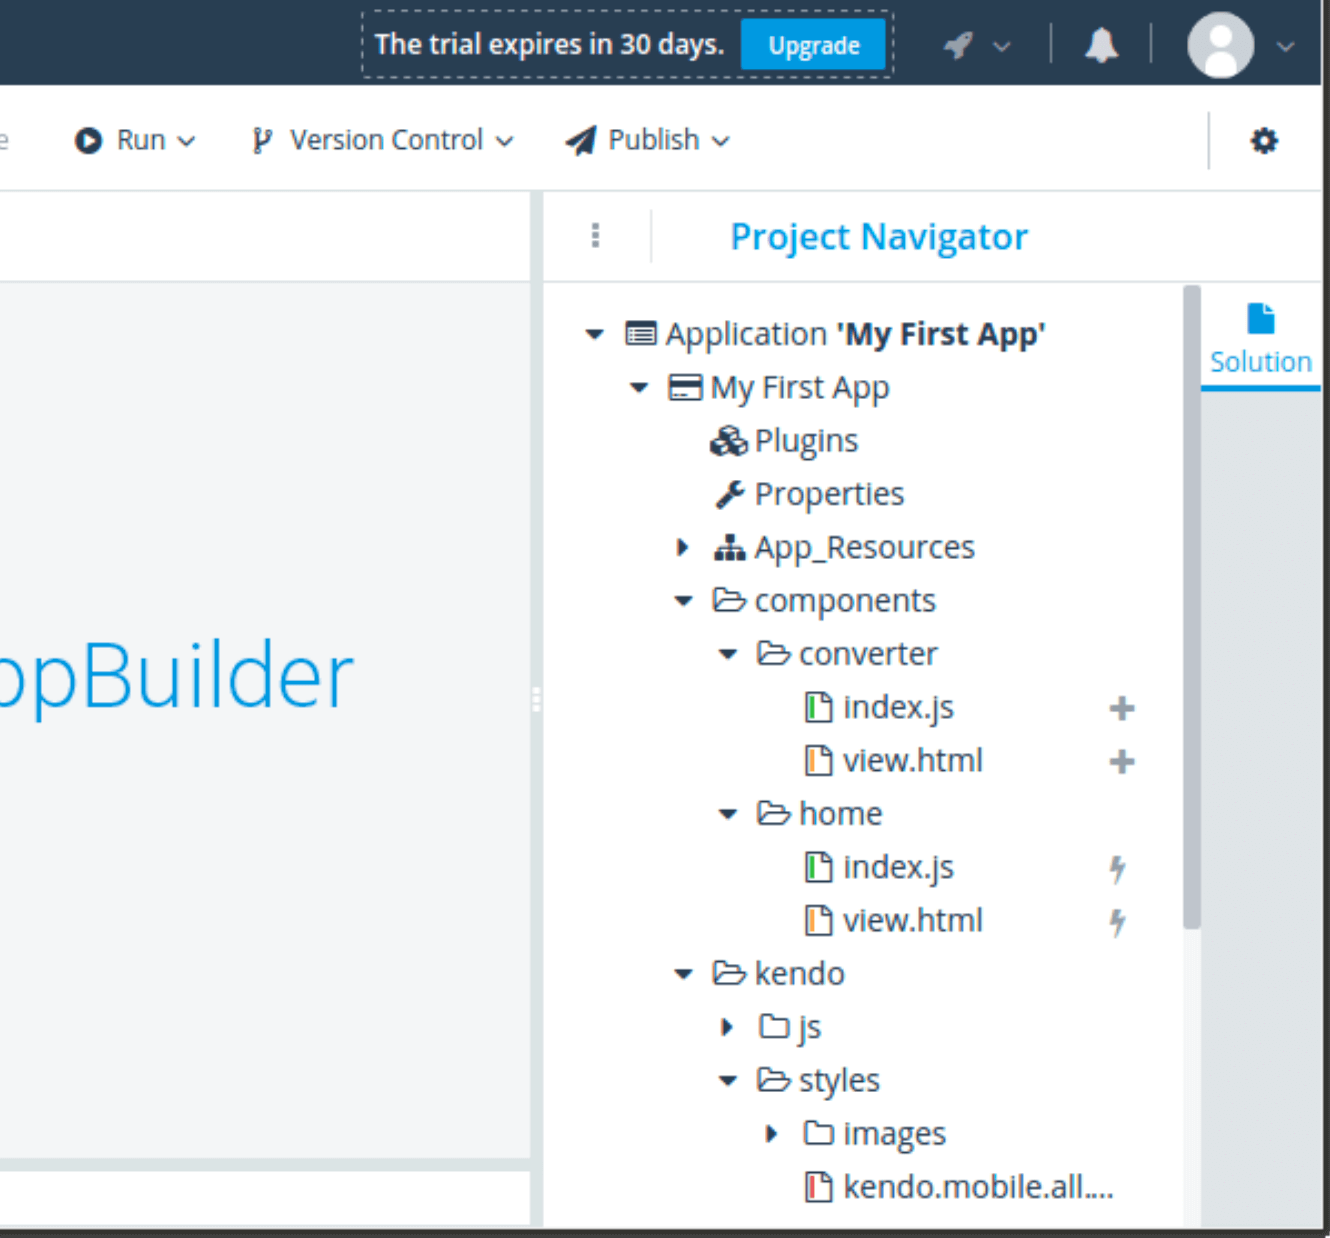
Open Converter, the index.js file, you will notice that AppBuilder has already created a kendo.observable object with the name converterModel for managing the created form. It has fields containing the names of the forms we created. It also has a submit function, which is called when the Confirm button is clicked. As you may have guessed, all our code should be placed in the submit function.
Now, all we need is to get the value of fields.kgs, multiply it by 2.2046 and update the value of the fields.result field. To get and set the converterModel value we need to use the get and set methods. Add the following code to the index.js file:
// START_CUSTOM_CODE_converterModel
var model = app.converter.converterModel;
model.set("submit", function() {
    var lbs = model.get("fields.kgs") * 2.2046;
    model.set("fields.result", lbs + " lbs");
});
// END_CUSTOM_CODE_converterModel
Note that you need to write code between the automatically generated comments START_CUSTOM_CODE and END_CUSTOM_CODE.
Testing
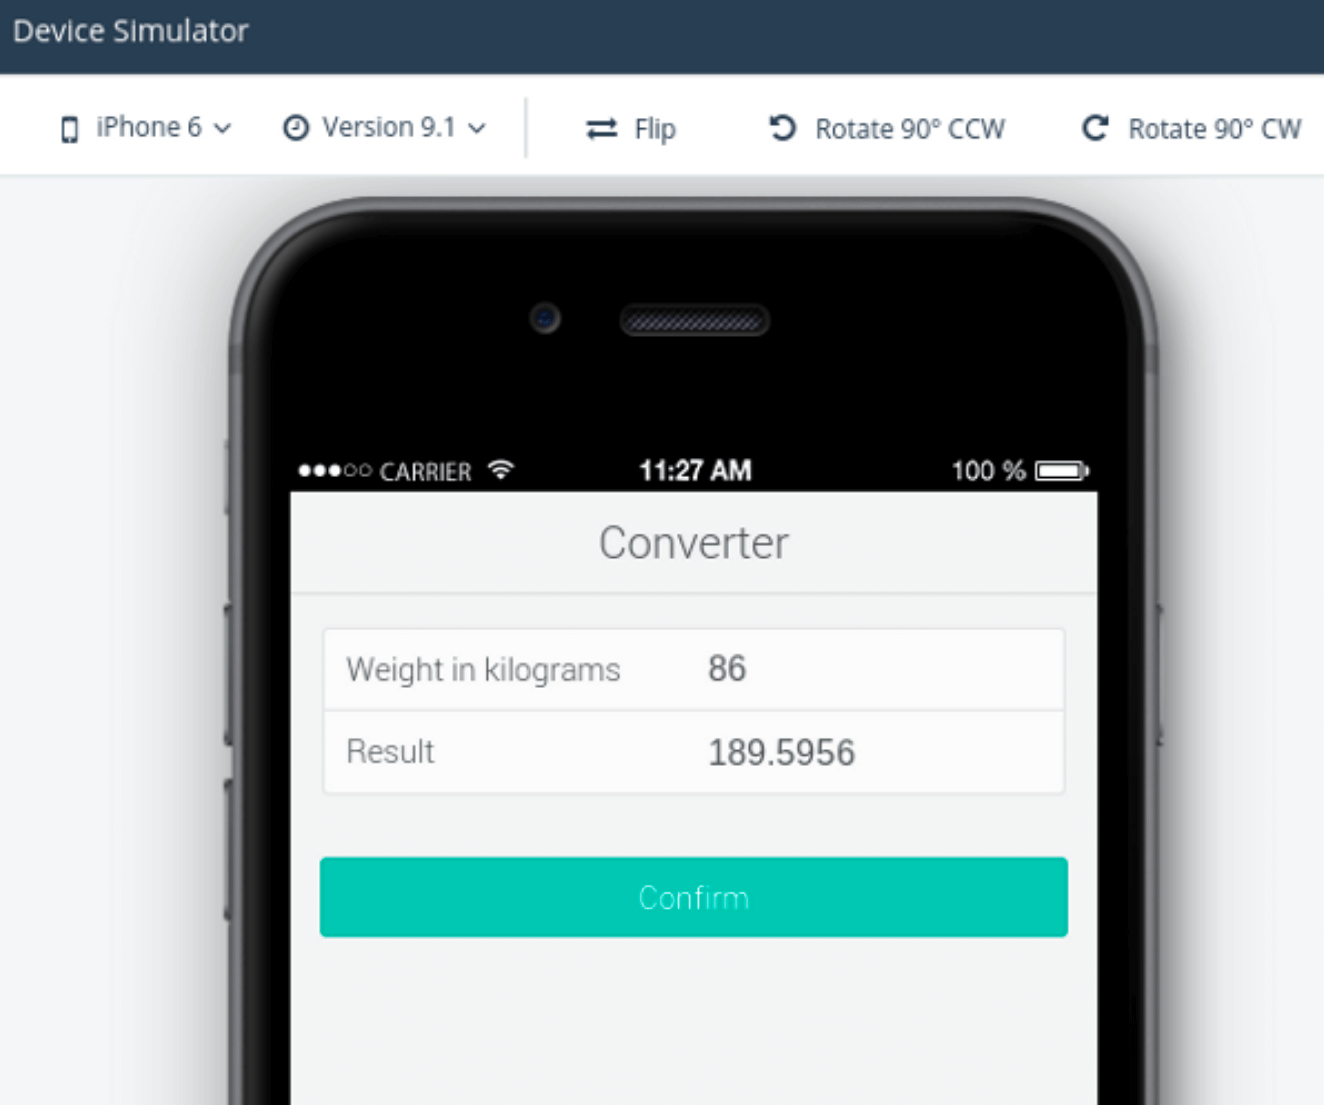
Our application is ready. To test it, we can use the simulators built into AppBuilder. Launch the iPhone simulator by pressing Control + F6. After starting the application, we check whether the conversion works.
AppBuilder also allows you to test the application on different versions of iOS.
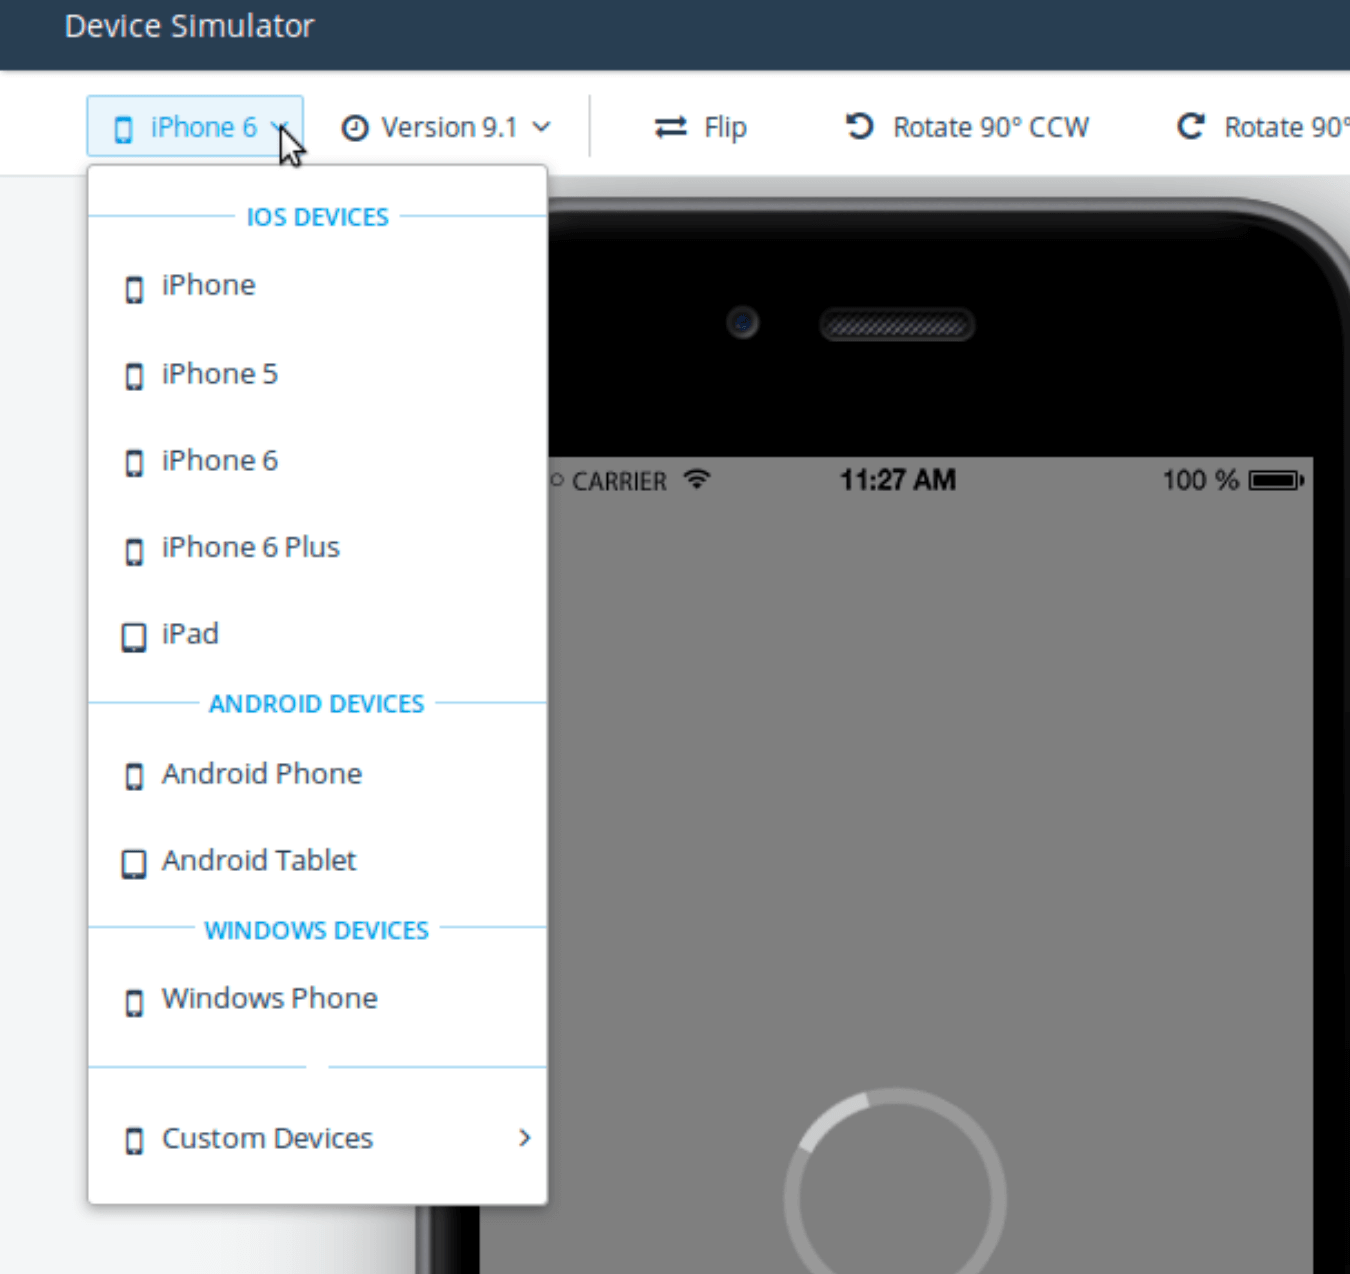
Now, after we have made sure that the application works correctly on the iPhone, let's see how it will work on other devices.
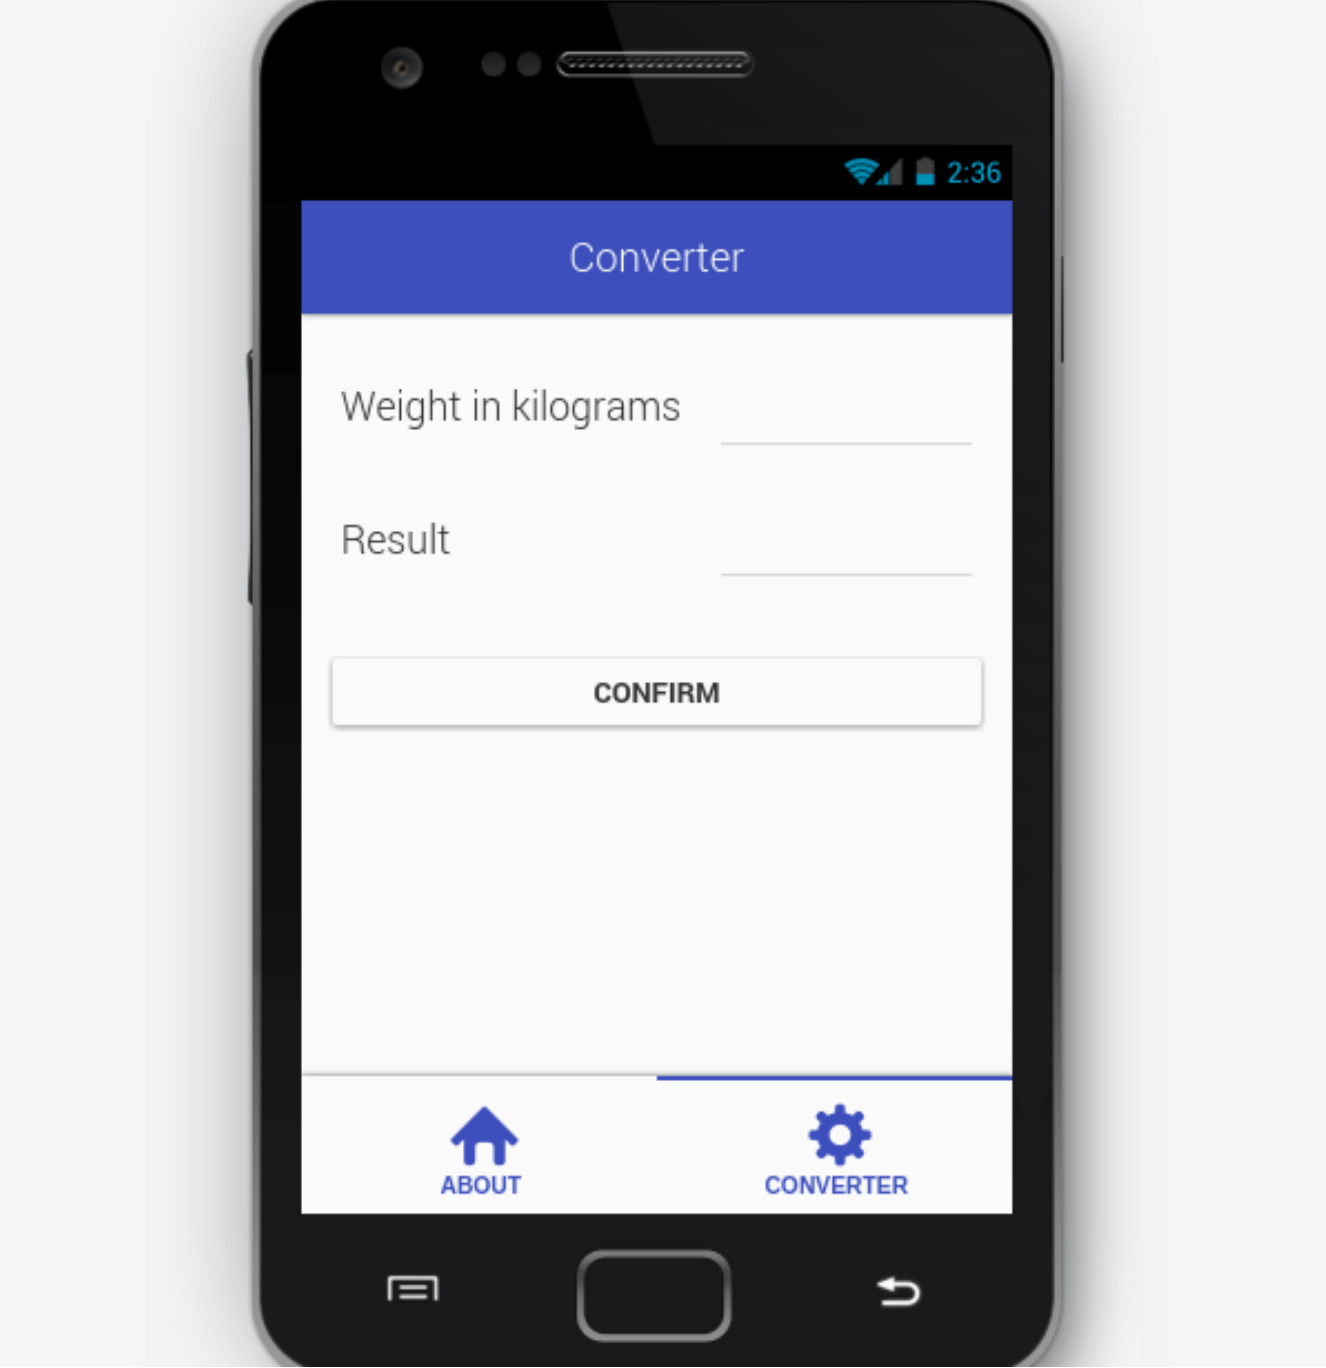
The application works correctly on an Android simulator. However, it looks unusual for an Android application. This is because our application uses skin called flat. To give it a material design look, open app.js and change the skin value to material.
The application will look like this:
Using the AppBuilder Companion App
The simulator is very useful during the development process. Nevertheless, it never hurts to test on a real device. Using the AppBuilder's companion app , you can do this quickly and easily.
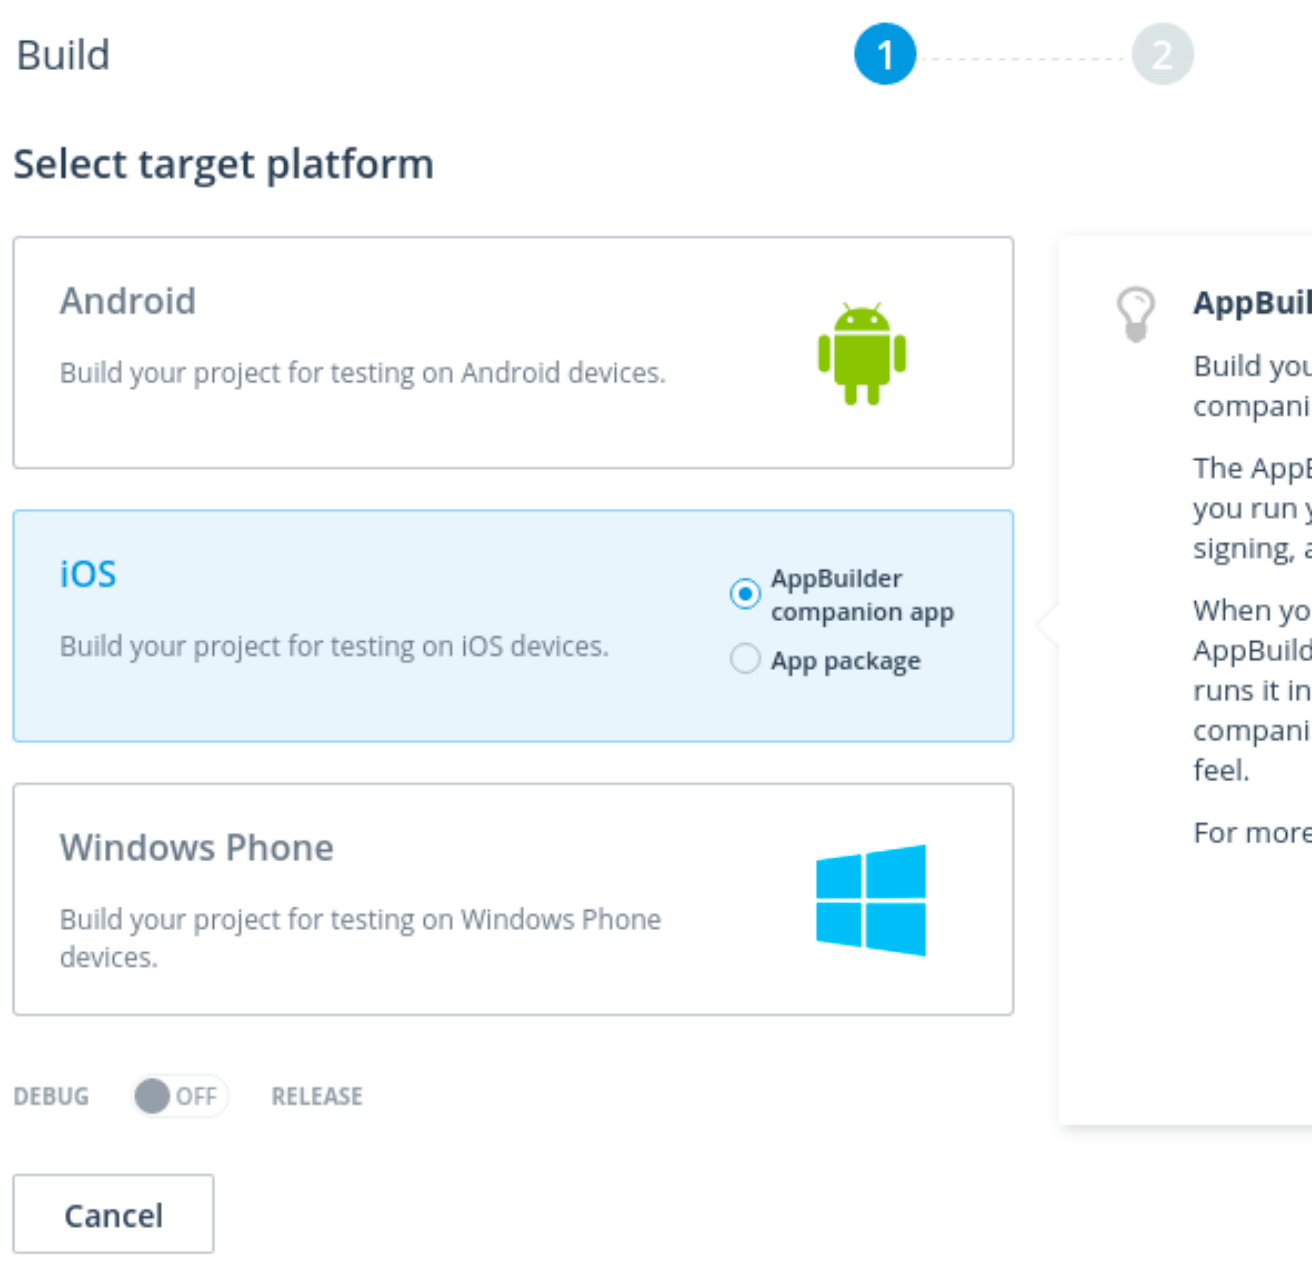
After you download the companion app to your device, open the editor and press Control + B. Next, you will be asked to select the platform on which you want to run the application. Next, select the AppBuilder companion app option and click on the Next button.
After the build is complete, you will see the following:
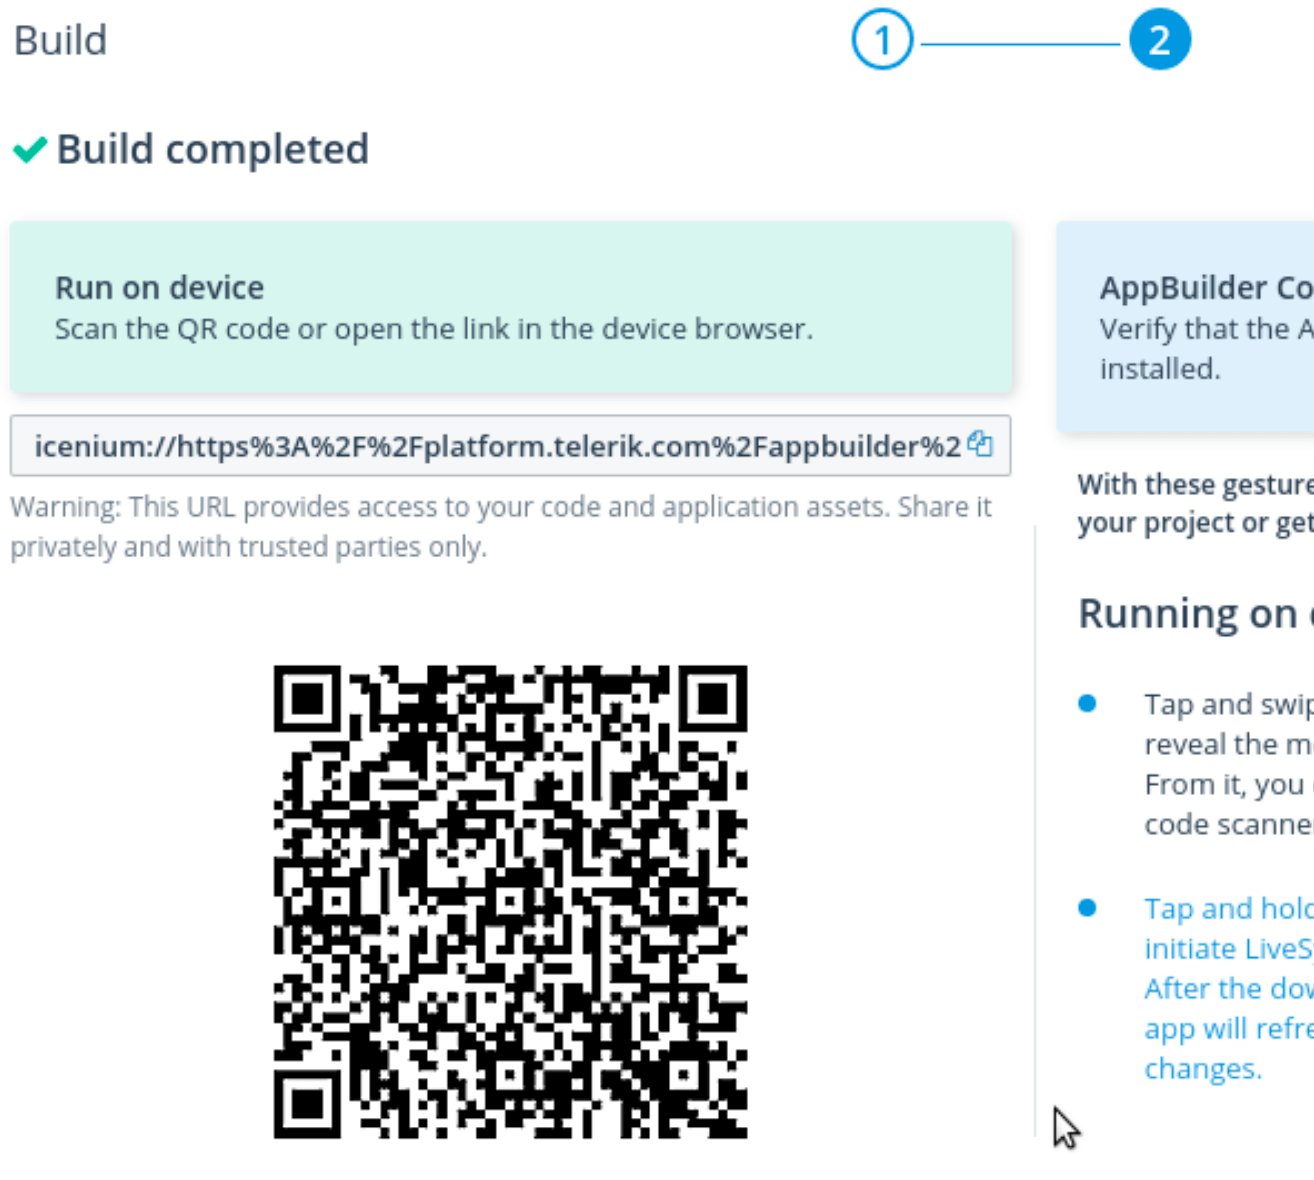
Now you can open the AppBuilder companion app on your device and scan the QR code to launch the application.
Using AppBuilder's CLI
If you prefer to work locally from the command line, you can use AppBuilder's CLI (Command Line Interface). The CLI is a Node.js package that you can easily download using npm (Node Package Manager).
sudo npm install -g appbuilderMost functions in the CLI become available after authorization in Telerik. Therefore, use the following command before doing any actions:
appbuilder loginOnce you are logged in, you can use the -h option to familiarize yourself with the commands that appbuilder can offer you.
appbuilder -hConclusion
In this guide, we introduced the basic capabilities of Telerik AppBuilder for developing hybrid applications, and also learned how to use AppBuilder's companion app and device simulator to test applications. We focused on development in an online editor, but for those who prefer to use the IDE, AppBuilder also offers a Windows client and Visual Studio extension.
On the link below, you can find a video discussing the Telerik AppBuilder platform and an overview of the main features.
