We generate beautiful SVG placeholders on Node.js
- Tutorial
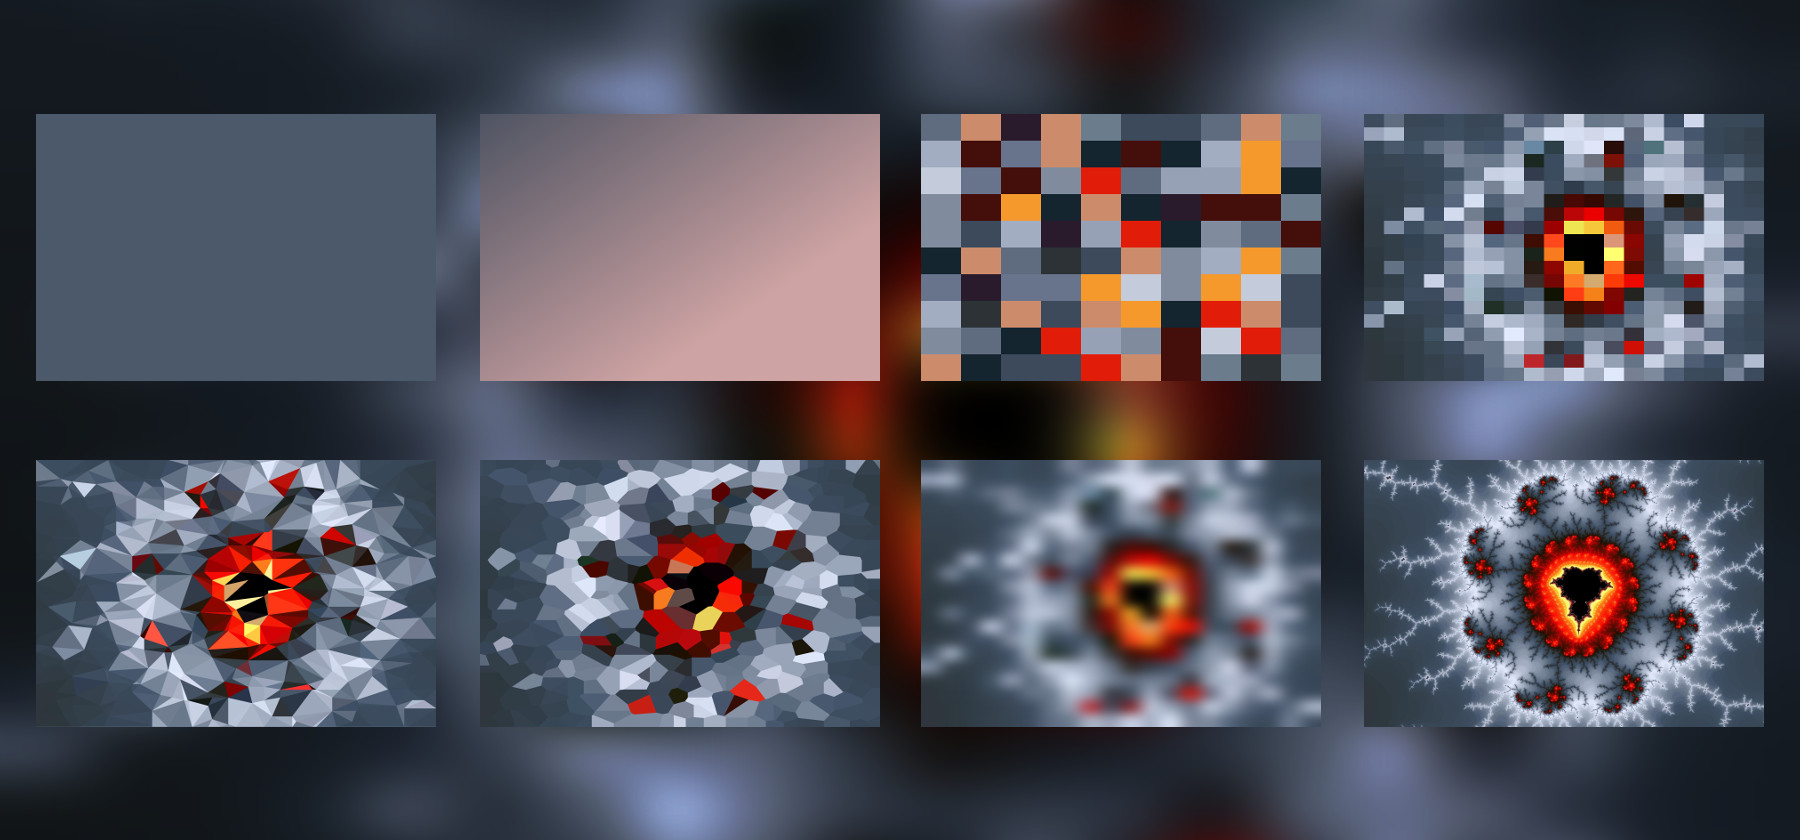
Using SVG pictures as placeholders is a very good idea, especially in our world, when almost all sites consist of a heap of pictures that we are trying to load asynchronously. The more pictures and the more voluminous they are, the higher the likelihood of getting various problems, starting from the fact that the user does not quite understand what is actually loaded there, and ending with a known jump in the entire interface after loading the pictures. Especially on the bad Internet from the phone - everything can fly away on several screens. It is at such moments that stubs come to the rescue. Another way to use them is censorship. There are times when you need to hide some kind of picture from the user, but I would like to keep the overall page style, colors, and the place that the picture takes.
But in most of the articles, everyone talks about the theory, that it would be nice to insert all these stubs inline into the pages, and today we will see in practice how you can generate them to your taste and color using Node.js. We will create handlebars-templates from SVG-pictures and fill them in different ways, ranging from simple color and gradient filling to Voronoi mosaic and using filters. All actions will be dealt with in steps. I suppose this article will be interesting for beginners who are interested in how this is done, and need a detailed analysis of actions, but also experienced developers may like some ideas.
Training
To begin, we will go to the bottomless repository of all sorts of stuff called NPM. Since the task of generating our image stubs involves a single generation on the server side (or even on the developer’s machine, if we are talking about a more or less static site), we will not be engaged in premature optimization. We will connect everything that you like. So we start with the spell npm initand proceed to the selection of dependencies.
For starters, this is ColorThief . You've probably already heard of him. A wonderful library that can isolate the color palette of the most used colors in the picture. We just need something like that to begin with.
npm i --save color-thiefWhen installing this package under Linux, there was a problem - some missing cairo package, which is not in the NPM catalog. This strange error was solved by installing the developer versions of some libraries:
sudo apt install libcairo2-dev libjpeg-dev libgif-devHow this tool works will be viewed in the process. But it will not be superfluous to immediately connect the rgb-hex package to convert the color format from RGB to Hex, which is evident from its name. We will not engage in cycling with such simple functions.
npm i --save rgb-hexFrom the point of view of learning, it is useful to write such things yourself, but when the task is to quickly assemble a minimally working prototype, connecting everything that is from the NPM catalog is a good idea. Saves a lot of time.
At the caps one of the most important parameters is proportions. They must match the proportions of the original image. Accordingly, we need to know its size. We use the image-size package to resolve this issue.
npm i --save image-sizeSince we will try to make different versions of pictures and they will all be in SVG format, one way or another, the question of patterns for them will arise. You can of course dodge with patterned strings in JS, but why all this? It is better to take the "normal" template engine. For example handlebars . Simple and with taste, for our task will be just right.
npm i --save handlebarsWe will not immediately arrange some complicated architecture for this experiment. We create the main.js file and import all our dependencies there, as well as a module for working with the file system.
const ColorThief = require('color-thief');
const Handlebars = require('handlebars');
const rgbHex     = require('rgb-hex');
const sizeOf     = require('image-size');
const fs         = require('fs');
ColorThief requires additional initialization.
const thief = new ColorThief();Using the dependencies that we have connected, solving the tasks of “uploading a picture to the script” and “getting its size” is not difficult. Suppose we have a picture 1.jpg:
const image  = fs.readFileSync('1.jpg');
const size   = sizeOf('1.jpg');
const height = size.height;
const width  = size.width;
For people who are not familiar with Node.js, it’s worth saying that almost everything related to the file system can occur synchronously or asynchronously. In synchronous methods in the title at the end of the added "Sync". We will use them in order not to face unnecessary complication and not to break our head out of the blue.
Let's go to the first example.
Fill color
To begin with, we will solve the problem of simply filling a rectangle. Our image will have three parameters - width, height and fill color. We make a SVG-image with a rectangle, but instead of these values we substitute pairs of brackets and the names of the fields that will contain the data transferred from the script. You have probably already seen this syntax with traditional HTML (for example, Vue uses something similar), but no one bothers to use it with the SVG image - the template engine doesn't care what it will be in the long run. Text - he and the text in Africa.
<svgversion='1.1'xmlns='http://www.w3.org/2000/svg'viewBox='0 0 100 100'preserveAspectRatio='none'height='{{ height }}'width='{{ width }}'><rectx='0'y='0'height='100'width='100'fill='{{ color }}' /></svg>Further ColorThief gives us one most common color, in the example it is gray. In order to use the template, we read the file with it, speak handlebars, so that this library compiles it and then generates a string with the finished SVG stub. The template engine itself inserts our data (color and size) in the right places.
functiongenerateOneColor() {
    const rgb   = thief.getColor(image);
    const color = '#' + rgbHex(...rgb);
    const template = Handlebars.compile(fs.readFileSync('template-one-color.svg', 'utf-8'));
    const svg = template({
        height,
        width,
        color
    });
    fs.writeFileSync('1-one-color.svg', svg, 'utf-8');
}
It remains only to record the result in the file. As you can see, working with SVG is quite nice - all text files can be easily read and written. The result is a picture-rectangle. Nothing interesting, but at least we were convinced of the workability of the approach (the link to the full source will be at the end of the article).
Gradient Fill
Using gradients is a more interesting approach. Here we can use a couple of common colors from the image and make a smooth transition from one to another. This can sometimes be found on sites where long tapes of pictures are loaded.
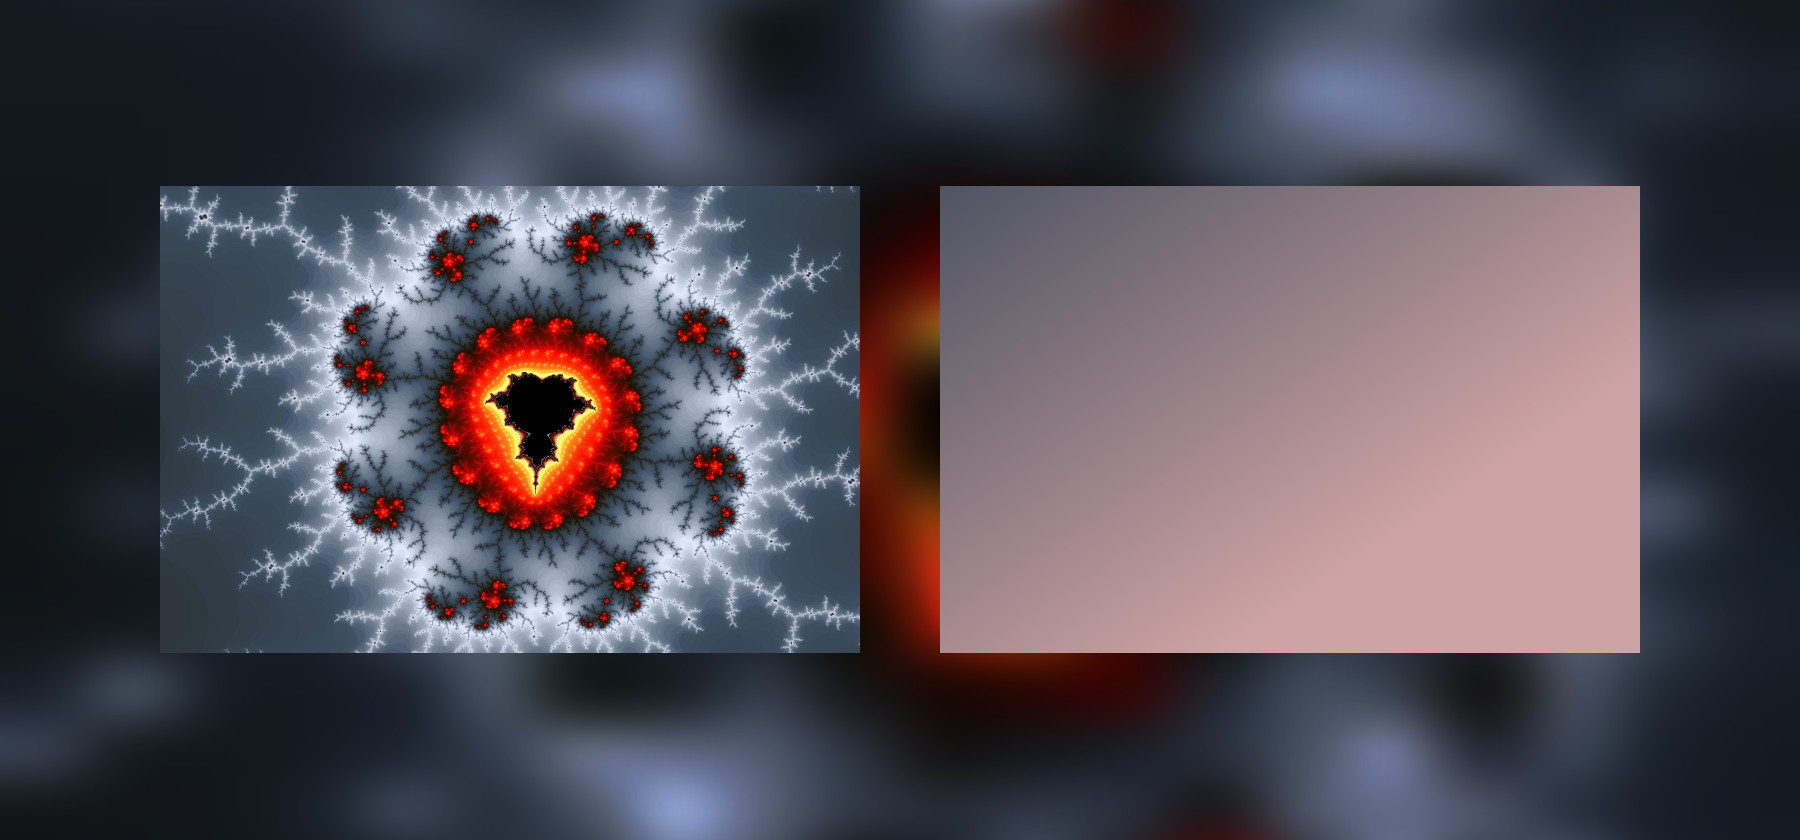
Our SVG-template is now expanded by this very gradient. For example, we will use the usual linear gradient. We are only interested in two parameters - color at the beginning and color at the end:
<defs><linearGradientid='my-gradient'x1='0%'y1='0%'x2='100%'y2='0%'gradientTransform='rotate(45)'><stopoffset='0%'style='stop-color:{{ startColor }};stop-opacity:1' /><stopoffset='100%'style='stop-color:{{ endColor }};stop-opacity:1' /></linearGradient></defs><rectx='0'y='0'height='100'width='100'fill='url(#my-gradient)' />The colors themselves are obtained with the help of the same ColorThief. It has two modes of operation - either it gives us one primary color, or a palette with the number of colors that we indicate. Conveniently enough. For the gradient, we need two colors.
The rest of this example is similar to the previous one:
functiongenerateGradient() {
    const palette = thief.getPalette(image, 2);
    const startColor = '#' + rgbHex(...palette[0]);
    const endColor   = '#' + rgbHex(...palette[1]);
    const template = Handlebars.compile(fs.readFileSync('template-gradient.svg', 'utf-8'));
    const svg = template({
        height,
        width,
        startColor,
        endColor
    });
    // . . .
This way you can make all kinds of gradients - not necessarily linear. But still it is quite a boring result. It would be great to make some kind of mosaic that even remotely resembles the original image.
Mosaic of rectangles
For a start, let's just try to make a lot of rectangles and fill them with colors from the palette, which will give us all the same library.

Handlebars can do a lot of different things, in particular there are cycles in it. We will send him an array of coordinates and colors, and then he will figure it out. We just wrap our rectangle in a pattern in each:
{{# each rects }}
    <rectx='{{ x }}'y='{{ y }}'height='11'width='11'fill='{{ color }}' />
{{/each }}
Accordingly, in the script itself, we now have a full-fledged color palette, cycle through the X / Y coordinates and make a rectangle with a random color from the palette. Everything is quite simple:
functiongenerateMosaic() {
    const palette = thief.getPalette(image, 16);
    palette.forEach(function(color, index) {
        palette[index] = '#' + rgbHex(...color);
    });
    const rects = [];
    for (let x = 0; x < 100; x += 10) {
        for (let y = 0; y < 100; y += 10) {
            const color = palette[Math.floor(Math.random() * 15)];
            rects.push({
                x,
                y,
                color
            });
        }
    }
    const template = Handlebars.compile(fs.readFileSync('template-mosaic.svg', 'utf-8'));
    const svg = template({
        height,
        width,
        rects
    });
    // . . .
Obviously, the mosaic, though similar in color to the picture, but with the arrangement of colors is not at all the way we would like. The possibilities of ColorThief for this part are limited. I would like to get a mosaic in which the original picture would be guessed, and not just a set of bricks of more or less the same colors.
We improve the mosaic
Here we will have to go a bit and get the colors from the pixels in the picture ...

Since we obviously do not have a canvas in the console, from which we usually get this data, we will use the help as a get-pixels package. He can pull the necessary information from the buffer with the picture that we already have.
npm i --save get-pixelsIt will look something like this:
getPixels(image, 'image/jpg', (err, pixels) => {
    // . . .
});
We get an object that contains the data field - an array of pixels, the same as we get from the canvas. Let me remind you that in order to get the color of a pixel by coordinates (X, Y) you need to make some simple calculations:
const pixelPosition = 4 * (y * width + x);
const rgb = [
    pixels.data[pixelPosition],
    pixels.data[pixelPosition + 1],
    pixels.data[pixelPosition + 2]
];
Thus, for each rectangle we can take a color not from the palette, but directly from the picture, and use it. It will turn out something like this (the main thing here is not to forget that the coordinates in the picture differ from our “normalized” ones from 0 to 100):
functiongenerateImprovedMosaic() {
    getPixels(image, 'image/jpg', (err, pixels) => {
        if (err) {
            console.log(err);
            return;
        }
        const rects = [];
        for (let x = 0; x < 100; x += 5) {
            const realX = Math.floor(x * width / 100);
            for (let y = 0; y < 100; y += 5) {
                const realY = Math.floor(y * height / 100);
                const pixelPosition = 4 * (realY * width + realX);
                const rgb = [
                    pixels.data[pixelPosition],
                    pixels.data[pixelPosition + 1],
                    pixels.data[pixelPosition + 2]
                ];
                const color = '#' + rgbHex(...rgb);
                rects.push({
                    x,
                    y,
                    color
                });
            }
        }
        // . . .
For more beauty, we can slightly increase the number of "bricks", reducing their size. Since we do not transfer this size to the template (it would be worthwhile, of course, to make it the same parameter as the width or height of the image), we will change the size values in the template itself:
{{# each rects }}
    <rectx='{{ x }}'y='{{ y }}'height='6'width='6'fill='{{ color }}' />
{{/each }}
Now we have a mosaic that is really similar to the original image, but it takes up an order of magnitude less space.
Do not forget that GZIP well compresses such repeating sequences in text files, so that when transferred to the browser, the size of such thumbnails will be even smaller.
But let's go further.
Triangulation

Rectangles are good, but triangles usually produce much more interesting results. So try to make a mosaic of heaps of triangles. There are different approaches to this issue, we will use the Delaunay triangulation :
npm i --save delaunay-triangulateThe main advantage of the algorithm that we use is that it avoids triangles with very sharp and obtuse angles if possible. We do not need narrow and long triangles for a beautiful image.
This is one of those moments when it is useful to know what mathematical algorithms exist in our field and what is the difference between them. It is not necessary to remember all their implementations, but at least it is useful to know what to google.
We divide our task into smaller ones. First you need to generate points for the vertices of the triangles. And it would be nice to add some randomness to their coordinates:
functiongenerateTriangulation() {
    // . . .const basePoints = [];
    for (let x = 0; x <= 100; x += 5) {
        for (let y = 0; y <= 100; y += 5) {
            const point = [x, y];
            if ((x >= 5) && (x <= 95)) {
                point[0] += Math.floor(10 * Math.random() - 5);
            }
            if ((y >= 5) && (y <= 95)) {
                point[1] += Math.floor(10 * Math.random() - 5);
            }
            basePoints.push(point);
        }
    }
    const triangles = triangulate(basePoints);
    // . . .
After reviewing the structure of an array of triangles (console.log to help us), we find ourselves points in which we take the color of a pixel. You can simply calculate the arithmetic average for the coordinates of the vertices of the triangles. Then we move the extra points from the extreme border so that they do not crawl out anywhere, and, having received real, not normalized coordinates, we obtain the color of the pixel, which will become the color of the triangle.
const polygons = [];
triangles.forEach((triangle) => {
    let x = Math.floor((basePoints[triangle[0]][0]
        + basePoints[triangle[1]][0]
        + basePoints[triangle[2]][0]) / 3);
    let y = Math.floor((basePoints[triangle[0]][1]
        + basePoints[triangle[1]][1]
        + basePoints[triangle[2]][1]) / 3);
    if (x === 100) {
        x = 99;
    }
    if (y === 100) {
        y = 99;
    }
    const realX = Math.floor(x * width / 100);
    const realY = Math.floor(y * height / 100);
    const pixelPosition = 4 * (realY * width + realX);
    const rgb = [
        pixels.data[pixelPosition],
        pixels.data[pixelPosition + 1],
        pixels.data[pixelPosition + 2]
    ];
    const color = '#' + rgbHex(...rgb);
    const points = ' '
        + basePoints[triangle[0]][0] + ','
        + basePoints[triangle[0]][1] + ' '
        + basePoints[triangle[1]][0] + ','
        + basePoints[triangle[1]][1] + ' '
        + basePoints[triangle[2]][0] + ','
        + basePoints[triangle[2]][1];
    polygons.push({
        points,
        color
    });
});
It remains only to collect the coordinates of the necessary points into a line and send it along with the color to the Handlebars for processing, as we did before.
In the template itself, now we will have not rectangles, but polygons:
{{# each polygons }}
    <polygonpoints='{{ points }}'style='stroke-width:0.1;stroke:{{ color }};fill:{{ color }}' />
{{/each }}
Triangulation is a very interesting thing. Increasing the number of triangles, you can get just beautiful pictures, because no one says that we must use them only as stubs.
Voronoi Mosaic
There is a task that mirrors the previous one - a Voronoi partition or mosaic . We have already used it when working with shaders , but here it can also be useful.
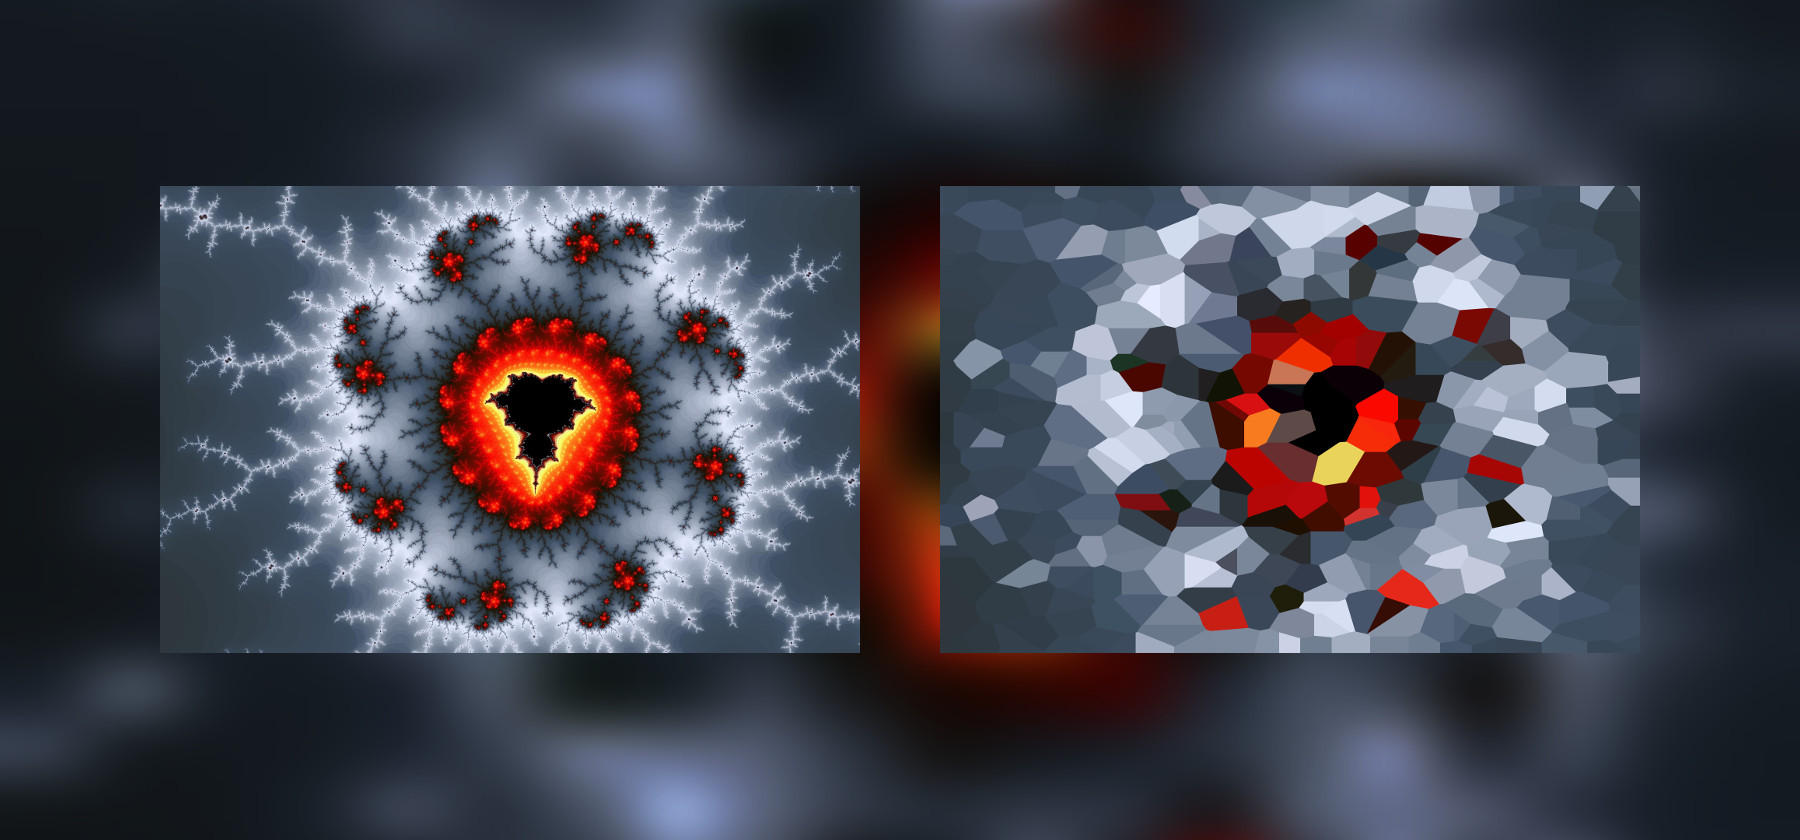
As with the other known algorithms, we have a ready implementation:
npm i --save voronoiFurther actions will be very similar to what we did in the previous example. The only difference is that now we have a different structure - instead of an array of triangles, we have a complex object. And the parameters are slightly different. The rest is almost the same. The array of base points is generated the same way, skip it, so as not to make the listing too long:
functiongenerateVoronoi() {
    // . . .const box = {
        xl: 0,
        xr: 100,
        yt: 0,
        yb: 100
    };
    const diagram = voronoi.compute(basePoints, box);
    const polygons = [];
    diagram.cells.forEach((cell) => {
        let x = cell.site.x;
        let y = cell.site.y;
        if (x === 100) {
            x = 99;
        }
        if (y === 100) {
            y = 99;
        }
        const realX = Math.floor(x * width / 100);
        const realY = Math.floor(y * height / 100);
        const pixelPosition = 4 * (realY * width + realX);
        const rgb = [
            pixels.data[pixelPosition],
            pixels.data[pixelPosition + 1],
            pixels.data[pixelPosition + 2]
        ];
        const color = '#' + rgbHex(...rgb);
        let points = '';
        cell.halfedges.forEach((halfedge) => {
            const endPoint = halfedge.getEndpoint();
            points += endPoint.x.toFixed(2) + ','
                    + endPoint.y.toFixed(2) + ' ';
        });
        polygons.push({
            points,
            color
        });
    });
    // . . .
As a result, we get a mosaic of convex polygons. Also a very interesting result.
It is useful to round all numbers to either integers or at least to a couple of decimal places. Excess accuracy in the SVG is absolutely not needed here, it will only increase the size of the images.
Blurred Mosaic
The last example we’ll see is a blurred mosaic. We have all the power of SVG in our hands, so why not use filters?
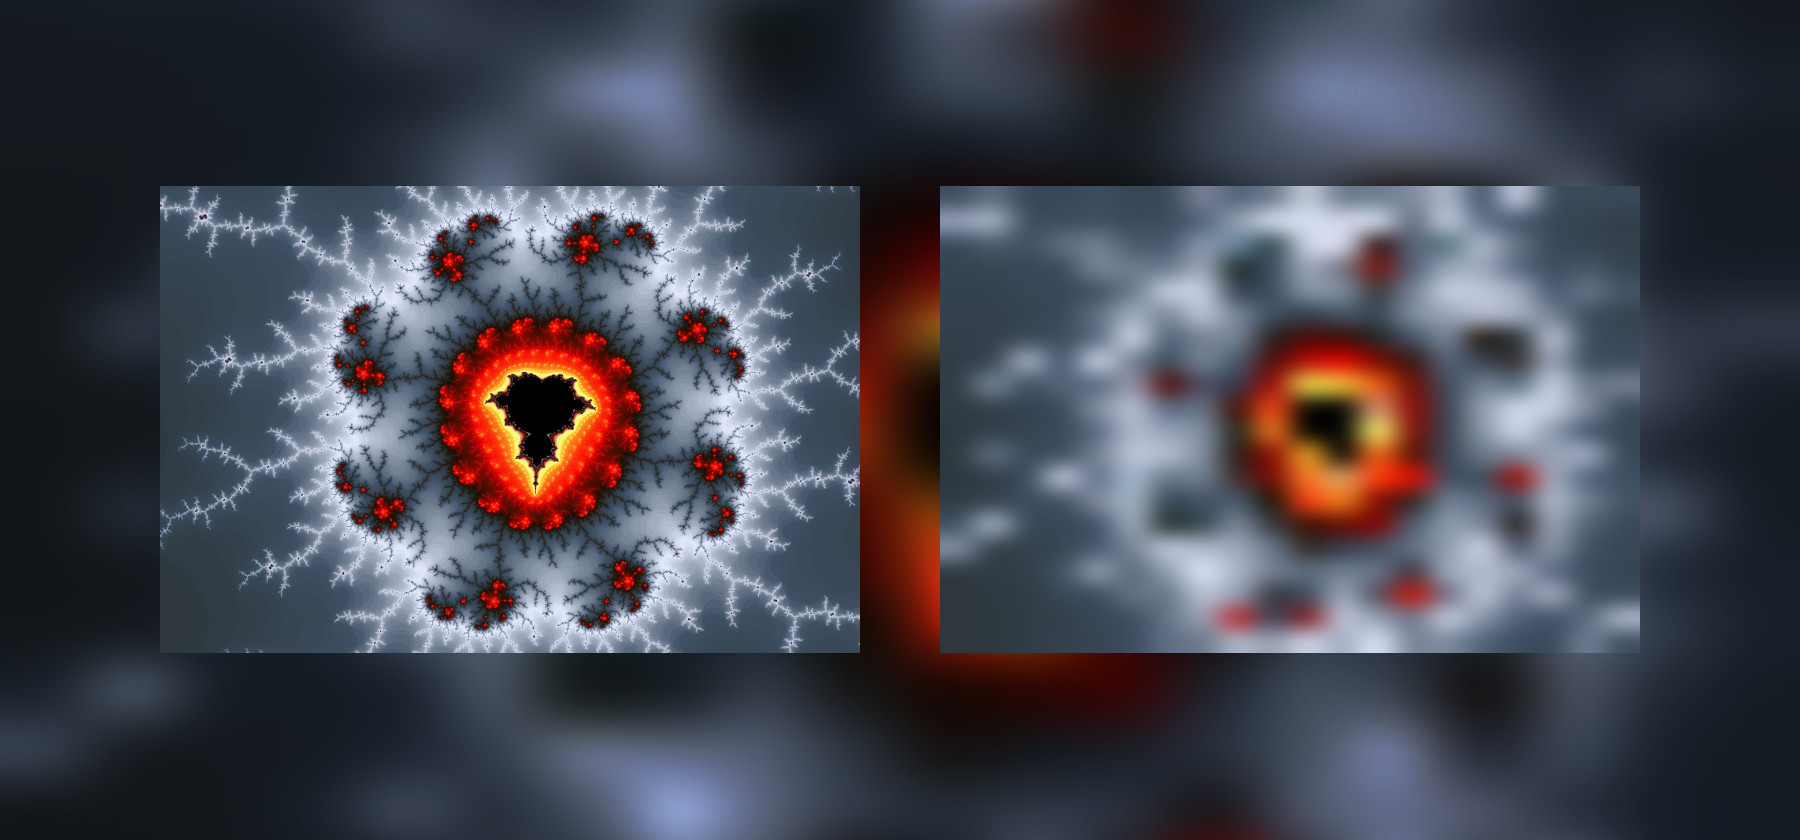
Take the first mosaic of rectangles and add a standard “blurring” filter to it:
<defs><filterid='my-filter'x='0'y='0'><feGaussianBlurin='SourceGraphic'stdDeviation='2' /></filter></defs><gfilter='url(#my-filter)'>
    {{# each rects }}
        <rectx='{{ x }}'y='{{ y }}'height='6'width='6'fill='{{ color }}' />
    {{/each }}
</g>
The result is a blurry, “censored” thumbnail of our image, it takes almost 10 times less space (without compression), the vector one and stretches to any screen size. In the same way you can blur the rest of our mosaics.
When you apply such a filter to a regular mosaic of rectangles, you can get a “jipeg effect”, so if you use something like this in production, especially for larger images, you may be more interested in applying the blurring to the Voronoi partition rather than to it.
Instead of conclusion
In this article, we looked at how you can generate all sorts of SVG pictures and stubs on Node.js and made sure that this is not such a difficult task, if you do not write everything with your hands, and if possible collect ready-made modules. Full source code is available on github .
