How I created an extension for Atom and VS Code: personal experience and source codes

We translated for you an article by Philip Korey about how he developed extensions for Atom and VS Code editors. Projects cannot be called complex, but this is their advantage: you can immediately understand what needs to be done to create your own expansion.
When the Atom editor was first introduced, I, like many web developers, were delighted. “Oh, cool, extensible editor, built on a stack that I know,” I thought then. And immediately began to expand the capabilities of the editor, as well as thousands of other developers.
By the way, I work with Atom for two reasons. The first is that great extensions appear every week. The second is that I know the stack and can work with it without any problems by creating my own versions of the extensions.
We remind: for all readers of "Habr" - a discount of 10,000 rubles when recording for any Skillbox course on the promotional code "Habr".
Skillbox recommends: Online course "Profession Frontend Developer" .
Big Cursor Extension
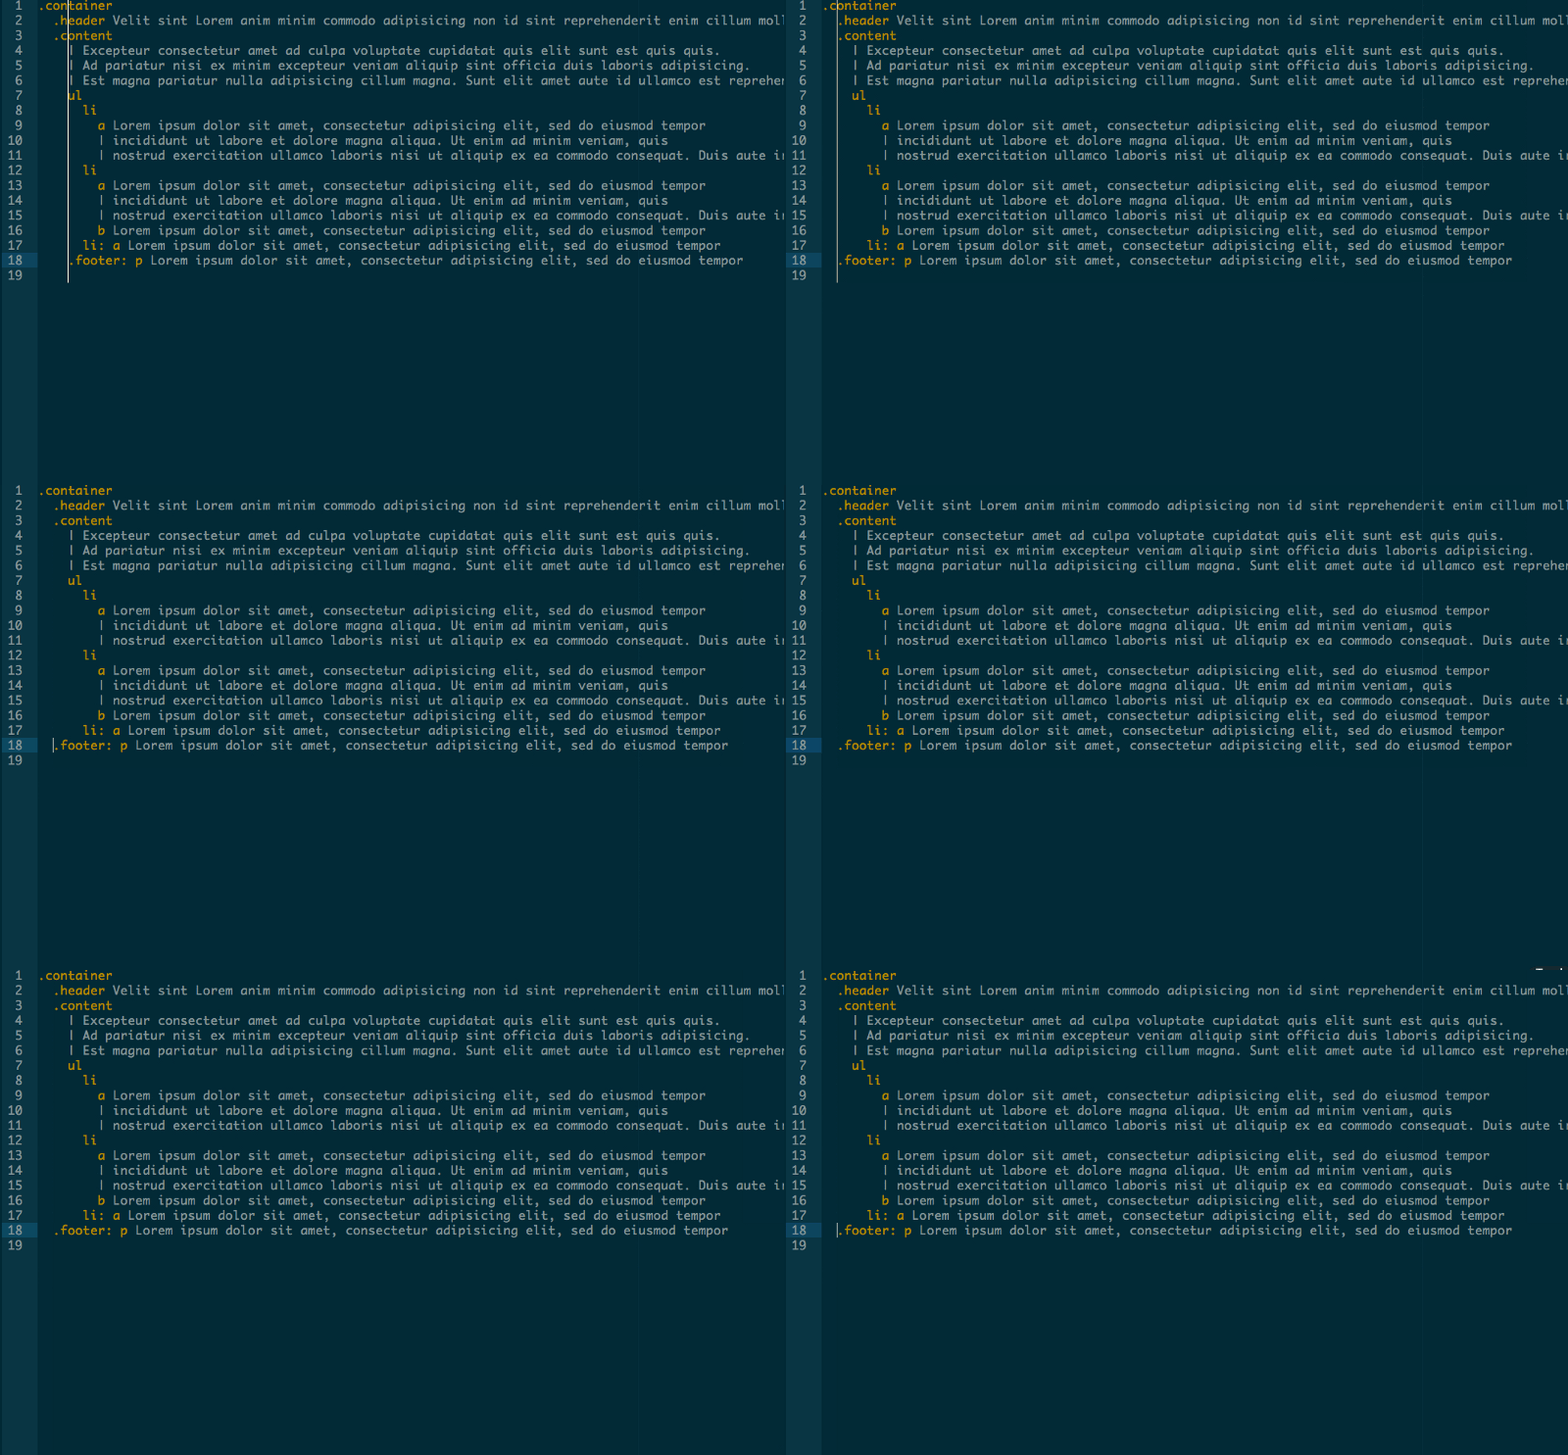
When Atom came out, I programmed in Slim, Sass and CoffeeScript. At that time I did not know any other ways to edit indents, other than the usual way - to change each indent separately. Sometimes it was difficult to determine the completion of the block, so I decided to change the appearance of the cursor. I wanted to turn it into something like a ruler that allows you to measure everything exactly. Here is an example:

To understand how to do this, I examined the Atom developer tools, selected the cursor element, and then modified it with CSS. Thus, I managed to get something like a proof of concept - I realized that my idea is realizable.
Next, I examined the documentation (again) in order to learn how to register a command and apply changes to the cursor class. The first iteration was very simple.
module.exports =
  activate: (state) ->
    atom.workspaceView.command 'big-cursor:toggle', @toggle
  toggle: ()->
    atom.workspaceView.getActiveView()
.find(".cursor").toggleClass("big-cursor")
 .big-cursor {
  top: 0 !important;
  height:100%;
}
This is a simple and working extension.
What happened to him?
Nothing special, I wrote it when even Atom version 1.0 wasn’t, so the API changed later, but I didn’t need the extension and I stopped supporting it.
VS Code
After a couple of years, I decided to switch to VS Code. For convenience, I used an extension that allowed you to quickly change the necessary parameters, such as variable names. But I had to constantly enter a command to make these changes. I didn’t want to tie them to some keyboard buttons, so I began to think about options for working with aliases in the ZSH shell.
ZSH has many plugins, plus you can use short versions of commands to run them. An example is running the git checkout plugin using gco, and the rails server plugin using the rs command.
Actually, for a team like Change Case Snake Case, I could just enter the first letters of all the words, that is, run all this using the abbreviation ccsc.
Writing an extension for VS Code
So, I began to explore the possibilities for creating extensions. I was already a little familiar with some points, because I made my additions for Scry (language server for Crystal), so I studied the Crystal extension for VS Code.
So, it was created using the Yeoman generator. It looked like this:

The basis of the Typescript extension is quite convenient. You can configure everything using tsconfig (which, however, means that Typescript files can often generate an error and not compile), but you can choose the second option - tslint.
After the generator is configured, you have the hello world extension, which adds the hello world logging command. The project uses VS Code debugging tasks to enable the launch of a VS Code instance with the extension enabled. All this really can be easily configured with the addition of breakpoints if necessary. As a result, you can study the API without problems.
In order to create an extension that I need, I need to know a few things:
- How to create a palette box where the user can work.
- How to filter the palette box to display commands in accordance with their short versions entered by the user.
- How to get all the available commands, so that was what to look for right in the window.
- How to execute a command.
I had to go into the documentation in order to get all the data. The API is very limited, this is a problem. But I did what I planned.
1. Palette box
For this, you do not need to access DOM or views. There is a set of views that you can use (one of them is an HTML panel). There was also a presentation for the palette box, so I could understand how it all works.
2. Filtering the palette box
I had to try here, because the QuickPick API does not offer this feature. But on the other hand, it has an event that can be intercepted whenever the user starts typing something, I just change the list of options. This option works surprisingly well.
let disposable = vscode.commands.registerCommand('short-commands.activatePalette', () => {
        let list = vscode.window.createQuickPick<CommandOption>();
        list.placeholder = "Hello  type some stuff";
        list.onDidChangeValue((ee) => {
            if (ee.length === 0) {
                list.items = [];
            } else {
                list.items = options.filter((e) => e.short.startsWith(ee))
            }
        });
});
3. Get a list of available commands.
Here too, there are difficulties, you can get a list of other installed extensions. For each, you need to access its own package.json.
functionparseExtensionCommands(
  extensions: Extension<any>[]
): CommandOption[] {
  let options: CommandOption[] = [];
  extensions.forEach(ext => {
    let {
      packageJSON: { contributes: { commands } = { commands: [] } }
    } = ext;
    if (commands) {
      commands.forEach((c: Command) => {
        options.push(new CommandOption(c));
      });
    }
  });
  return options;
}
4. Execution of the command.
But here everything is simple, we turn to the API for calling the necessary command.
vscode.commands.executeCommand (list.activeItems [0] .command.command)

As output
Actually, this is all that I have done for the editors. My goal was to show how you can start developing your own extensions. Here is a list of what I used in my work, plus the source of the projects:
Skillbox recommends:
- Practical course "Mobile Developer PRO"
- Онлайн-курс «Профессия веб-разработчик»
- Двухлетний практический курс «Я — веб-разработчик PRO».
