 January 25, 2016 at 17:01
First Steps at Xenko
Anyone who is interested in the world of game engines knows that since December 1, 2015, the former Paradox3D changed its name to Xenko, but since there are no tutorials on Habr either on the first or second - I decided to make a short article for those who want to try what something new (or not) and talk about the features of Xenko. If you are interested, welcome to cat!

The engine is almost open-source ( GitHub ), licensed under the GPL v3, its use is free in two cases:
For other license options, you need to contact the developers.
The latest version of Xenko (at the time of writing - 1.5 Beta) supports launching only on the 64-bit version of Windows 7 SP1 + / 8 + / 10, for writing scripts one of the following IDEs is required:
Support for platforms for which you can make games is desired. Now it is possible to develop for the Windows family (Desktop, Store, 10 Universal, Phone) , as well as for Android and iOS (only with Xamarin license), but Silicon Studio says that it will soon be on MacOSX, Linux, and even on next-gen consoles.
First of all, you need to install the engine itself, as well as additional elements for working with .NET. Installation along with downloading all the software takes about 25 minutes. With Xenko Launcher, you can either install a new version or switch between installed versions.
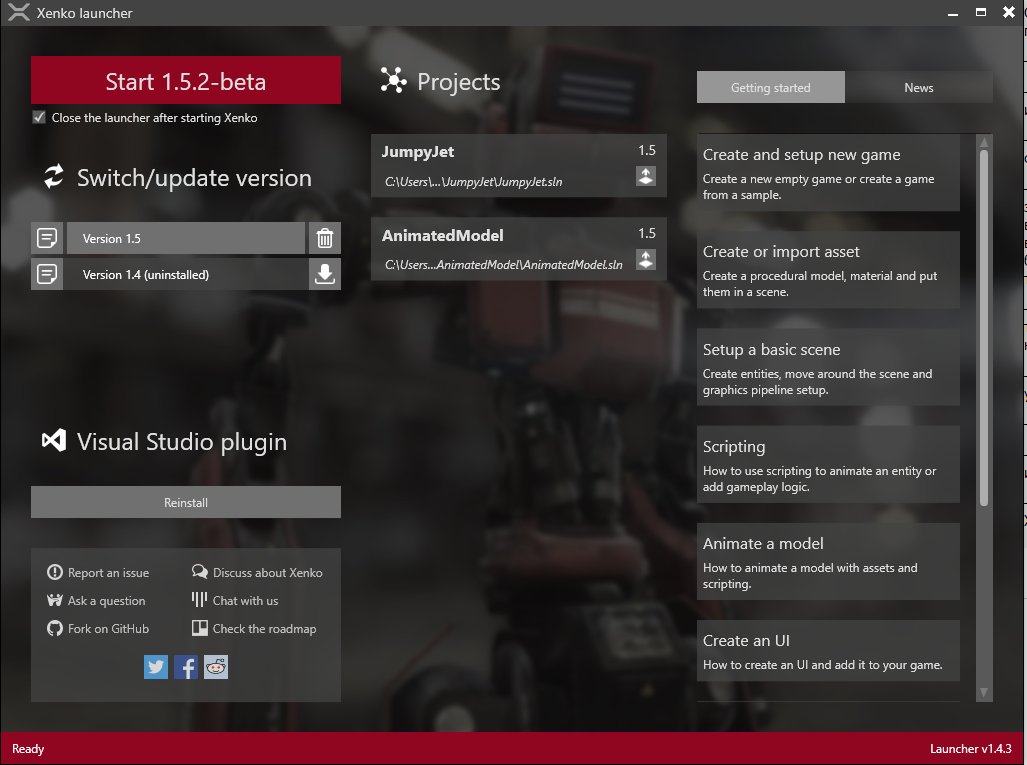
We launch the desired option, create a new project (all settings can be left by default) and wait until our Xenko Studio loads.
We are met by a fairly ordinary UI, which is vaguely reminiscent of Visual Studio.

To start the game, just press F5 - your project will compile and start using MSBuild (which, incidentally, is not very fast).
You can add new entities using the " + " on the left, and new resources below.
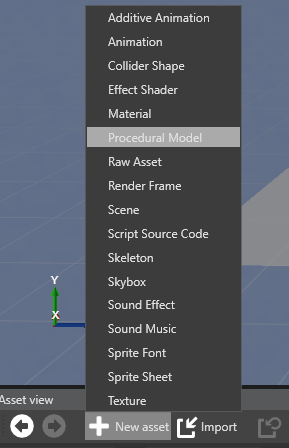
Having selected an object, all its properties can be viewed in the window on the right (Property Grid). Here, and transformation, and textures, and physics, and other components.
By the way, without a texture resource, our model will not be displayed (this can be done by clicking on a small “hand” in the Material tab.
This is where the visual abilities almost end. Among the drawbacks of navigation, it is difficult to control in 3D space (the main functions are performed using WASD and Shift / Alt + LMB / RMB / SCM) and the inability to display the collision volume, which in some cases significantly exacerbates the situation.
Since Xenko Studio works well in conjunction with Visual Studio - I use it. Selecting VS from the top of the menu will open our project in Visual Studio.

In the same Solution Explorer, you can see that now there is only one file ( MyGameApp.cs in my case) that launches our game. If you have chosen more platforms when creating a project, you will have separate directories for each platform.
For example, make our model move. First you need to create a separate Moving.cs class and add the code below.

We save in the folder MyGame.Game ; We check for errors ( Ctrl + Shift + B builds the project).

In Xenko Studio, choosing our sphere, click Add component -> Scripts and add our script.
Build (wait), and we see that our sphere moves when we click on the arrows. If you do not have our script in the list, you most likely need to reload the project ( File -> Reload Project ) or you have errors in the code.
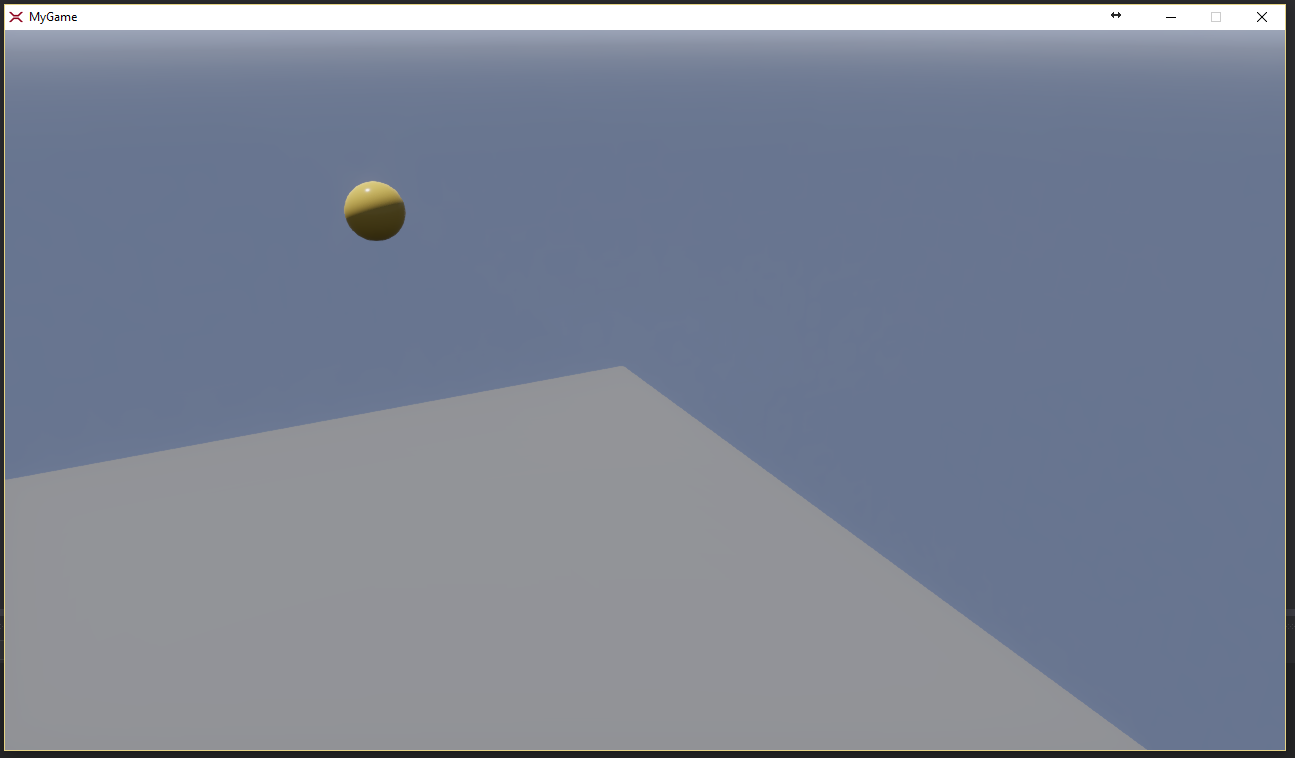
PS if your sphere is moving in the wrong direction, change it in the code - = to + = and vice versa. It depends on the location of the camera.
Unfortunately, there is not so much documentation , the one that is often incorrect or simply missing, and the engine is too raw to have a large community.
Therefore, rely only on your own strengths and the help of the audience .
Xenko is a pretty interesting engine, but because at the beta stage - cannot yet offer something very new to the world of GameDev. If you worked in Unity, it will be easy for you to work in Xenko. For beginners, it will seem too complicated and incomprehensible, but, I think, in the next releases it will be fixed.
Pros:
Minuses:
License
The engine is almost open-source ( GitHub ), licensed under the GPL v3, its use is free in two cases:
- If you use of. releases, you can make as many games as you like without opening the source code
- You can also modify and compile the engine, but then, together with the game, you must also lay out the source code
For other license options, you need to contact the developers.
Development Features
The latest version of Xenko (at the time of writing - 1.5 Beta) supports launching only on the 64-bit version of Windows 7 SP1 + / 8 + / 10, for writing scripts one of the following IDEs is required:
- Visual Studio 2012, 2013 or 2015 (starting with Professional)
- Visual Studio Community 2013 or 2015
- Visual Studio 2012/2013 Express
- Xamarin studio
Support for platforms for which you can make games is desired. Now it is possible to develop for the Windows family (Desktop, Store, 10 Universal, Phone) , as well as for Android and iOS (only with Xamarin license), but Silicon Studio says that it will soon be on MacOSX, Linux, and even on next-gen consoles.
Beginning of work
First of all, you need to install the engine itself, as well as additional elements for working with .NET. Installation along with downloading all the software takes about 25 minutes. With Xenko Launcher, you can either install a new version or switch between installed versions.
We launch the desired option, create a new project (all settings can be left by default) and wait until our Xenko Studio loads.
We are met by a fairly ordinary UI, which is vaguely reminiscent of Visual Studio.
- Scene elements
- Solution Explorer (all folders and files that are related to the project)
- View resources (assets). When choosing a resource, it is highlighted for a moment.
- Resource preview; Action history; Dependencies (here are two tabs: Referencees - shows all the assets that are needed for the current resource; Referencers - on the contrary, shows all the assets that are dependent on the current)
- Property Editor
To start the game, just press F5 - your project will compile and start using MSBuild (which, incidentally, is not very fast).
You can add new entities using the " + " on the left, and new resources below.
Having selected an object, all its properties can be viewed in the window on the right (Property Grid). Here, and transformation, and textures, and physics, and other components.
By the way, without a texture resource, our model will not be displayed (this can be done by clicking on a small “hand” in the Material tab.
This is where the visual abilities almost end. Among the drawbacks of navigation, it is difficult to control in 3D space (the main functions are performed using WASD and Shift / Alt + LMB / RMB / SCM) and the inability to display the collision volume, which in some cases significantly exacerbates the situation.
Robot with code
Since Xenko Studio works well in conjunction with Visual Studio - I use it. Selecting VS from the top of the menu will open our project in Visual Studio.
In the same Solution Explorer, you can see that now there is only one file ( MyGameApp.cs in my case) that launches our game. If you have chosen more platforms when creating a project, you will have separate directories for each platform.
For example, make our model move. First you need to create a separate Moving.cs class and add the code below.
using System;
using SiliconStudio.Xenko.Engine;
namespace MyGame
{
    public class Moving : SyncScript //скрипт должен запускаться со Студии, поэтому делаем его public
    {
        public override void Update() //наш код будет выполняться каждый фрейм
        {
            if (Game.IsRunning) //проверяем, запущена ли игра
            {
//если нажали стрелку влево/вправо - двигаем по оси X
                if (Input.IsKeyDown(SiliconStudio.Xenko.Input.Keys.Right))
                {
                    this.Entity.Transform.Position.X += 0.1f;
                }
                if (Input.IsKeyDown(SiliconStudio.Xenko.Input.Keys.Left))
                {
                    this.Entity.Transform.Position.X -= 0.1f;
                }
//если нажали стрелку вверх/вниз - двигаем по оси Z (не Y, т.к. это вертикальная ось)
                if (Input.IsKeyDown(SiliconStudio.Xenko.Input.Keys.Up))
                {
                    this.Entity.Transform.Position.Z += 0.1f;
                }
                if (Input.IsKeyDown(SiliconStudio.Xenko.Input.Keys.Down))
                {
                    this.Entity.Transform.Position.Z -= 0.1f;
                }
            }
        }
    }
}
We save in the folder MyGame.Game ; We check for errors ( Ctrl + Shift + B builds the project).
In Xenko Studio, choosing our sphere, click Add component -> Scripts and add our script.
Build (wait), and we see that our sphere moves when we click on the arrows. If you do not have our script in the list, you most likely need to reload the project ( File -> Reload Project ) or you have errors in the code.
PS if your sphere is moving in the wrong direction, change it in the code - = to + = and vice versa. It depends on the location of the camera.
Support, community and documentation
Unfortunately, there is not so much documentation , the one that is often incorrect or simply missing, and the engine is too raw to have a large community.
Therefore, rely only on your own strengths and the help of the audience .
Conclusion
Xenko is a pretty interesting engine, but because at the beta stage - cannot yet offer something very new to the world of GameDev. If you worked in Unity, it will be easy for you to work in Xenko. For beginners, it will seem too complicated and incomprehensible, but, I think, in the next releases it will be fixed.
Pros:
- Open source
- Free use in 99% of cases
- Great engine for rendering "out of the box"
- C # is a great scripting language (subjective)
Minuses:
- Support for only a few platforms, and Xenko Studio itself works only on Windows (promise to fix)
- For development on Android / iOS, you need a Xamarin license (in the second case - Business and above + MacBook)
- Not enough documentation and a small community, which is why it is not suitable for beginners
- There is no reason to switch to Xenko from another free engine (subjective; I think this is only for now)









