 June 25, 2015 at 09:04
Create a simple UI5 application in a Web development environment
Hi Habr!
In early May, I mentioned that I will show the process of creating a simple UI5 application in the Web development environment provided by the SAP Hana Cloud Platform (SAP HCP). What is UI5 in a nutshell: this is a new philosophy for creating interfaces for SAP applications that will look equally good both on the desktop and on any mobile device, because they use HTML5 and Java. That is, we take data from SAP tables through OData and build attractive web applications for various user groups on their basis. Yes, yes, SAP really has long moved away from its “quadratic-practical” towards sexy interfaces. This is where marketing ends, and let's get down to business.
We create a free account on SAP HCP, the functions of which will be enough for application development. To do this, go tothis link .
After registration, the control panel for the services provided by HANA Cloud Platform will be displayed. To enter the Web IDE Web development environment, open the Subscriptions menuon the left side of the screen.

And make sure your webide app is among your subscriptions. If it is not, then add through New Subscriptions .

After the development environment appeared in the list for everyone, click on webide in the applications column. Information about the application will be displayed, but we will be most interested in a direct link to the Web IDE , which we will add to our browser bookmarks. Yes, we strongly recommend using the Web IDE.The Chrome google .

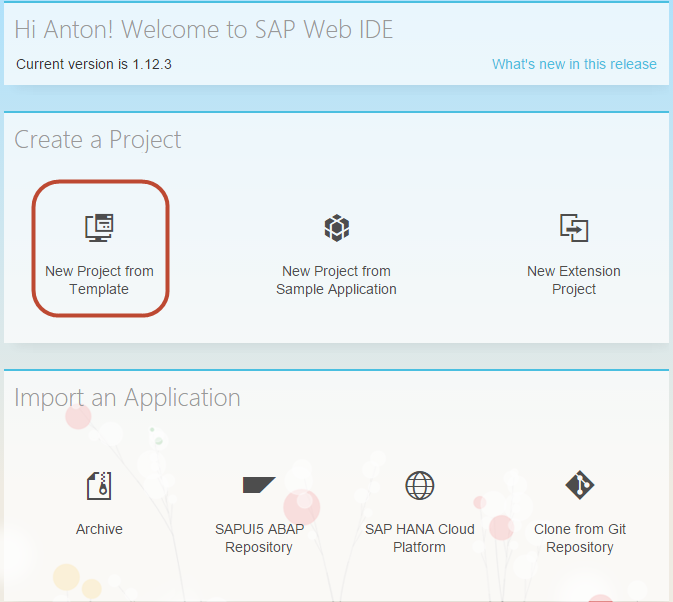
We went to the Web IDE. The start page looks like the image below. I will not dwell on the description of the interface, since there is a detailed documentation (menu Help -> Documentation). To create an application from an existing template, select New Project from Template .
Now a little about our future UI5 application. Background:
- SAP has an SAP UEM by Knoa product that collects data on interaction with the SAP application interface (transaction start, interaction with objects, user and system errors), as well as SAP service data such as transaction response time, applications, etc.
- KNOA carefully stores all this data in the tables of the MS SQL or Oracle database.
- The standard tool that KNOA uses to visualize stored information in the form of reports or dashboards is SAP Business Objects.
- The SAP support staff is satisfied with the reporting provided by KNOA, as gives a complete picture of how users use the system, where they make mistakes, etc.
And to the head of the IT Department, standard reporting seems unnecessary, because he wants to see only certain indicators that interest him, and wants them to be displayed normally on any device that may be in his hands. Such a task with an asterisk.
That's why we decided to write a small UI5 application for this. First, we determine what indicators we need and inform the guys responsible for the databases so that they configure the OData source on the KNOA database accordingly. And we will begin to create the application ourselves using the data model (.edmx) and test data .
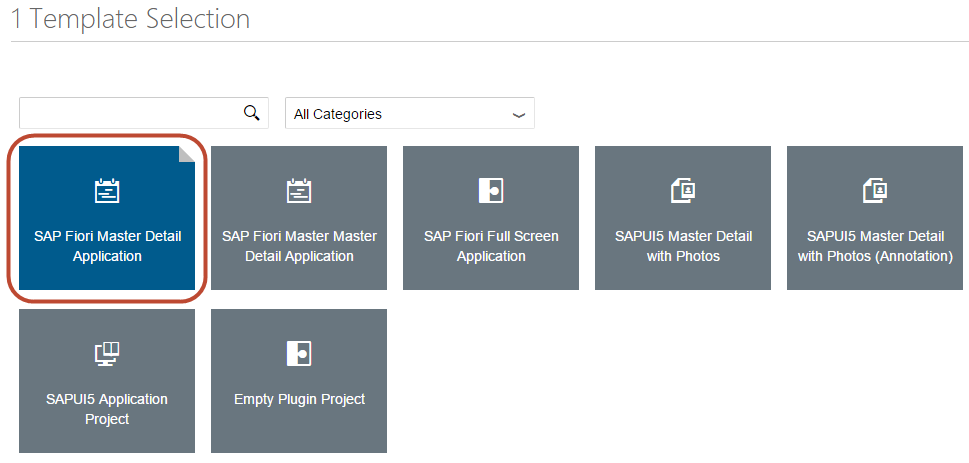
Choose the type of application SAP Fiori Master Detail Application , then indicate the name of the future application. In this example, let's call it triviallyKNOA_application .

On the next page, you must specify the data source for the application. Everything is simple here:
- Service Catalog - in case of a link to a data source (Odata) configured in the start page of the SAP HANA Cloud Platform management console on the Destinations tab
- Workplace - a link to a data model file (.edmx) located in the Web IDE workspace
- File System - a link to a data model file (.edmx) located on your workstation
- Service URL - a link to an OData service on the Internet

Since we have prepared a data model, in the File System select the desired .edmx file.
In the next step, it remains only to distribute the data from the model among the objects of the selected application template.

After clicking on the Finish button , a window will open on the next screen that displays the structure of the application we just created.

Before continuing to work with it, I suggest downloading the test data (SAP_system.json) that you downloaded with the .edmx file first. To do this, call the context menu of the model folder and select Import - Import File from System

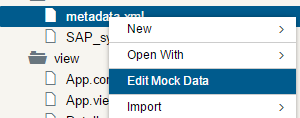
After loading the file in the context menu of the metadata.xml file, select Edit Mock Data .
Displayed test data that will use our application. Now we’ll directly edit the standard application, adding data on SAP systems that are collected using KNOA to its presentation. To do this, select Open With - Layout Editor in the context menu of the file Detail.view.xml . Layout Editor is currently only launched in the Google Chrome browser. After our Detail.view.xml file opens in the editor, in addition, open the Outline panel , for the convenience of working with interface objects. Using Outline , we find the second IconTabFilter in the object hierarchy


and delete it, because on the second tab, we do not plan to post data.

Next, select the sap.m.ObjectHeader object and in its attributes ( sap.m.ObjectAttribute ) the Text parameter instead of the default value (i18n ...) assign the value Responsible: {Responsible} - {Contact}

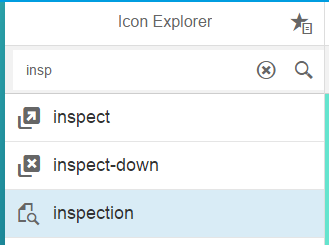
Now we will change the tab icon to a more suitable one (to ours sight). To do this, select it in the object manager (sap.m.IconTabFilter) and replace the Icon property, which now looks like sap-icon: // hint with sap-icon: // inspection .

Where to get the values from? From the SAP UI5 Icon Library : Simply select the icon you like and enter its name in the Icon property value. If you do not like the iconinspection , select any other.
Now we will change the standard form, which is displayed in our only tab. To do this, open the file Detail.view.xml in the code editor.

And change its code so that it looks like this:
Now the final touch: we’ll slightly change the design in the system selection area so that the status is displayed in gray font just above the system name. To do this, open Master.view.xml using the Layout Editor and change the value of the Intro parameter to {Sys_status}
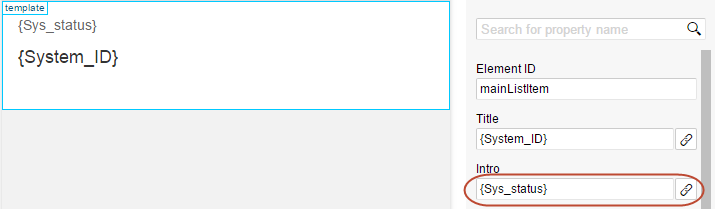
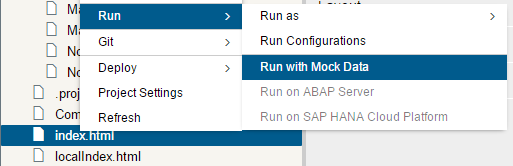
This completes the development of our simplest application. To see how it will work using test data, call the context menu of the index.html file and select Run with Mock data .
If everything was done correctly in the previous steps, you will see a simple application that displays indicators for SAP systems, their status, as well as contacts of responsible employees.

By switching the screen size on the toolbar at the top of the window, you can see how our UI5 application will adapt for viewing on various devices.
To publish the application to the HANA Cloud Platform, open the context menu for the UI5 application folder and select Deploy -> Deploy to SAP HANA Cloud Platform . After that, the application will be available to its users.
On this, the process of developing a simple UI5 application, please consider it completed. In terms of complexity, it, of course, is not far from the well-known Hello, World , but gives a more or less idea of the possibility of development in the Web IDE.
Where to find out more about UI5 and application development?
June 26 from 10:00 to 18:00 in SAP Labs will be held freeWorkshop on developing applications using the SAP Mobile Platform. registration here .
The official SAP Fiori User Experience training program from the SAP Learning Center
Sweet, useful free resources for developing UI5 applications:









