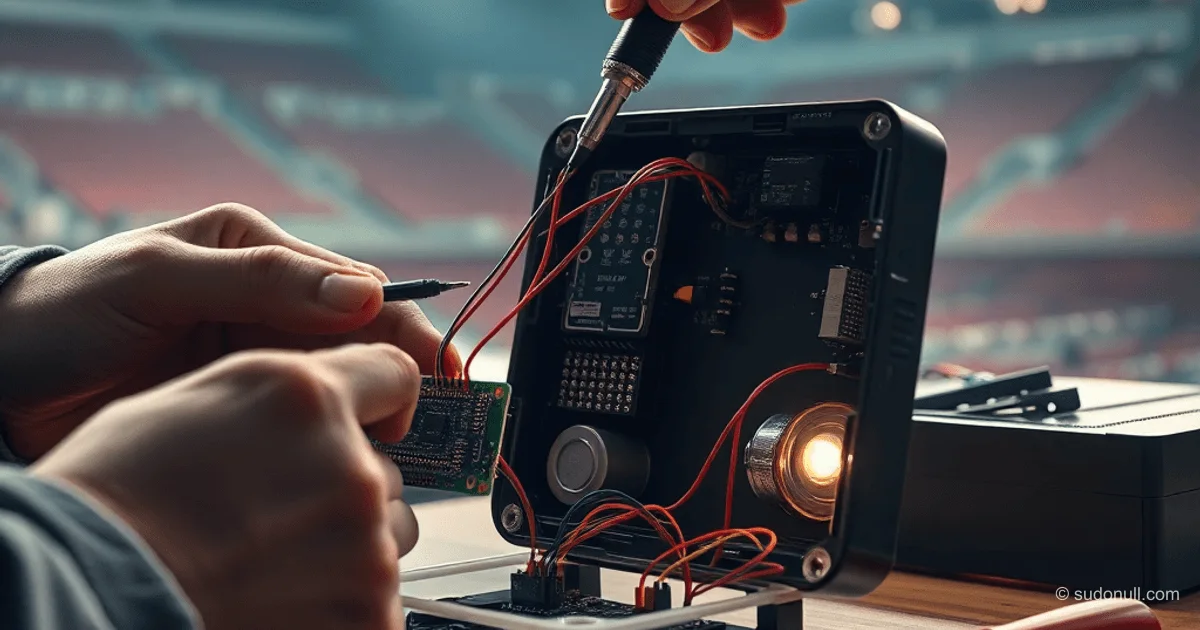
ZigBee-Controlled Air Freshener Hack: Modding AirWick with Fingerbot
Smart home enthusiasts often run short on battery-powered devices that don't rely on Wi-Fi. A straightforward fix is hacking a stock AirWick automatic air freshener using a Fingerbot board (ZigBee 3.0, model TS0001_fingerbot). This lets you trigger sprays on command via Zigbee2MQTT (z2m), all powered by two 1.5V batteries (3V total).
Teardown revealed similar designs: both have power inputs, a geared motor, and an activation button. The Fingerbot is specced for 3.7V LiPo but runs fine on 3V—with some power trade-offs.
Teardown and Board Analysis
Fingerbot breaks down into a power connector (3.7V nominal), motor connector, power/sync button, and sensor activation button. Ditch the sensor button—remove it to access the contacts.
AirWick freshener: The standard cartridge swap hides a board with 3V input (two AA batteries), motor, and manual button. Gear ratios differ, but the controller handles it.
Key differences:
- Voltage: 3V vs 3.7V.
- Motor power: Fingerbot's is weaker for stiff cartridges.
- SMD components: Handle soldering carefully.
First Build: Soldering and Troubleshooting
Solder Fingerbot board wires onto the original (keep it as backup). Trim excess contacts, wrap with electrical tape for insulation. Route the SMD pairing button to the freshener's external button.
Soldering steps:
- Desolder power and motor connectors.
- Remove sensor button with pliers to expose contacts.
- Solder directly to SMD button (avoid overheating nearby resistors).
Testing: Board flashes for pairing, joins z2m, but drops off due to a damaged resistor (it detects a long reset press). Fix: Physically cut traces from the button. Downside: Device is now locked to your current hub.
Second Iteration: Fixing the Flaws
Fresh Fingerbot board: Minimize soldering, connect straight to the button. Test incrementally—pairing, motor, stability.
Assembly: Stack boards compactly, insulate joints. Insert cartridge—motor twitches but won't push (3V power shortfall).
How the Hack Works
Fingerbot doesn't directly spray. It creates a voltage dip: briefly cutting power to the original AirWick board. On repower, the stock controller triggers an instant spray (default behavior).
It works reliably, but:
- Freshener still sprays on its built-in timer (disabling it breaks the hack).
- No full control without extras (capacitor for boost or transistor to kill the timer).
Tech specs:
| Component | Voltage | Cost |
|-----------|---------|------|
| Fingerbot | 3.7V (runs on 3V) | ~$10 |
| AirWick | 3V | ~$7 |
Key Takeaways
- Battery-Powered Independence: ZigBee skips Wi-Fi and outlets, runs on AA batteries.
- Compatibility: Seamless z2m integration, indirect motor control.
- Risks: SMD overheating during soldering, permanent hub lock-in.
- Limitations: Can't disable timer, reduced power on 3V.
- Scalability: Reuse Fingerbot boards on other gadgets.
— Editorial Team










No comments yet.