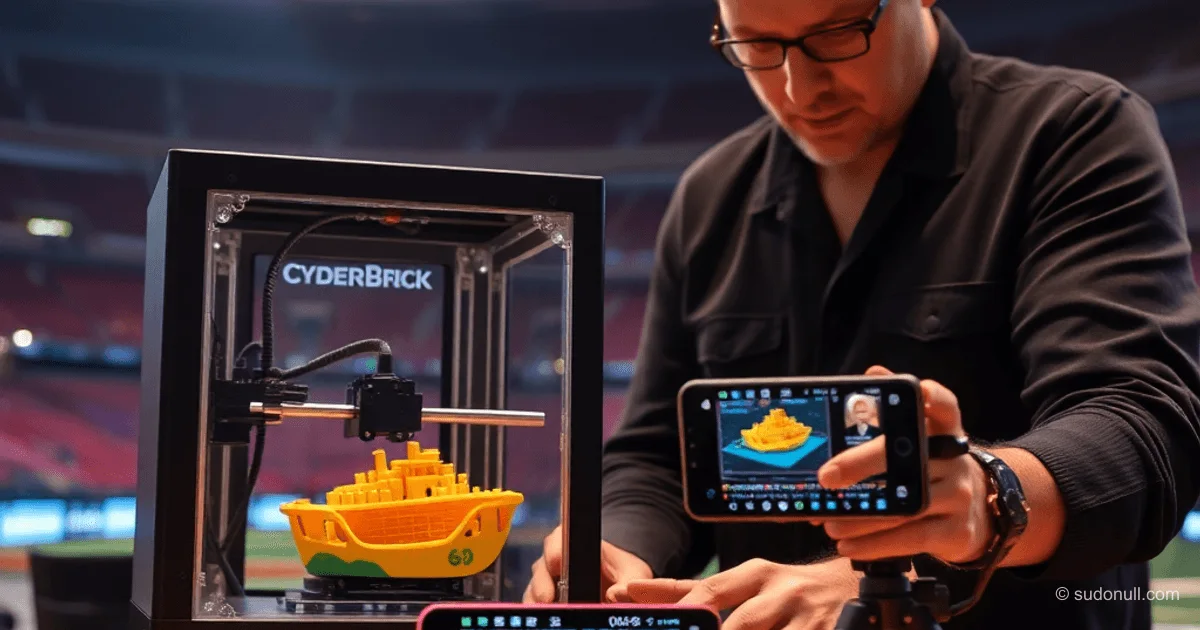
CyberBrick Time-lapse Kit: Setup and Usage for Time-lapses on Bambu Lab
The built-in camera on Bambu Lab printers can record print time-lapses, but the results are often disappointing: the print head obstructs the frame, the fixed angle limits composition, resolution is low, and editing the final video offers little control. The CyberBrick Time-lapse Kit solves these issues with an external camera. The kit consists of two boards that synchronize shooting with the completion of each print layer. The resulting photos can be assembled into a time-lapse in any editing software.
Kit Contents
The CyberBrick Time-lapse Kit is adapted for Bambu Lab printer series (A1, P1, etc.), differing only in connection cables. Main components:
- Control Board (Core A11): Based on ESP32-C3 with Bluetooth and Wi-Fi. Enables communication between the printer and camera, and controls shooting. Compatible with the CyberBrick Hardware Kit for radio-controlled models.
- Expansion Board (ShieldX13): Interfaces for the control board, printer, external shutter button, and servo motor.
Additionally: screws for the housing, cable (4 or 6 pins). Price in the official Bambu Lab store — €23 (full kit), €18 without cable, €10 for ShieldX13 only. Alternatives from China — from 1400 rubles with shipping.
Printing and Assembling the Housing
The housing is printed using models from the CyberBrick profile on MakerWorld (5 plates, 3–4 are enough):
- Plate 1: Housing with sliding lid.
- Plate 2: Housing with removable lid.
- Plate 3: Button-indicator.
- Plate 4: Magnetic and shelf mount.
- Plate 5: Cage for DJI Osmo Action 4/5 Pro action cameras.
Example print on P1S: 98 min, 29.79 g PLA + 0.29 g PETG, two-color first layers for pattern. Assembly:
- Insert Core A11 into ShieldX13 (antenna according to pictogram).
- Install button into housing.
- Place boards inside.
- Glue magnets (8×2 mm) onto lid.
- Tighten bolts, install sliding lid.
- Add magnets and tape to mount.
Connecting to Printer and Cameras
Cable from kit: 4-pin for A1/P1 directly, 6-pin for AMS. Correct connection — green indicator. Pairing mode: hold button (blinking).
Smartphones
Connect via Bluetooth as BBL_SHUTTER. Test: pressing button — snapshot. Reconnect if issues.
DSLR/Mirrorless Cameras
Bluetooth: in settings (Sony: "Network" → "Bluetooth Remote" → BBL_SHUTTER). Without Bluetooth: 2.5 mm jack.
Action Cameras
3-pin connector for servo motor (MG90/MG90S or PG001). Print cage, secure above button. For DJI Osmo Nano — ready-made models. In G-code, increase delay to 1000 ms.
Slicer Setup and Shooting
In Bambu Studio: "Process" → "Other" → "Special Modes" → "Time-lapses" → "Smooth". Slice plate, enable time-lapse when sending. Recommendations:
- Place test object for focus/exposure (manual mode).
- Camera on tripod, printer stable.
- Additional light for uniformity.
Print benchmark model (benchy): +7 min, >230 photos.
Editing the Time-lapse
Import photos into CapCut or Shutter Encoder (open-source). In Shutter Encoder:
- Import snapshots.
- H.264/H.265, MP4.
- "Frame Sequence" → frequency 25 fps.
- "Start Function".
Result: smooth video without jerks. Trim as needed.
Key Points
- CyberBrick provides full control over angle and quality via external camera.
- Layer synchronization: photo after each, unaffected by print head.
- Compatibility: smartphones, cameras (Bluetooth/jack), action cameras (servo motor).
- Simple integration with Bambu Studio: "Smooth" mode.
- Editing in free tools: >230 frames in minutes.
— Editorial Team










No comments yet.