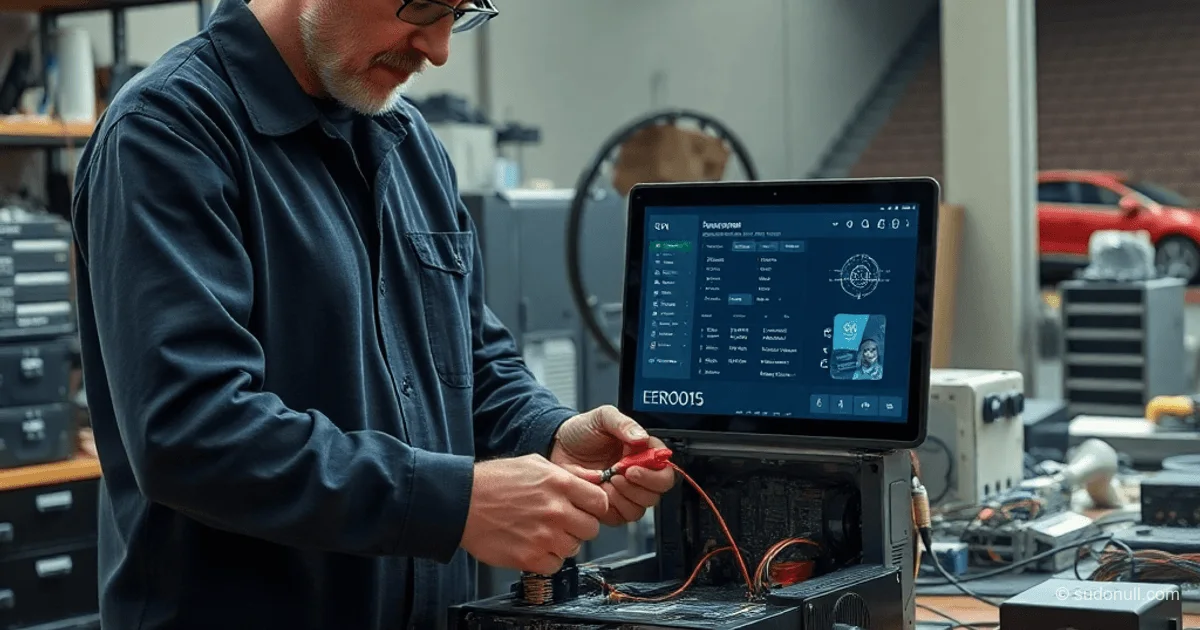
Powering Up Tesla Model 3 MCU and Autopilot on a Workbench: Hardware Breakdown
A developer assembled a functional MCU (Media Control Unit) and Autopilot computer (AP) system from parts of scrapped Tesla Model 3 vehicles. The unit sits in front of the passenger seat, roughly the size of an iPad and as thick as a 500-page book, housed in a metal case with liquid cooling. Testing required 12V power, a touchscreen display, and a display cable. Peak current draw reached 8A, confirming the need for a 10A power supply.
Components were sourced via eBay: the MCU/AP cost $200–300, and the screen was $175. Salvage yards dismantle accident-damaged cars and sell parts with photos of their source vehicles.
Cable Connection Challenges
The main hurdle was the display cable: both the MCU and screen arrived with cut-off wires. Tesla’s Electrical Reference specifies a 6-pin Rosenberger 99K10D-1D5A5-D cable (2 pins for 12V/ground, 4 for data). This exact cable isn’t available for retail purchase.
An alternative LVDS cable from BMW didn’t fit due to incompatible connectors. Attempting to solder the severed wires resulted in a short circuit and damaged the MAX16932CATIS/V+T chip (a voltage regulator). Replacing the chip at a repair service restored the board.
Ultimately, the developer purchased the full instrument cluster wiring harness (part number 1067960-XX-E) for $80. This is a solid bundle of cables not meant for disassembly.
Network Communication and Service Access
After applying 12V, the computer booted up (red LEDs blinked). It connected via Ethernet to subnet 192.168.90.X/24 (IP > 192.168.90.105, no DHCP). The /etc/hosts file reveals internal host mappings:
192.168.90.100 cid ice # mcu
192.168.90.100 ic # only in Model X/S | IC = instrument cluster
192.168.90.102 gw # gateway
192.168.90.103 ap ape # ap = autopilot
192.168.90.104 lb # unknown
192.168.90.105 ap-b ape-b # also autopilot
192.168.90.30 tuner # unknown
192.168.90.60 modem # has an FTP server
On 192.168.90.100 (MCU):
- SSH on port 22: requires signed Tesla keys; access only when "vehicle parked." Bug bounty programs offer root access via vulnerabilities.
- REST API on :8080 (ODIN — On-Board Diagnostic Interface Network) for Toolbox tools, returning task history.
Internal Board Architecture
Opening the casing revealed two stacked PCBs: MCU and AP. Power is delivered through Tesla-specific pins (cleaned wires from severed cables).
Successfully connecting the harness powered up the OS and display. The system is now ready for:
- CAN bus analysis
- UI exploration
- Network interface testing
- Attempts to dump firmware
Key Takeaways
- MCU/AP draw up to 8A at 12V — use power supplies with headroom.
- The Rosenberger 99K10D-1D5A5-D cable isn’t sold separately; get the full 1067960-XX-E harness.
- The 192.168.90.X network lacks DHCP; use SSH/ODIN at 192.168.90.100 for diagnostics.
- Short circuits in thin LVDS wires can destroy the PMIC (MAX16932).
- Tesla Electrical Reference is essential for pinouts and part numbers.
— Editorial Team










No comments yet.