We make one more joystick (gamepad) on Arduino
It was an ordinary Friday, nothing boded of trouble ...
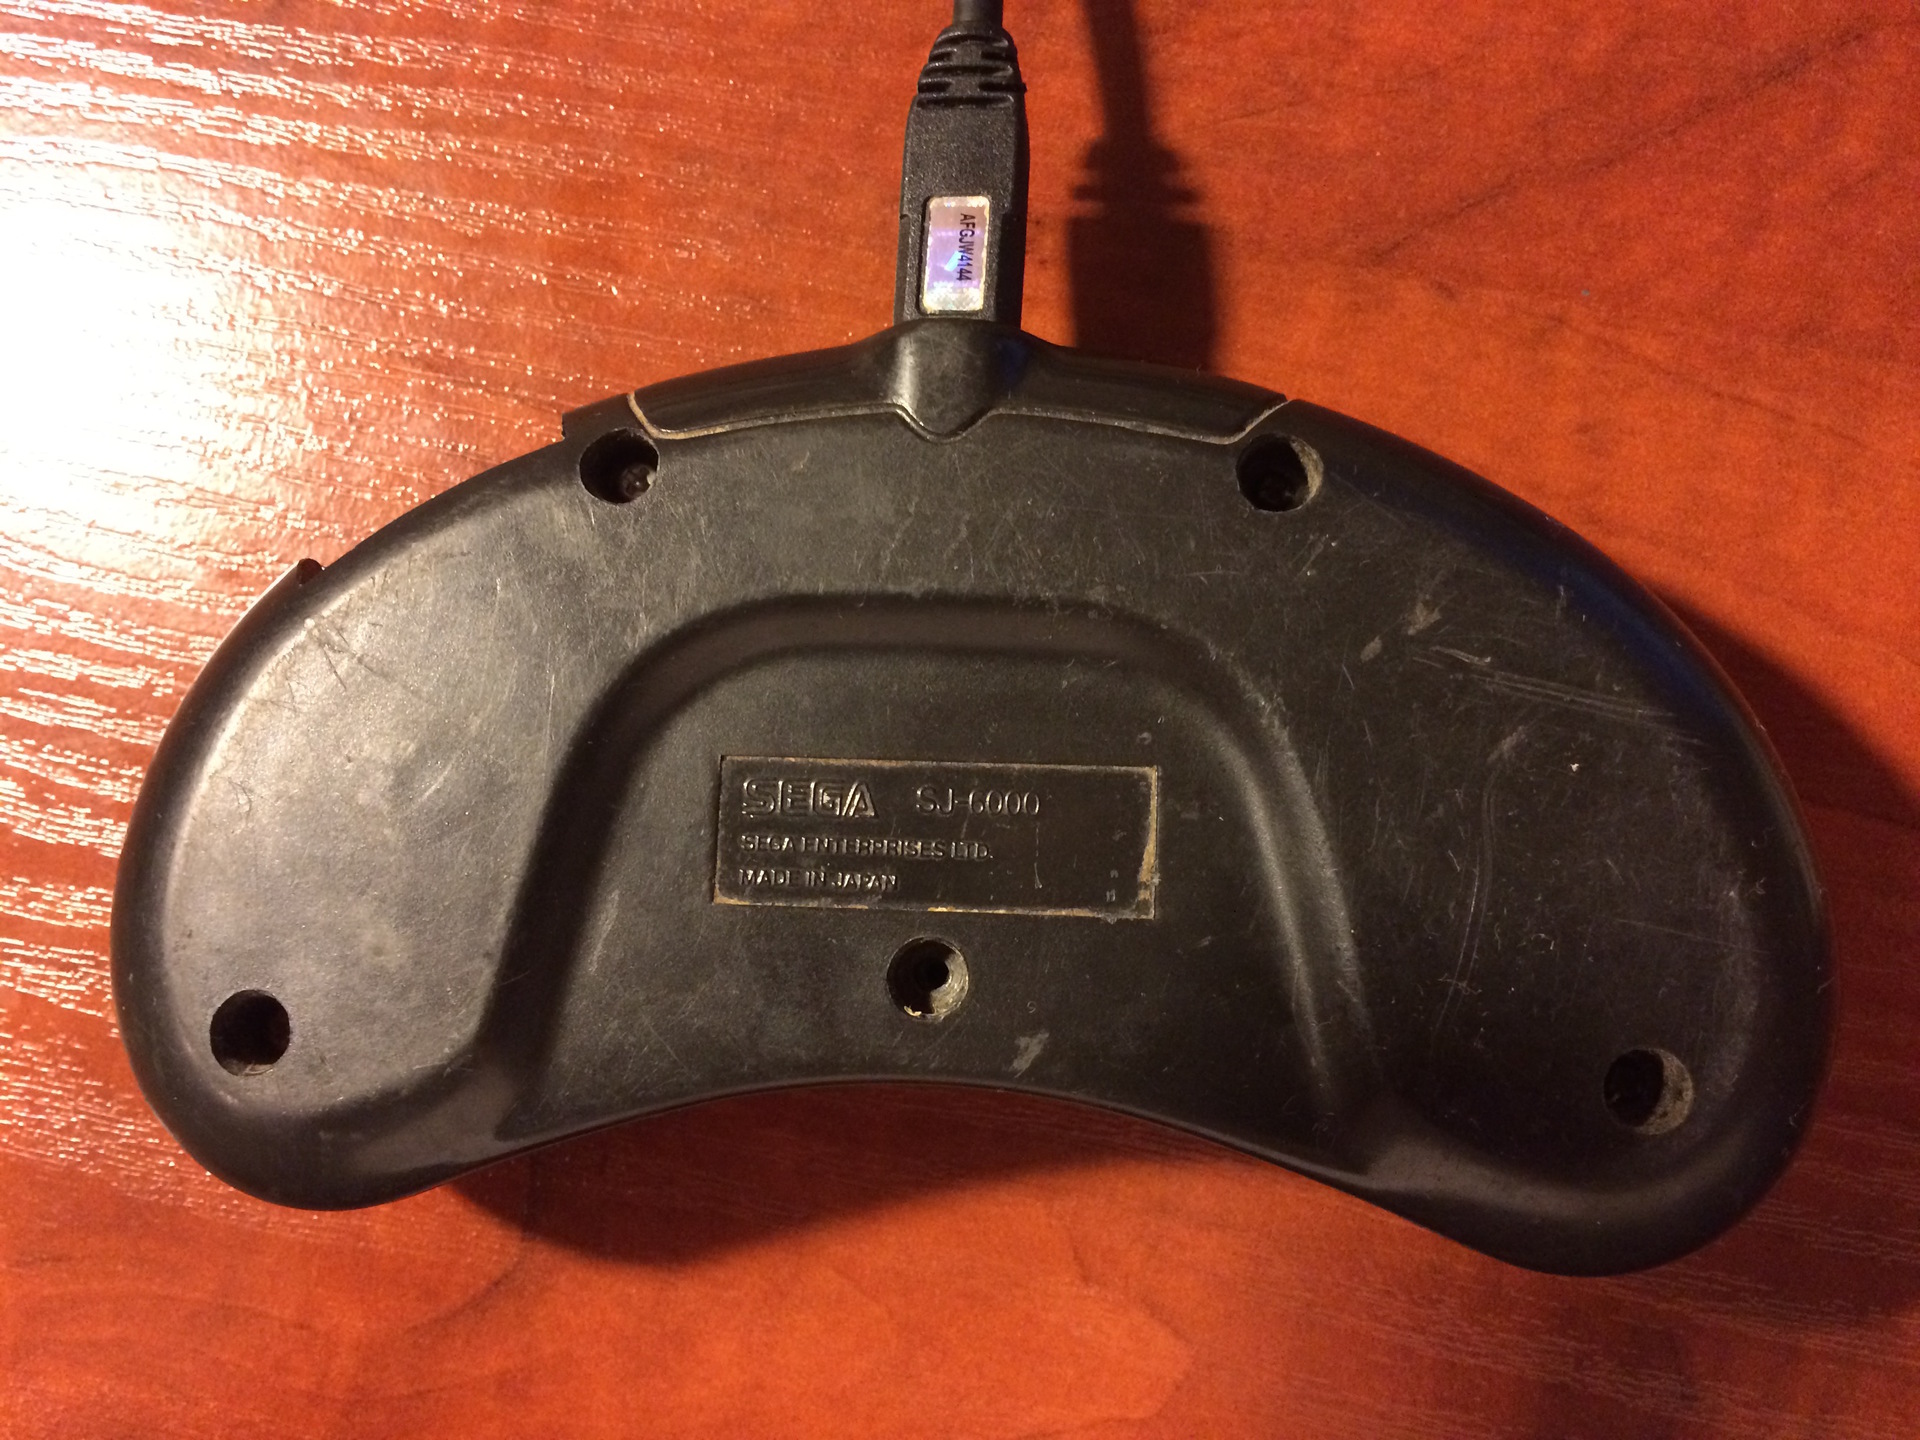
But the worm "need to do something" has already begun its work. After reading the article, I remembered that in my junk for about 15 years, if not more, the Segov gamepad was lying around. I took it with the firm intention to make a gamepad on the AVR processor (I didn’t hear about arduino then, but I did a couple of small projects on AVR).
An article about MSX confirmed my intention even more , and on Friday I decided - I do it!
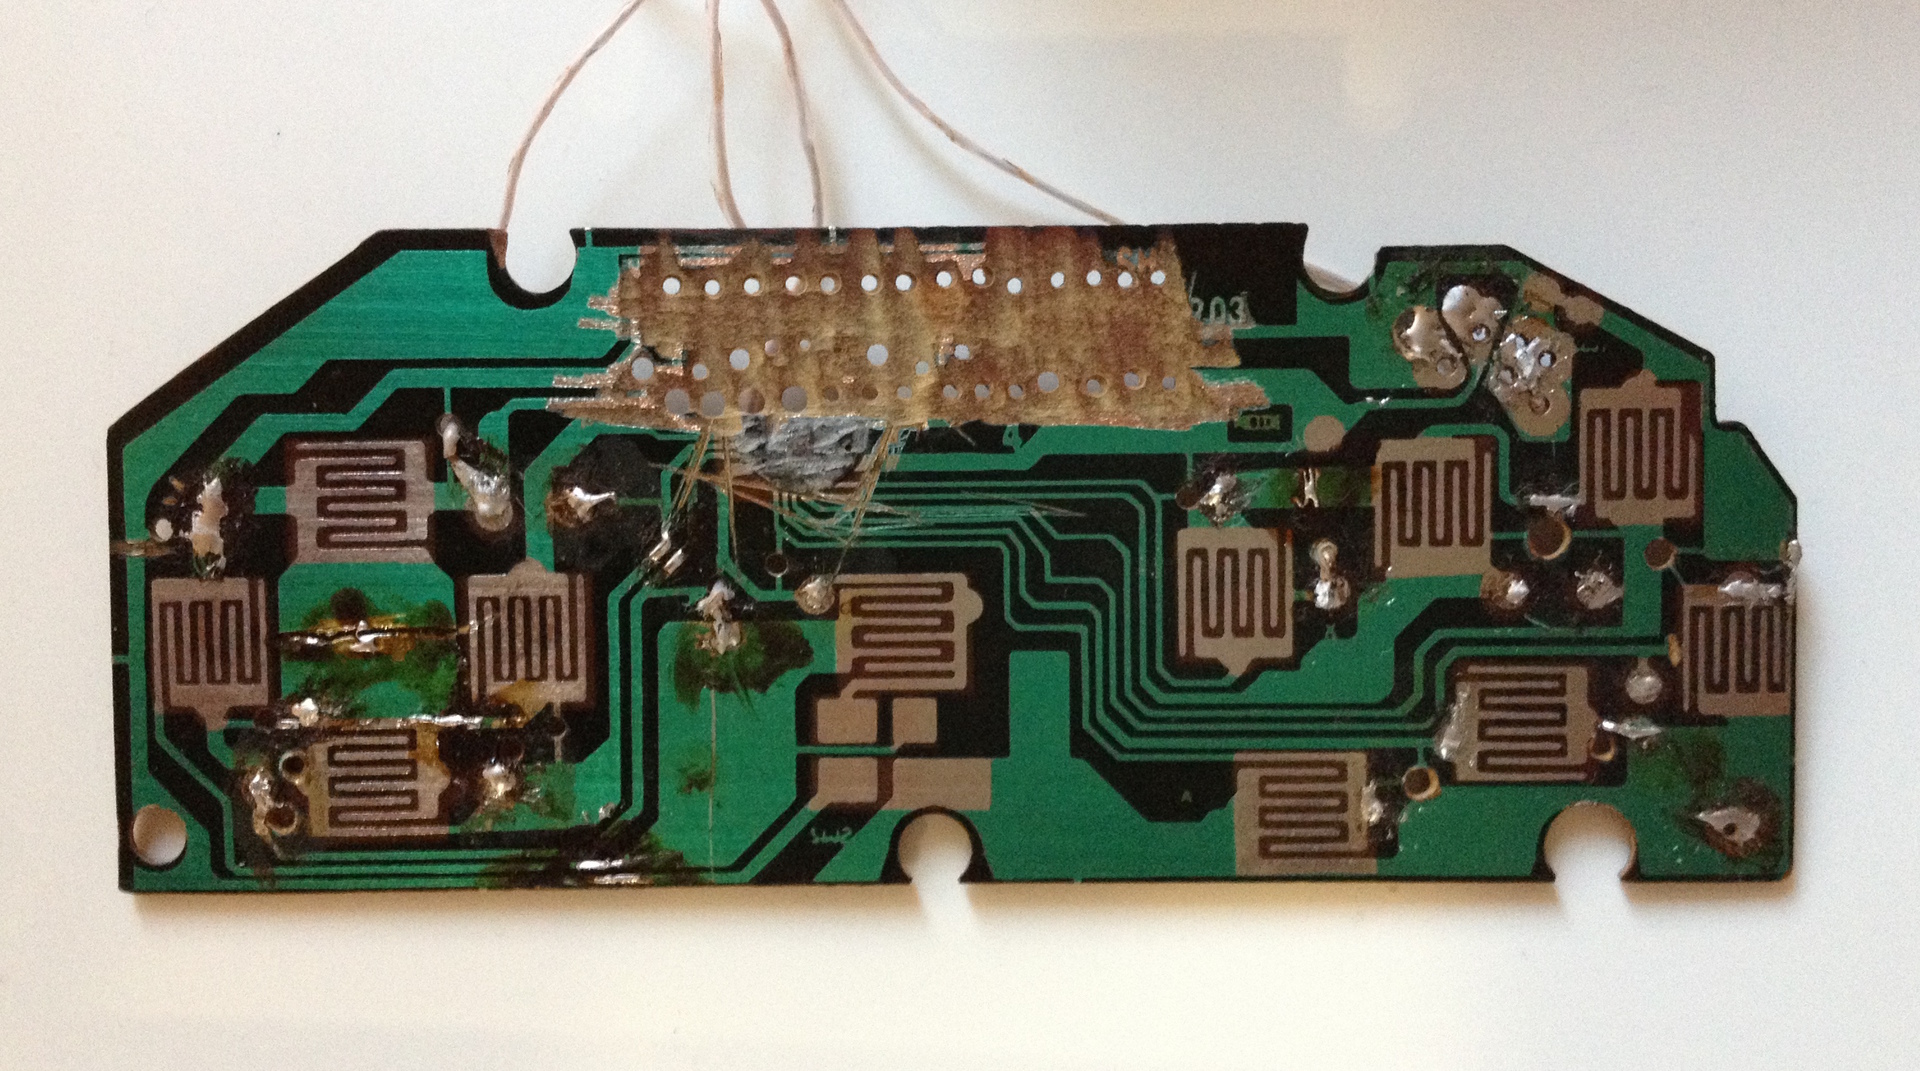
From the bins, the Segov gamepad was disassembled into the white light. To my amazement, he was in a complete set (well, except for the cut tracks and the missing original controller), only 2 bolts were missing.
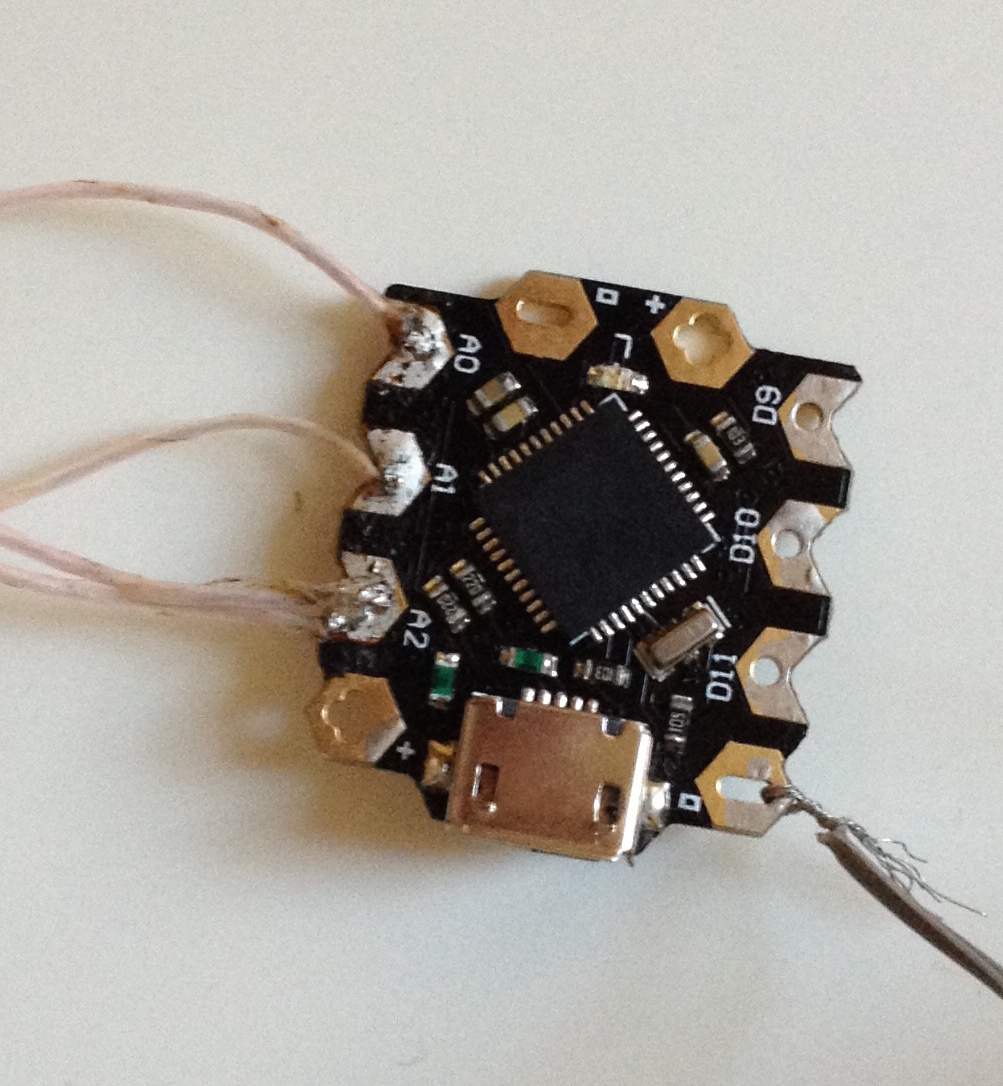
As a controller, I decided to use Beetle, since it was once ordered by me once, but has not yet been tested, and I did not really like it with the “small number of ports”.
And then disappointment awaited me - ports 6, buttons 10. My grief knew no bounds, but my brain still found a solution, for a start I decided to try to assemble a prototype of 2 buttons, since I decided to use focus with a diode to interrogate 10 buttons using 6 pins. Almost inspired, I sat down to check ... And then the following trouble happened - there are more than 10 buttons on the joystick! In general, this was the moment when it was necessary to look at the documentation, although there were many ideas - for example, solder (yeah, with my soldering iron, which covers almost all the legs on one side of the microcircuit), or look for enlightenment on the Internet.
The documentation clearly said that the Beetle ports are actually not 6, but 10, which made the further process boring (as I thought). (Using 8 pins makes it possible to interrogate 2 * 6 = 12 buttons, which I needed)
The connection scheme is a 6 x 2 matrix, because the original board was wired in a way convenient for me. (By the way, in the process of the previous alteration, the tracks were cut to connect the keyboard controller, it was necessary to restore, it turned out scary)
Scheme of the resulting gamepad:

Quickly throwing an example, I made sure that it does not work ... I don’t understand ?! The example is the simplest. Thinking, I realized that the digital pin lacks the resistance that the rubber conductive buttons give, slightly changed the circuit, now the analog signal is read and compared with half the maximum. I solder contacts, rewrite the program and ... nothing works, at all. The controller is not detected, everything is lost. The code is checked, and double-checked, everything should work! And the controller is not seen in any. Motivation drops, take a break.
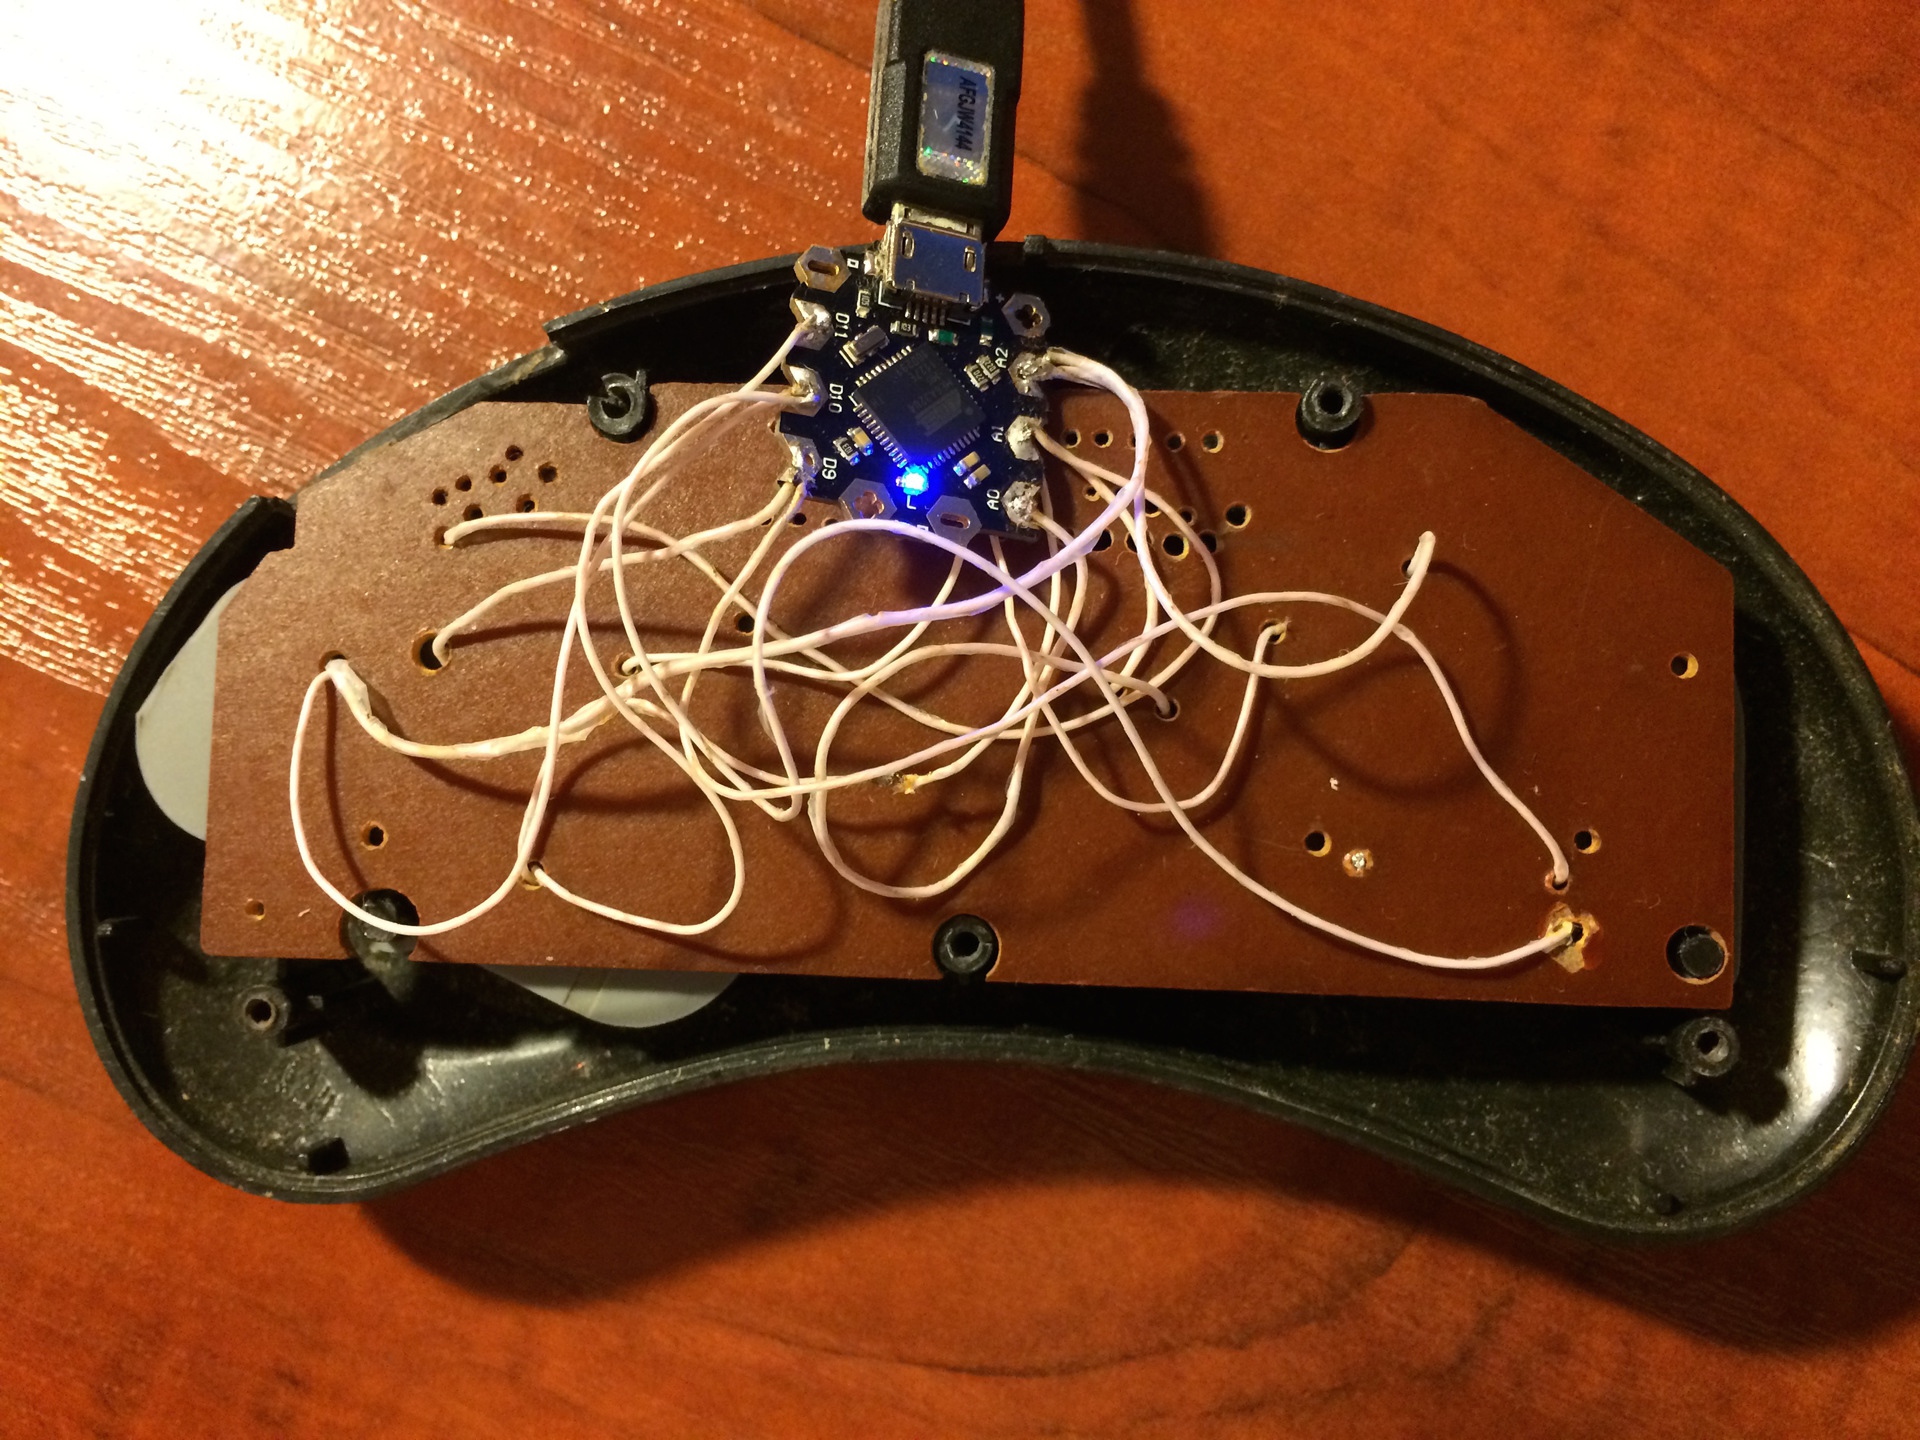
After some time, unsuccessfully playing with Beetle, well, I killed the controller with my soldering iron, I regretfully get the Arduino Micro out of the bins, flash the firmware, and again silence! It becomes clear that something is wrong with the code, in the end I find a banal reason - an endless loop in loop (), I fix it, but I can’t sew it! It turns out that when the controller cannot be seen, it is solved by clicking on the rezet during flashing (or by locking the pins in my case).
As a result, I got a Segov gamepad, it’s checked, it works, I’m happy: I played Metal Gear, Felix The Cat, Super Mario.

Source here
PS "Trick with LED." Of course, it is not necessary to use an LED, a conventional diode is better suited, the essence is simple, instead of two outputs use one connected to different buttons through 2 diodes:

But the worm "need to do something" has already begun its work. After reading the article, I remembered that in my junk for about 15 years, if not more, the Segov gamepad was lying around. I took it with the firm intention to make a gamepad on the AVR processor (I didn’t hear about arduino then, but I did a couple of small projects on AVR).
An article about MSX confirmed my intention even more , and on Friday I decided - I do it!
From the bins, the Segov gamepad was disassembled into the white light. To my amazement, he was in a complete set (well, except for the cut tracks and the missing original controller), only 2 bolts were missing.
As a controller, I decided to use Beetle, since it was once ordered by me once, but has not yet been tested, and I did not really like it with the “small number of ports”.
And then disappointment awaited me - ports 6, buttons 10. My grief knew no bounds, but my brain still found a solution, for a start I decided to try to assemble a prototype of 2 buttons, since I decided to use focus with a diode to interrogate 10 buttons using 6 pins. Almost inspired, I sat down to check ... And then the following trouble happened - there are more than 10 buttons on the joystick! In general, this was the moment when it was necessary to look at the documentation, although there were many ideas - for example, solder (yeah, with my soldering iron, which covers almost all the legs on one side of the microcircuit), or look for enlightenment on the Internet.
The documentation clearly said that the Beetle ports are actually not 6, but 10, which made the further process boring (as I thought). (Using 8 pins makes it possible to interrogate 2 * 6 = 12 buttons, which I needed)
The connection scheme is a 6 x 2 matrix, because the original board was wired in a way convenient for me. (By the way, in the process of the previous alteration, the tracks were cut to connect the keyboard controller, it was necessary to restore, it turned out scary)
Scheme of the resulting gamepad:
Quickly throwing an example, I made sure that it does not work ... I don’t understand ?! The example is the simplest. Thinking, I realized that the digital pin lacks the resistance that the rubber conductive buttons give, slightly changed the circuit, now the analog signal is read and compared with half the maximum. I solder contacts, rewrite the program and ... nothing works, at all. The controller is not detected, everything is lost. The code is checked, and double-checked, everything should work! And the controller is not seen in any. Motivation drops, take a break.
After some time, unsuccessfully playing with Beetle, well, I killed the controller with my soldering iron, I regretfully get the Arduino Micro out of the bins, flash the firmware, and again silence! It becomes clear that something is wrong with the code, in the end I find a banal reason - an endless loop in loop (), I fix it, but I can’t sew it! It turns out that when the controller cannot be seen, it is solved by clicking on the rezet during flashing (or by locking the pins in my case).
As a result, I got a Segov gamepad, it’s checked, it works, I’m happy: I played Metal Gear, Felix The Cat, Super Mario.
Source here
PS "Trick with LED." Of course, it is not necessary to use an LED, a conventional diode is better suited, the essence is simple, instead of two outputs use one connected to different buttons through 2 diodes: