An almost complete guide to writing Ruby gems

Good day, user .
Not so long ago, I had the task of making a prototype for one project. It included working with the Facebook Graph API. Having picked up some gems, I realized that they are not quite convenient for me, or it’s too difficult to implement the necessary functionality. And then an old idea surfaced in my head about writing my gem. Googling a lot of queries on this topic, I did not find complete information, especially on Russian-language resources. This is how the idea of this article came about. The manual is called “almost complete” , since not all aspects are covered here, but only those that are minimally necessary and desirable for the product of your imagination to begin to exist. I ask for a cut!
Let's start with the basic one (thanks to Wikipedia):
RubyGems (from the English gem, gems - a gem) is a package management system for the Ruby programming language that provides a standard format for Ruby programs and libraries (in the self-sufficient "gems" format), tools designed to easily control the installation of "gems", and server for their distribution.
NOTE: Please note that it is Ruby Gems, not Rails Gems or RoR Gems !!! This means that gems are written directly in pure and brilliant Ruby , and what is marked as a Rails Gem is just a Ruby Gem, but using or complementing Rails (by the way, who does not know, Rails is also a Ruby Gem).
I use for development IDE from JetBrains - RubyMine (v6.3). Mainly due to convenient autocomplete and integration with Git, SFTP and other goodies. Therefore, I will show all the frauds in this IDE. For fans of Sublime / Vim / Emacs + Terminal, there are tons of instructions for generating gem templates through the console.
So, let's begin.
I am the creator, albeit a damp, but functioning Fobos heme (current v0.0.6). I took all the knowledge from the process of its development.
Step 1: Create the Blank
In RubyMine, it looks like creating a new project, but with a choice of Poject Type : Ruby Gem.
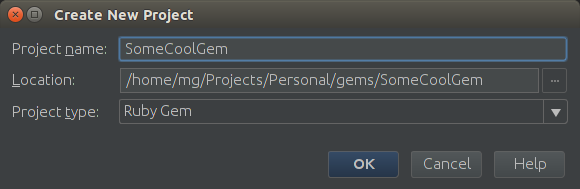
Next will be the choice of the Ruby version. Which, in principle, is clear and requires no explanation.
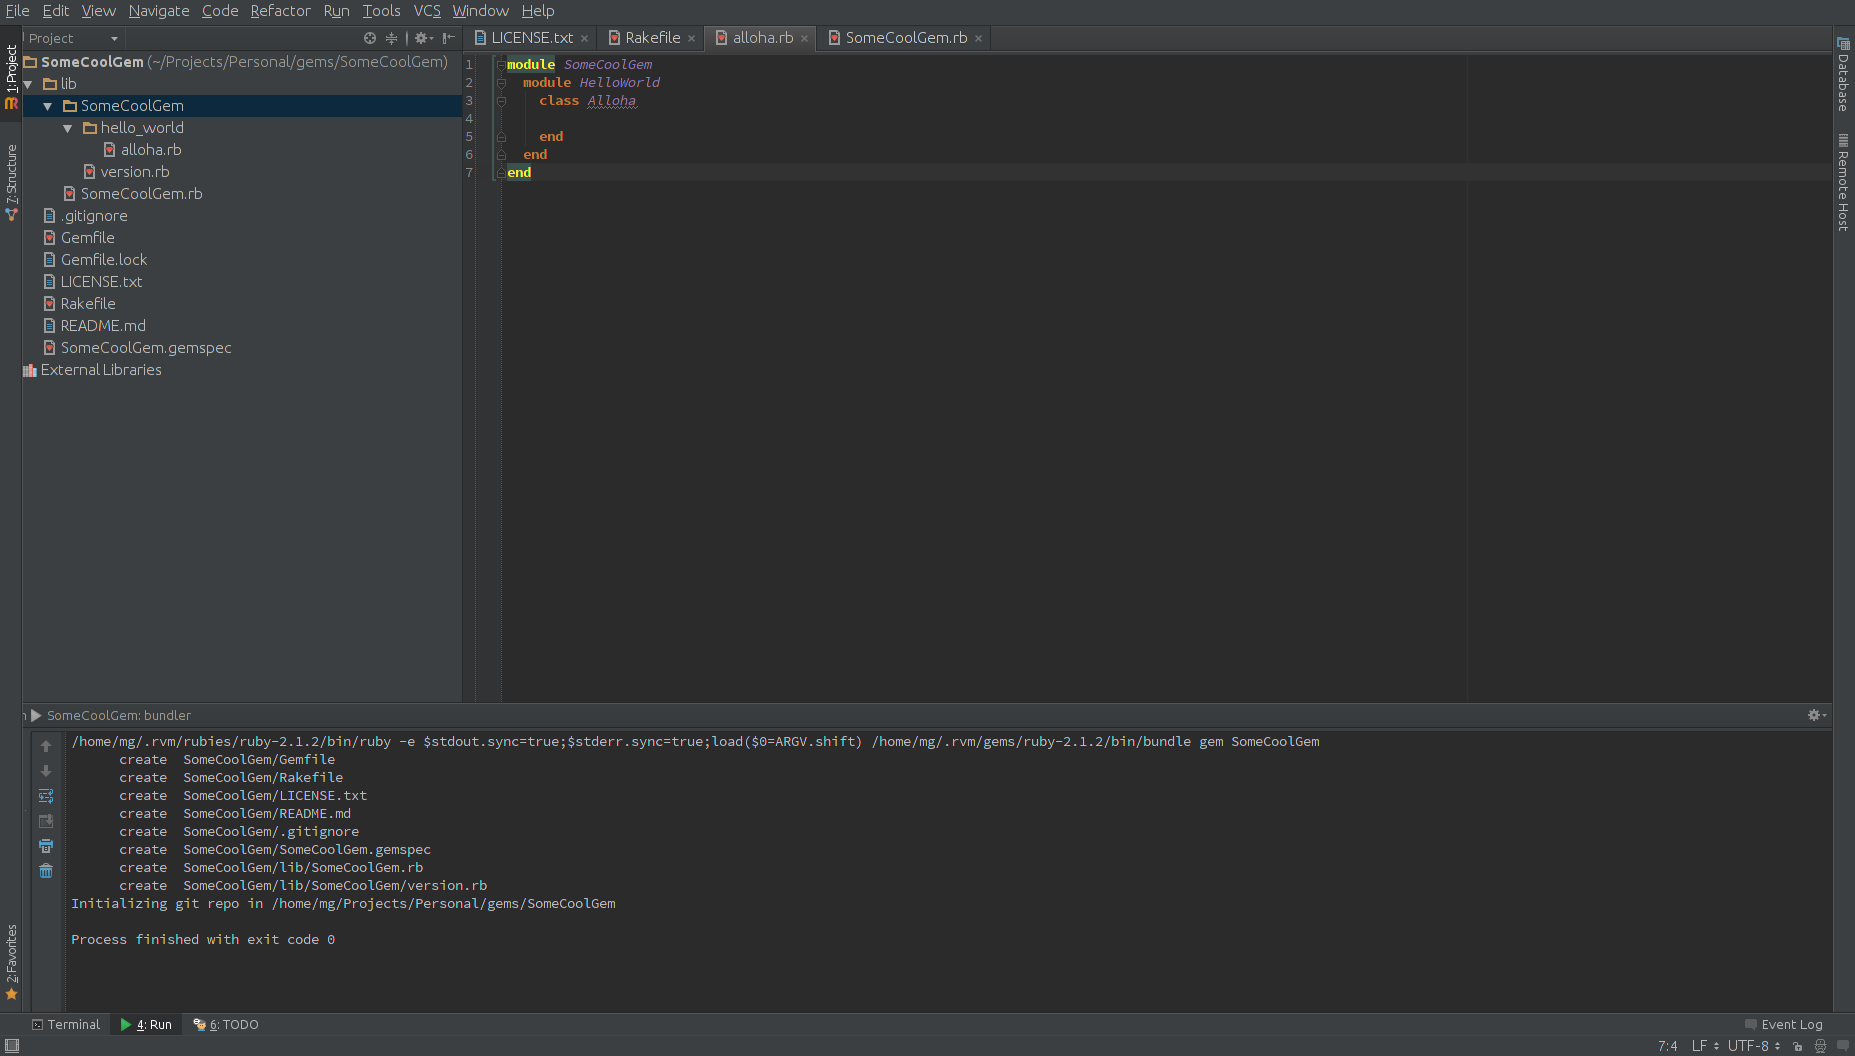
As a result, we get a project with such a structure (I unchecked the boxes for creating bin and test directories).

Consider the whole structure in order.
- lib - directly stores all the code (well, or almost all) of your application;
- .gitignore - stores a list of files and folders that should not fall under version control (database files, compiled assets, logs, etc.);
- Gemfile, Gemfile.lock - a list of other gems that you use to work or when developing an image. But in the case of heme, they are not available, because they are specified in the * .gemspec file;
- LICENSE.txt - stores the usage license. In my case, this is MIT;
- Rakefile - stores Rake task. Details can be easily found on the Internet;
- REAMDE, md - the "face" of your application. Displayed on the GitHub and RubyDoc start pages;
- SomeCoolGem.gemspec is a manifest in which the main information and application dependencies are stored.
Step 2: creating the structure for the application to work
Now we will work directly with the lib directory .
The SomeCoolGem.rb file is the starting file . In theory, all the logic should be stored in it, but, as practice shows, it is much more advisable to create a module and divide the application into classes according to functionality, and then just load them into this file. For those who are familiar with the C ++ / Java / C # languages - this file is somewhat akin to the main () method .
Immediately create the HelloWorld module. And in it we will create the Alloha class.
Since the whole gem, in fact, is a module, the following code will already be in the SomeCoolGem.rb file:
require "SomeCoolGem/version"
module SomeCoolGem
  # Your code goes here...
end
This is how the project structure has changed:
Here is the Alloha class:
module SomeCoolGem
  module HelloWorld
    class Alloha
    end
  end
end
Step 3: do the desired functionality
Add a field, a constructor, and some other methods to the Alloha class to demonstrate:
module SomeCoolGem
  module HelloWorld
    class Alloha
      attr_accessor :name
      def initialize(name)
        @name = name
      end
      def generate_alloha
        "Alloha, #{@name}, from SomeCoolGem!"
      end
      def say_alloha
        puts generate_alloha
      end
    end
  end
end
Step 4: Verify Performance
Since the gem is a module, we can use it also as a module. For verification, I usually use IRB .
Here is an example:
2.1.2 :001 > load 'alloha.rb'
 => true
2.1.2 :002 > object = SomeCoolGem::HelloWorld::Alloha.new('User')
 => #
2.1.2 :003 > object.generate_alloha
 => "Alloha, User, from SomeCoolGem!"
2.1.2 :004 > object.say_alloha
Alloha, User, from SomeCoolGem!
 => nil
2.1.2 :005 >
As you can see, it is not much different from the work of a project usually. Roughly speaking, when using a gem, your application simply plugs in a module with nested modules / classes and you can use them like regular Ruby modules / classes.
Step 5: Connect Everything to the Main File
To do this, we need to slightly modify our start file SomeCoolGem.rb:
require "SomeCoolGem/version"
module SomeCoolGem
  require 'SomeCoolGem/hello_world/alloha'
end
Now, when specifying our gem in the application's Gemfile, we can use it as a regular Ruby module.
Step 6: Build the gem and version it
The version.rb file contains the current version of our gem:
module SomeCoolGem
  VERSION = "0.0.1"
end
Before each release, you will need to change this value.
I must say right away that if you make a new commit, then it is not necessary to change the version. However, if the program logic changes, it is better to make a release.
To build the gem version, you need to run the command:
gem build SomeCoolGem.gemspec
The file SomeCoolGem-0.0.1.gem will appear in the project root.
Congratulations. The first version of the gem is collected!
Step 7: Eat Gem
Detailed and fresh instructions are always here .
The same set of instructions is here .
Everything is well and detailed there.
Step 8: Enlightenment
Now I would like to talk about some of the goodies that many are interested in.
1. You can update the gem profile on RubyGems. There are settings in which you can add a description, links and more.
2. Badges. Badges deserve a separate little topic. But in a nutshell - these are ordinary pictures that you hang in your README file. They display the status of tests passed on various services. For example, checking the purity of the code. More details can be read here .
3. The README file you must create yourself. Try to indicate which versions are compatible or not. If global changes were made or part of the old functionality was closed, do not change the minor version, but older, depending on the global nature of the changes.
4. Describe quality documentation. Often, it depends on her the desire to use your operating time or not.
5. Try to implement functionality with minimal dependencies on other gems and make sure to use new versions in your own work.
That’s probably all. Good luck to all those who begin their journey in this direction. I will be glad to criticism and clarifications.
UPD:
Spend more time with * .gemspec and README files.
To edit the * .gemspec file, you can read the article here
. Also note that all gems that you use in your application must also be specified in the * .gemspec file.