From analog to digital, or do-it-yourself IP camera
I'll start the story with the fact that I had an analog dome camera from the Middle Kingdom. She was bought on sale, cost around 20 bucks, worked a couple of weeks and passed away quietly. No, she did not die at all, but only the video from her became very dark and unsuitable for recording. Therefore, the camera was abandoned to a far corner until better times.
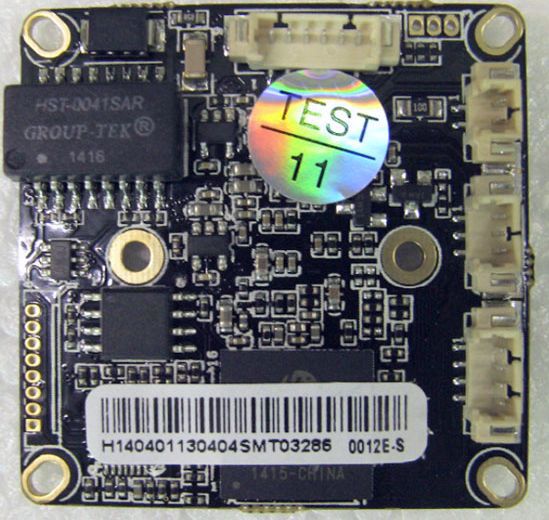
Recently, wandering around the well-known Aliexpress website, I came across a module for an IP camera , which was offered as a do-it-yourself kit, there were still different camera parts in the seller’s store. In terms of size, the module fit the analogue one (38x38), it was decided to order it and try to assemble an IP camera from the failed analogue one. The module cost a ridiculous $ 11, drove to me very quickly, in a couple of weeks.
The module itself looks like this:
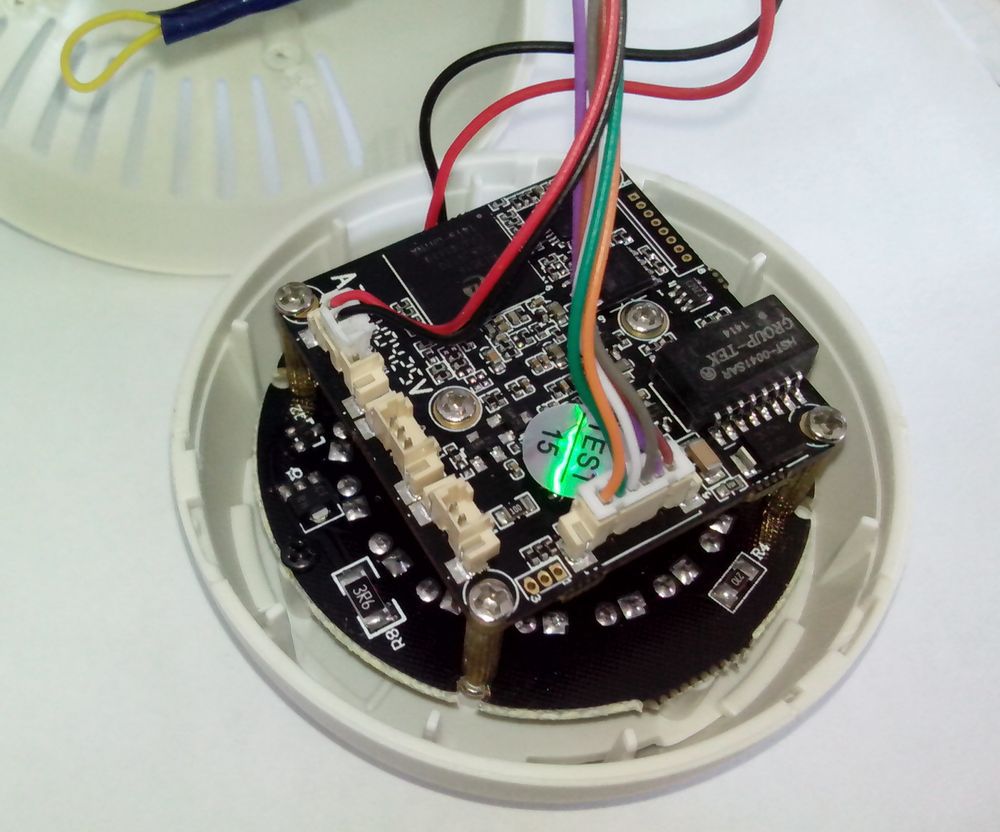
It is time to dissect the old patient.

The operation is simple - disconnect all pads, remove the module from the camera, remove the lens from it and screw it onto a new board.
The one-on-one OSD connector block of the old camera matched the LAN port connector block. Therefore, there is nothing complicated - we cut off the old tail, solder a new one. The pinout is this:
1 brown
RX -b-green 2 lilac RX + green
4 white TX-b-orange
5 green TX + orange
On wires 3 and 6, wires for the link and activity LEDs hang, I do not need them, since the camera will be in the entrance .
But I had to tinker with the power, because the connectors did not match, the old one had a three-pin connector, and the new one had a four-pin one. But it does not matter, we take a file in our hands and gradually remove the excess from the sides, periodically trying on a place.
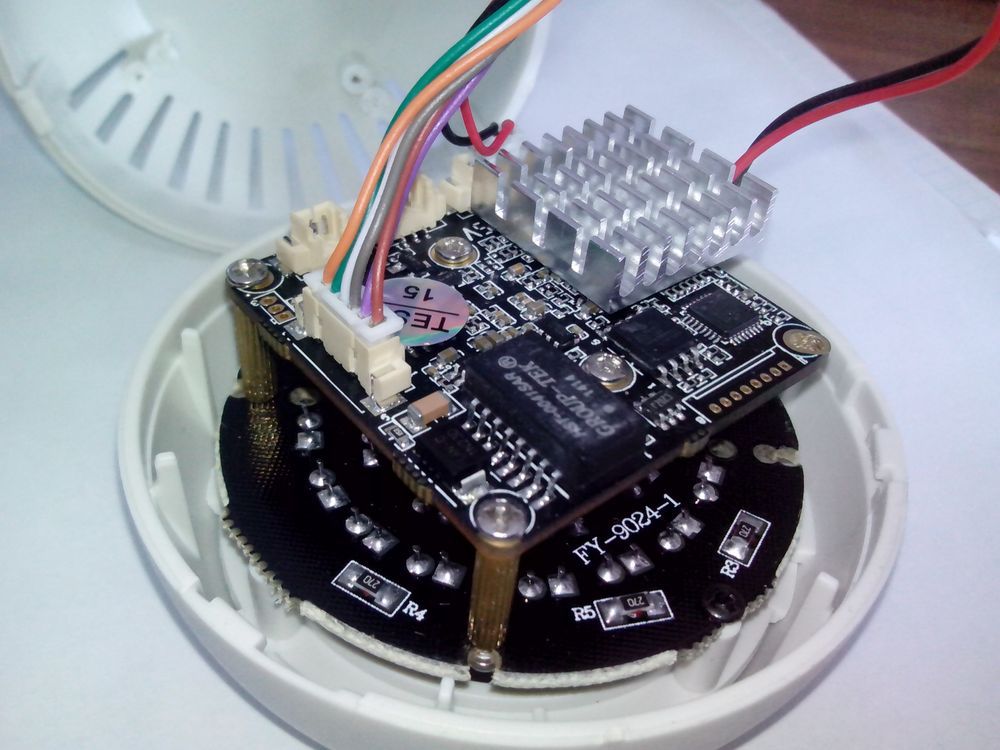
Looking ahead, I’ll say that the chip decently heats up during operation, so it was decided to put a small radiator just in case. On normal cameras with the same chip, radiators are already from the factory.
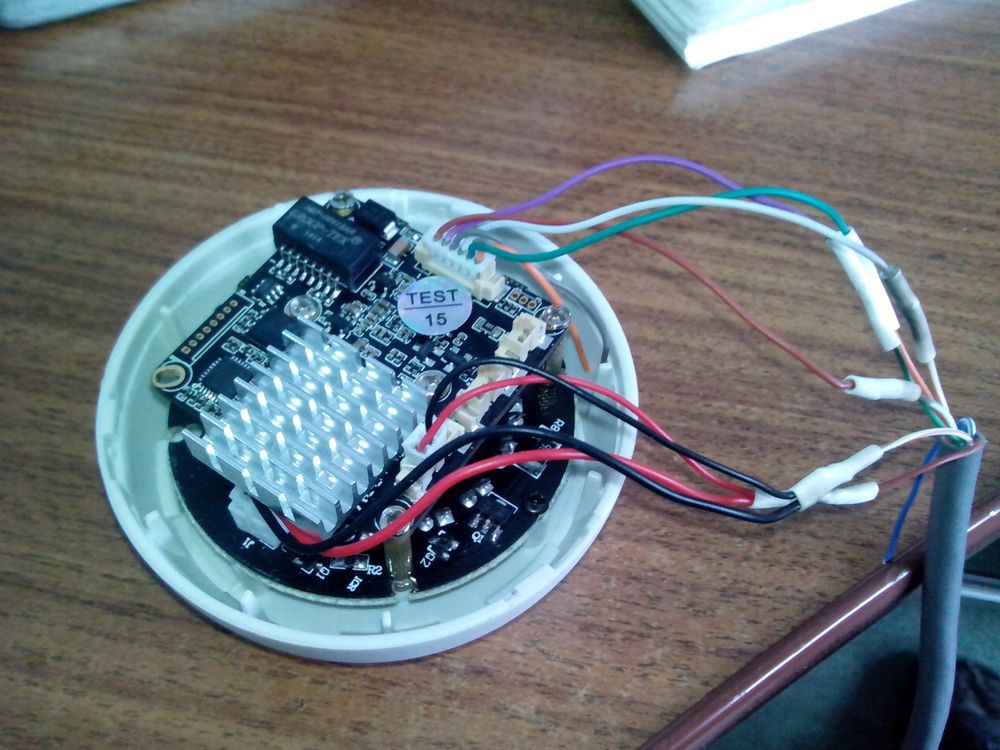
We connect the power of the module and the IR LED together, and send it over the same twisted pair cable on the brown and white-brown wire. After soldering, we all shrink.
So, we collect the camera, connect the camera to the router and supply power. As the power supply, I used the old 12v adapter from D-link.
By default, the camera address is 192.168.1.10 Ping, Hurray !!! - the camera responds to pings, which means our efforts were not in vain!
We try to log in with chrome and get into a minimalistic web interface, admin login, password is empty. Here the first surprise awaits - video on the web is not visible, there are no settings. To get to the camera settings, you need IE and a special ActiveX module, as well as a program for controlling the camera.
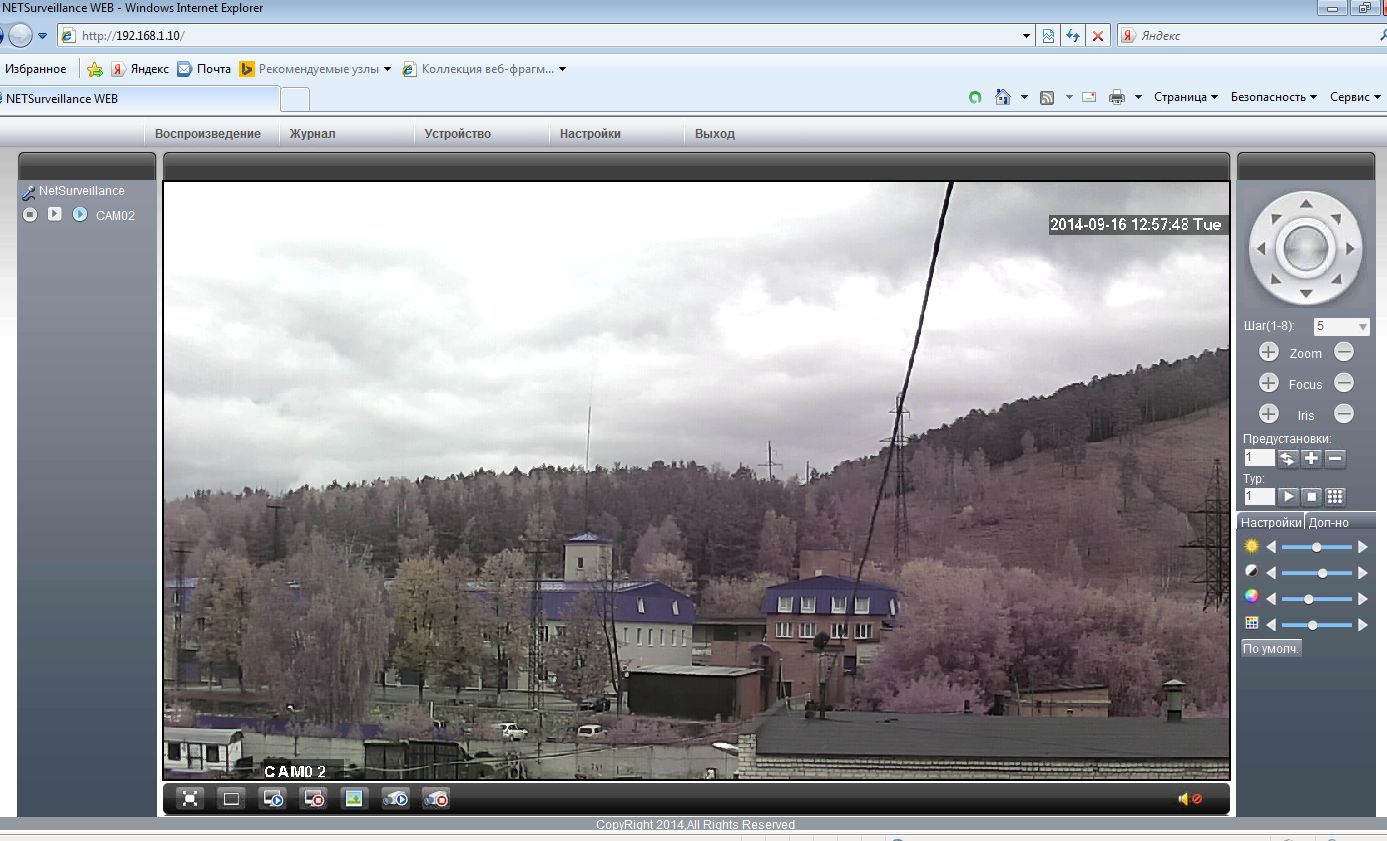
So the camera is working! But there is a fly in the ointment - there is no infrared filter on the matrix, so the colors look unnatural. In principle, for me this does not matter - the camera will stand in the stairwell and color reproduction is not particularly important.
To determine the addresses of rtsp streams, we install a wonderful program - ONVIF Device Managerwith the help of which you can see all the cameras on the local network with onvif support.
The first stream in 720P is located at rtsp: //192.168.1.10/user=admin_password=tlJwpbo6_channel=1_stream=0.sdp? Real_stream The
second small resolution stream is the rtsp Stream: //192.168.1.10/user=admin_password=tlJwpbo6_channel=2_stream 0.sdp? Real_stream
Passwords in the address are built-in to the camera, cannot be changed and are probably made for forgetful people.
This is where my story is finished, the camera is working in the stairwell, I use ivideon as a server (do not consider it for advertising). Waiting for questions from you.
Recently, wandering around the well-known Aliexpress website, I came across a module for an IP camera , which was offered as a do-it-yourself kit, there were still different camera parts in the seller’s store. In terms of size, the module fit the analogue one (38x38), it was decided to order it and try to assemble an IP camera from the failed analogue one. The module cost a ridiculous $ 11, drove to me very quickly, in a couple of weeks.
The module itself looks like this:
TTX module
Hi3518C DSP 1/4 "OV9712 CMOS Sensor
Support Onvif CS / M12 Mount IR Lens
Spec: IPG-60H10 (38) PL-S
System: Embedded RTOS design, dual core 32-bit DSP (Hi3518C), pure hardware compression, watchdog
Sensor : 1/4 "OV9712 CMOS sensor
set of double light switch IR-CUT filter,
support Day and night conversion, IR sense,
support the linkage signal photosensitive resistance,
support CS lens mount;
Color 0.6 Lux at F1.2, B / W 0.08 Lux at F1.2;
Video: H.264 main profile, support dual stream, AVI format
support 0.1M ~ 6Mpbs bit rate adjustable
support 1 ~ 30fps adjust
Resolution: Main stream: 1280 * 720
Sub stream: 704 * 576
Network: 1 * RJ45, 10 / 100M
Power: DC 12V power supply; Power consumption - 3W
It is time to dissect the old patient.
The operation is simple - disconnect all pads, remove the module from the camera, remove the lens from it and screw it onto a new board.
The one-on-one OSD connector block of the old camera matched the LAN port connector block. Therefore, there is nothing complicated - we cut off the old tail, solder a new one. The pinout is this:
1 brown
RX -b-green 2 lilac RX + green
4 white TX-b-orange
5 green TX + orange
On wires 3 and 6, wires for the link and activity LEDs hang, I do not need them, since the camera will be in the entrance .
But I had to tinker with the power, because the connectors did not match, the old one had a three-pin connector, and the new one had a four-pin one. But it does not matter, we take a file in our hands and gradually remove the excess from the sides, periodically trying on a place.
Looking ahead, I’ll say that the chip decently heats up during operation, so it was decided to put a small radiator just in case. On normal cameras with the same chip, radiators are already from the factory.
We connect the power of the module and the IR LED together, and send it over the same twisted pair cable on the brown and white-brown wire. After soldering, we all shrink.
So, we collect the camera, connect the camera to the router and supply power. As the power supply, I used the old 12v adapter from D-link.
By default, the camera address is 192.168.1.10 Ping, Hurray !!! - the camera responds to pings, which means our efforts were not in vain!
We try to log in with chrome and get into a minimalistic web interface, admin login, password is empty. Here the first surprise awaits - video on the web is not visible, there are no settings. To get to the camera settings, you need IE and a special ActiveX module, as well as a program for controlling the camera.
So the camera is working! But there is a fly in the ointment - there is no infrared filter on the matrix, so the colors look unnatural. In principle, for me this does not matter - the camera will stand in the stairwell and color reproduction is not particularly important.
To determine the addresses of rtsp streams, we install a wonderful program - ONVIF Device Managerwith the help of which you can see all the cameras on the local network with onvif support.
The first stream in 720P is located at rtsp: //192.168.1.10/user=admin_password=tlJwpbo6_channel=1_stream=0.sdp? Real_stream The
second small resolution stream is the rtsp Stream: //192.168.1.10/user=admin_password=tlJwpbo6_channel=2_stream 0.sdp? Real_stream
Passwords in the address are built-in to the camera, cannot be changed and are probably made for forgetful people.
This is where my story is finished, the camera is working in the stairwell, I use ivideon as a server (do not consider it for advertising). Waiting for questions from you.