From Dribbble to Android Motion
On the Internet, there are many interesting animated templates with beautiful user interfaces for mobile applications, but there are not many examples with the implementation of these interfaces. Despite the abundance of various built-in frameworks and tools in the Android SDK, it is often not easy for a beginner developer to implement a beautiful user interface, including the presence of a ready-made template.
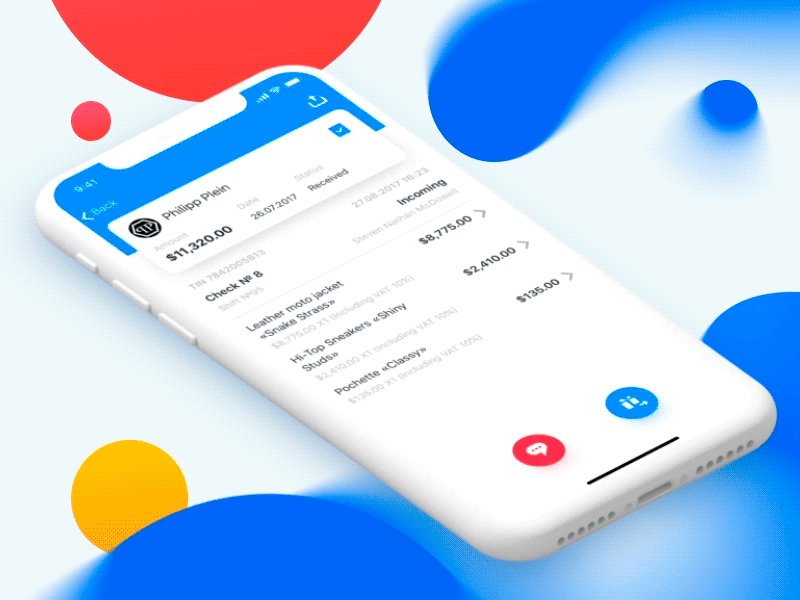
In this article we will try to implement the user interface developed by designer Ivan Parfenov for the studio PLATES.
First, create two fragments:
RecyclerFragmentand DetailsFragment.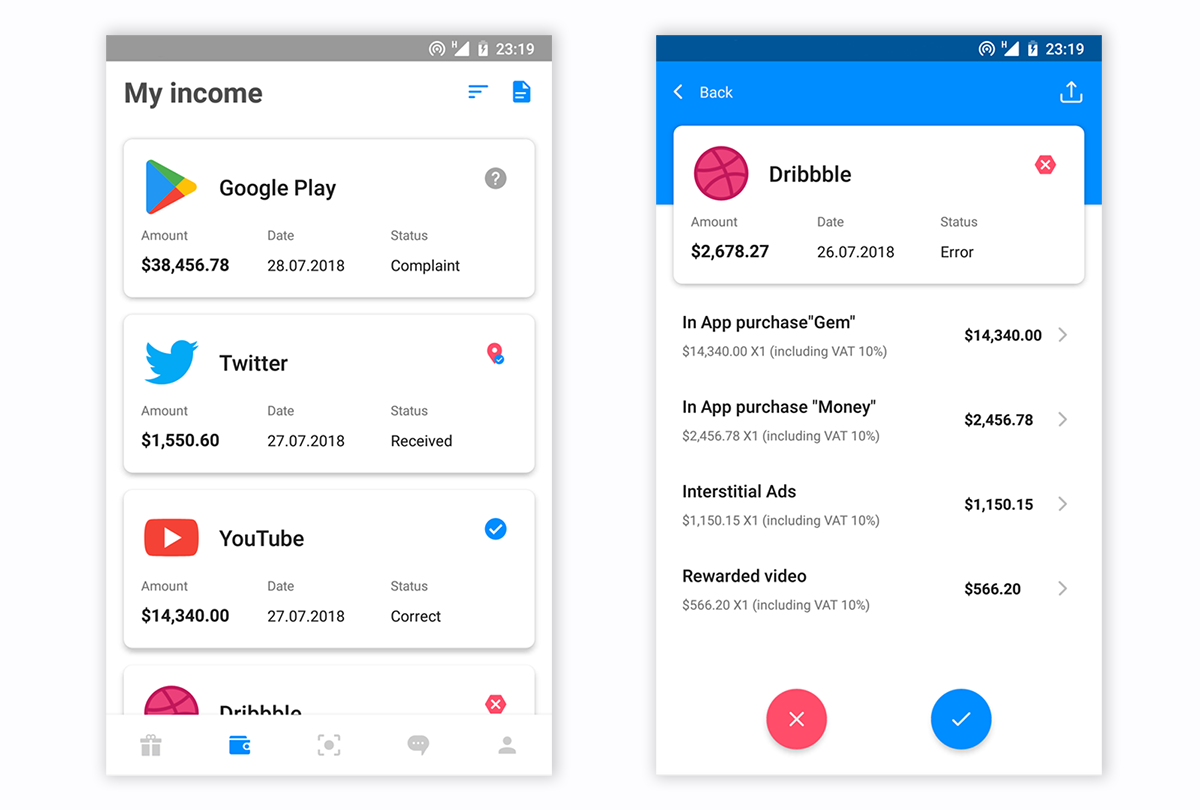
Android Transition framework?
Android Transition framework works well, but there are some nuances. First, we want everything to work for us at least on API 19, and second, we need to animate several user elements at the same time and some of them are present in only one fragment. Therefore, we implement the animation of the transition element (shared element transition) manually using
ViewPropertyAnimator.All in order
- We calculate the final coordinates of the selected element from the list (its coordinates are in
DerailsFragment), the list isRecyclerView; - We save current coordinates (coordinates in
RecyclerFragment) and transfer them toDetailsFragment(this is necessary for reverse animation with API <21); - Create a copy of the selected item from the list;
- Make the selected item invisible (not the copy, but the item itself);
- Add the copy created in p. 3 to the root layout of the parent fragment, in our case it is
RecyclerFragment; - Run the animation of the rest of the interface elements and move the created copy to the final coordinates from step 1;
- When the animation ends, create a transaction and show it
DetailsFragment; - We start animation of elements of the interface in
DetailsFragment.
UI element animation
For the animation,
Toolbarwe will create an extra Viewin RecyclerFragmentand place it behind the screen above. This Viewwill be animated in a Toolbarcontainer in DetailsFragment(blue on gif) using ViewPropertyAnimator.<View
android:id="@+id/details_toolbar_helper"
android:layout_width="wrap_content"
android:layout_height="@dimen/details_toolbar_container_height"
android:background="@color/colorPrimary"
app:layout_constraintTop_toTopOf="parent"/>
// In RecyclerFragment
details_toolbar_helper.translationY = -details_toolbar_helper.height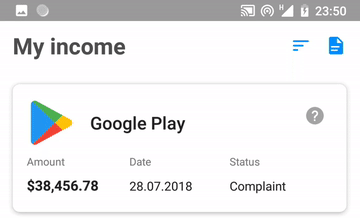
Animation
BottomNavigationViewand RecyclerViewalso implemented using ViewPropertyAnimator, nothing complicated (transparency, change and movement).A little bit from the Transition framework
If in simple terms, the android transition framework, when it starts animating the transition element, creates a copy of the content of this transition element (something like print screen), makes an ImageView from this copy, then adds this image to the additional layer of the root layout (overlay layer) in called fragment and starts the animation.
Us android transition framework does not quite fit, because when the transition element animation starts, all other user interface elements in the fragment are destroyed and we cannot animate them. Those. When we
RecyclerFragmentclick on the list item to open DetailsFragmentand start the transition animation, all other interface elements are deleted RecyclerFragmentwithout animation.To get the desired result, we will manually create a copy of the selected item from the list, add it to the overlay layer and then animate. But a small problem appears here, in the documentation for the method
ViewGroupOverlay add(view: View)it is written:If you’re on the wall, you’ll have to add it to the overlay.
But for
RecyclerViewthis does not work, the selected element is not removed from RecyclerViewafter it is added to the overlay layer. This is what happens when we add the selected item to the overlay layer:

And we need to:
Therefore, we will not use the overlay layer, but we will immediately add a copy to the root layout. Create a copy of the content of the selected item, add it to
ImageViewand set the coordinates:fun View.copyViewImage(): View {
val copy = ImageView(context)
val bitmap = drawToBitmap()
copy.setImageBitmap(bitmap)
// В pre-Lollipop при создании копии, тень от card view тоже копируется, и нам не нужна дополнительная card viewreturn (if (Build.VERSION.SDK_INT >= Build.VERSION_CODES.LOLLIPOP) {
CardView(context).apply {
cardElevation = resources.getDimension(R.dimen.card_elevation)
radius = resources.getDimension(R.dimen.card_corner_radius)
addView(copy)
}
} else {
copy
}).apply {
layoutParams = this@copyViewImage.layoutParams
layoutParams.height = this@copyViewImage.height
layoutParams.width = this@copyViewImage.width
x = this@copyViewImage.x
y = this@copyViewImage.y
}
}Why create a copy if you can just animate an item directly selected from the list?
Because he himself
RecyclerViewwill also be animated and, accordingly, all of its elements, including the selected one, which we want to animate separately. After that, add a copy to the root markup and start the animation.
overridefunonClick(view: View) {
    val fragmentTransaction = initFragmentTransaction(view)
    val copy = view.createCopyView()
    root.addView(copy)
    view.visibility = View.INVISIBLE
    startAnimation(copy, fragmentTransaction)
}
And here's what we got:
Finish line
Animation on gif above occurs in
RecyclerFragment, and after its completion we need to show DetailsFragment..withEndAction {
fragmentTransaction?.commitAllowingStateLoss()
}Why do we use
commitAllowingStateLoss? If it is not used and at the time of the animation will be, for example, a change in the orientation of the screen, we will get
IllegalStateExсeption. Here it is well written about it. Next, run the animation of the necessary user interface elements in
DetailsFragment.Run it all together
Not exactly as the original, but it looks like.
Examples
Source code is available on GitHub , also the article is available in English .
Thanks for attention!