Overview of the home robot ver 0.3
Overview of a home-made robot based on arduino, bluetooth and android.
Inspired by articles on the hub, I also decided to make a robot. At first, all this seemed terribly complicated and little understood, but as the topic was studied, it turned out that making a robot based on modern technologies was quite simple. The knowledge of school physics in electrical engineering and C ++ came in handy, although you really need to know the minimum and the entry threshold is low.
Initially, there was a choice either to assemble a robot for spare parts or to buy a ready-made kit (kit, designer). I chose for a long time, but after thinking that there was no experience and knowledge in robotics, I settled on “Bluetooth Controlled Robot Smart Car Kits For Arduino”.
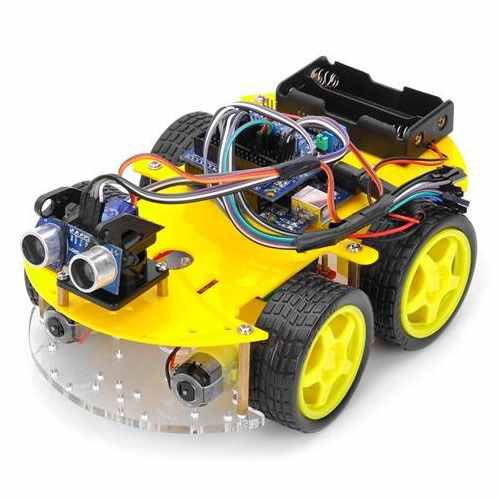
It has everything you need to assemble and program the robot, without working with a soldering iron. The only minus is no instruction. Although then a poor instruction was found on the Internet in English and Chinese. There is a suspicion that this designer kit is produced for Chinese schoolchildren or students.
What came with the designer:
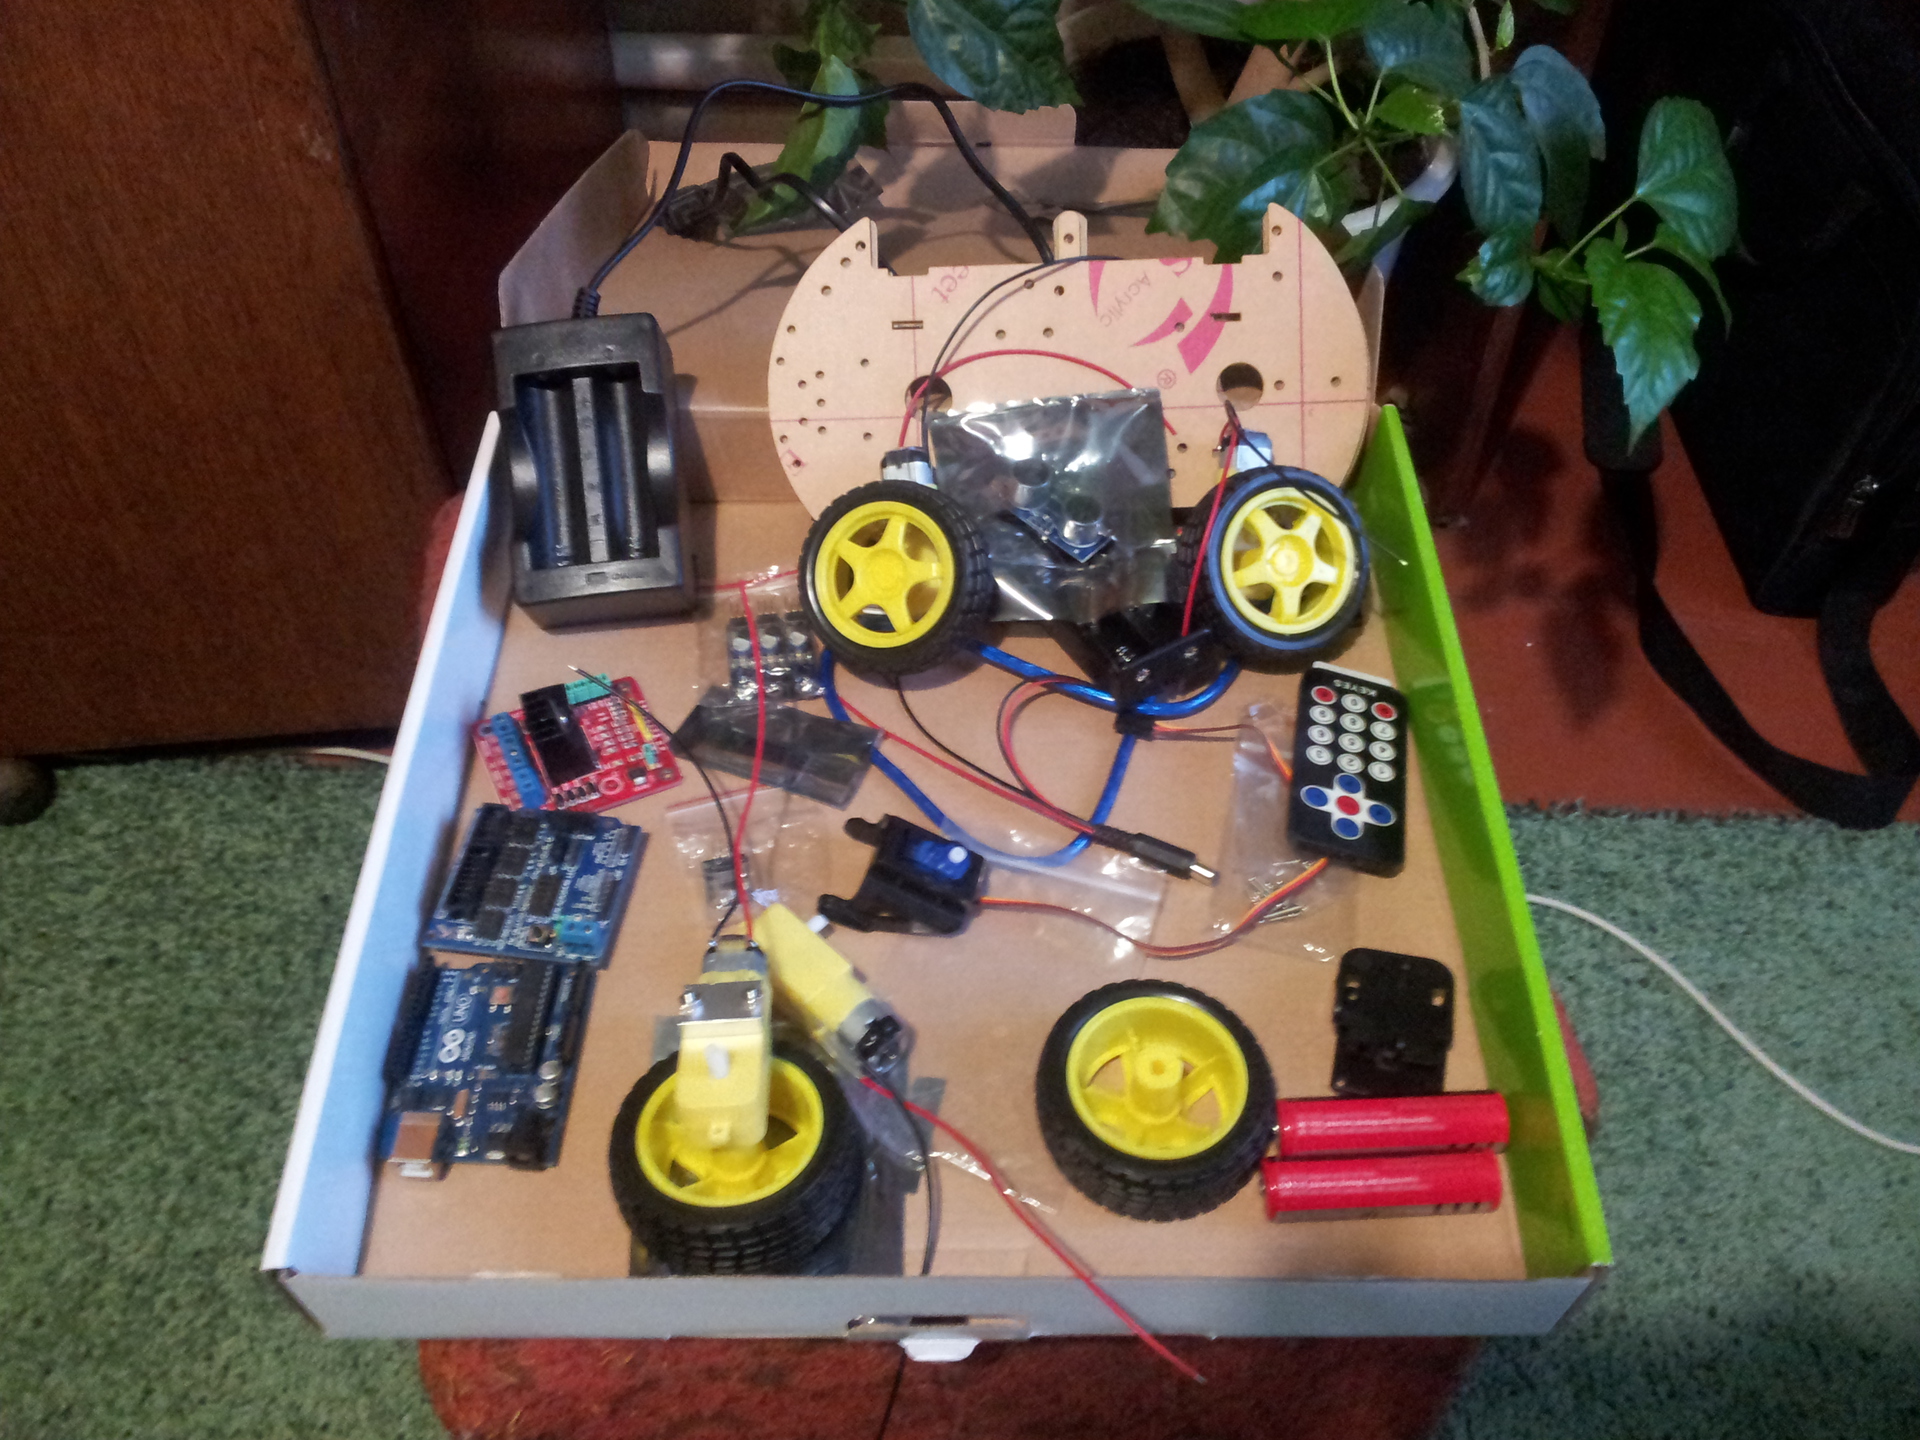
4 x motor with gear;
4 x wheels (the wheel mounts are not made in quality and eventually got loose and started to get off, I had to fasten it with screws);
4 x Mounting motors (aluminum bars);
2 x Plexiglas plates (100 x 213 x 5mm);
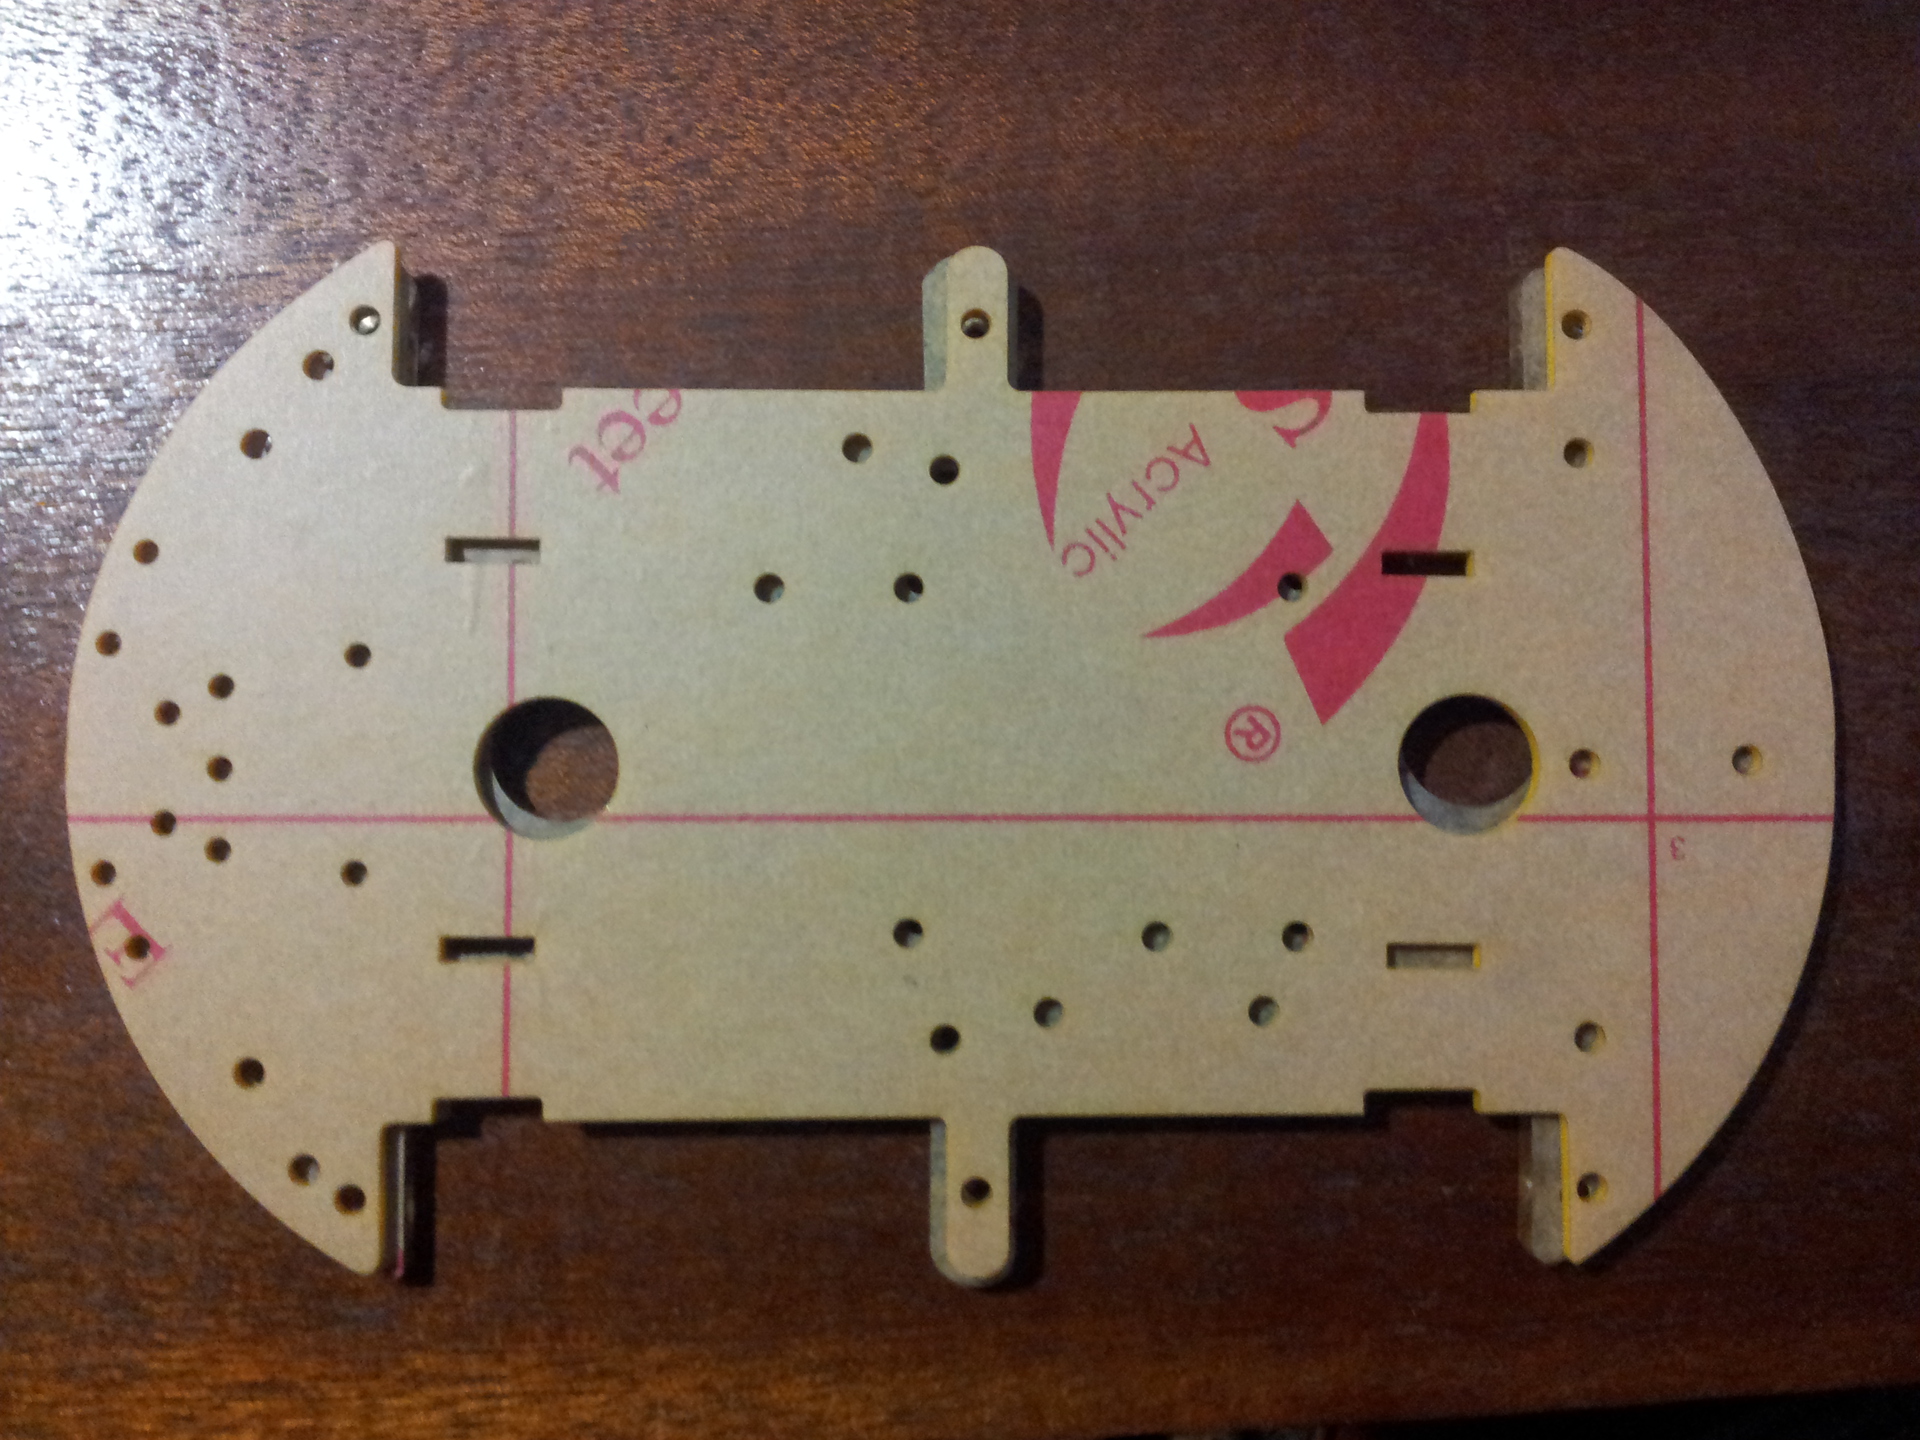
On the plates, I must say separately, when I started collecting it turned out that one plate was cut crookedly with an offset and did not fit the second. Apparently the Chinese who cut her out was drunk. Therefore, I myself had to cut a new one out of plywood.
1 x L298N motor driver;
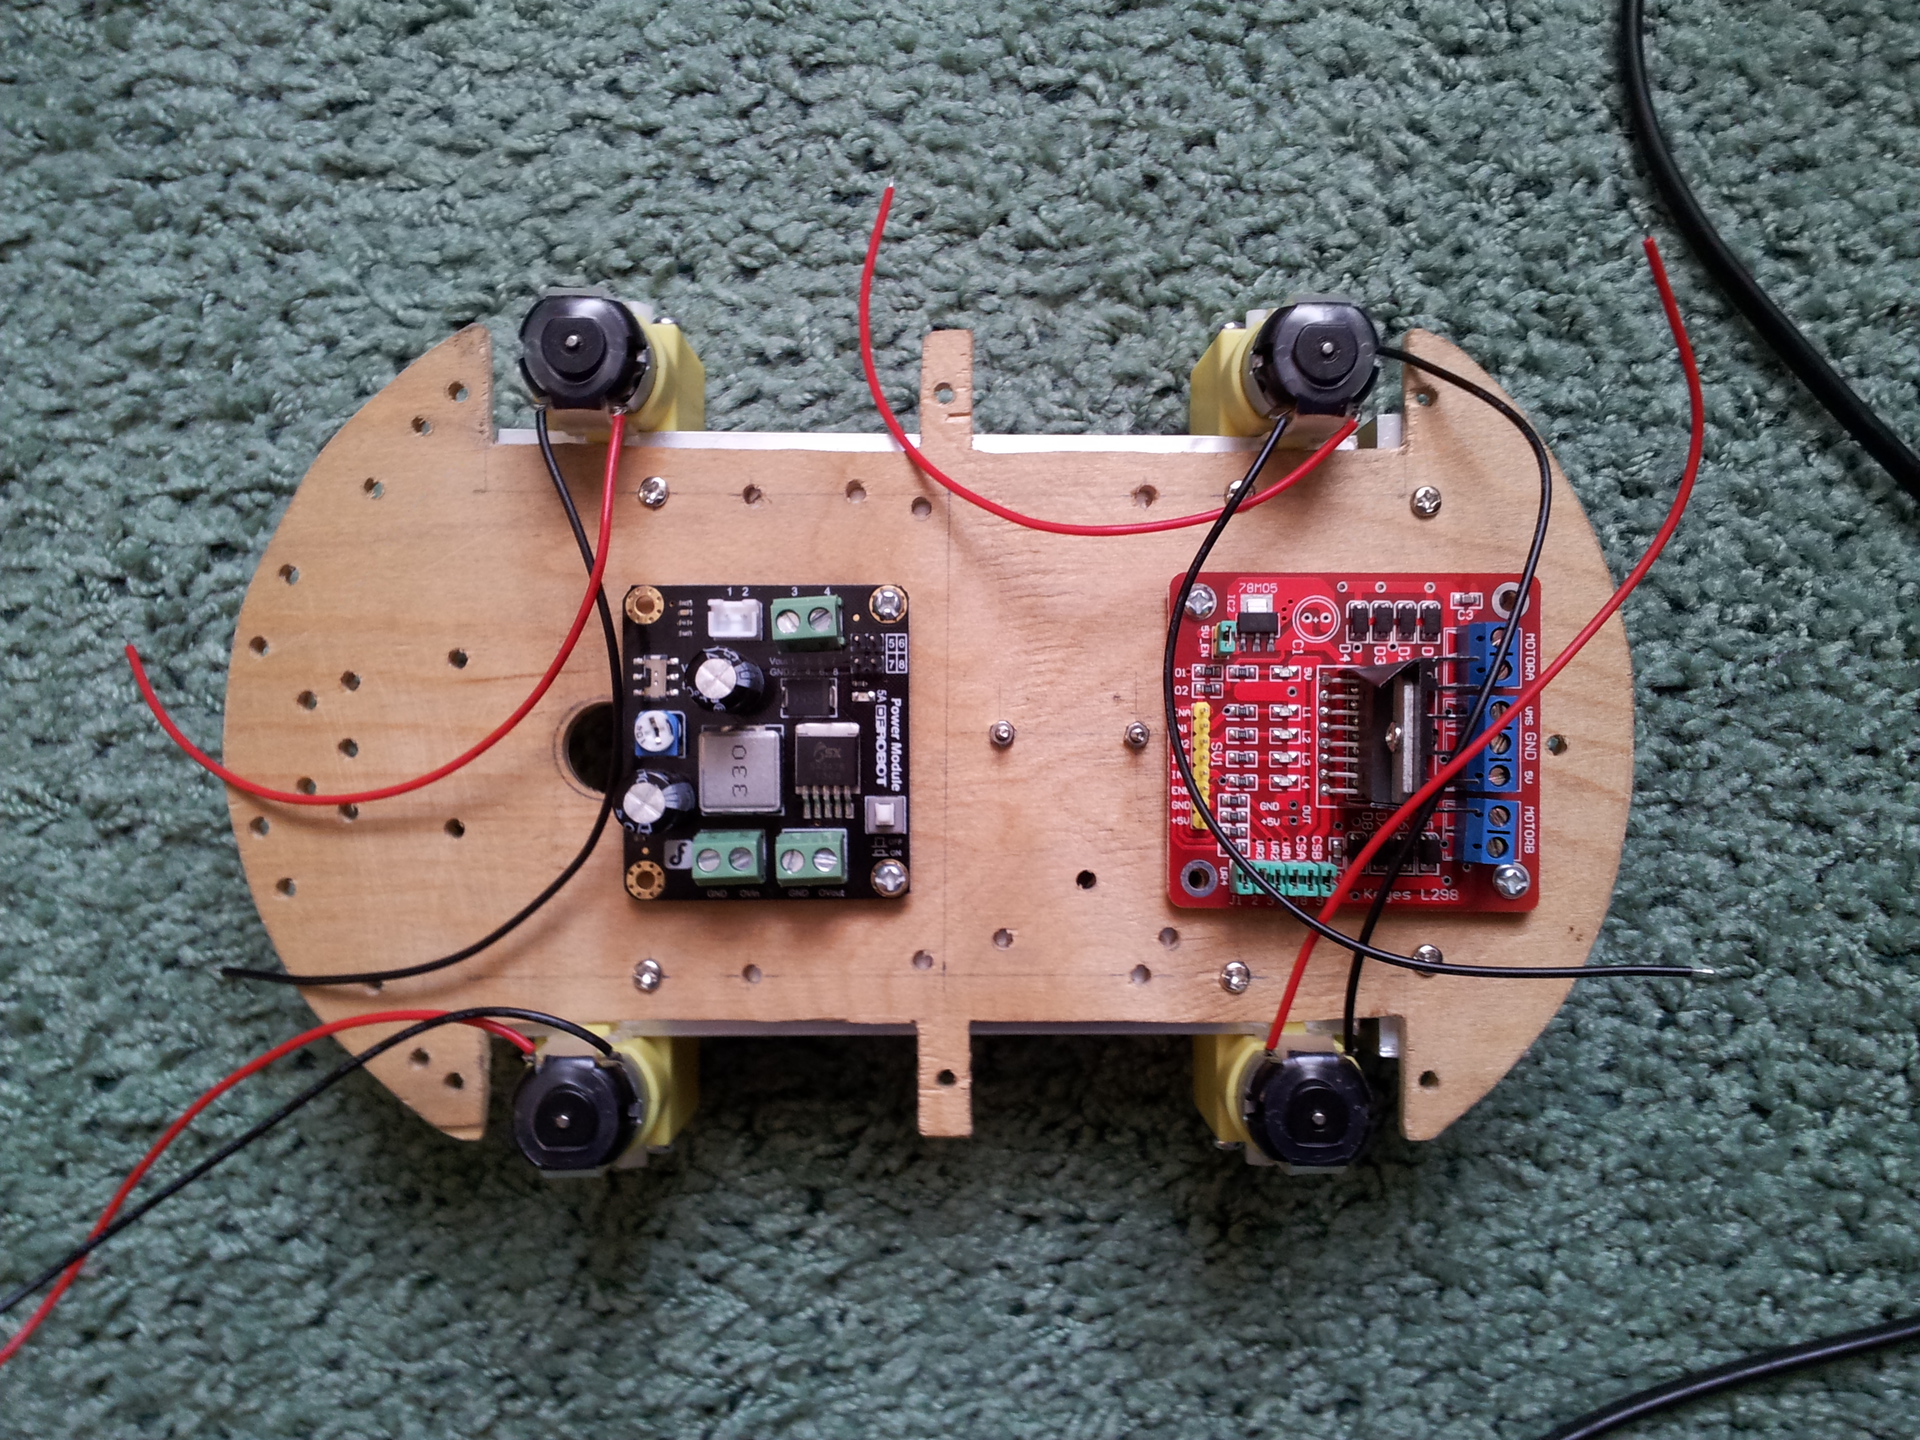
in the photo he is on the right
1 x Arduino UNO;
1 x Sensor board V5 - second floor on arduino for connecting peripherals of sensors, servos without soldering and breadboard;
1 x holder for batteries;
1 x Micro Serva;
1 x Ultrasonic - Ultrasonic Rangefinder;
3 x line sensor;
1 x Infrared receiver;
1 x control panel;
2 x 18650 batteries (in the set were low-quality batteries almost immediately one sub-measure);
1 x 18650 battery charger;
1 x Bluetooth module;
1 x USB cable 50cm;
30 x wires;
15 x Pillars (6 x 35mm / 3 x 20mm / 6 x 6mm);
All necessary screws and nuts.
According to scattered information on the Internet, it was possible to assemble and program it. The designer uses the L298N motor driver, which allows to feed two channels through 2A and to regulate the speed of the PWM motors with a signal. The first program actually did just control the engines. Then I managed to start the program with an ultrasonic rangefinder, everything is quite simple here. But with the control from an infrared remote control I had to suffer. In general, this control is unstable, it works only in line of sight at a certain angle and does not always work, so I immediately refused it. I did not immediately understand the bluetooth control, but everything is pretty simple there. Communication is organized exactly the same through the serial port as well as via the usb cable.
Then there were a lot of experiments and exploring the capabilities of the designer and arduino. Summarizing, I can say that everything works quite simply, you can program as you like, and a robot traveling around the room causes a storm of emotions and satisfaction. Anyway, this is a terribly interesting hobby!
Then we ordered serves with mounts for the manipulator, infrared sharp distance sensors, a lowering voltage regulator and encoders. Gradually, the robot turned into what you can see in the video and photo.

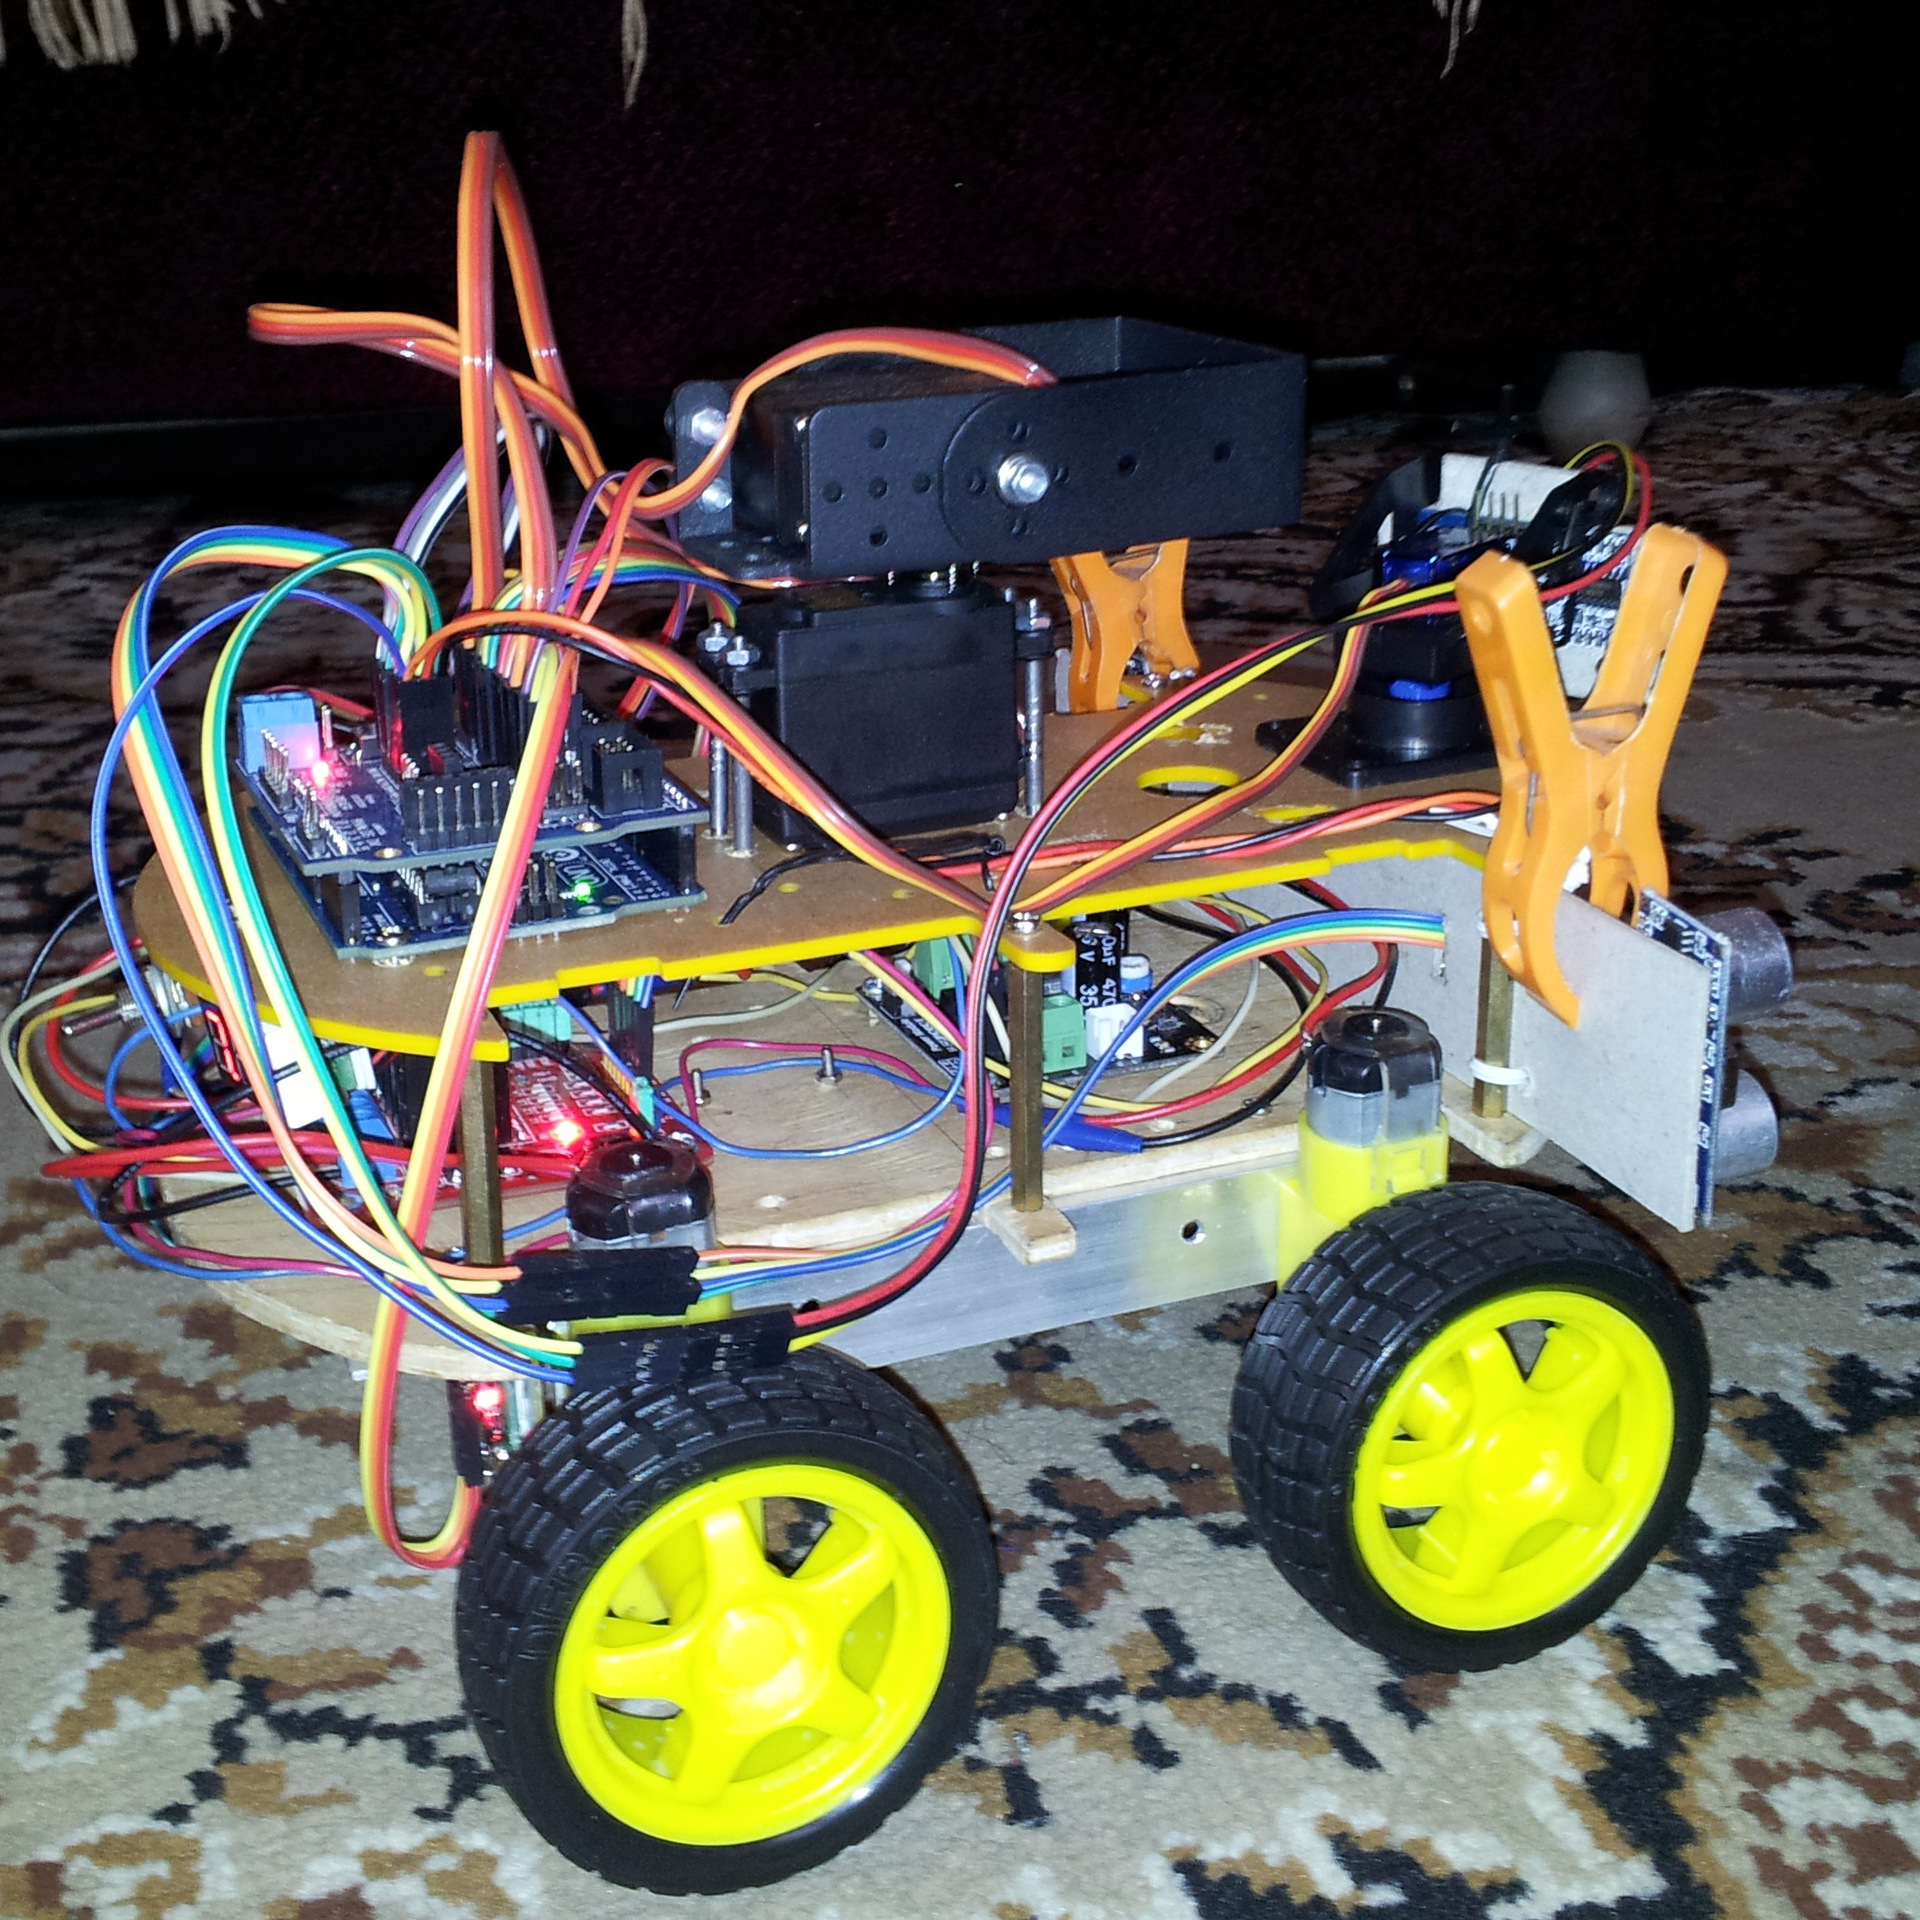
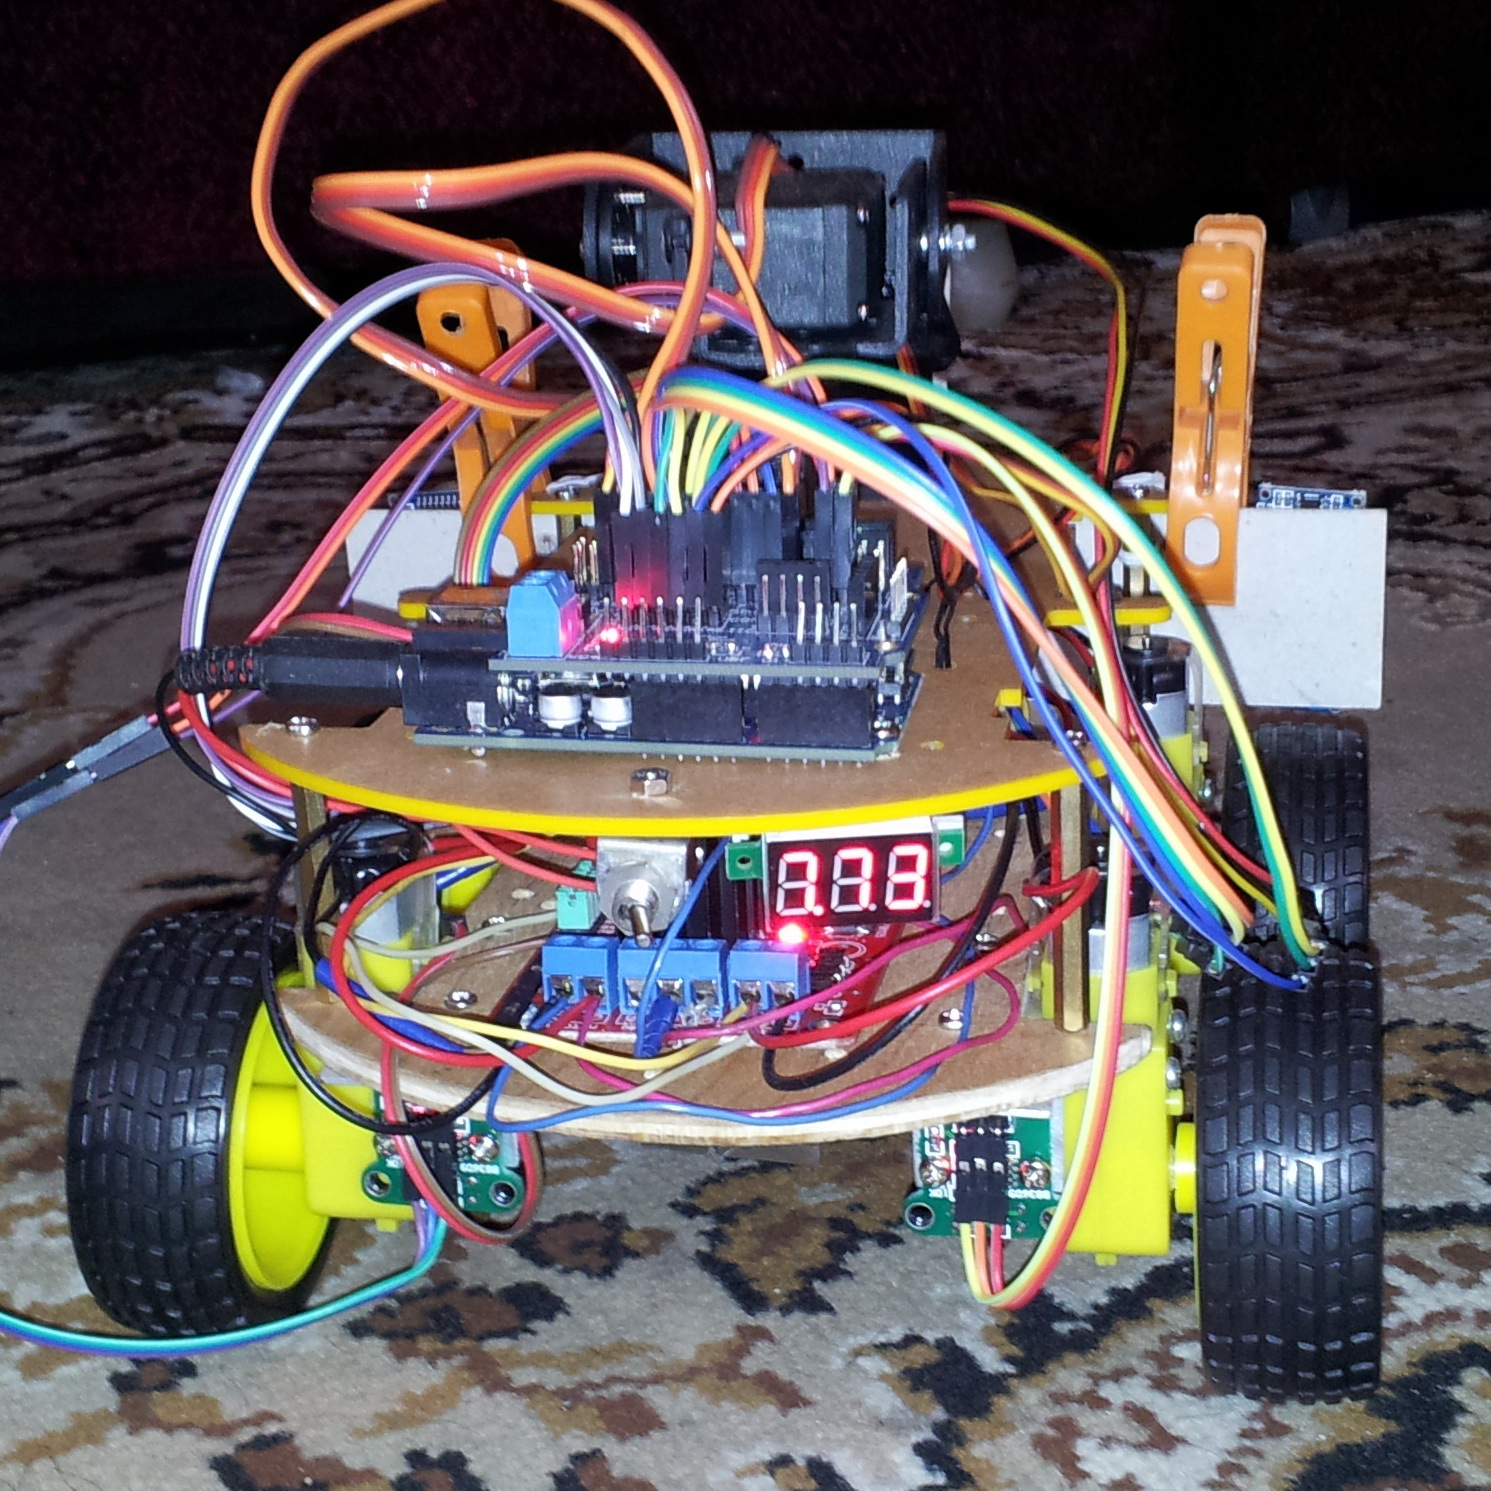

At the moment, the robot travels under control from a phone or in automatic mode on rangefinders. I understand quietly with android programming, since I plan to transfer all my brain activity there, so to speak.
There are also a number of problems / tasks that have not yet been resolved. In particular, ultrasonic and infrared rangefinders were not enough for fully autonomous movement; the robot still sometimes runs into obstacles. There are ideas how to solve this problem, but it will require a cardinal alteration of the robot, so I'm thinking about it for now.
I plan to make an open source project on robot design and software, to make lessons on how to assemble and program the robot from scratch.
I will keep a regular video blog on improving the robot and write articles here, so support me and write in the comments on which topic to write the next article, shoot a video.
PS: I will publish the drawings, sizes, sources later in the group https://vk.com/club23358759
