 March 28, 2014 at 15:07
Up! Plus 2. Overview: unpacking, calibration, analysis and first printing
The first rule of working with Up! Plus 2: warm up the platform.
Second rule: check if you warmed up the platform.
Third rule: check again whether you warmed up the platform. The
Chinese company PP3DP closed the release of printers of the first version ( Overview on the Habré of the first model: Up! Plus) and now it’s real buy only UP! Plus 2.
In this topic I’ll try to highlight the differences from the first version (why it used to cost 70,000 and now 83,000?) I
’ll look under the hood , say a few words about Surface mode , print a shield from World of Warcraft (does it print in 1 click ?) and I will give a couple of recommendations for using a 3d printer.
(35 photos under the cut)
Finalization number 1: soft mode of lowering the platform - now you do not have to bounce from the clanging sound of a fallen platform.
Feature: the design feature of the extruder with a shortened feed tube allows you to easily and easily change the thread of plastic during printing, that is, print in different colors. (together with the “pause” mode, although if dexterity is sufficiently pumped, it is possible without it)
Comparison of the platform size:
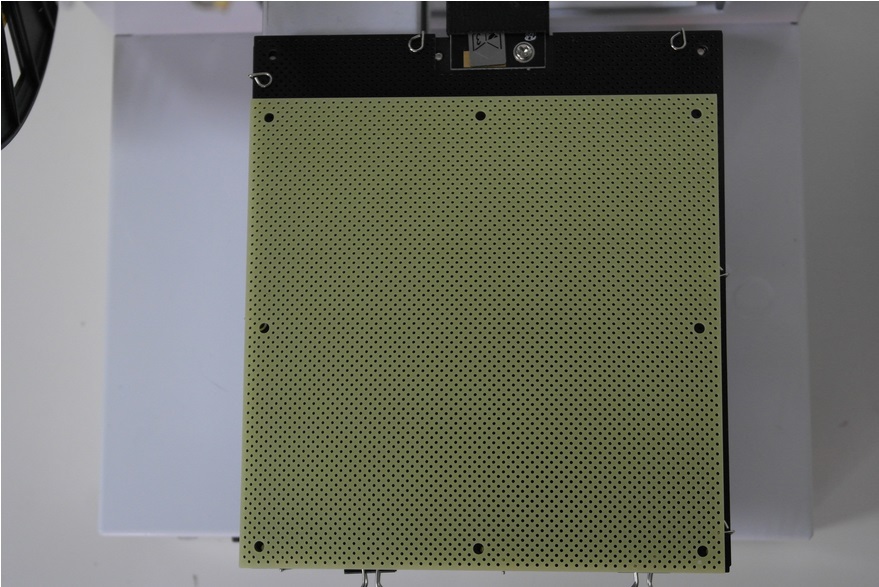
Beige - from Up! plus 1 black - Up! plus 2
Includes 3 platforms. Teflon-coated. Brushed with acetone. (Some stock up on a special needle ... for meditation).
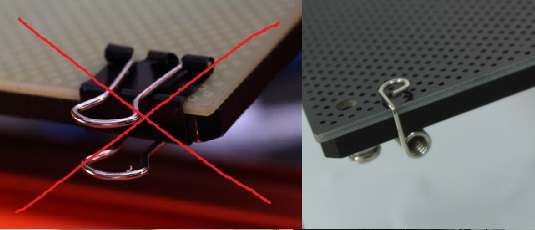
Now you do not need to buy a platform fastener in an office supply store - convenient clamps are included in the kit:
Nozzle for platform calibration: Auto Level
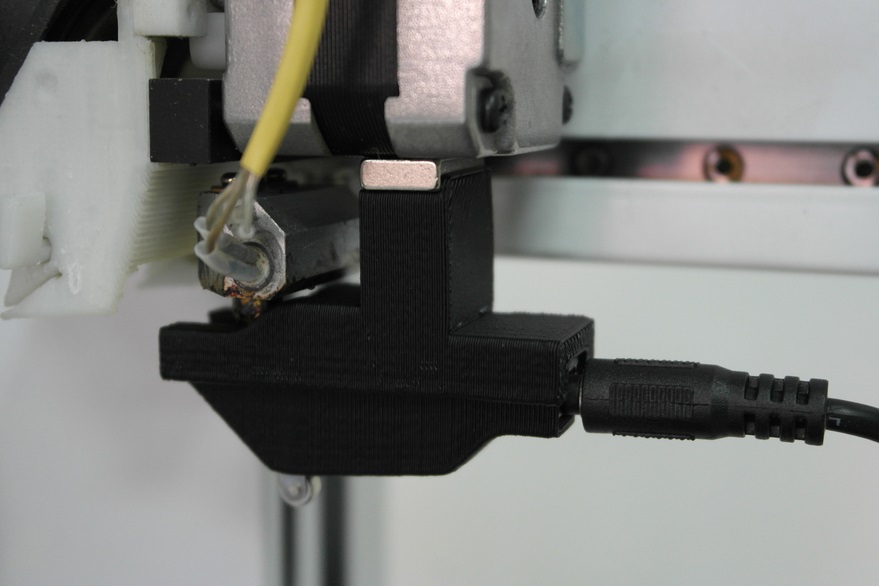
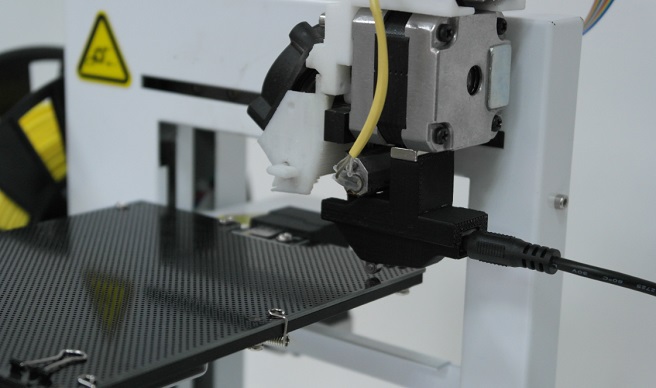
platform auto- calibration - a sensor is hung on the head with a magnet and it probes the distance by poking at 9 points.
Platform height sensor:
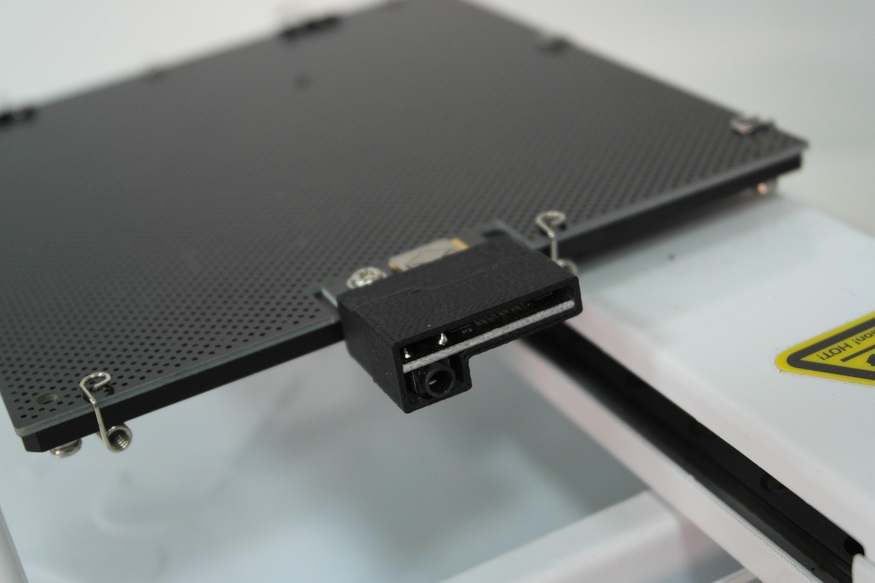
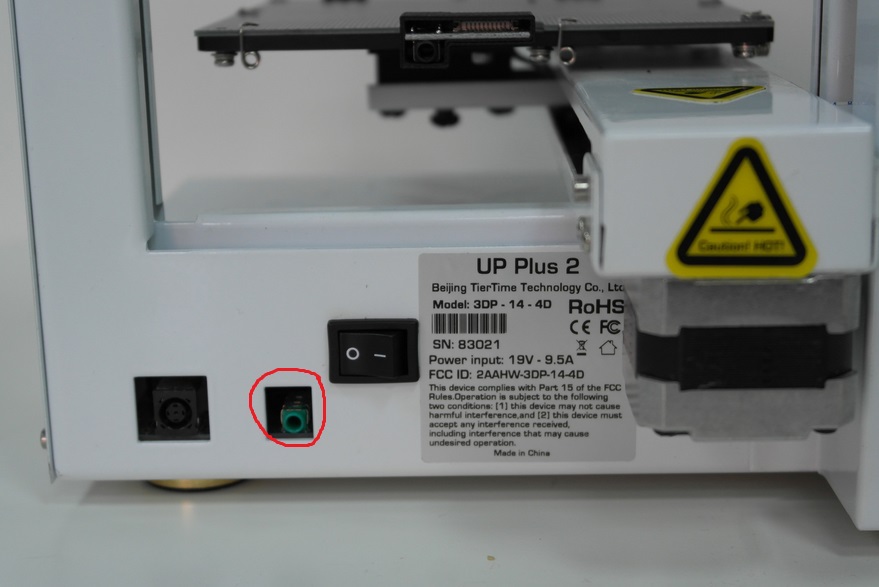
If you previously had to adjust the height of the nozzle, then this was done manually. Now it’s enough to connect the sensor on the platform with a cable to the connector on the back of the printer and run the Auto Nozzle High program.
New connector for calibration sensors (color / green-blue):
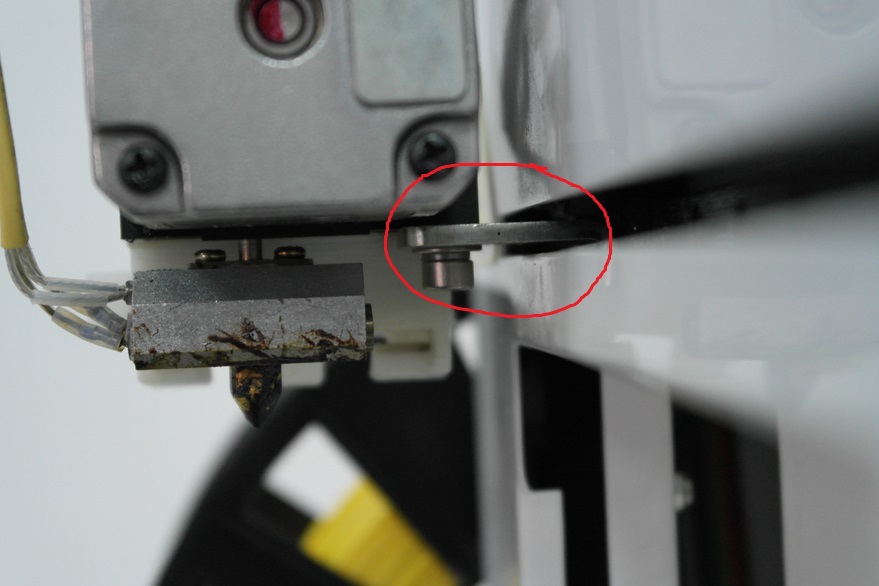
Fixed that there were a lot of complaints - the head bracket (now you won’t bend or loosen it !):
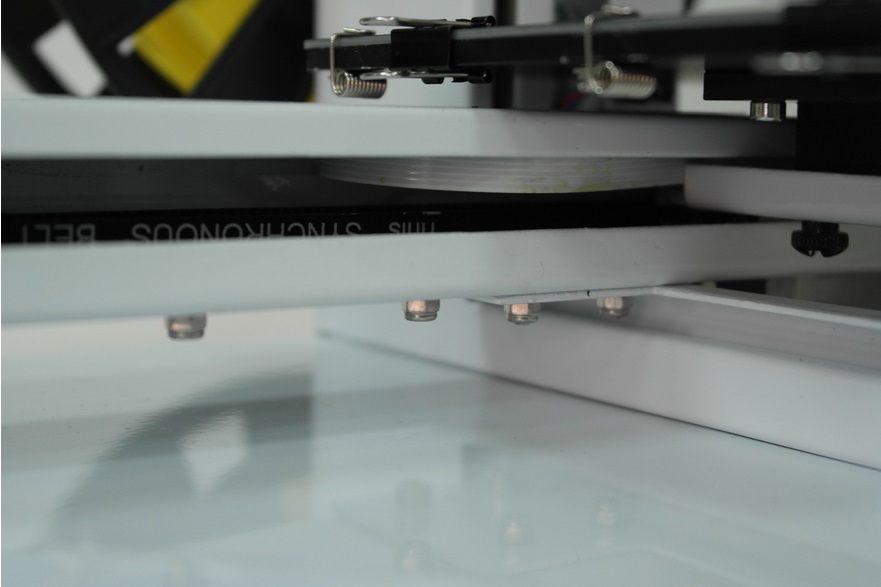
Platform heaters used to grind, now the issue has been resolved - the cable is flat: The
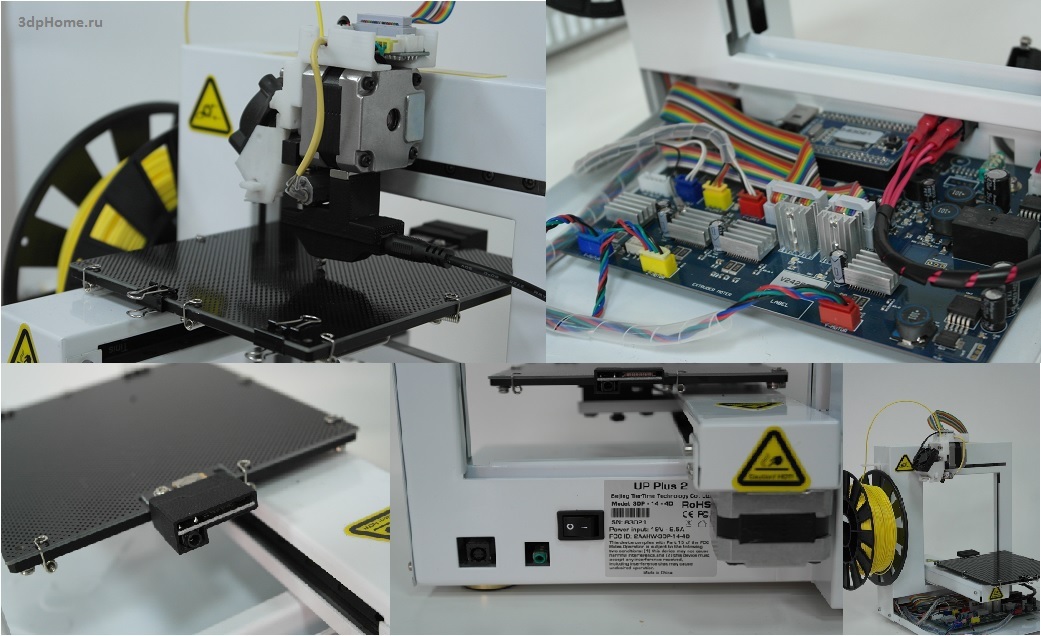
board has been finalized: The
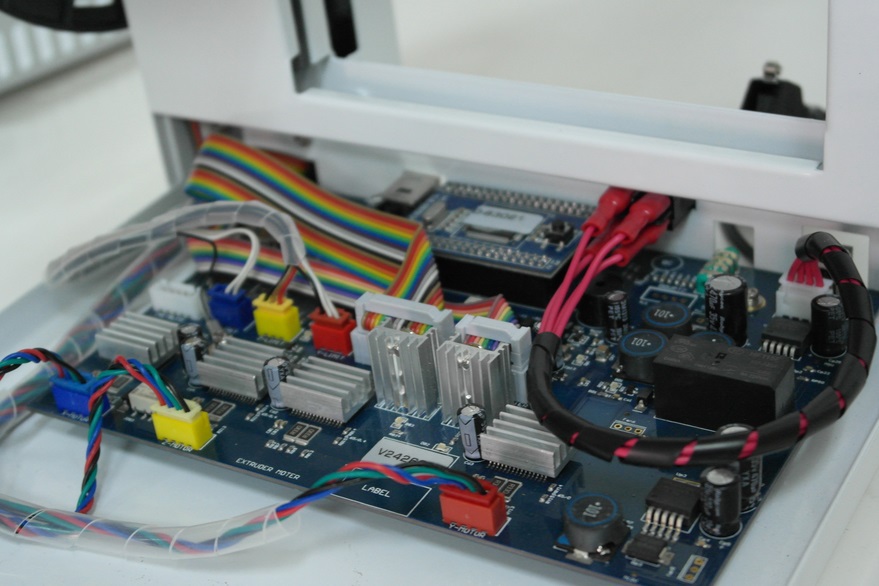
board is a new textolite. New baiting quality and track optimization. Used colorful molecules (blue to blue, yellow to yellow). All wires are braided.
New 8000 processor, softer / smoother movements programmed.
Photo of the old board for comparison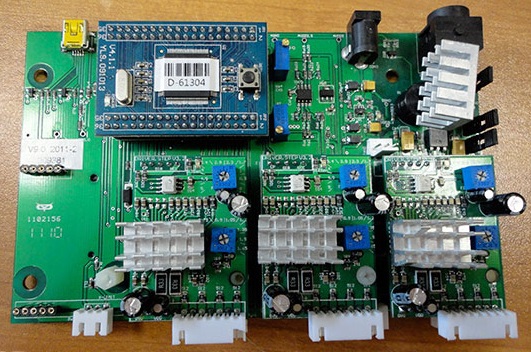
Grounding (considering the “stability” of the Russian

2 pin print head - you can put either an additional fan or backlight:
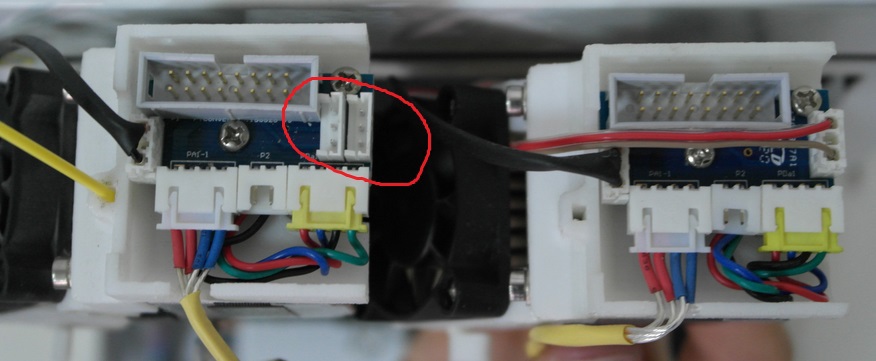
(up! Plus 2 on the left, Up! Plus 1 on the right)
Power supply ( 19.5V, 9.5A) has become a little smaller, but still huge:
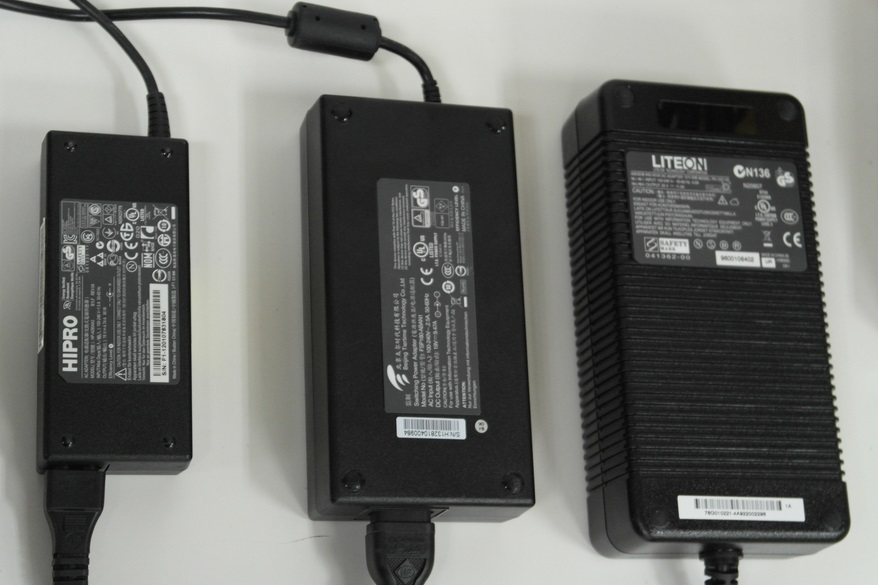
On the left is the power supply for a regular laptop, on the right - Up! Plus 1, center up! Plus 2
Surface Mode
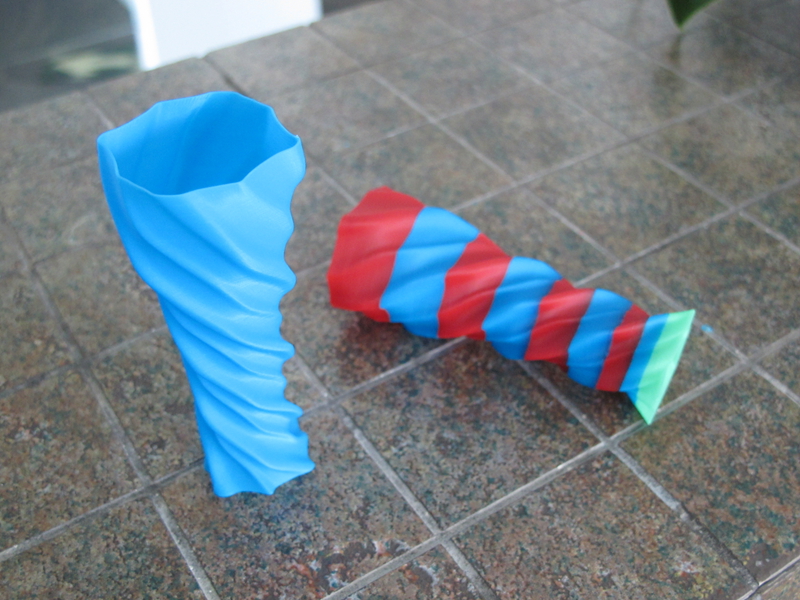
(picture from the manufacturer’s website)
Surface mode prints only the outer wall of the model, ignoring the inner fill. for example, if it is a closed cylinder model, a “tube” with a wall thickness equal to the resolution of the layer will be printed. For example 150 with a thickness of 150 and so on. In principle, with a cunning arrangement, you can print closed balls. That is, models where the overlap of the layers is less than 90 degrees not including. The trick is that this mode allows you to best see the general shape of the future model and print it in full size, compare with the rest, much faster than with the usual print settings. Of course, the model will turn out to be more fragile. Plus, the quality of the laying of the layers will in some cases be even higher than that declared by the manufacturer. I saw samples of printed parts, where the layer thickness reaches 100 microns instead of the stated 150.
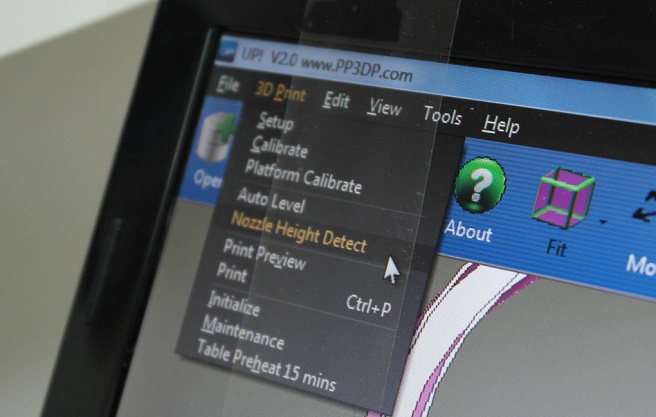
Auto calibration and automatic level detection
Selection in the auto-calibration menu:
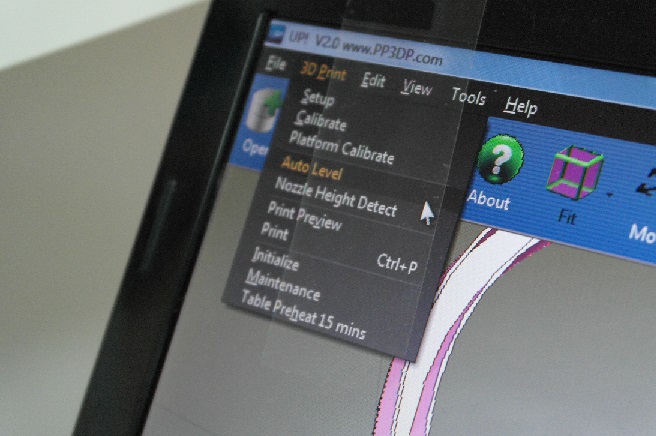
The nozzle on the print head touches the platform at 9 points:
The measurement data is entered into the program
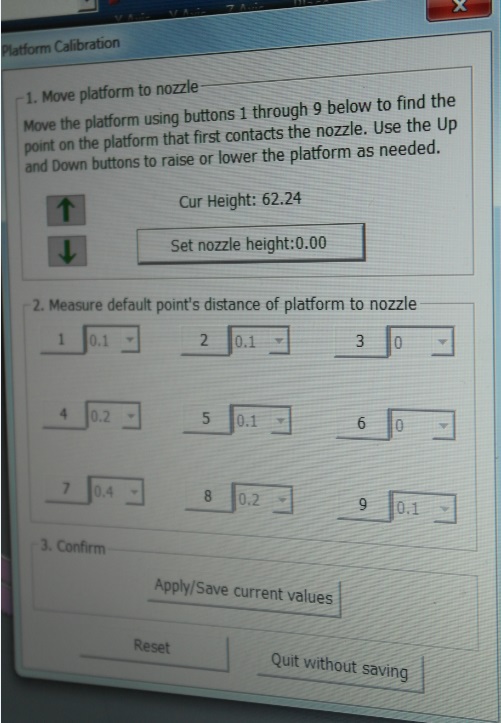
:
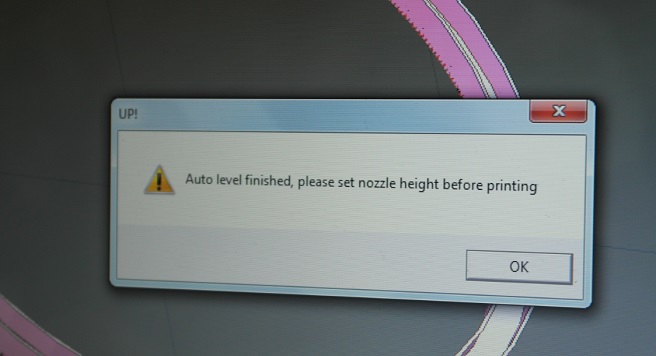
Auto- calibration is completed: Automatic determination of the height of the print head relative to the platform:
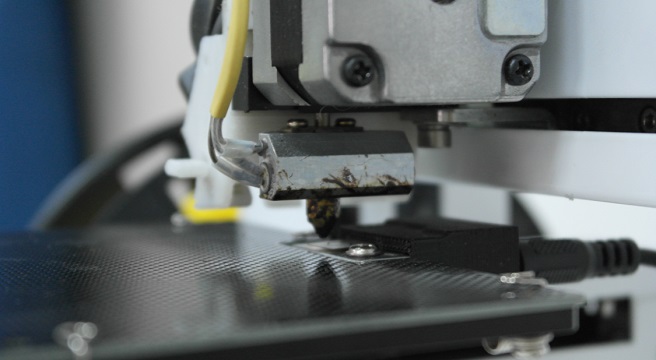
The print head with the nozzle touches the sensor on the platform:
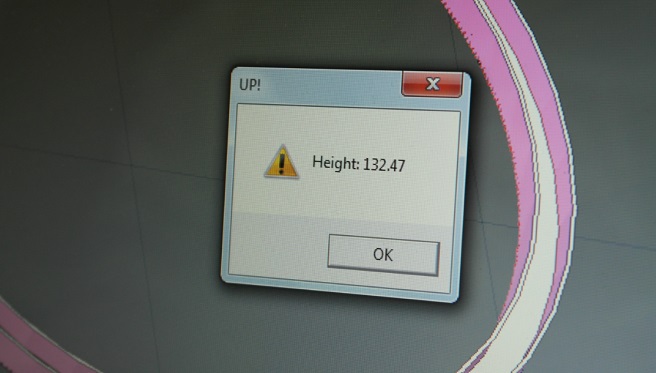
The height is determined:
Printing a shield from World of Warcraft
Let me remind you that like Up! Plus 1 and Up! Plus 2 is its own software, in which there is no brain phase with a “slicer”.
Step 1. Download the model from the Internet (http://www.thingiverse.com/thingready8069), or save from WoW itself
Step 2. Download the model to the print program (scale and rotate if necessary)
Step 3. Heat the platform
Step 4 Print
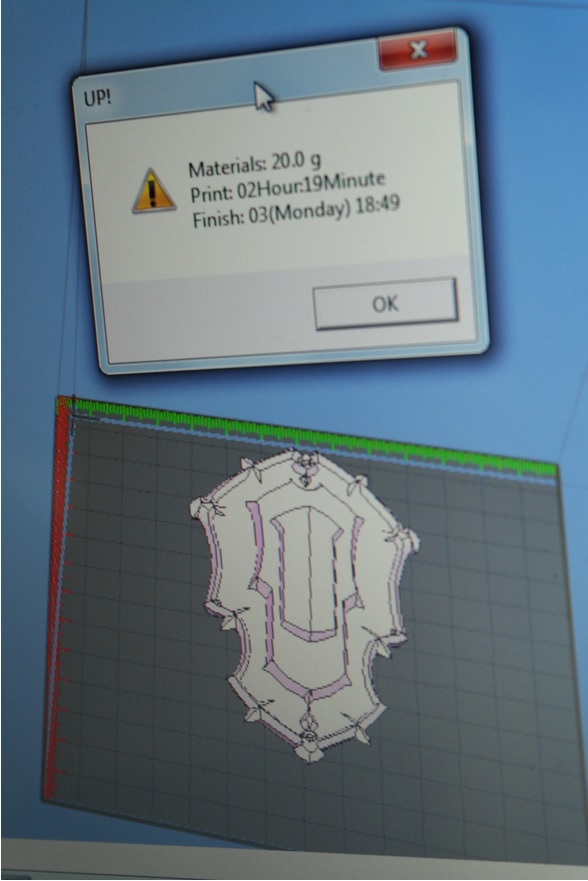
Estimation of printing time and mass of plastic:
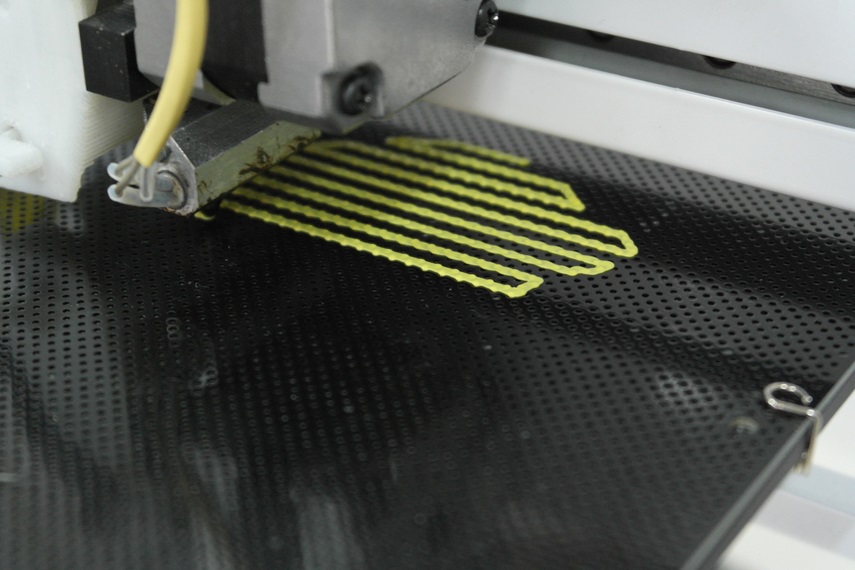
Start of printing the auxiliary layer on which the part will be placed:

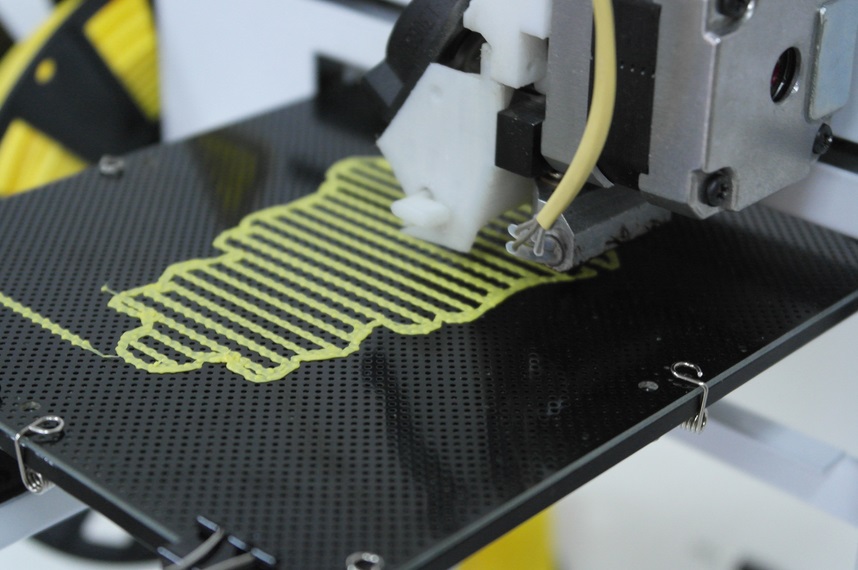
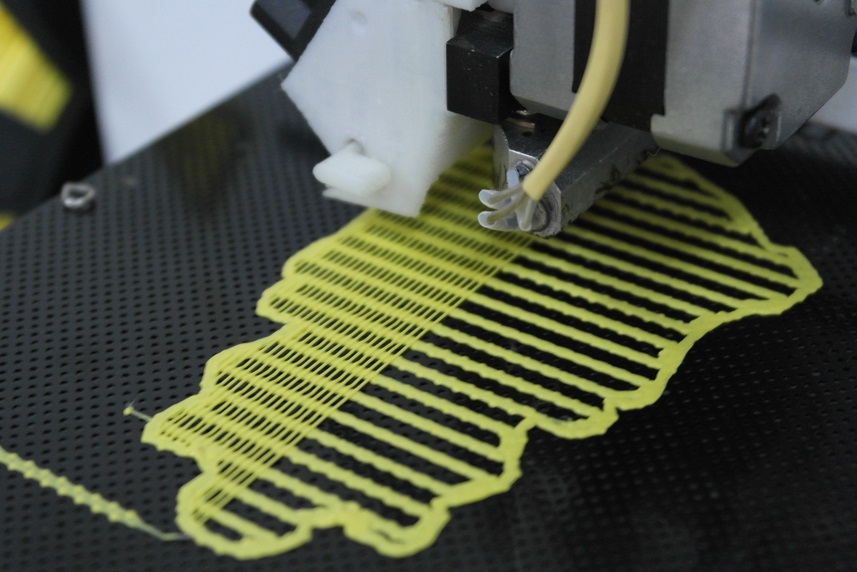
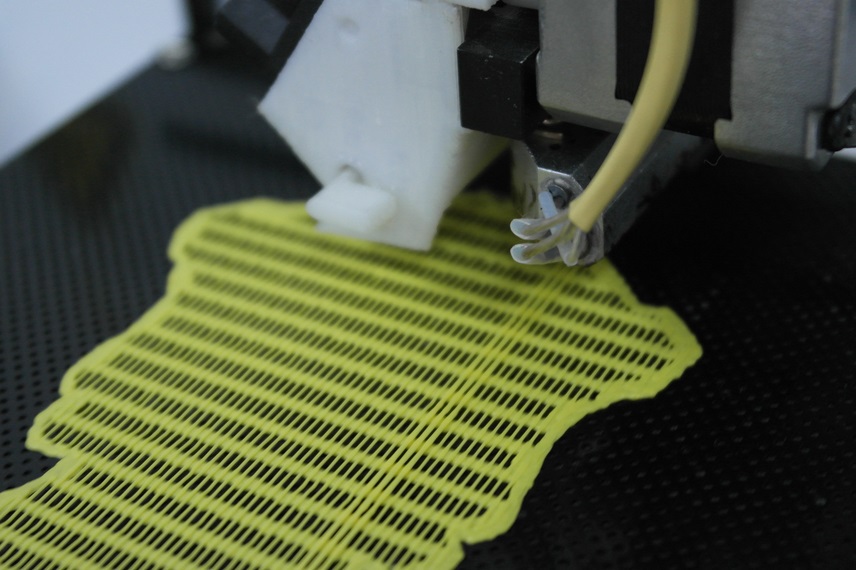
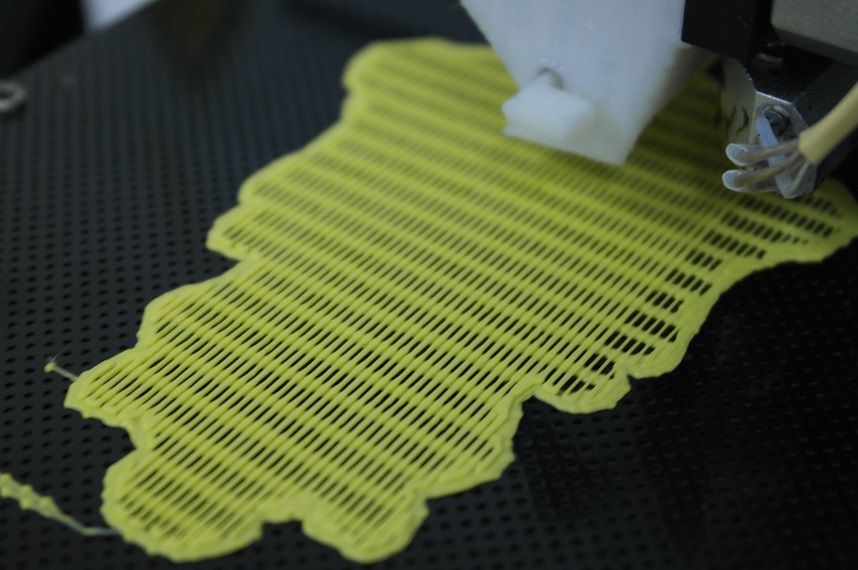
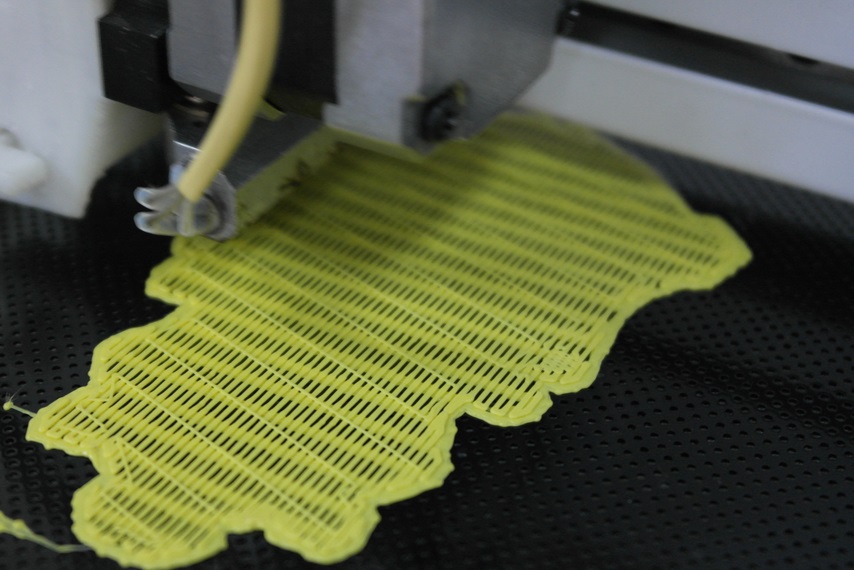
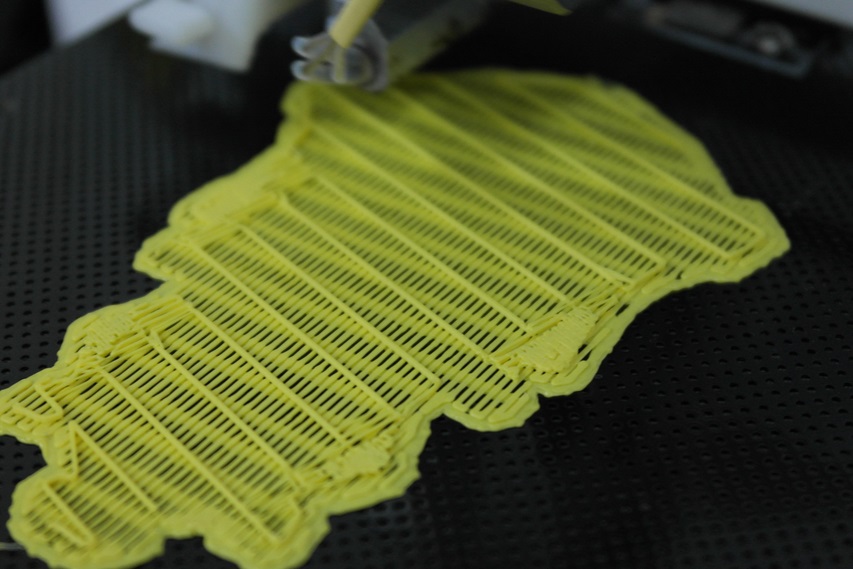
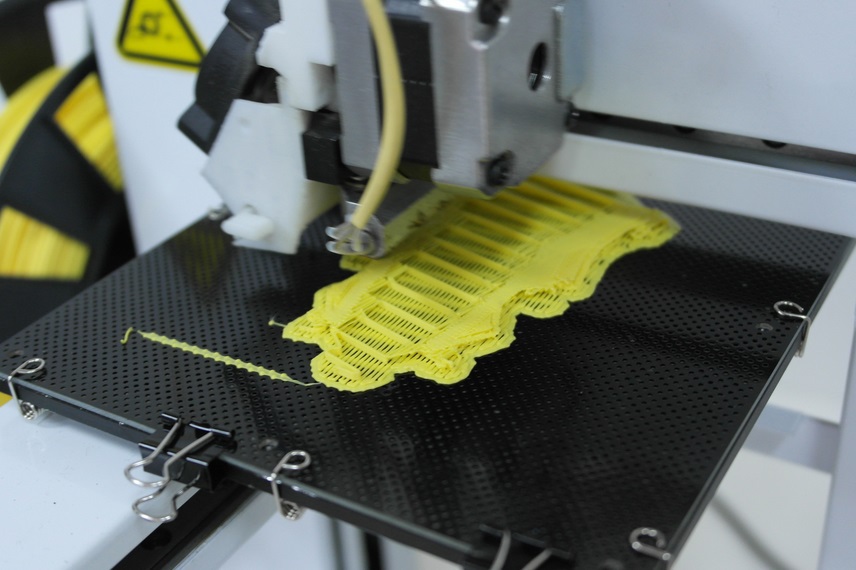
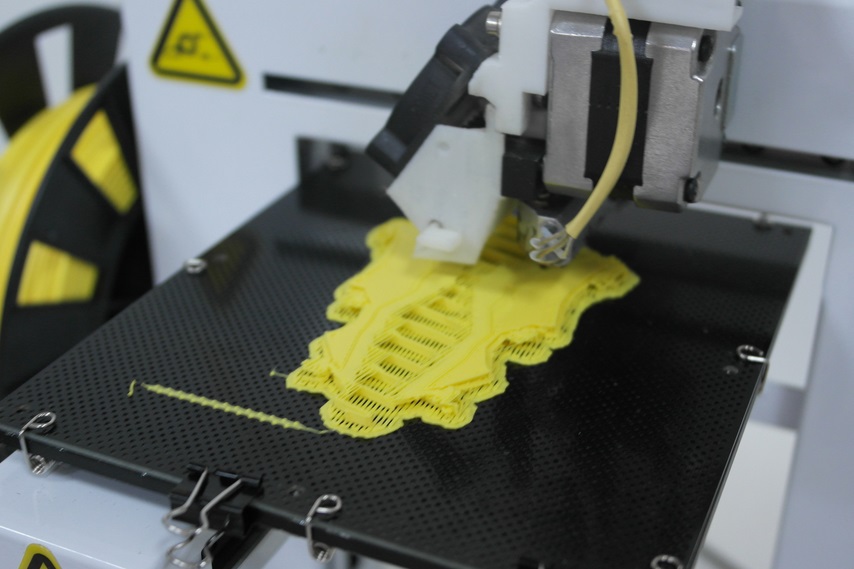
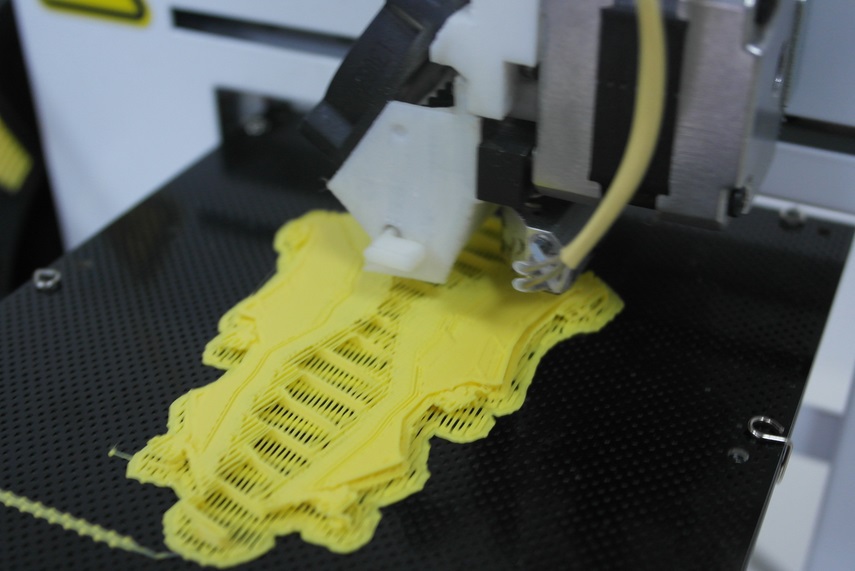

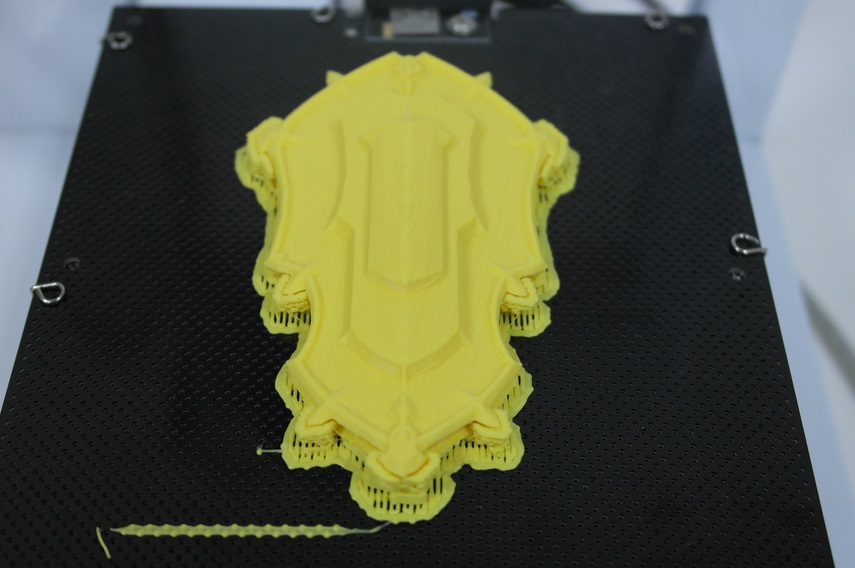
Shield of Lordaeron is ready!
A few words about soft
There are 2 types of printers: those who use "open software" and those who use their own software.
Both of them have their advantages.

Open software claims to be universal, to be able to improve the code itself and the ability to configure “9000” parameters. Open software gives complete freedom (in the binding - full responsibility) to the user. If you are a lover of settings accurate to a micron and to fractions of a degree, then this is a find for you. But you can insert plastic from any manufacturer and for some time get the optimum print temperature for it.
 Own software from the manufacturerguarantees 100% compliance with hardware and software. Also, its own software from the manufacturer suggests that 95% of the "9000" parameters are already debugged by professional technicians, and the company is responsible for this (in some way). Software from the manufacturer allows you to avoid installing additional programs, several (tens, hundreds) hours of configuration, and makes it possible to "unpack and print". No need to think about the form of filling and the minimum wall thickness, because There are manufacturer-preset presets. With software from the manufacturer it is more difficult to spoil the printed part than with "open software." Printers with software from the manufacturer have recommended suppliers of consumables (coils), which are covered by the "guarantee" that this printer will print optimally with this material.
 Only large companies (3d systems, Makerbot, PP3DP, etc.) or some startups that make a special bet on software can afford to develop their own software.
Tech Support Tips
1. We remove the nozzle only on the hot one,
2. We print only on the heated platform
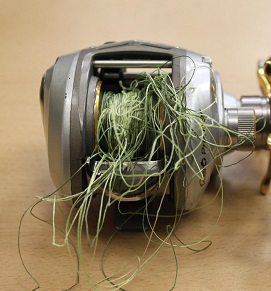
3. We follow the coil, because the “beard” is not only for fishermen
Conclusion:
- The printer is home. Small, comfortable, manual.
(Although I saw how well it is used on an "industrial scale" - there are a dozen of these brave guys in the room and prints an order from architects)
- Save time on auto-calibration / determination of height
- It's simple and convenient to send the model to print









