Development of cross-platform mobile applications in Delphi # 3
 Part # 1
 Part # 2
Setting up the environment and creating a new mobile application.
In the previous part of the cycle, we decided on the task and created the simplest FM application that displays a list of recipes. In doing so, we used the FireDAC data access library and LiveBinding object binding technology . We also agreed that as part of the task two applications will be created using a single code base. And now, the time has come for perhaps the most interesting part - the creation of the first Android application .
First of all, you need to configure the environment. If installing RAD StudioIf you did not install Android development tools (JDK / SDK / NDK), then you should do it manually. It is also necessary to install a USB driver for the Android device with which the application will be developed. It is worth noting that far from all Android devices you can find a USB driver. In this case, you can take advantage of the debugging option via Wi-Fi.
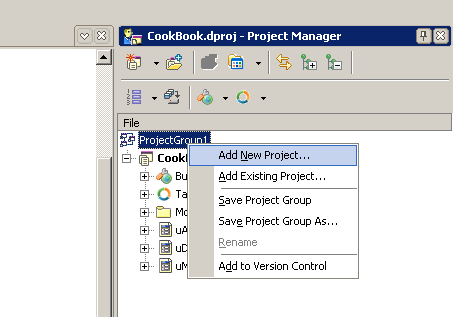
When creating a new project, we are invited to use one of several mobile application templates. We’ll select the Header / Footer template, which is a mobile form with two toolbars. After selecting a template, you must save the project. It is most convenient to create a new project using Project Manafer (the upper right panel of the IDE), as shown in the figure. Thus, we will be able to work immediately with two projects in the group.
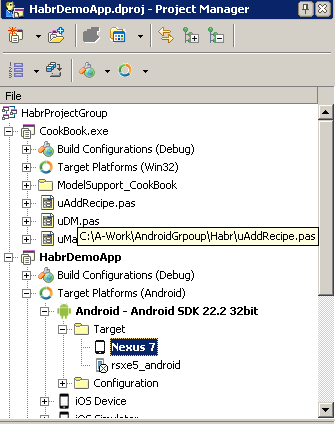
The main application form for the template we selected is by default adapted for the Google Nexus 4 device. Using the drop-down list in the upper right part of the form designer, you can select another device. For our application, we will choose one of the most popular tablet devices Google Nexus 7. Immediately change the title text on the main form (Text property of the HeaderLabel component).
The first launch of the application
As you already understood, for debugging the application we will use a physical device connected via USB. Although other options are possible (connecting via Wi-Fi or using an emulator). If you connected your tablet or phone in accordance with the instructions and activated the developer mode, the name of your “device” will appear in the list of target devices (Targets). We activate it.
Once again, make sure that the Android SDK is configured for your device, and so on. "Developer mode" is activated. The entire process of setting up the environment for developing an Android application is described in detail here .
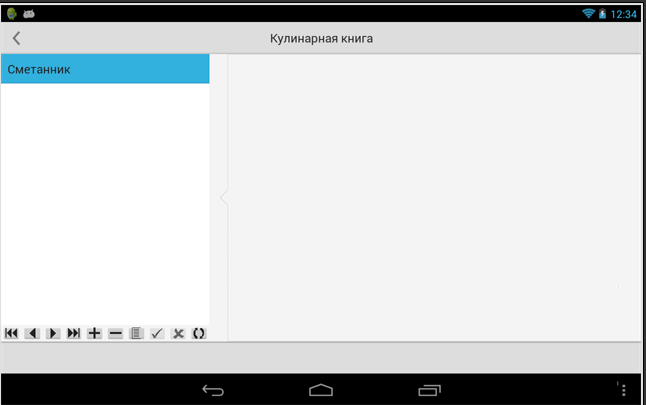
The mobile application launches in the same way as the usual “desktop” application (by pressing the F9 key). If you did everything correctly, then after compilation you will see the main form of the application on your tablet.
Now let's try to implement the same functionality that we implemented in the previous part. To do this, add to the current project the existing data module from the previous project (menu Project | Add to Project ... ). As in the first project, the module must be included in the Uses section of the main form.
implementation
{$R *.fmx}
uses uDM;
Actually, now nothing prevents us from using the same connection setup procedure that we used in the “desktop” application:
function TDM.ConnectToDB: Boolean;
begin
try
  FDConnection1.Connected := True;
  FDTRecipe.Open;
except
end;
 Result:= FDConnection1.Connected;
end;
procedure TDM.DataModuleCreate(Sender: TObject);
begin
DM.ConnectToDB;
end;
Thus, we saved ourselves from having to re-write the connection setup code.
Main application form
In principle, the development of the user interface of a mobile application is a separate, very extensive topic. Often, it is the incorrectly designed GUI that can cause failure. And sometimes programmers try to transfer their experience of creating interfaces of "desktop" applications to mobile development. This is not entirely correct. Before you start writing a mobile application, you should carefully study the basic principles of interface design . And, of course, it's worth exploring the interfaces of popular programs.
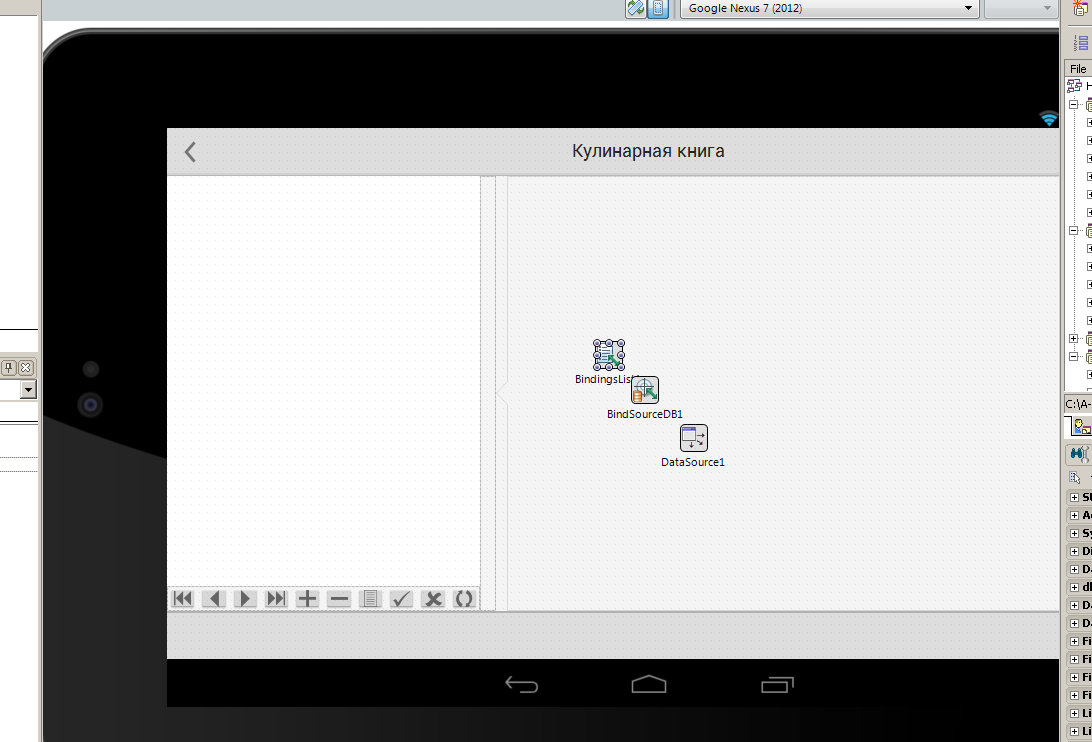
In our case, we can easily organize the interface of the main form of the mobile application in the image of the “desktop” one (in fact, we built the Windows application interface taking into account the fact that we will have to make a mobile application). Place the components TPanel, TSplitter and TCalloutPanel on the form. In the Object Inspector, change their properties as follows:
Panel1: TPanel
    Align = alLeft
Splitter1: TSplitter
    Align = alLeft
    Width = 16
CalloutPanel1: TCalloutPanel
    Align = alClient
    Width = 630    TabOrder = 4
    CalloutPosition = cpLeft
To display the list of recipes, we also use TListBox and TBindNavigator , which we will place in the left panel. Place the TTabControl on the TCalloutPanel component and set the Align property for each component.
Like last time, we use the LiveBinding mechanism to connect the data set. This procedure is completely similar to the one we did in the previous part, creating a “desktop application”.
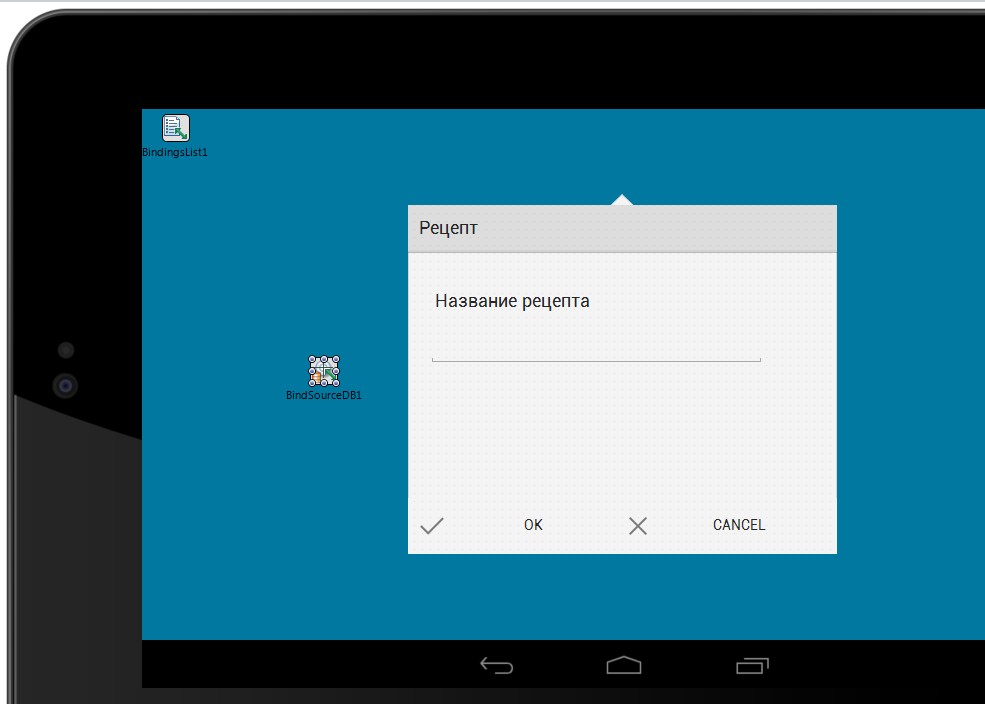
Like last time, we need to create some kind of tool for entering the name of the recipe. If in the desktop application we could use a modal form, then the concept of mobile applications in most cases offers a different solution, which gently regulates the user’s actions. However, here we use a “dialogue”, which in essence can be regarded as a kind of modal form.
Create a new mobile form. We will place the panel on it, and already on the panel we will place the controls that we placed on the form for adding the recipe last time (TEdit and two buttons). The value of the Align property is alCenter. For buttons, we set the value of the ModalResult property (mrOk and mrCancel).
For the form class, create the following class method:
class procedure TfAddRecipe.ShowDialog(DataSet: TDataSet);
begin
   fAddRecipe.ShowModal(
    procedure(ModalResult: TModalResult)
    begin
      if ModalResult= mrOk then
      begin
      if DataSet.State in [dsInsert, dsEdit] then
        DataSet.Post;
        fAddRecipe.Close;
      end
      else
      begin
      if DataSet.State in [dsInsert, dsEdit] then
          DataSet.Cancel;
        fAddRecipe.Close;
       end;
    end
  );
end;
When the application starts, we assign this method as the AfterInsert event handler for the only data set in the program so far.
procedure THeaderFooterForm.FormShow(Sender: TObject);
begin
DM.FDTRecipe.AfterInsert:= TfAddRecipe.ShowDialog;
end;
This form will be called each time a record is added to the FDTRecipe dataset.
Naturally, such code needs optimization. Creating an instance of the form at application startup is not a good idea. Especially for mobile applications. But this is a topic for a separate discussion, but for now, for reasons of clarity, let us leave everything as it is.
Deployment Android application
Before you start the application that works with the database on Android, you need to make certain settings that will allow you to transfer the database to your mobile device and enable the application to "see" the database. To do this, use the Deployment Manager (Project | Deployment menu).
Make sure that the debug configuration for the Android platform is selected. In the drop-down list on the top toolbar, the value Debug configuration - Android platform should be selected .
In order to transfer the database to the device when the application is deployed, you should use the "Add files" button and select the database file.
Enter assets \set the value of the Remote Path field and the value of the Platform field set Android. The assets directory is a special directory for storing application auxiliary resources . In the Platform field, select Android .

You can click the Deploy button to test the application deployment process.
And finally, in order for the application to work, one more important step should be taken - to determine the event of the FDConnection1 component as follows:
procedure TDM.FDConnection1BeforeConnect(Sender: TObject);
begin
{$IFDEF ANDROID}
  FDConnection1.Params.Values['Database'] := '$(DOC)/db.s3db';
{$ENDIF}
end;
The compiler directive {$ IFDEF ANDROID} is passed so that this code runs only on Android devices. Thus, we indicate to the application the relative path to the database.
We launch the application, and on the device screen we get an almost complete analogue of the Windows application that we created in the previous part.
In this part, we built the first mobile application and figured out how similar the process of creating mobile applications in Delphi is and how different it is from the process of creating a “regular” desktop application. Naturally, while we have implemented only the basic functionality. This applies to both the program logic and its interface. But, everything has its time. In the next part, we will continue to work on a Windows application and get a deeper look at the capabilities and principles of the mechanismLiveBinding .
Stay with us.