How to make a Chinese $ 5 USB programmer work on Linux
This post will be useful primarily to those who are just starting out with microcontrollers or moving from Arduino directly to AVR.
Small introduction
So, probably, you already know that after the device is designed, the printed circuit board is made and the controller is placed in its rightful place, it will need to be programmed. Most families of microcontrollers have some kind of interface for in-circuit programming - ISP , which is usually output to a separate connector on the board. In the case of AVR, programming takes place over five communication lines: MOSI, MISO, SCK, RESET, and GND.
How it is made in Arduino
Most Arduino boards allow you to upload the program via USB, and probably the novice user of this board heard little about ISP and programmers. Arduino, however, uses a slightly different method of loading the program: the so-called bootloader (bootloader) is flashed into the controller’s memory - a small program that runs when the controller starts. The bootloader is able to put the controller into programming mode depending on any conditions - the state of the pins, variables in memory, etc. In the case of Arduino, the bootloader is used in conjunction with either a USB-TTL converter on FT232 (on earlier versions of Arduino boards), either with an ATMega8u2 controller. The mentioned microcircuits act as a programmer and at the right moments transfer the main controller to the desired mode.
How to do it without Arduino
Due to the fact that a permanent connection to the programmer is not required on the finished device, the programming connector mentioned earlier is used. In addition, you will need a programmer. A cursory examination of the available range of programmers can lead to discouragement - corporate programmer worth some
In my case, the price was the selection criterion, so almost all self-assembled options on FT232, ATTiny, ATMega were not accepted due to the high cost and lack of the necessary components in the shops of my city - a quartz resonator can not be found. And if you order on the Internet, then why not buy a programmer right away?
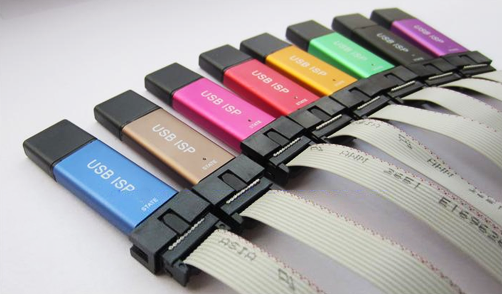
Thus, such a programmer was purchased for $ 5. Searched on ebay for “usbisp”, “usbasp” or “avr programmer”. There are many of them, there are in the buildings, there are without, but, as I understand it, structurally they are all the same.
After receiving the programmer by mail, a problem arose - it is seen in the system not as a virtual COM port, but as a HID device. It is possible that it will work with AVR Studio, but I needed to work with avrdude on Linux, which did not want to work with the programmer.
Search by VID = 0x03EB and PID = 0xc8b4 led here to this page . In principle, this entire post could consist only of this link; but, perhaps, it will be easier for many beginners to read the same thing in Russian and in a slightly more detailed form.
All operations on the programmer have as their goal to make it compatible with USBASP - a popular programmer for which the circuit diagram and source code of the firmware are available. To do this, the programmer must fill in the firmware from USBASP, slightly modified.
So, operations in order.
Setting the jumper self-programming
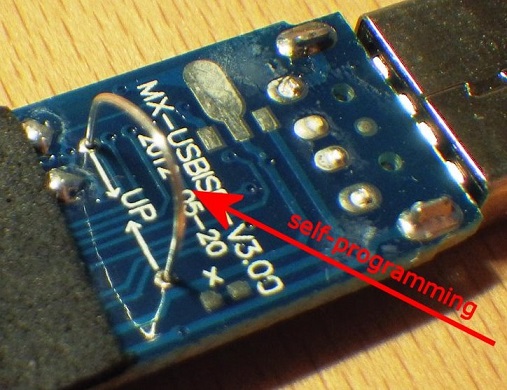
Image from www.sciencetronics.com
There are jumper pins marked “UP” on the board. If you solder a jumper there, it will be possible to fill the firmware into the microcontroller used in the programmer (most likely, it is reset and ground).
Firmware
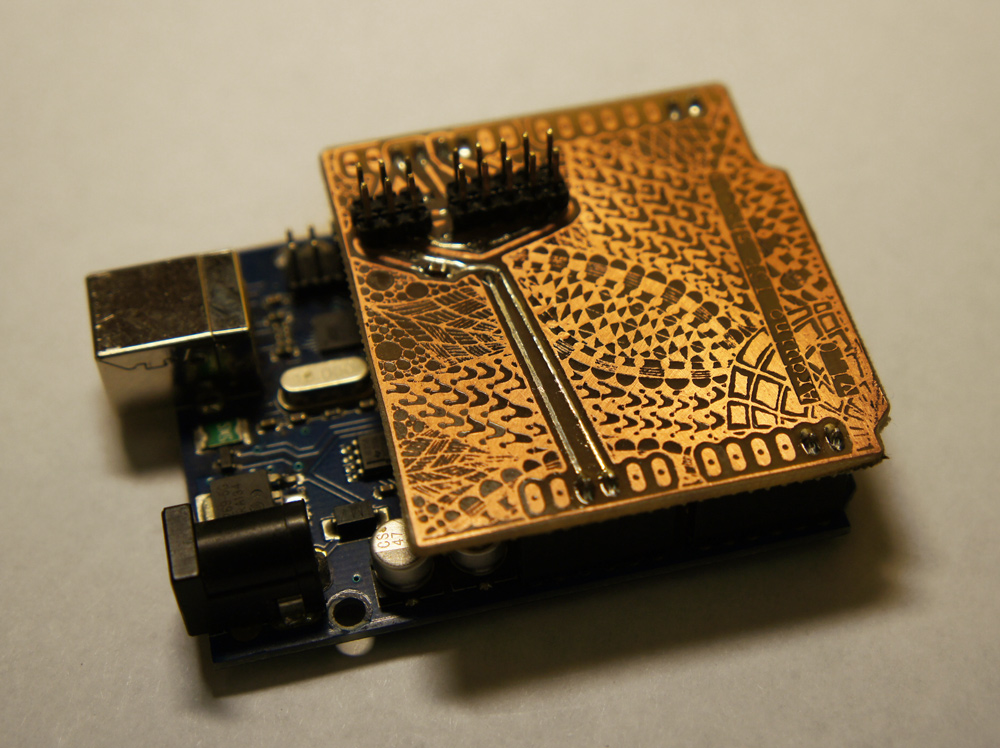
Yes, sadly, but you will need a second programmer. In addition to the mentioned LPT port, it is easy to make the programmer from Arduino: it is enough to compile and flash the ArduinoISP sketch from the examples folder. At the same time, you can see the connection of the programming connector here , and the pinout of the connector itself - in Google on request “ISP 10 pin”. For my case, I built something like a shield from the connectors and one capacitor.
The firmware file and source code can be downloaded here .
So, the victim programmer is connected to the main programmer (in my case, Arduino). Filling the firmware is done through avrdude with the following command:
avrdude -c avrisp -P /dev/ttyACM0 -b 19200 -p m8 -U flash:w:20130212_mega8_usbisp.hex:a -U lfuse:w:0xef:m -U hfuse:w:0xc9- -b 19200 - port speed
- -c avrisp - type of programmer (for ArduinoISP like this)
- -P / dev / ttyACM0 - path to the device interface
- -p m8 - controller type
- -U flash: w: 20130212_mega8_usbisp.hex: a - hex-file for firmware. If you downloaded the archive, the link to which was indicated above, then the hex-file is called just that.
- -U lfuse: w: 0xef: m -U hfuse: w: 0xc9 - set high and low FUSE bytes
After that, the device can be turned off, and the jumper can be removed. After soldering the jumper, the programmer will please with new VID = 0x16c0 and PID = 0x5dc, which correspond to USBASP. Now you can work with him like this:
avrdude -c usbispThat's all. One can only guess for what purpose the Chinese are uploading firmware to the programmers, which is not clear how to use it, and how the HID device can act as a programmer. If you mimic USBASP using this word in the product name, you can copy the firmware as well.