Airconsole Connecting to Console port Cisco via WiFi
For quite some time now I have been using an iOS application for administering Get-console network equipment manufactured by the New Zealand CloudStore. This application, subjectively, is the best for this kind of activity, having an iPad or iPhone (the latter is debatable due to the size of the screen). I bought myself a cable for connecting the tablet to the console port.
This went on for some time until it was time to update Pad. The choice fell on the iPad 4, and, about grief, the sharp question arose - what to do with the Lightning port, because the console cable has only a 30-pin connector. A way out for a while was found - an adapter from 30-pin to Lightning.
So I used until July of this year.
Cable developer and manufacturer company born version of Lightninghis console wire, also introduced a device called - Airconsole .
Airconsole is a WiFi dongle for connecting via WiFi to the console port of network equipment (Cisco, Juniper, HP, etc.).

This is what the packaged Airconsole looks like:

Options, ProPack kit here (Two adapters: DB-9 and Nullmodem, usb-console cable, mini-usb charge cable, License for two iOS devices for working with Private Server )
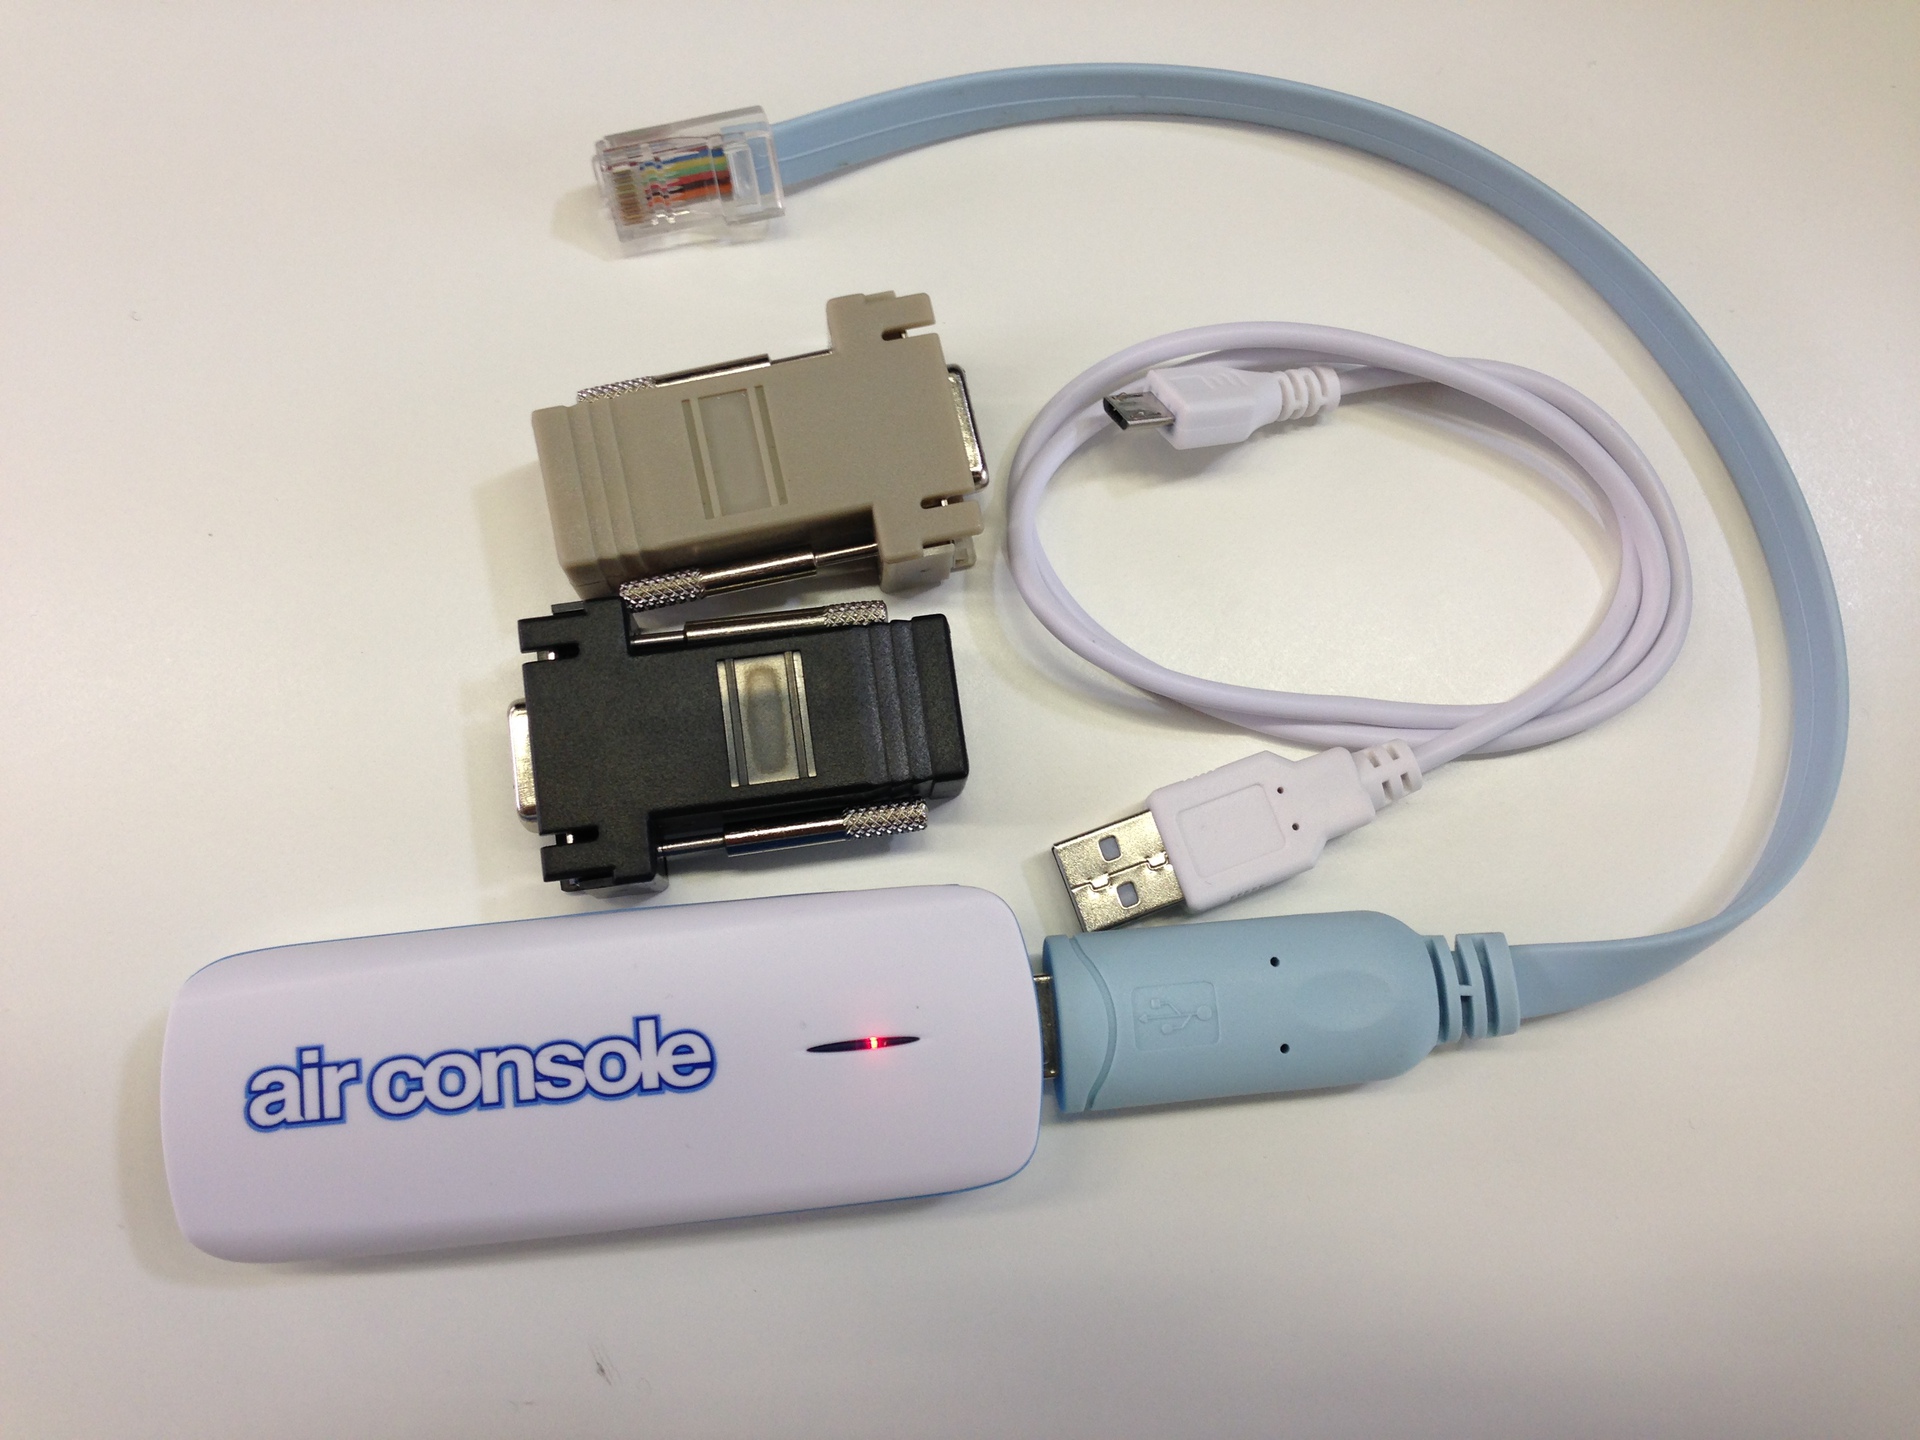
Back side of the dongle:

Lateral sides:
1. Here is the power button and charge other devices (such as iPhone), the battery indicator button
2. On this side is a mini-usb connector for charging the dongle
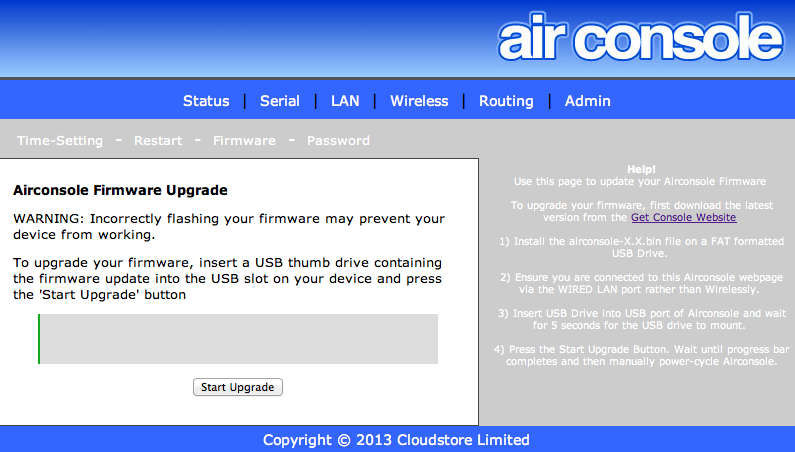
And so we got the dongle and turned it on. Then it will boot (approximately 10-15 seconds) and deploy a WiFi network with IP 192.168.10.1, the network name and password are written on the back of the dongle. Now you can go to the web-based interface and configure the device: Status
page Configuring the console port Configuring ethernet and dhcp Wireless Route And the Admin section The configuration is trivial and effortless. Now, first things first:
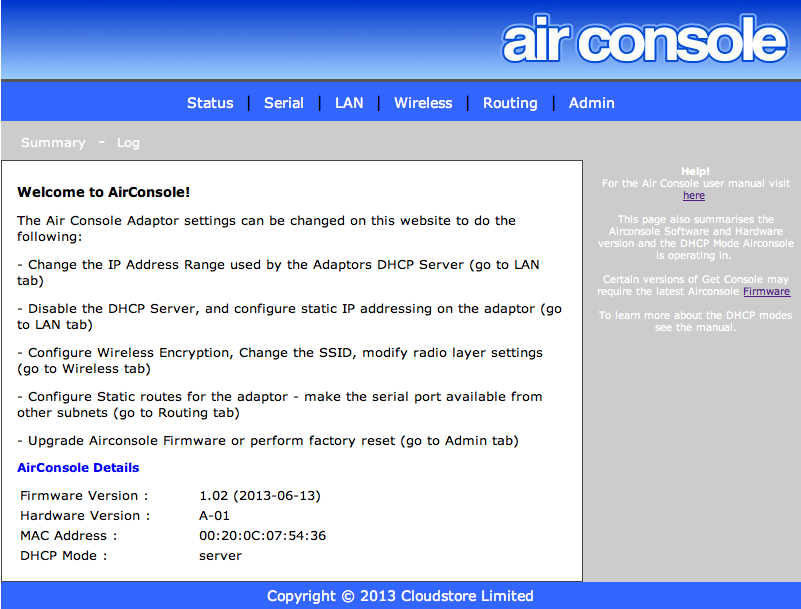
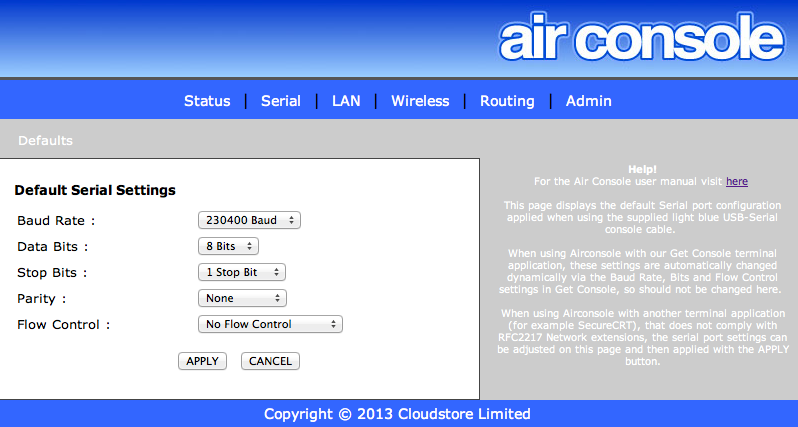

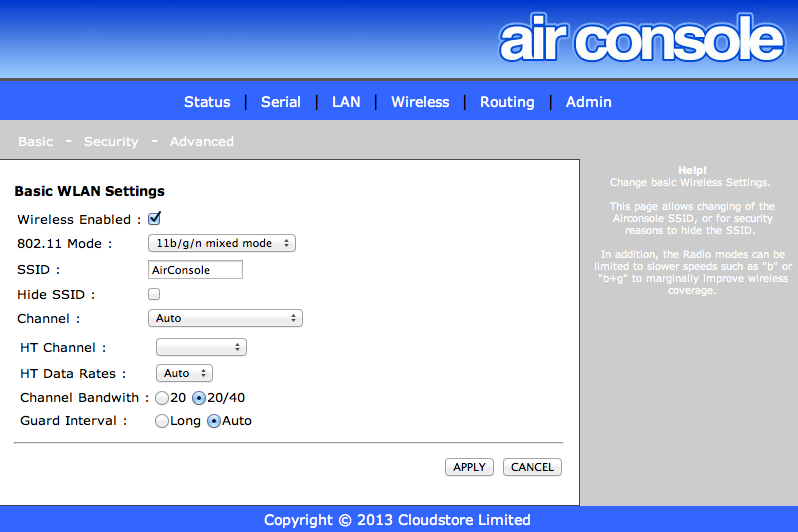
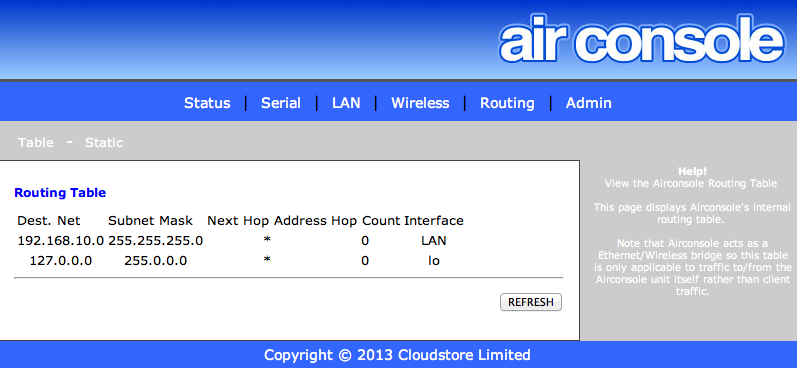
1. Yes. I was not mistaken. The dongle really knows how to operate an external battery. To enable this function, the power button is placed in the middle position (C). Inside it, a 1800 mAh Li-ion battery that allows you to work with the device in active mode for about 5 hours, standby time will last 14 days. To determine the battery discharge, there is a button by pressing which the indicator lights up, which has three divisions, Full charge - all three divisions are on, half of the charge - two divisions (one or two hours), One division - 30 minutes of operation (approximately).
2. Dong is able to forward a wired network to a WiFi network. It does this well and solves the problem with 3G coverage for iOS devices. In any case, in a room where there is no network signal, there will be Internet.
About Get-Console for iOS telling detail insekt , though the version has since been greatly updated. I’ll tell you how the Dongle works with the native application for iOS and with the console on Mac - Terminal.app (There is no other at hand):
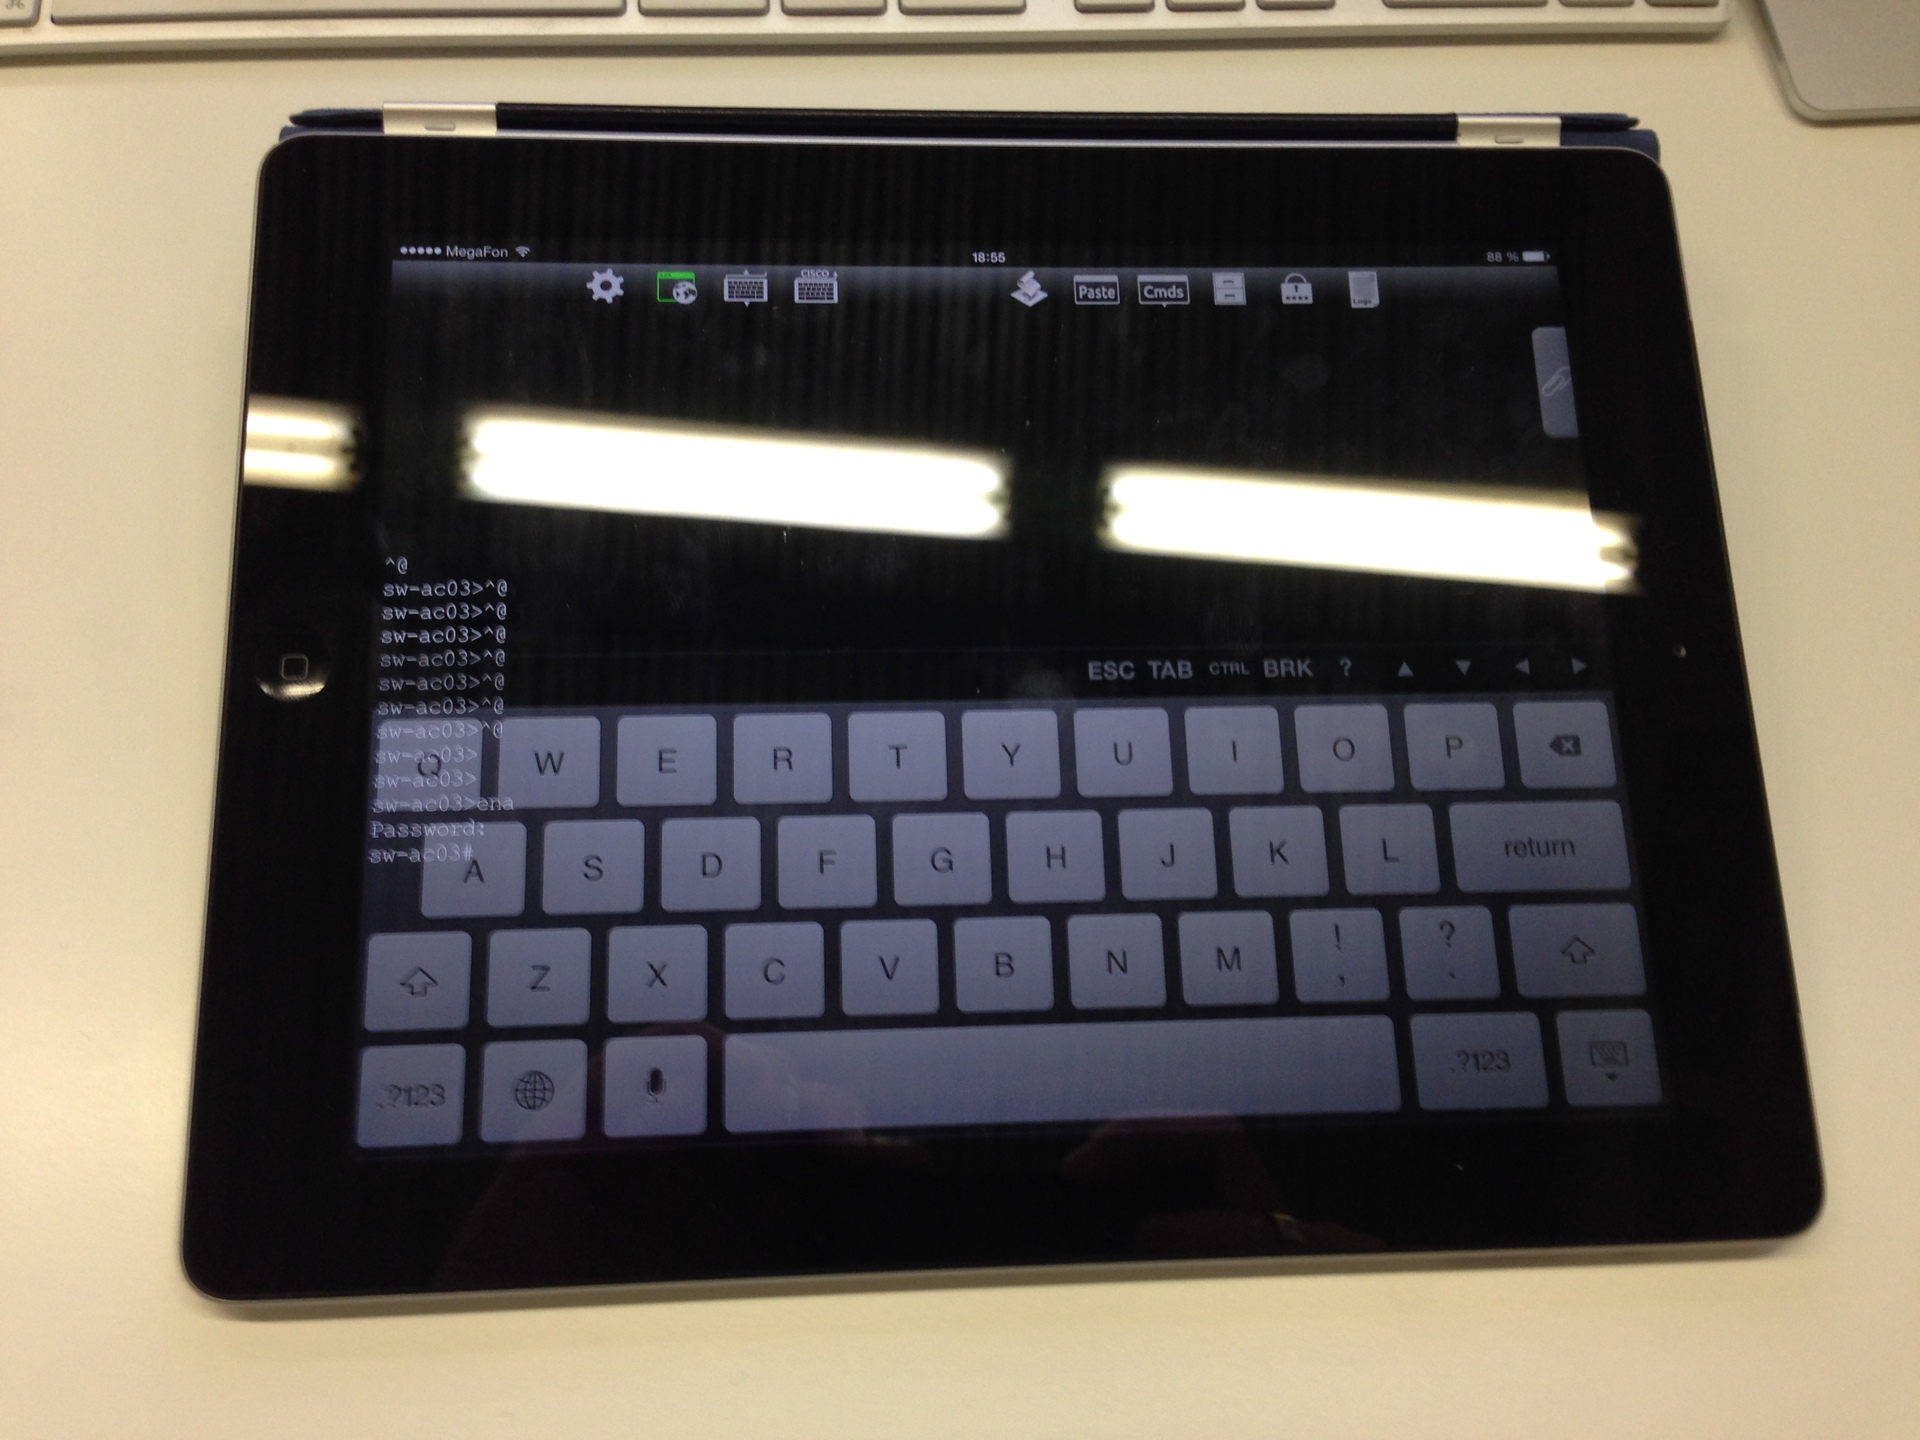
The first thing to do is connect to the WiFi network that Airconsole distributes. Next, buy the get-console application for $ 9.99 (believe me, it's worth it) and open it.
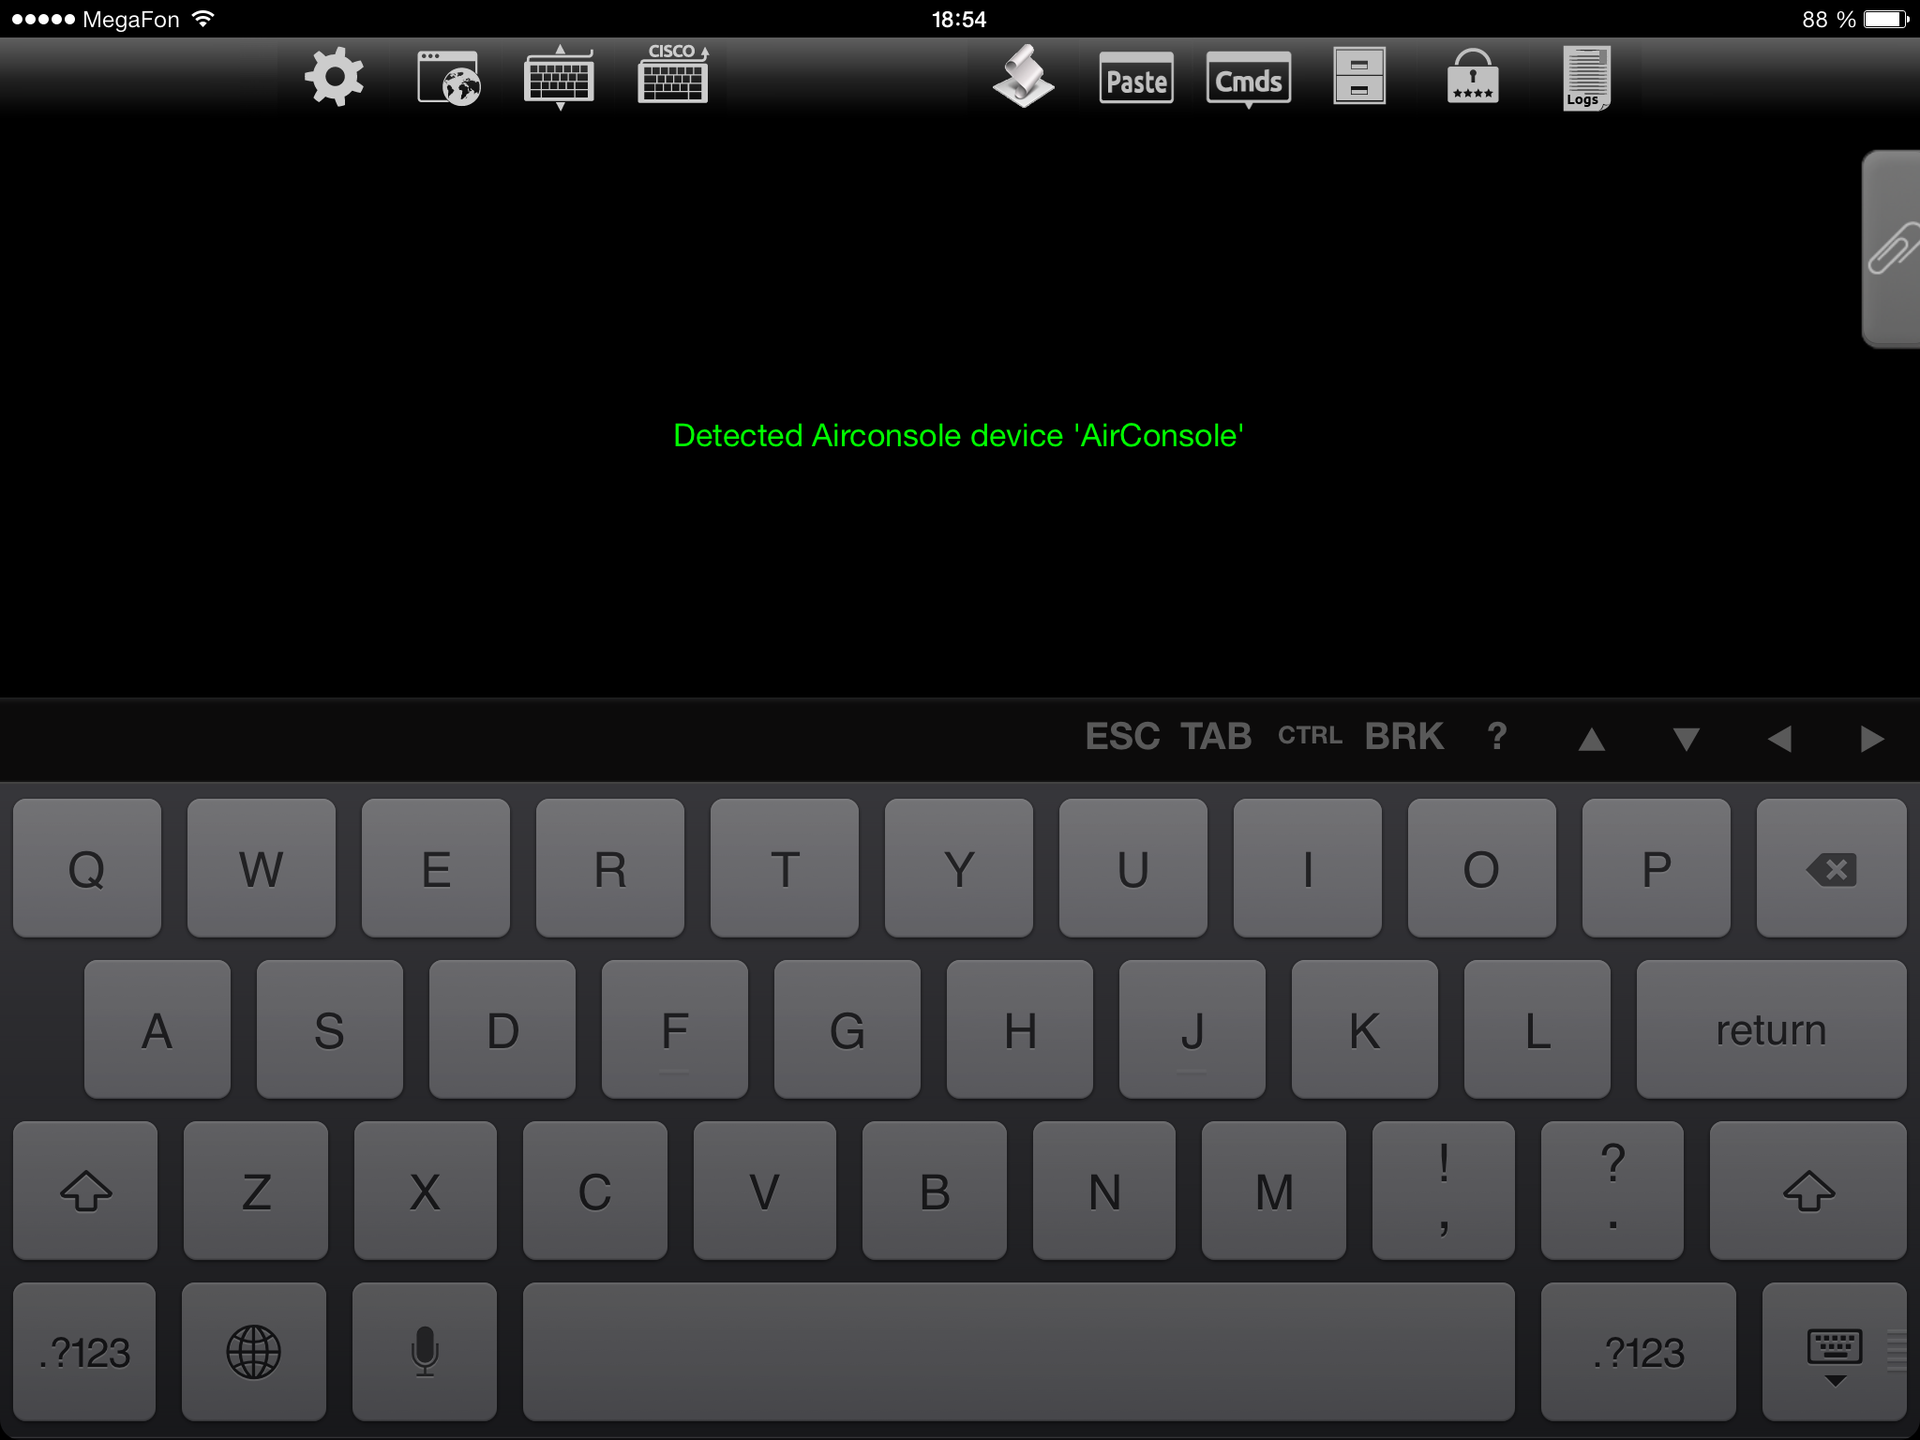
After we go into the connection manager and create a “Quick Connection” (without saving),
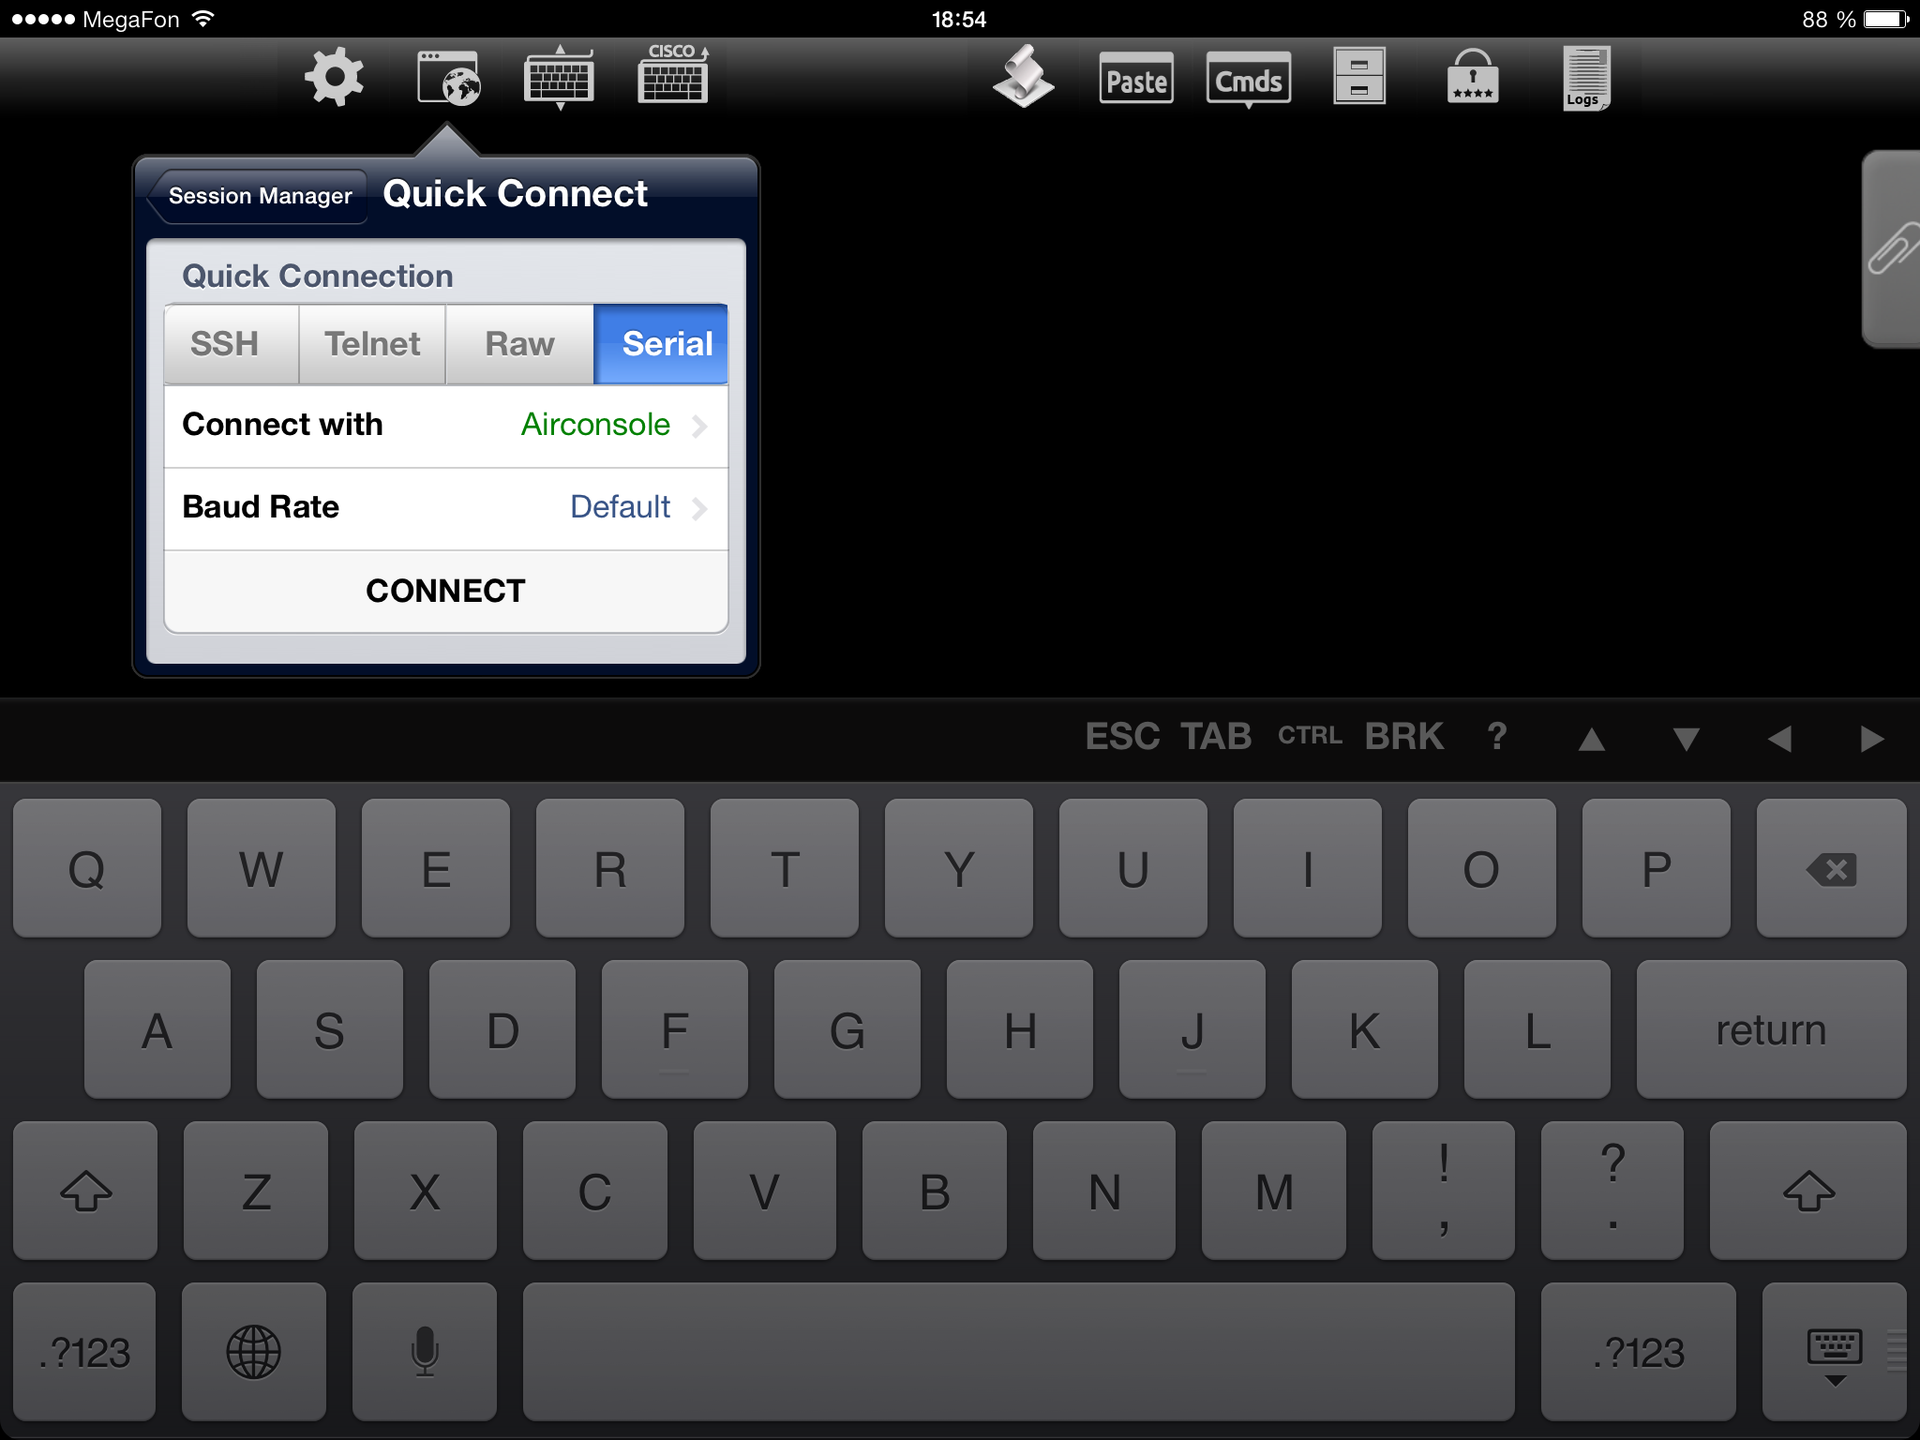
select the connection type Serial and run.
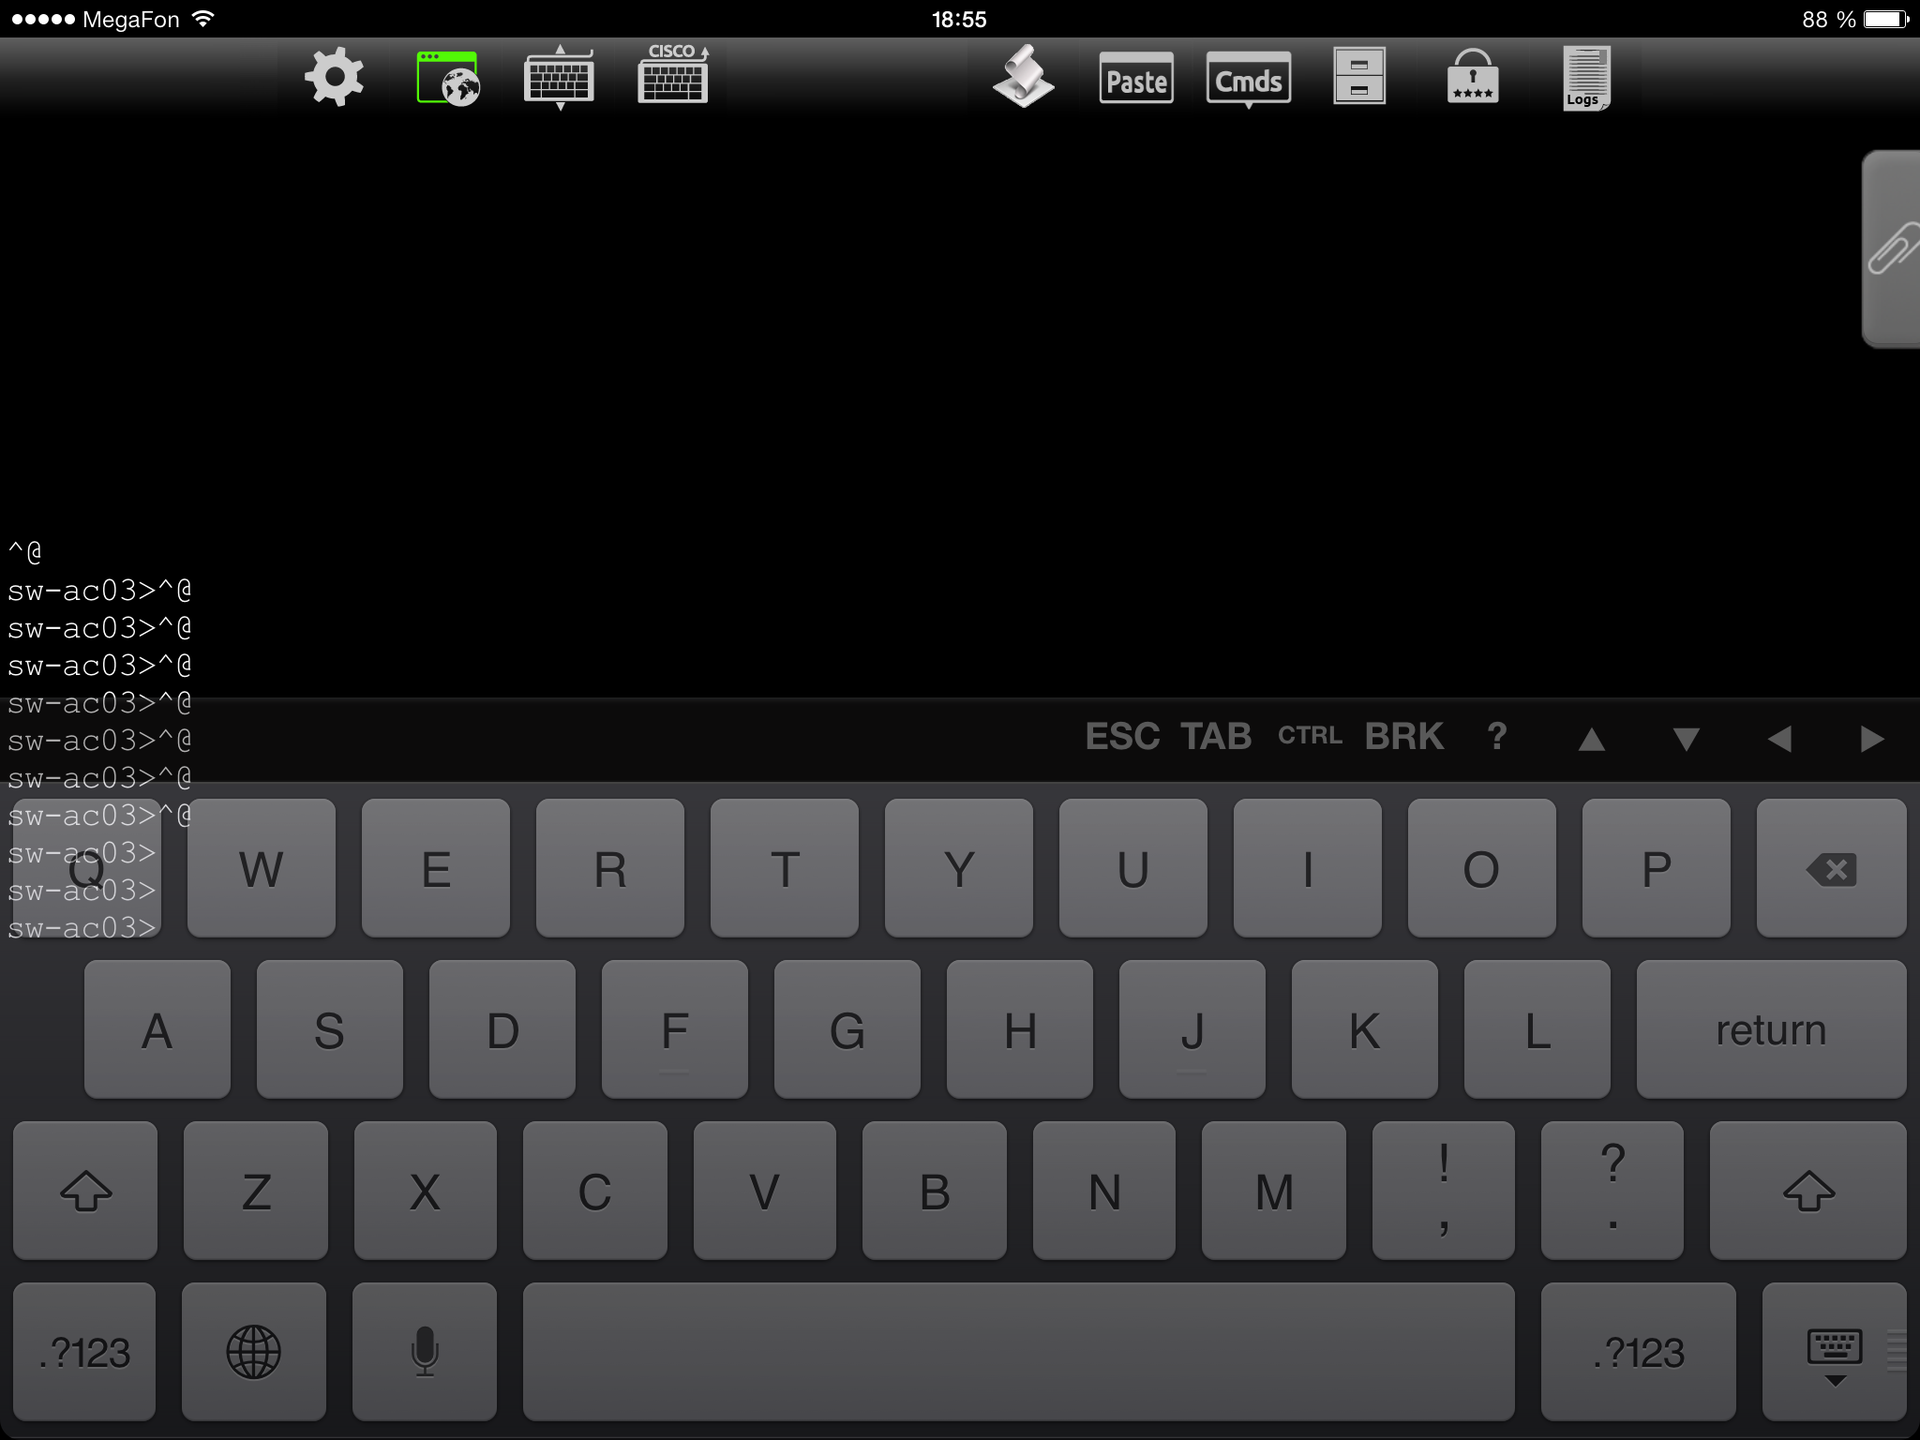


The screenshot shows the connection status and the ability to share console for a remote employee using Private Server tools , the license for which is included in ProPack configuration. I will not stop in detail, because This requires a separate Habra topic. I can only say that the presence of such a server saves network administrators and noc engineers from traveling to remote objects. You can get by with ordinary engineers.
Here, not everything is so smooth, because you will have to install the kernel driver and a small utility - AIRConsoleOSX After
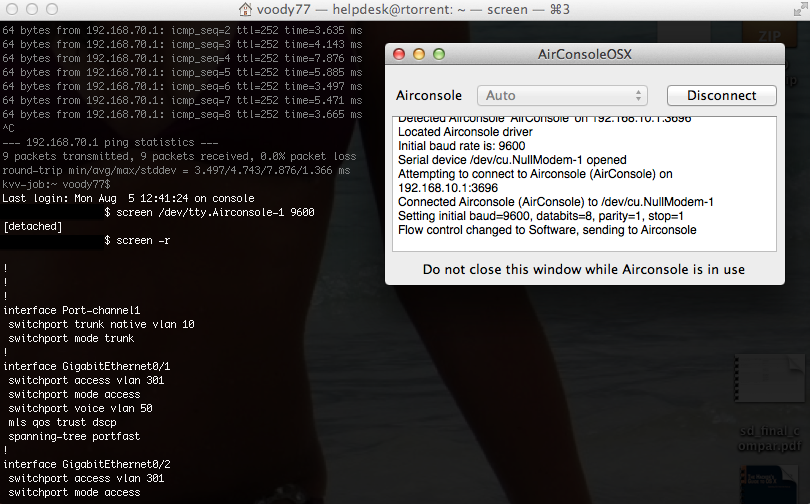
downloading and installing the driver and utility, we launch, simultaneously connect to the dongle’s WiFi network.

By clicking the Connect button , the serial port emulation starts.

Next, launch Terminal and enter
This concludes our review . I will add that the dongle can update, the current firmware version is 1.02. In the future, an update is planned with support for cisco terminal servers, the release of a full-fledged driver for Mac (For Win already). The manufacturer’s website also indicated that the usb console cable works natively on Linux and Mac. One pity - the length is only 30 cm.
PS: The company CloudStore, which owns the brands Get-console, Airconsole, Private Server is New Zealand. Founder - Simon Hope , has CCIE certification. Dongles are delivered by FEDEX. The package came to me in 4 days.
In the next post I’ll talk in detail about Private Server , a service that allows you to access the console of the Get-console for iOS application through the WEB interface of the Server installed on your computer.
Good luck to all.
This went on for some time until it was time to update Pad. The choice fell on the iPad 4, and, about grief, the sharp question arose - what to do with the Lightning port, because the console cable has only a 30-pin connector. A way out for a while was found - an adapter from 30-pin to Lightning.
So I used until July of this year.
Cable developer and manufacturer company born version of Lightninghis console wire, also introduced a device called - Airconsole .
Airconsole is a WiFi dongle for connecting via WiFi to the console port of network equipment (Cisco, Juniper, HP, etc.).

This is what the packaged Airconsole looks like:

Options, ProPack kit here (Two adapters: DB-9 and Nullmodem, usb-console cable, mini-usb charge cable, License for two iOS devices for working with Private Server )

Back side of the dongle:

Lateral sides:
1. Here is the power button and charge other devices (such as iPhone), the battery indicator button

2. On this side is a mini-usb connector for charging the dongle

And so we got the dongle and turned it on. Then it will boot (approximately 10-15 seconds) and deploy a WiFi network with IP 192.168.10.1, the network name and password are written on the back of the dongle. Now you can go to the web-based interface and configure the device: Status
page Configuring the console port Configuring ethernet and dhcp Wireless Route And the Admin section The configuration is trivial and effortless. Now, first things first:


1. Yes. I was not mistaken. The dongle really knows how to operate an external battery. To enable this function, the power button is placed in the middle position (C). Inside it, a 1800 mAh Li-ion battery that allows you to work with the device in active mode for about 5 hours, standby time will last 14 days. To determine the battery discharge, there is a button by pressing which the indicator lights up, which has three divisions, Full charge - all three divisions are on, half of the charge - two divisions (one or two hours), One division - 30 minutes of operation (approximately).
2. Dong is able to forward a wired network to a WiFi network. It does this well and solves the problem with 3G coverage for iOS devices. In any case, in a room where there is no network signal, there will be Internet.
About Get-Console for iOS telling detail insekt , though the version has since been greatly updated. I’ll tell you how the Dongle works with the native application for iOS and with the console on Mac - Terminal.app (There is no other at hand):
Get-Console iPad
The first thing to do is connect to the WiFi network that Airconsole distributes. Next, buy the get-console application for $ 9.99 (believe me, it's worth it) and open it.

After we go into the connection manager and create a “Quick Connection” (without saving),

select the connection type Serial and run.


The screenshot shows the connection status and the ability to share console for a remote employee using Private Server tools , the license for which is included in ProPack configuration. I will not stop in detail, because This requires a separate Habra topic. I can only say that the presence of such a server saves network administrators and noc engineers from traveling to remote objects. You can get by with ordinary engineers.

Terminal.app for Mac
Here, not everything is so smooth, because you will have to install the kernel driver and a small utility - AIRConsoleOSX After

downloading and installing the driver and utility, we launch, simultaneously connect to the dongle’s WiFi network.

By clicking the Connect button , the serial port emulation starts.

Next, launch Terminal and enter
screen /dev/tty.Airconsole-1 9600where - 9600 is the console connection speed. 
This concludes our review . I will add that the dongle can update, the current firmware version is 1.02. In the future, an update is planned with support for cisco terminal servers, the release of a full-fledged driver for Mac (For Win already). The manufacturer’s website also indicated that the usb console cable works natively on Linux and Mac. One pity - the length is only 30 cm.
PS: The company CloudStore, which owns the brands Get-console, Airconsole, Private Server is New Zealand. Founder - Simon Hope , has CCIE certification. Dongles are delivered by FEDEX. The package came to me in 4 days.
In the next post I’ll talk in detail about Private Server , a service that allows you to access the console of the Get-console for iOS application through the WEB interface of the Server installed on your computer.
Good luck to all.
