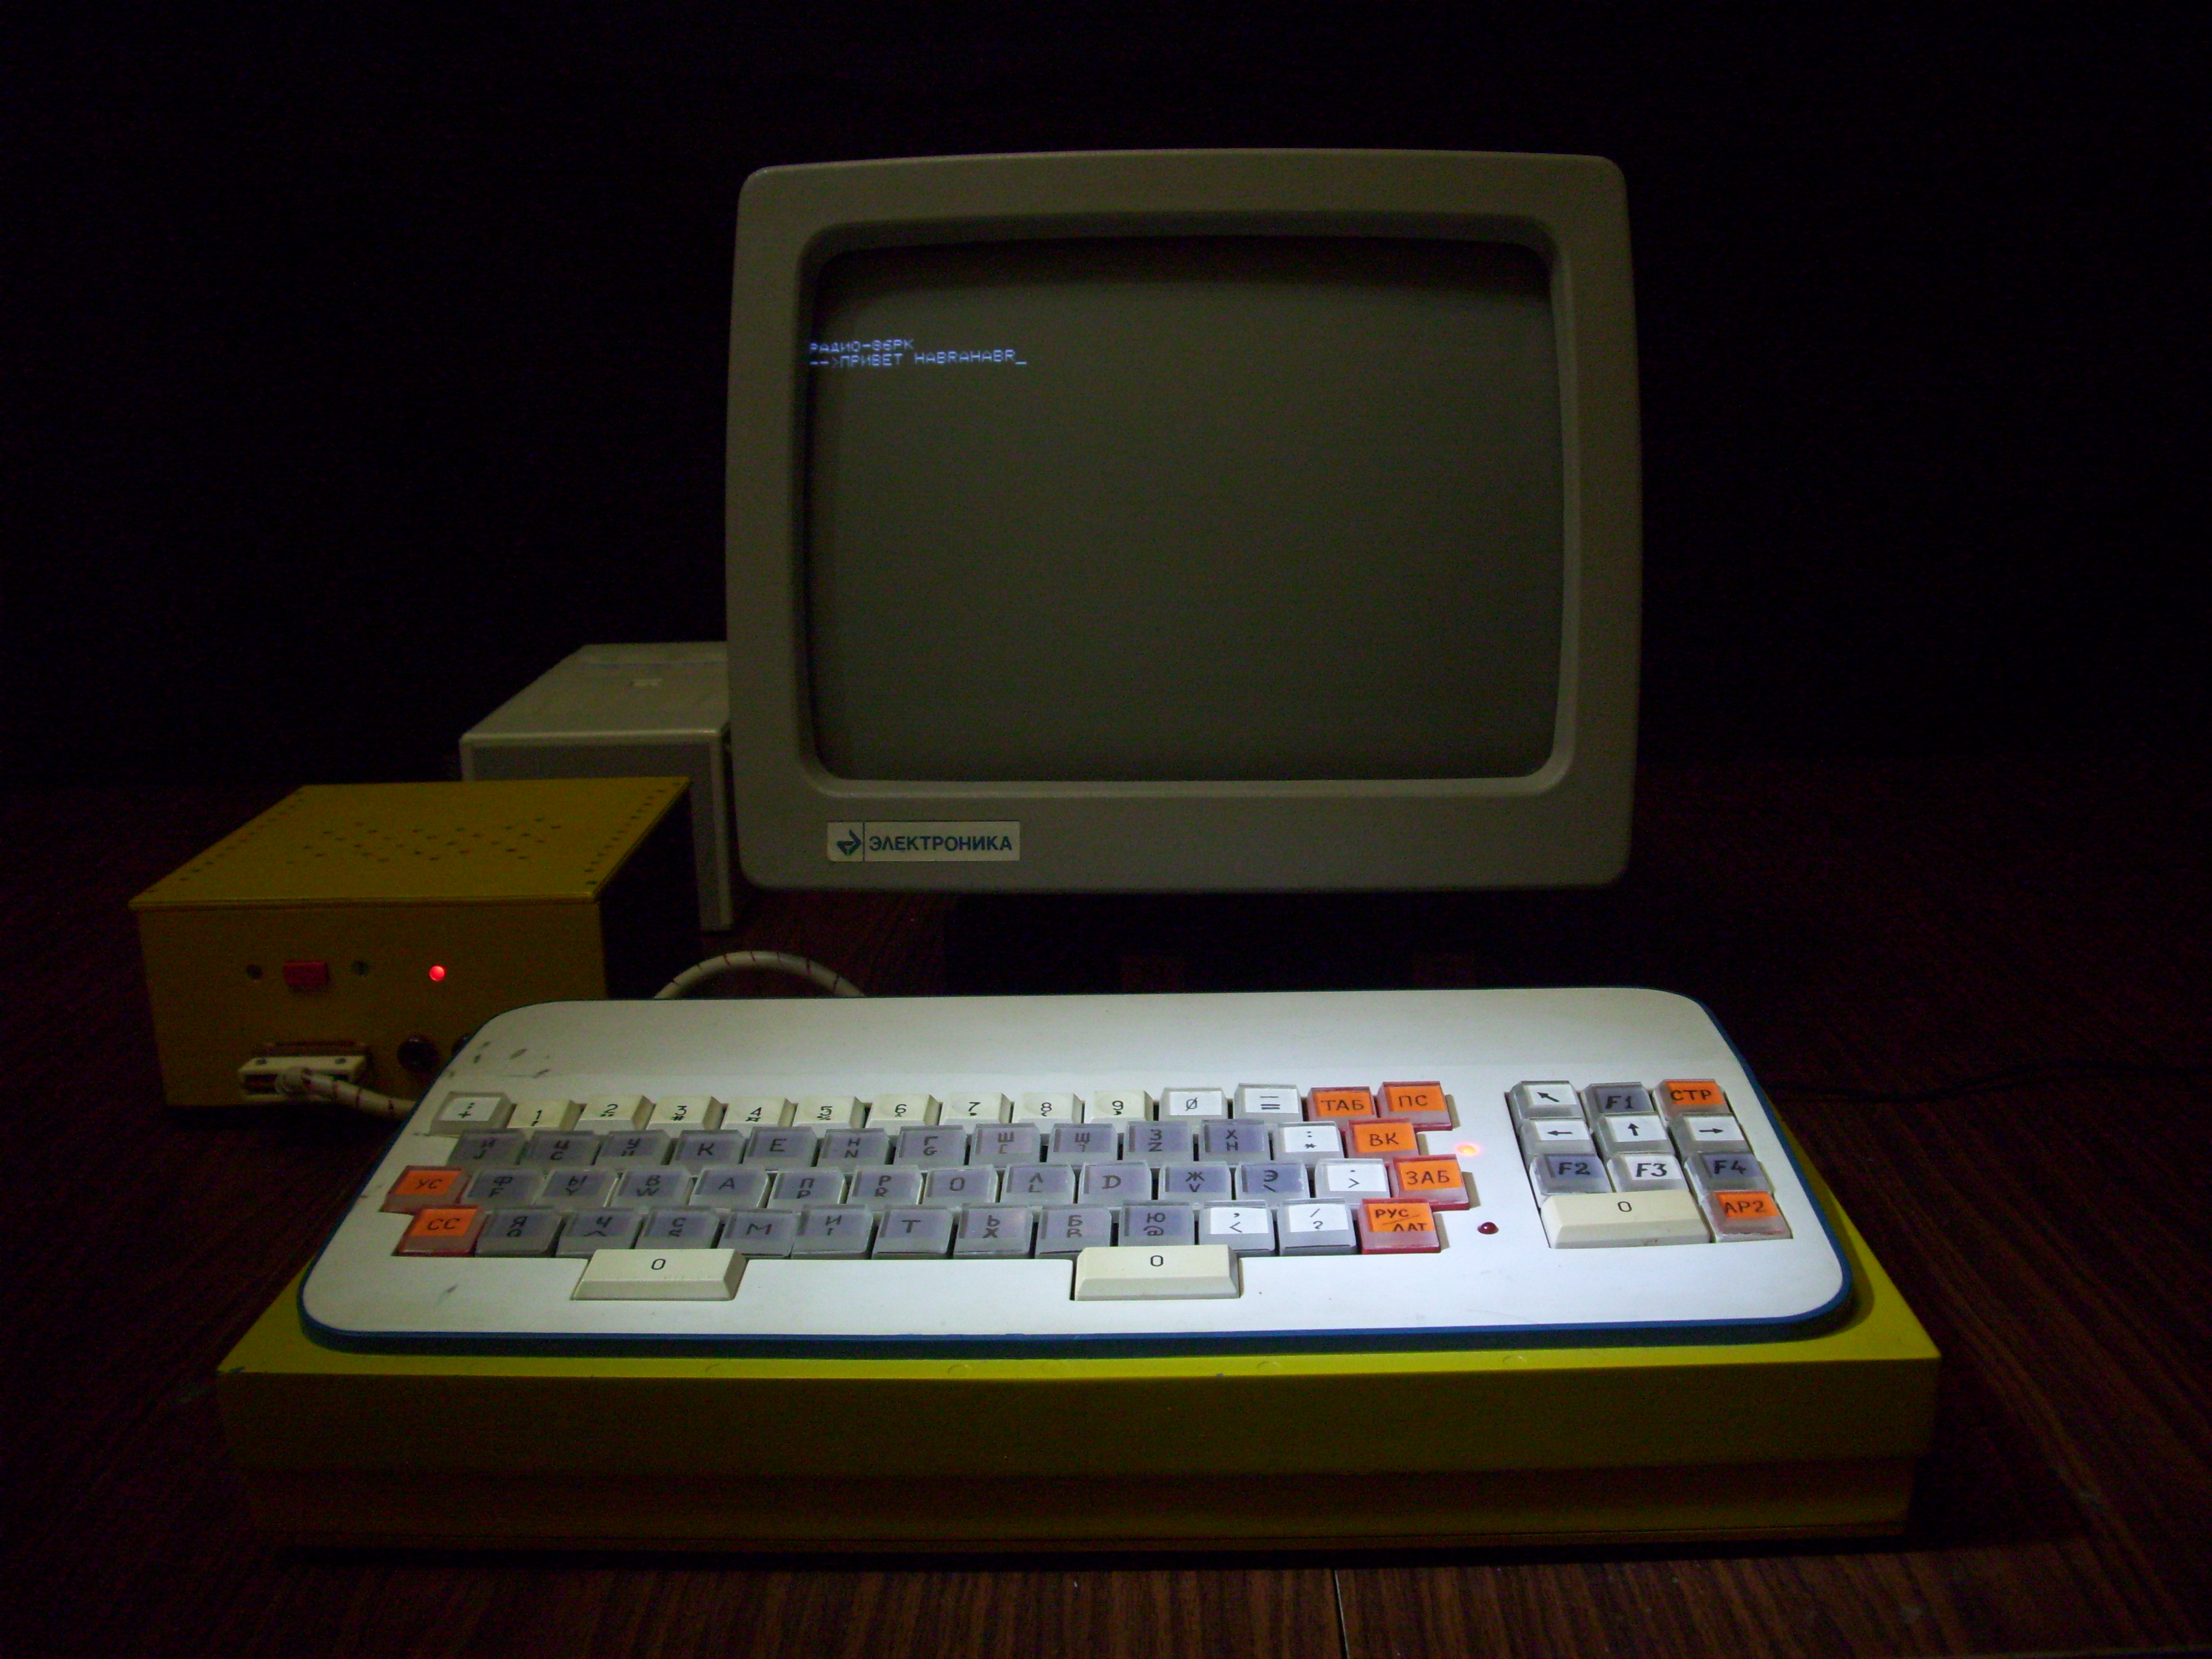
Radio86RK - Soviet improvised computer
Have you ever built a computer? Well, at least once in a lifetime. At least not completely.
“Well, of course!” You say.
And you will not be quite right.
No, I by no means diminish your achievements, however, back in 1986 only experienced radio enthusiasts could assemble a computer in the USSR. It’s enough now to buy a motherboard, a processor, get a couple of RAM slots and a larger hard drive, and put it all in a beautiful case with a 500W power supply. All this, mind you, is done without the help of a soldering iron, oscilloscope and a bunch of circuit diagrams.
Only a few readers of Habr can boast that in Soviet times they really assembled household computers. In a fair and dishonest way, they took out scarce microcircuits, etched printed circuit boards, fought with UV ROM until night, armed with a toggle switch programmer, or wound transformers for power supplies. After several months of painstaking assembly and commissioning, it finally turned out what can already be proudly called a household computer. And if you managed to find or make a suitable and beautiful case for your creation, then such a computer envied everyone who had not yet pumped their crafting skills to level 80.
One of the most popular home-made home computers was Radio86RK, a description and diagram of which were published in a series of articles in the journal "Radio" No. 4-6 / 1986. Two authors of these articles, G. Zelenko and S. Popov, co-authored with V. IN. Panov, subsequently released the book "Home Computer" (Publishing House "Radio and Communication"), entirely devoted to the computer Radio86RK.
Radio86RK is not the first home computer that was offered for assembly by radio amateurs. Its predecessor was the Micro-80, which consisted of a large number of modules and consisted of about 200 microcircuits. It was difficult to assemble and commission, so it did not get much distribution.
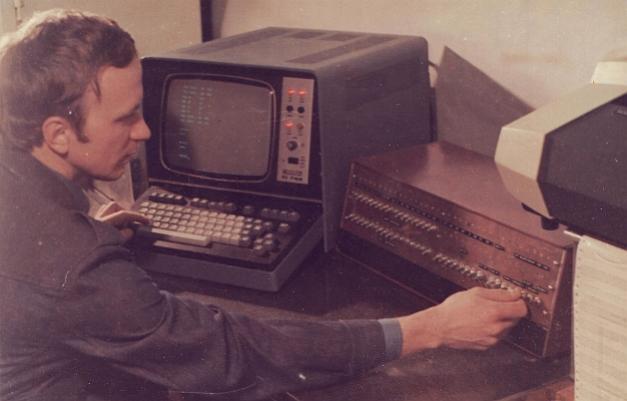
One of the authors of the Micro-80 computer. Image taken from http://mrsaing.my1.ru
But Radio86RK consisted of only 29 microcircuits and a small number of other radio components, it was easy to assemble and, if there were no errors in installation, it started working immediately after turning on the power. However, because of the defective radio components that came across, the Radio86RK might not start, and then you had to pick up the oscilloscope probes and look for a malfunction.
Only later, when the state decided to produce amateur radio designers (and even produce clones of amateur radio household computers) in series, it became a bit easier for radio amateurs to live.
One of the clones of Radio86РК, which was mass-produced in production, was already written on Habré in the review of the PC "Mikrosha" - one of the clones of "Radio-86RK"However, the author refused to work correctly with the author of the household computer because of the bitten-off KM capacitors, which, due to the precious metals contained in them, apparently turned in color in due time.
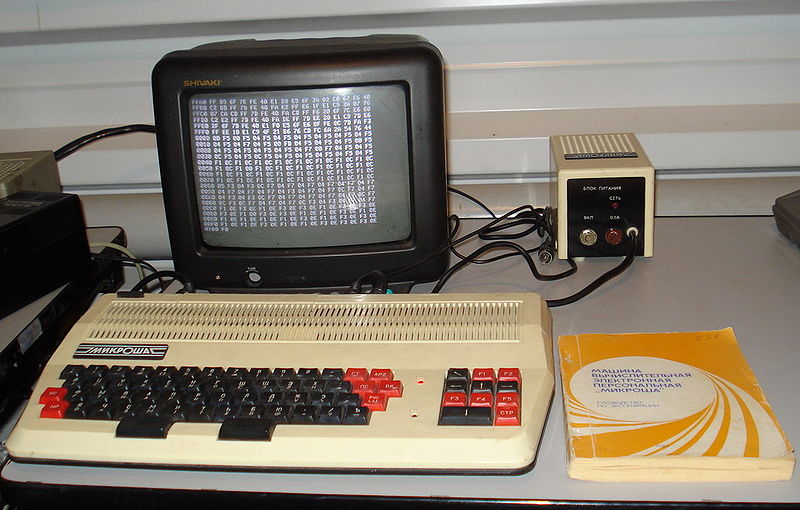
Mikrosha. Image taken from wikipedia.org
In addition, Mikrosh is only partially compatible with its ancestor, so many programs and games for Radio86RK will not be able to run on it without appropriate adaptation.
In addition to Mikrosha, on the pages of Khabr there was an overview of the amateur radio computer Orion-128 , the basis of which, apparently, was taken by Radio86RK. Orion-128 had much more RAM than Radio86РК, a ROM disk and a drive were connected to it, it was also possible to connect a hard disk of up to 10Mb through a special controller.
But so far no one has written a review about the parent of all these numerous clones, namely, about Radio86RK. Today I would like to correct this annoying misunderstanding. So, let's begin.
Technical characteristics of Radio86RK.

Processor: K580IK80A (KR580VM80A) - the Soviet analog of the I8080A processor, operating at a frequency of 1.78 MHz. In fact, the nominal clock frequency of this processor was 2.5 MHz, however, to simplify the circuit of the Radio86PK home computer, it was decided to abandon the clock generator for the video controller and use the processor clock generator as it. Due to the fact that the video controller only digested the frequency of 1.78 MHz, I had to be content with an underestimated processor frequency.

ROM: 2 KB on a chip with ultraviolet erasure K573RF2 or K573RF5 (bourgeois analogue - 2716) in which the “Monitor” control program is located. During computer debugging, instead of the “Monitor”, a diagnostic test was written in the ROM, checking the correct operation of the memory, character generator and keyboard. Therefore, this chip is usually installed on the socket.

RAM: in the original version - 16 KB on eight chips K565RU3. In the revised version - 32KB on sixteen K565RU6 microcircuits (soldered to each other by the second floor). For the normal operation of the Radio86RK computer with 32 KB of RAM, it was necessary to change the firmware of the “Monitor” ROM in connection with the change in the end addresses of RAM.

Video subsystem: built on a bunch of chips KR580VG75 + KR580VT57. Symbols for the character generator are stitched in the ROM chip K573RF1. This microcircuit required as much as three voltages for its power supply: +5, +12 and -5 volts, and often failed if one of the supply voltages disappeared. Many hams replaced it with the K573RF5 microcircuit, since small changes were made to the circuit. Only textual black and white mode of 25 lines for 64 characters is available, despite the fact that the KR580VG75 microcircuit made it possible to realize a color image. For simplicity of design, they decided to refuse the color image.
Due to the scarcity of the KR580VG75 chip, some radio amateurs replaced iton a separate board containing about twenty more common chips. True, after such a replacement, programs that directly accessed video memory, in particular, games, did not work correctly on the computer. Without adaptation, only those programs that accessed video memory via ROM functions worked.
As a monitor, we used a regular TV or video monitor Electronics Electronics 6105. The

keyboard was a matrix with contacts for the circuit, which was fully serviced by the CPU through an input / output port made on one of the KR580VB55 microcircuits (there are two such microcircuits in the computer). The most often used reed buttons on the keyboard from calculators, which were not smooth, but had high reliability.

The output from the INTE processor (on which the “interrupt resolution” signal was generated), switched by EI / DI commands, was used as a sound source. Since interrupts were not used on the computer, this output was free. Do not disappear good, right?

Power supply: one of the most important components of the computer, designed with the highest possible reliability, because due to its malfunction rather scarce and expensive microcircuits could fail. The fact is that for its work, the Radio86РК computer used three supply voltages (-5V, + 5V and + 12V), with the voltage -5V first, and then + 5V and + 12V to be supplied first. They must be removed in the reverse order. It is also allowed the simultaneous supply and removal of all voltage, and if one of them disappears, all the others must be removed.

A household tape recorder was used as an external device for storing programs and data.

Peripheral devices (for example, a printer) were connected to a free port on the second chip KR580VV55.
Appearance of Radio86RK.
Talking about the appearance of a home-made computer is not entirely correct.
Everyone tried as best he could, and made a case for his PK86 from what came to hand. Some do not bother, and keep your computer completely without body, and then holili and nurtured it - God forbid throw hima beer tea, or static kill.
Radio enthusiasts who comprehended Zen tried to hide their offspring in buildings from Soviet calculators of the appropriate dimensions (for example, Spark 111M), and those people who knew how to not only hold a soldering iron in their hands, but also work with plexiglass, made their own cases.

Radio86РК in the housing of the Iskra 111M calculator. The image is taken from the site http://sfrolov.livejournal.com
And now, let's look at the body version of my copy of Radio86RK.
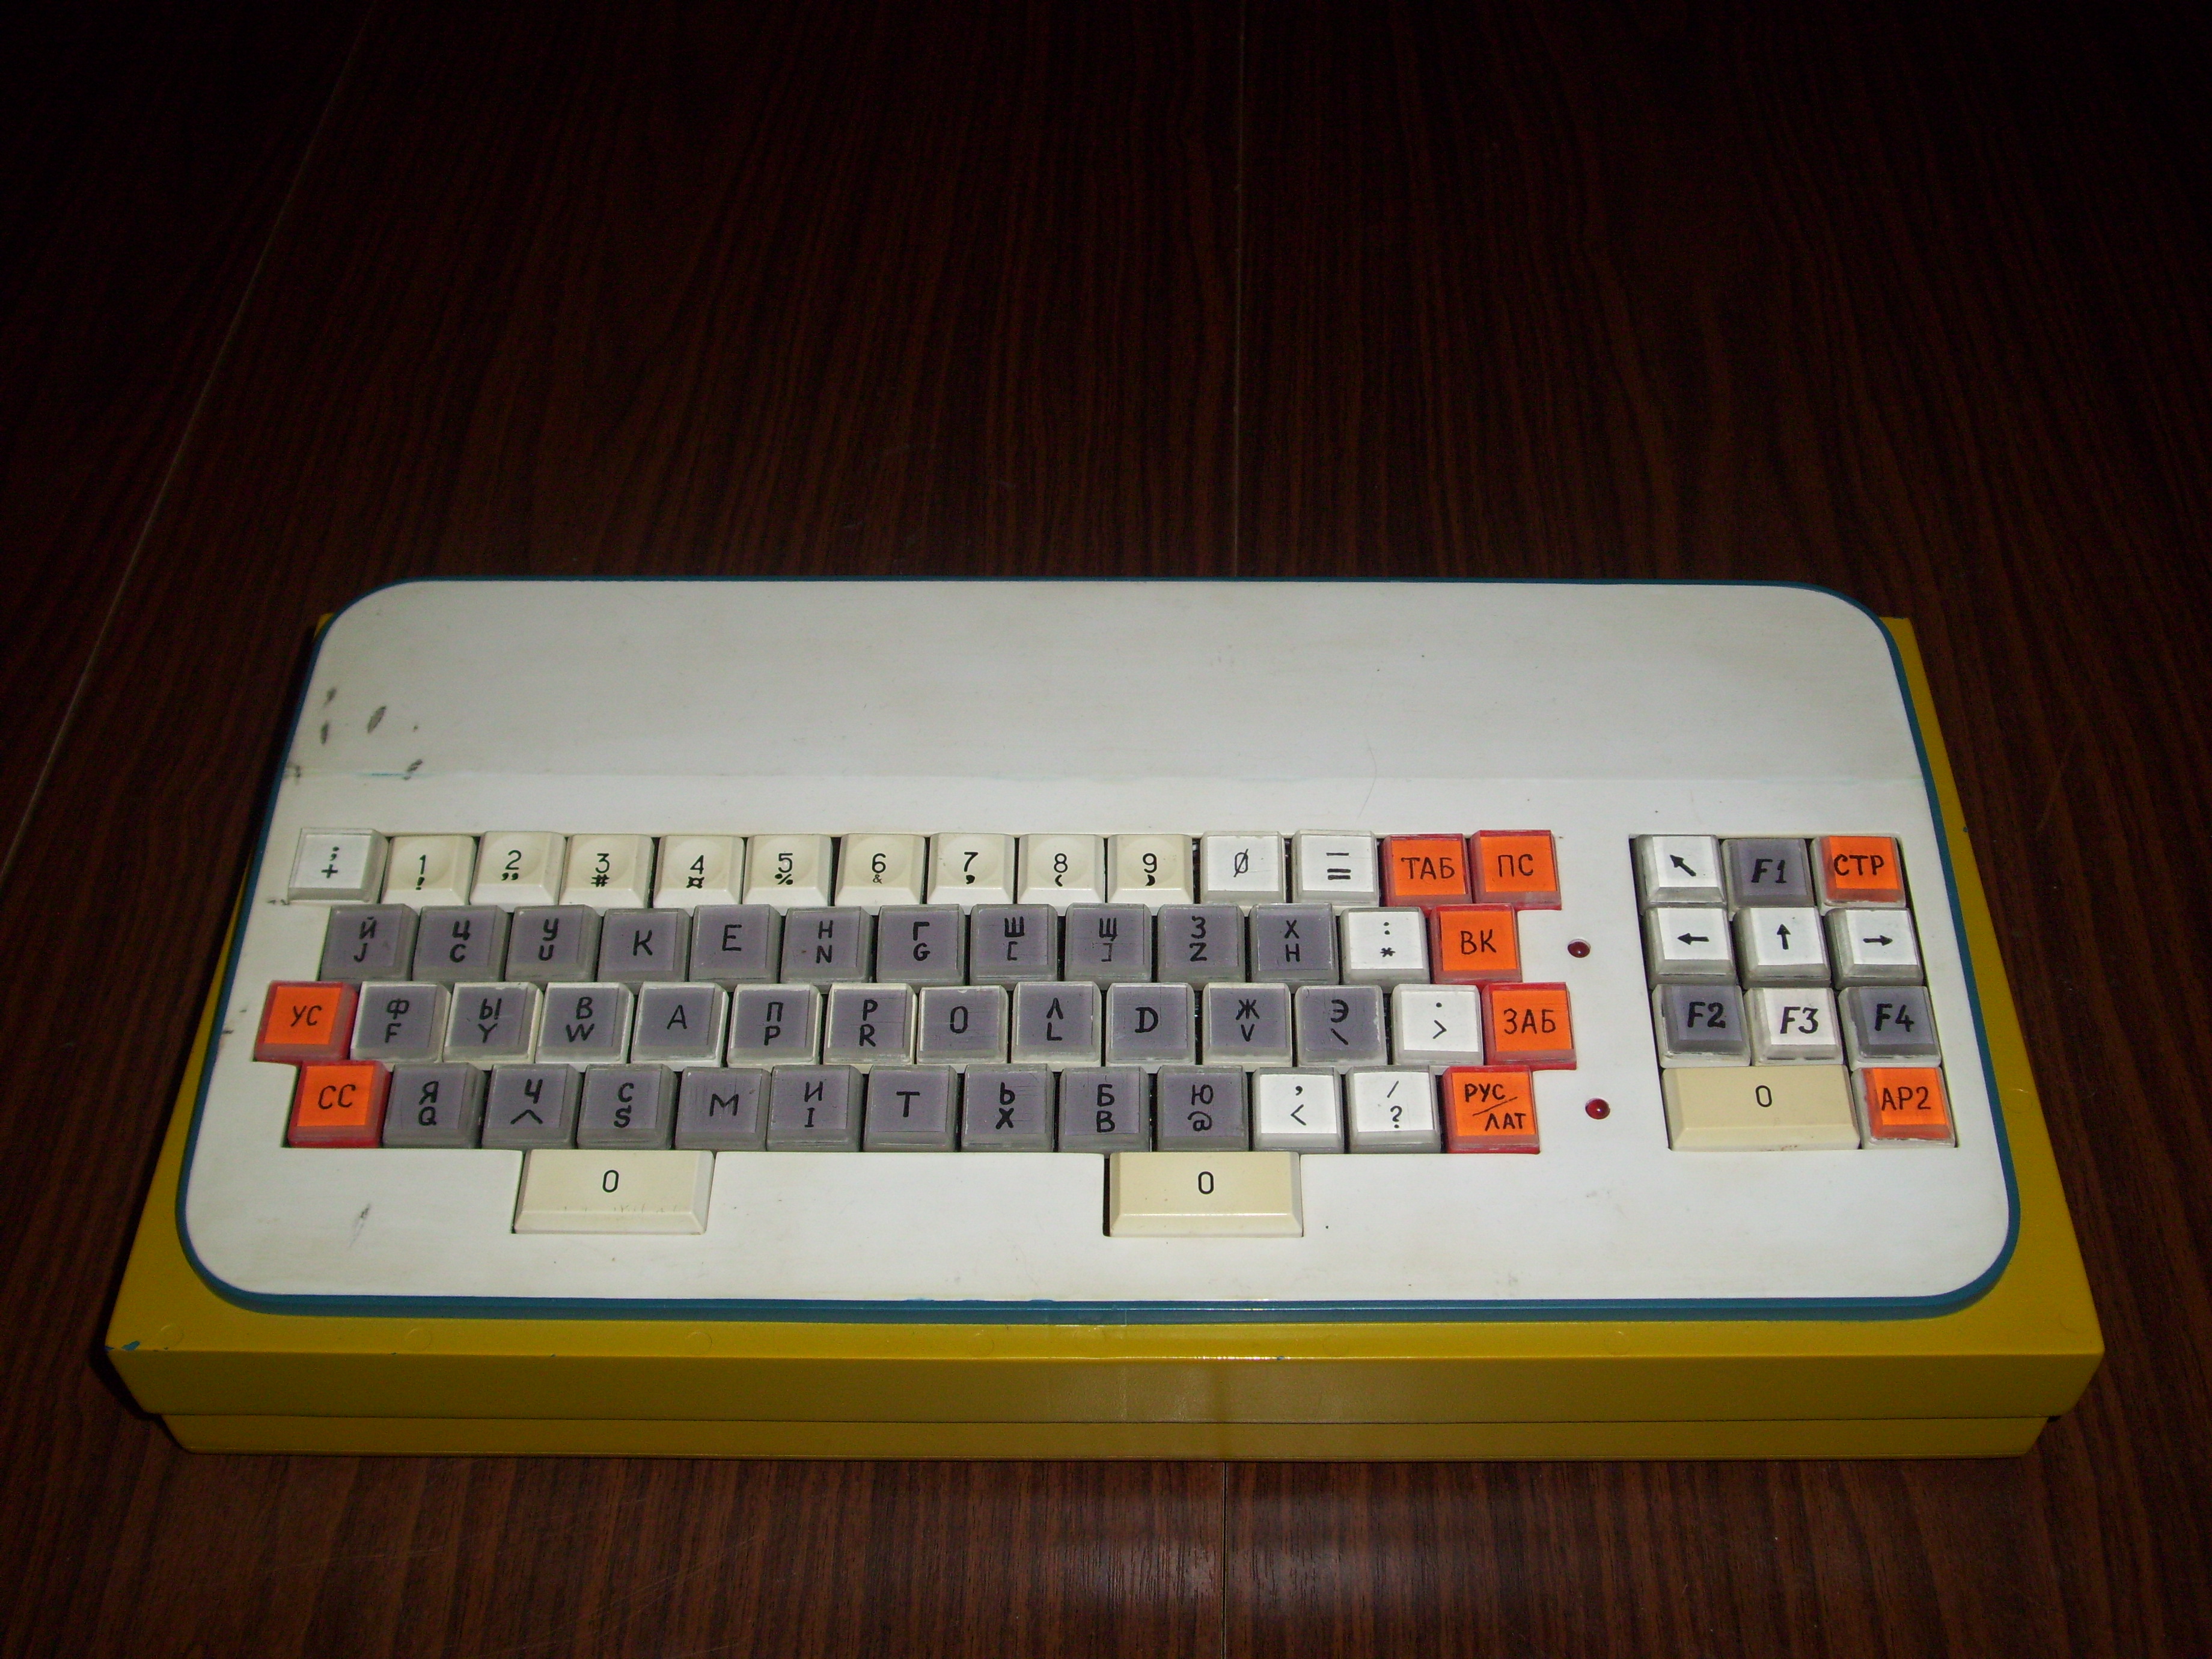
It is made of plexiglass, and painted yellow. Holes for buttons and two LEDs are cut out in the top cover of the case.
The keyboard is typed from buttons from Soviet calculators. Letters and arrows had to be drawn on the buttons manually - on top of such buttons there are transparent caps that protect the inscription from being erased. The numbers on the buttons did not need to be drawn, since they had already been pre-printed on the buttons of each self-respecting calculator.
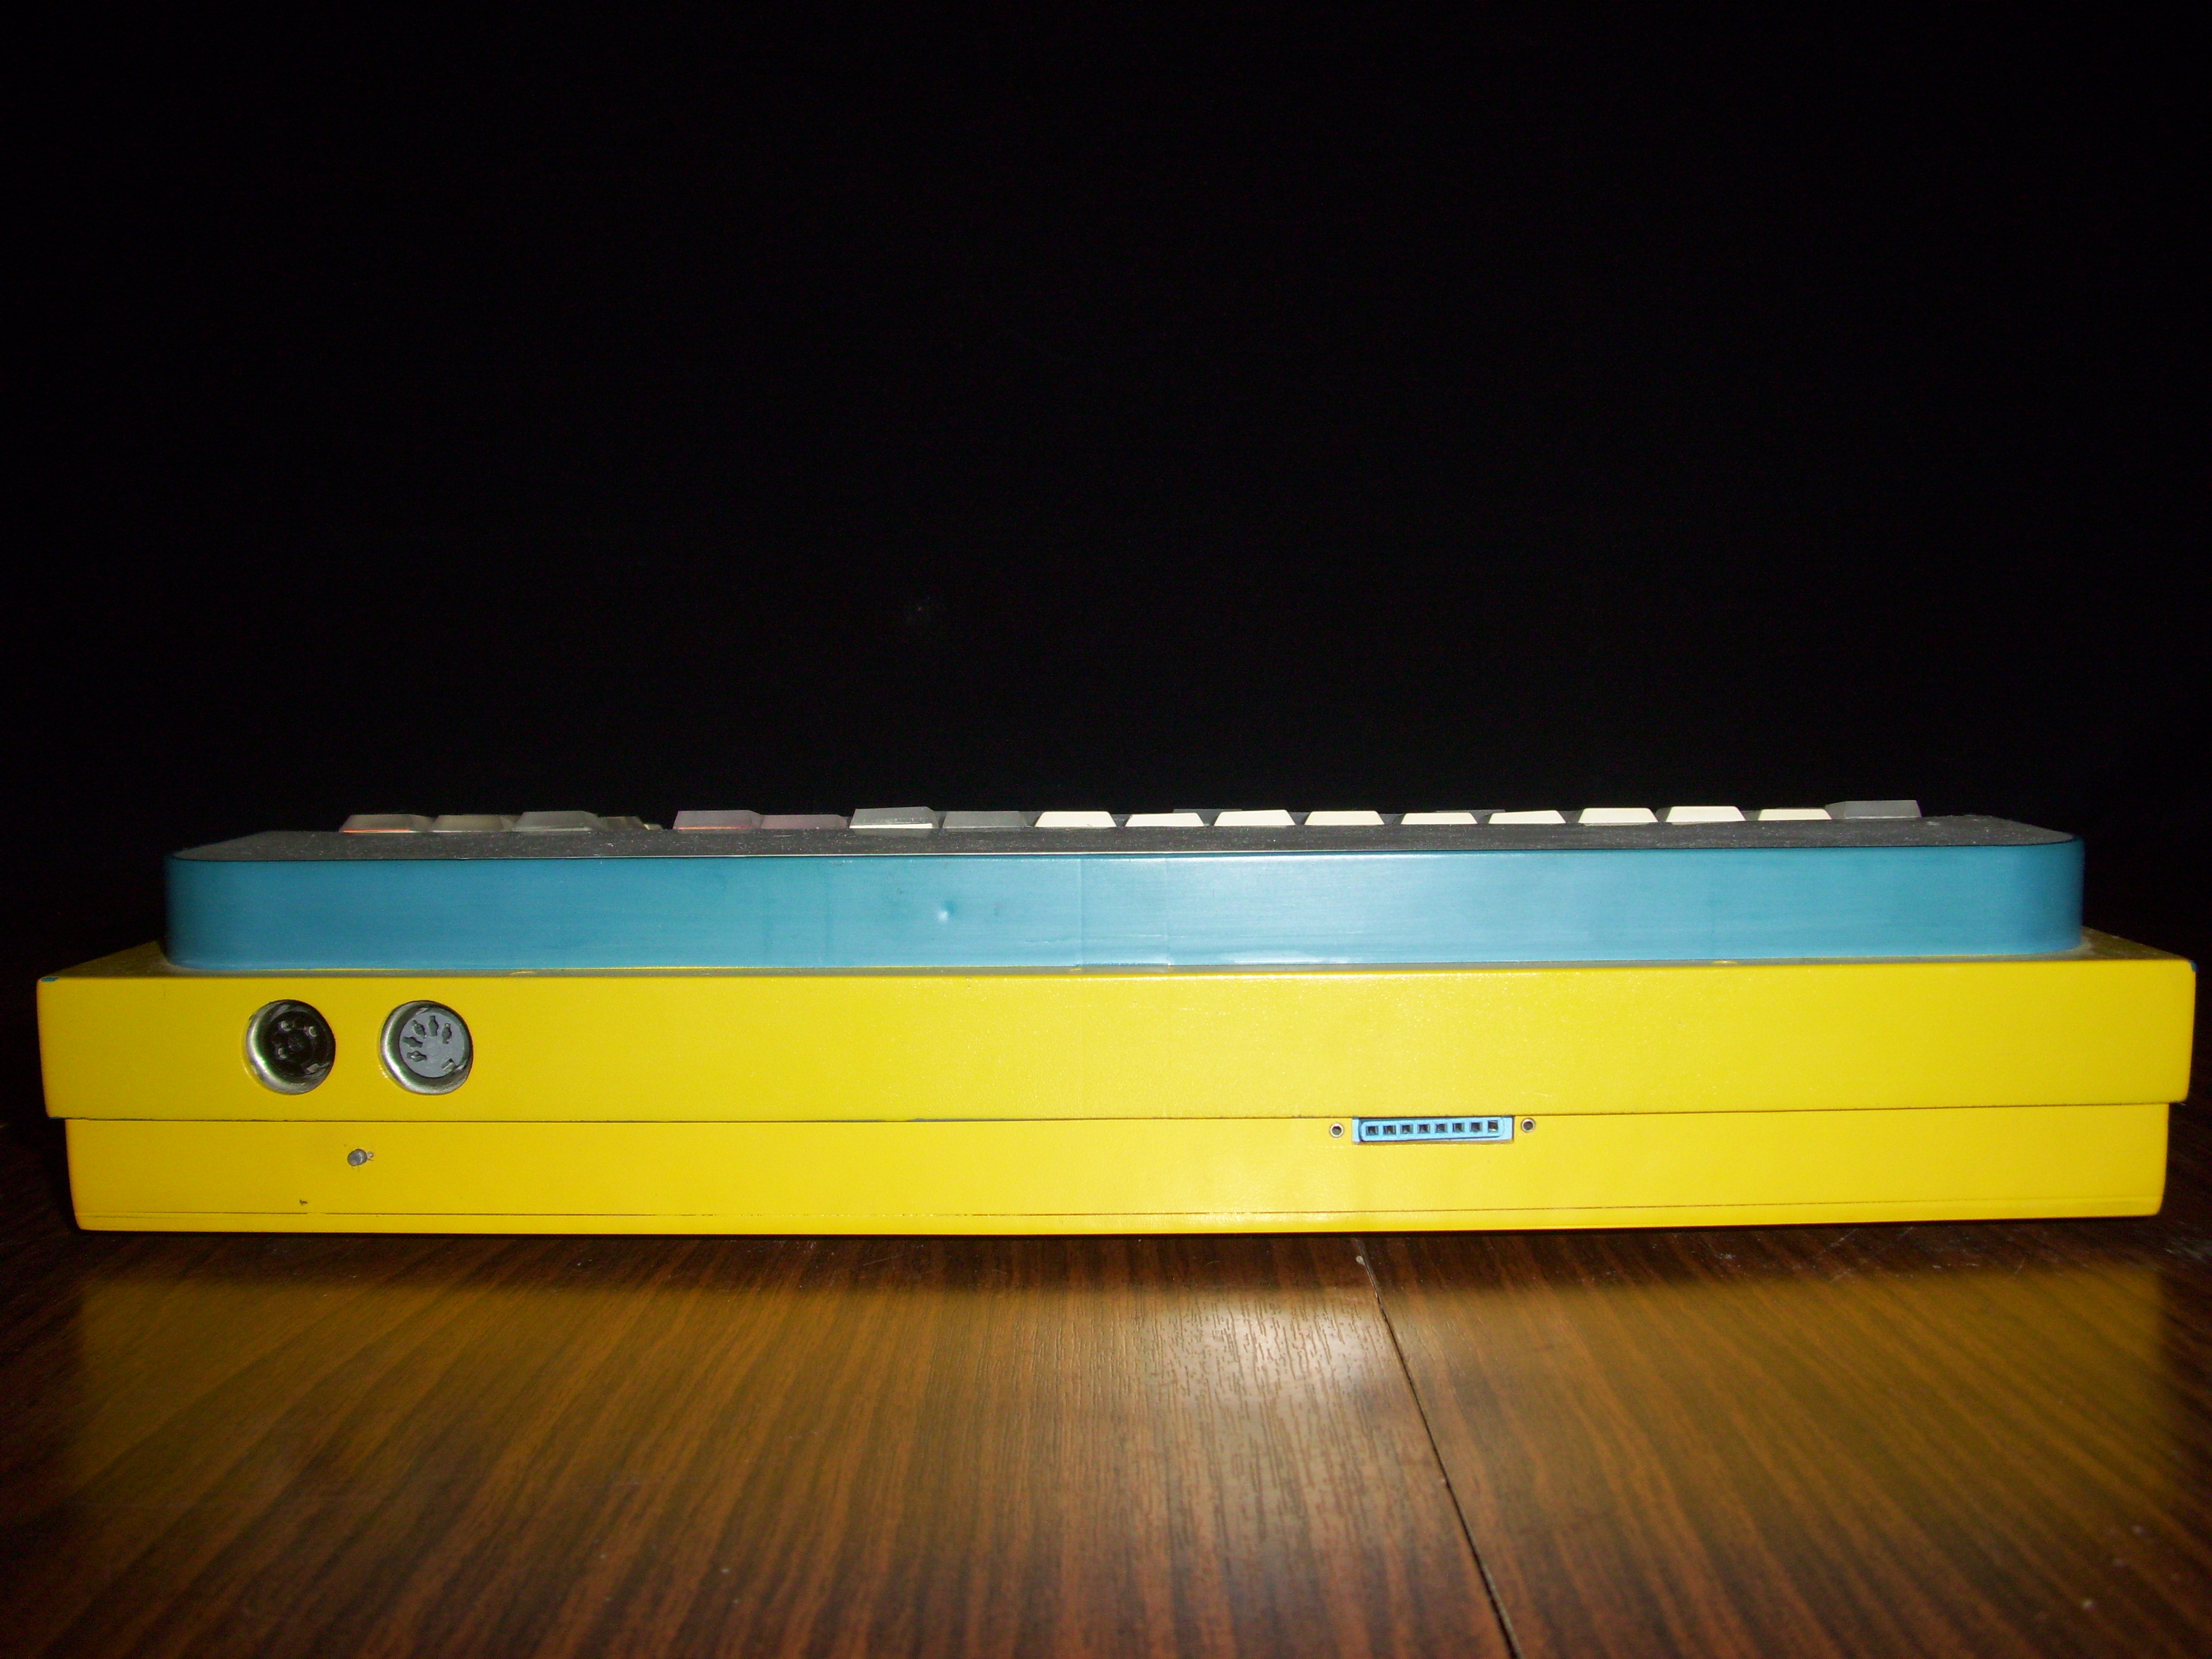
There is nothing interesting on the sides of the case, but on the back wall there are all the necessary connectors - a connector for connecting a tape recorder, a TV, a “Reset” button, and a connector for a power supply.
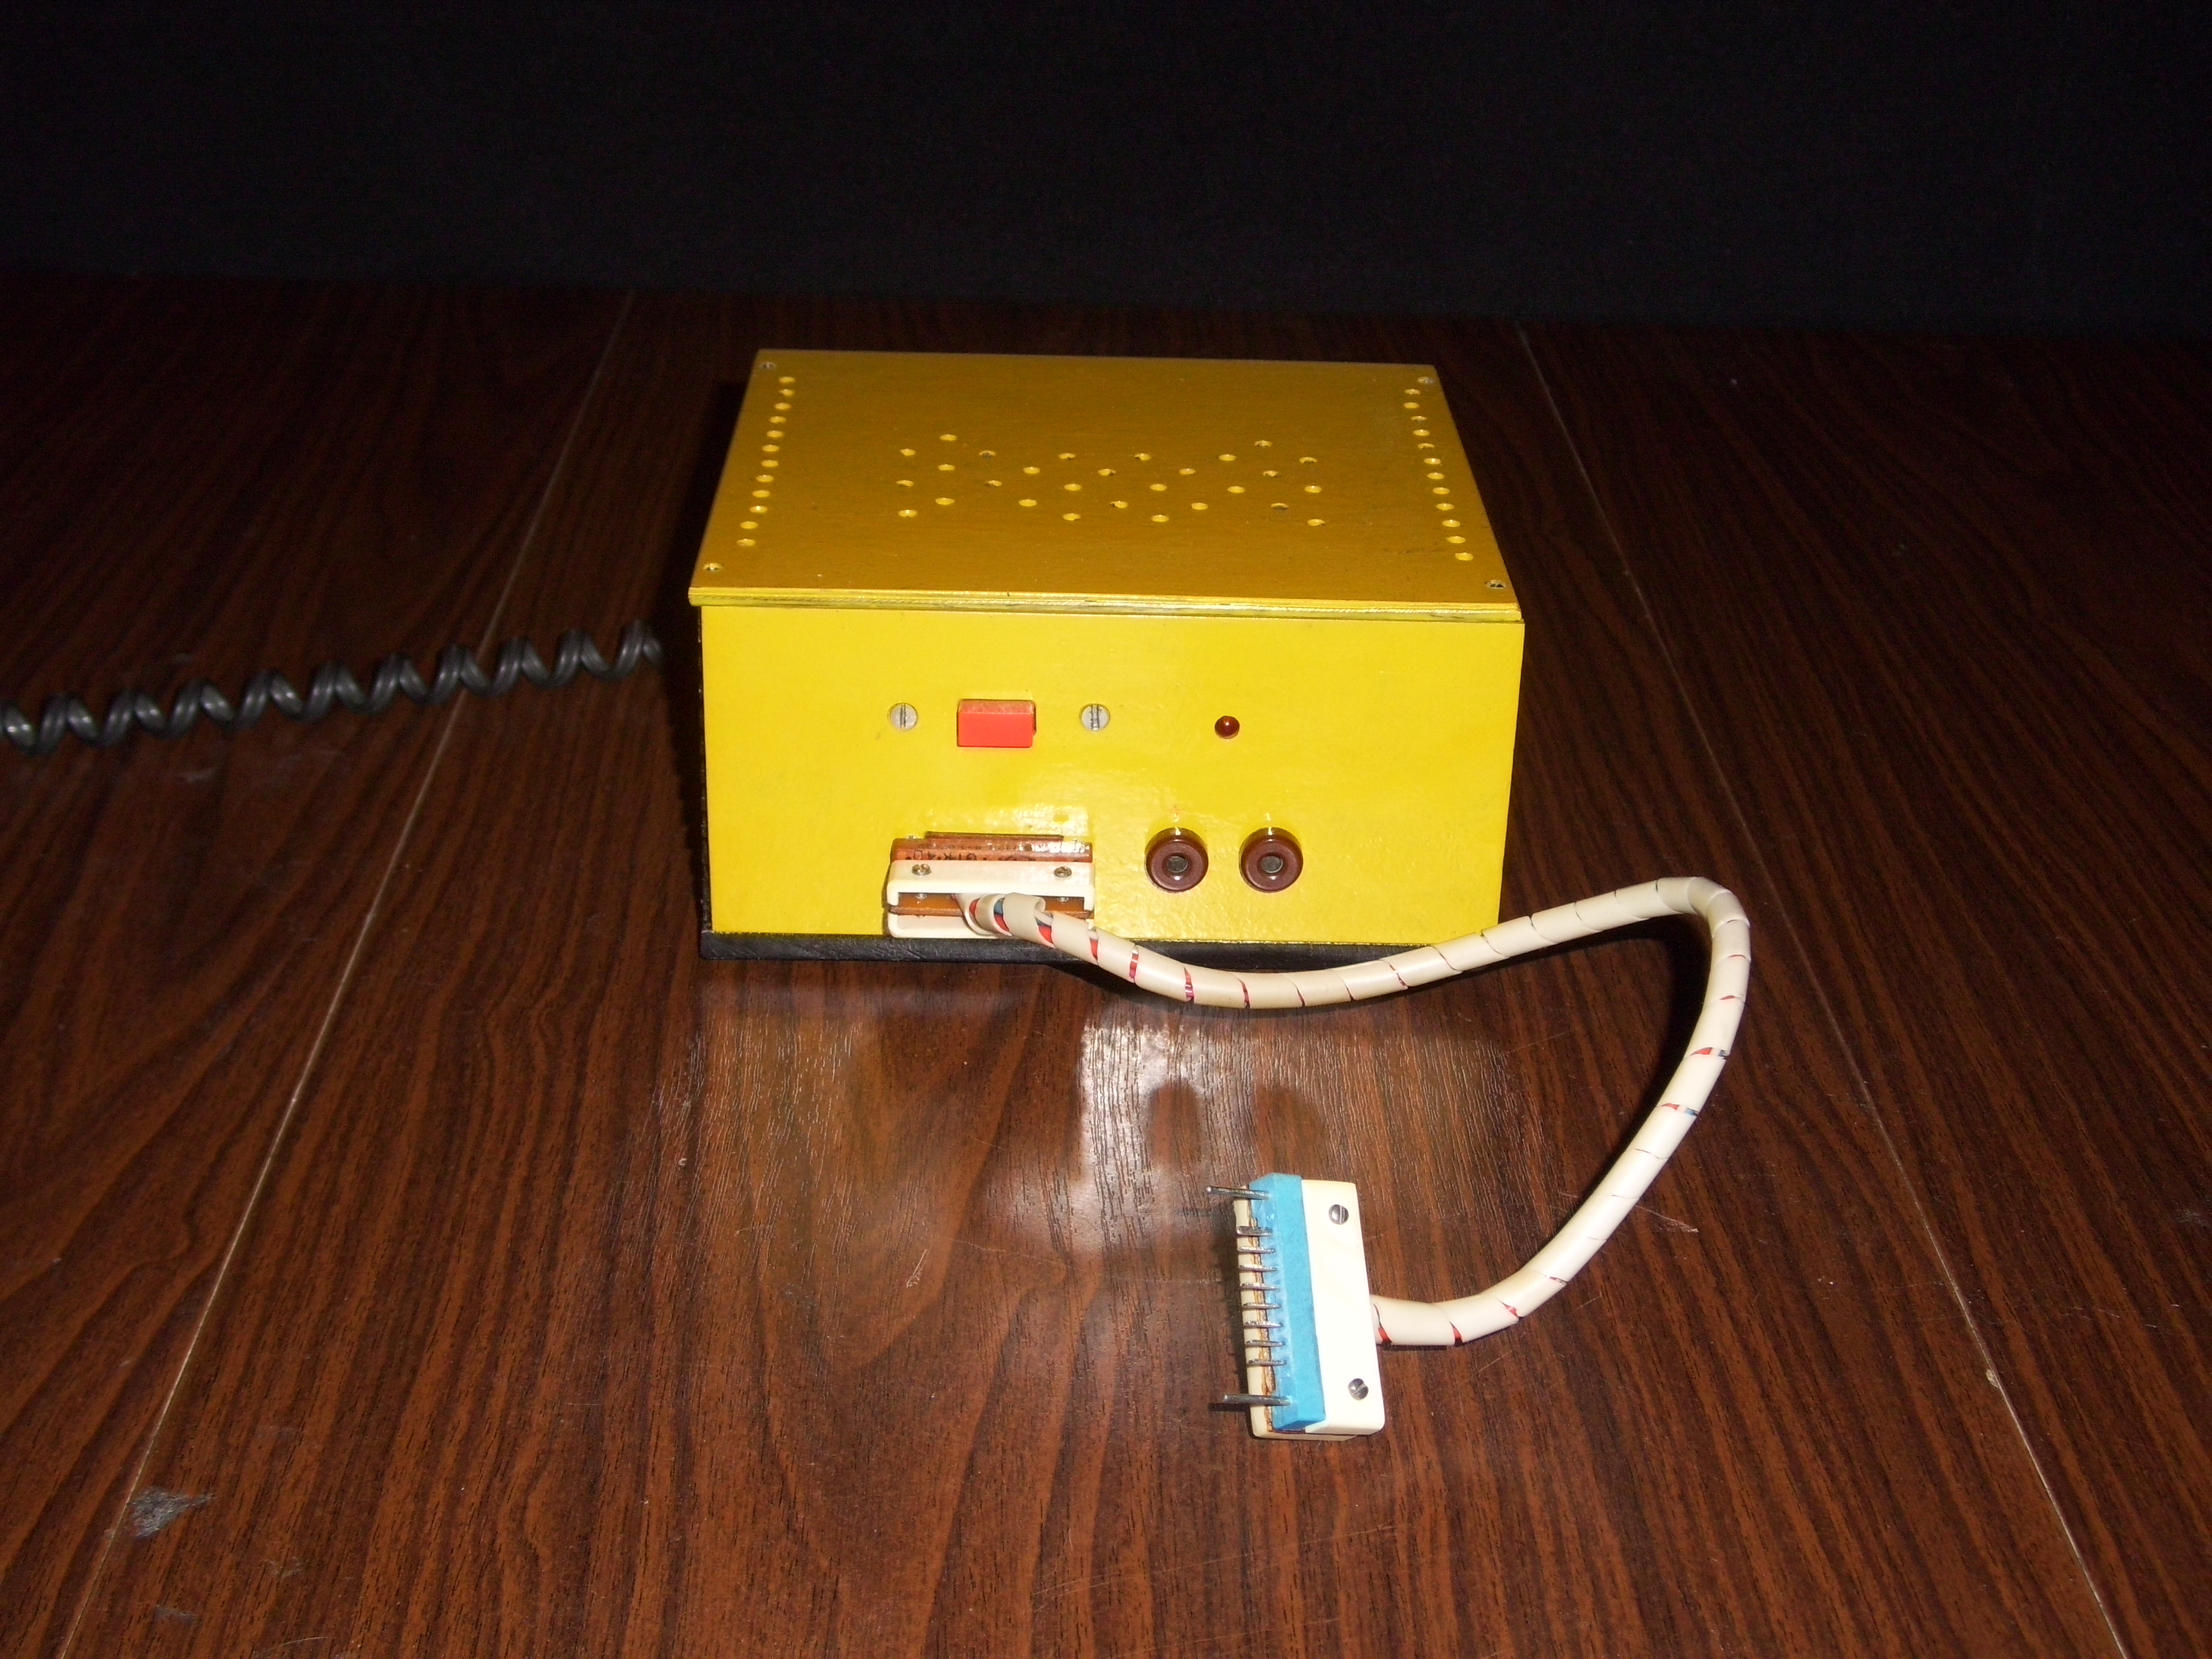
The power supply housing is also made of plexiglass and painted yellow.
In addition to the power connector of the Radio86РК and the power button, on the front wall of the PSU case there is a + 5V outlet, which, in principle, is not needed. But this is not a bug, this is a feature (s).
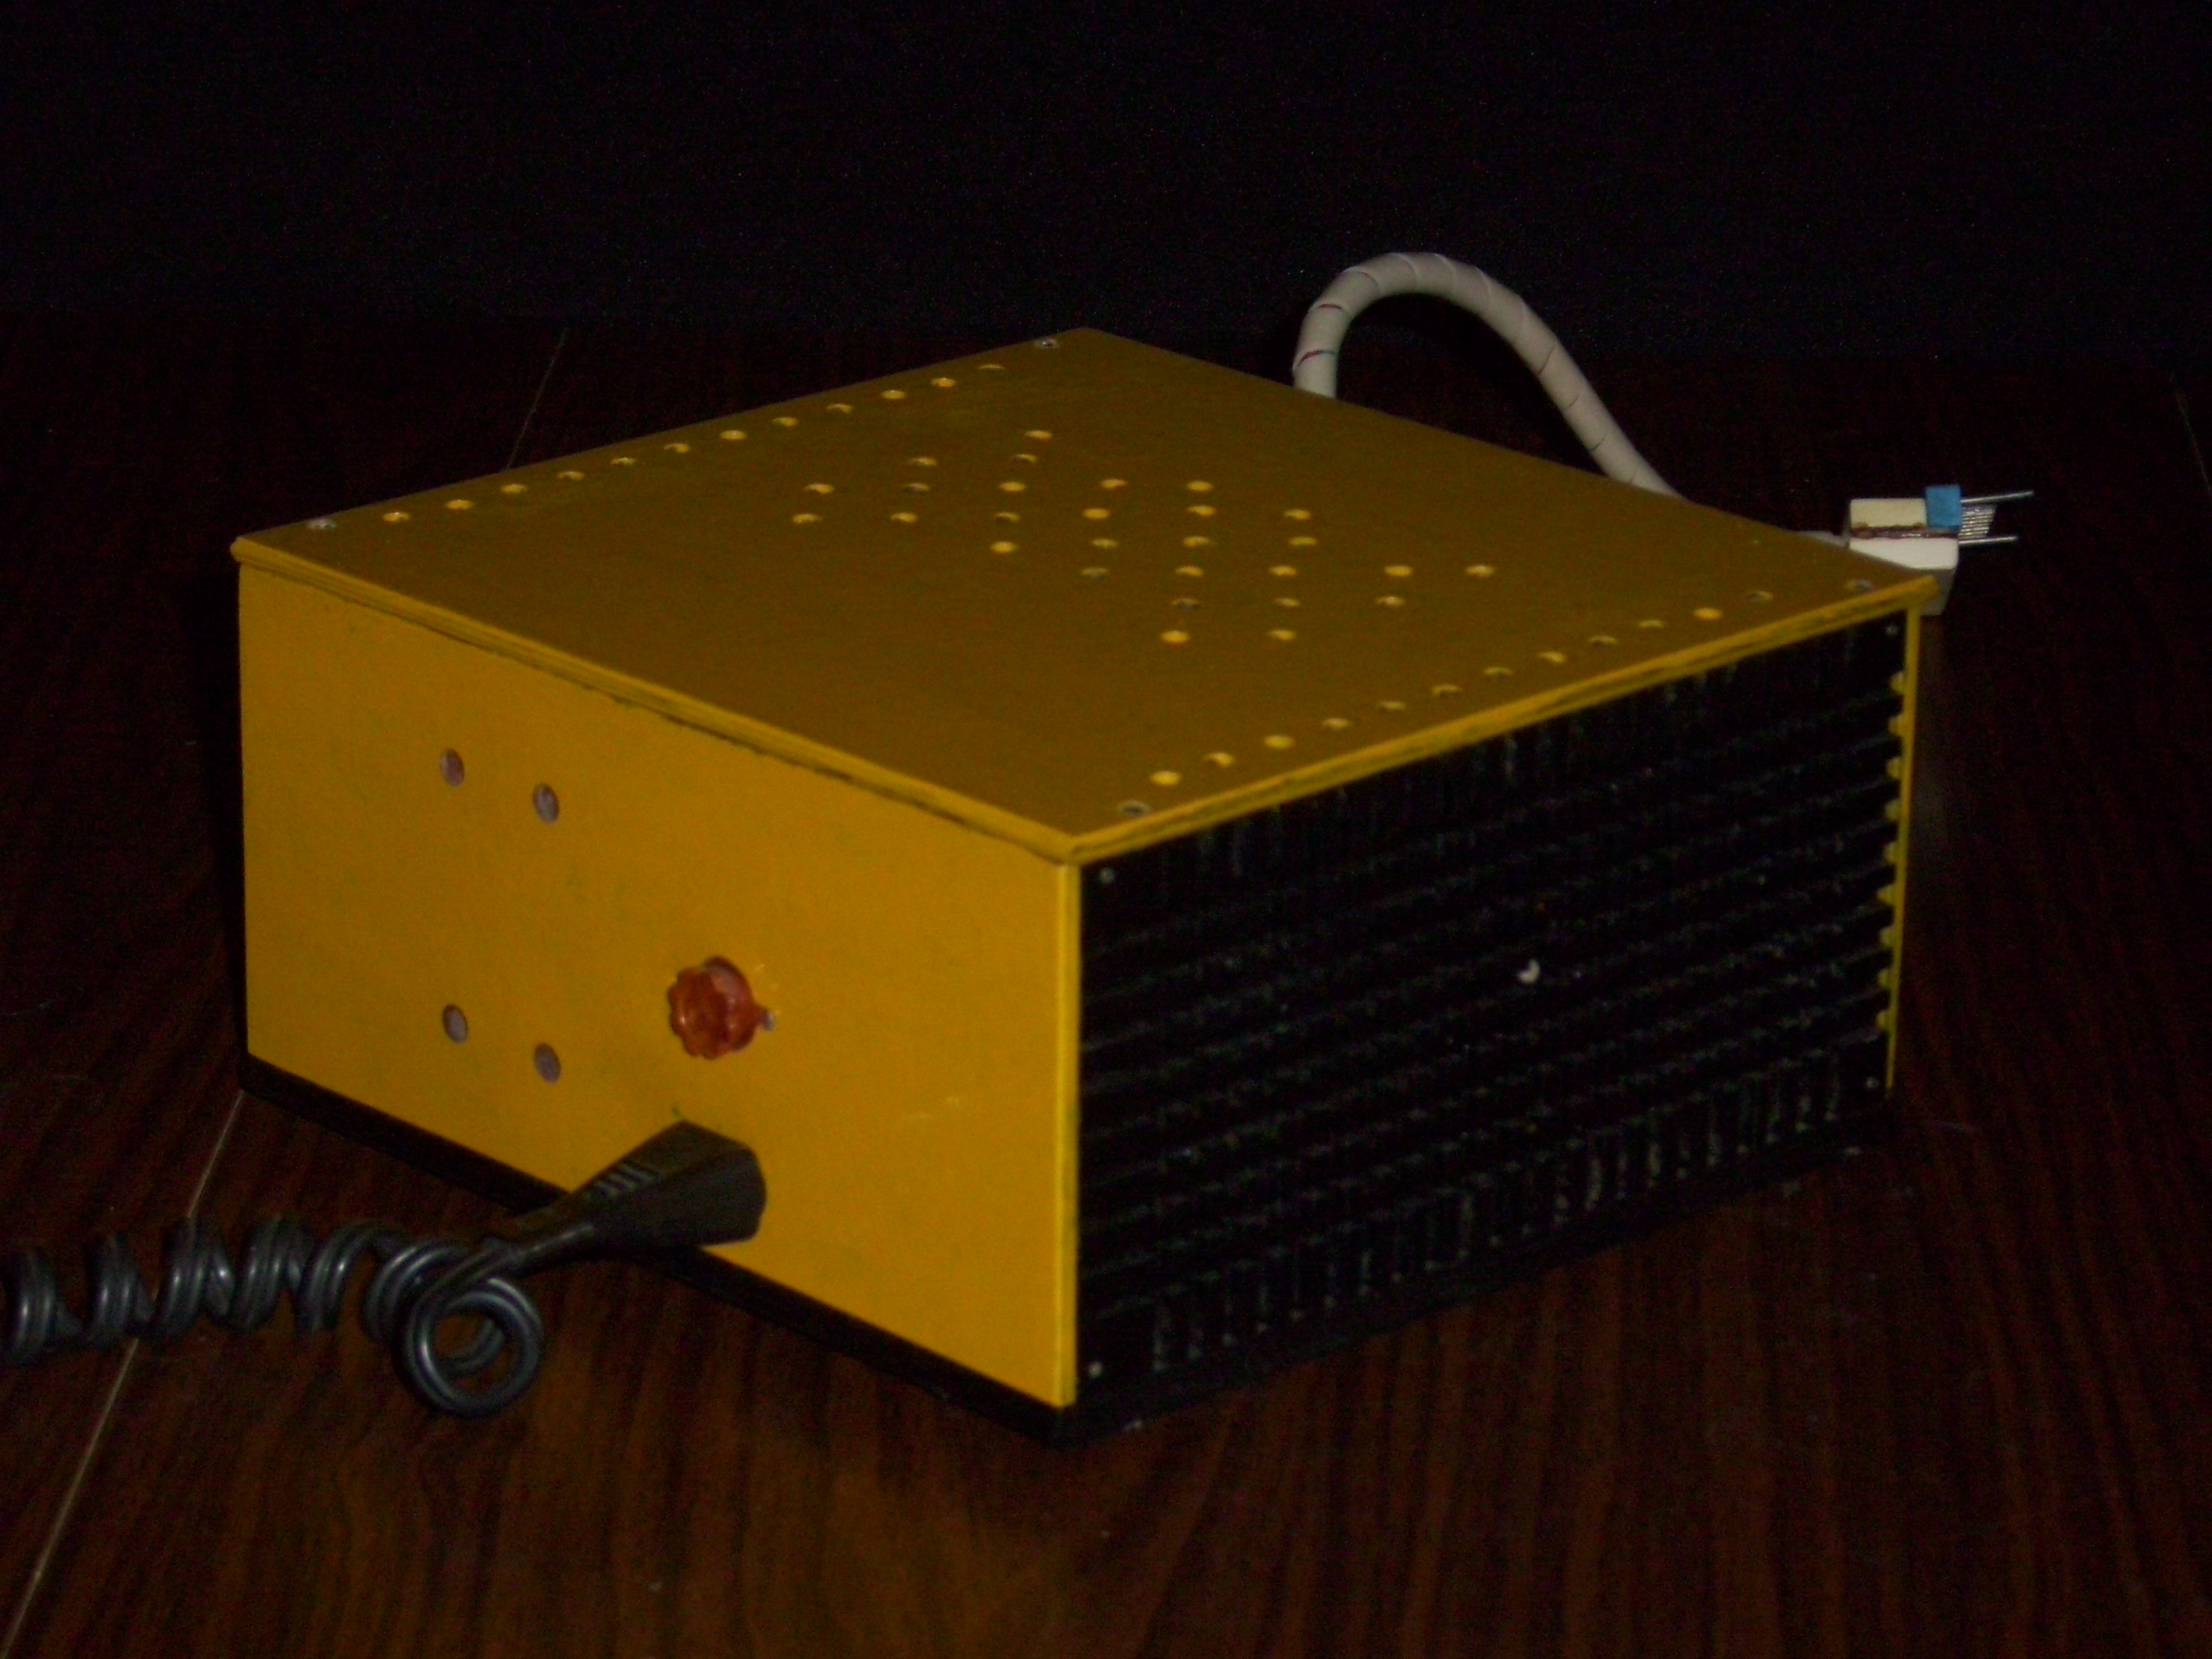
The side wall of the power supply is a giant radiator. This is how the cooling problems were solved.
What is inside it?

We remove the upper part of the case - no screws, just pull up.
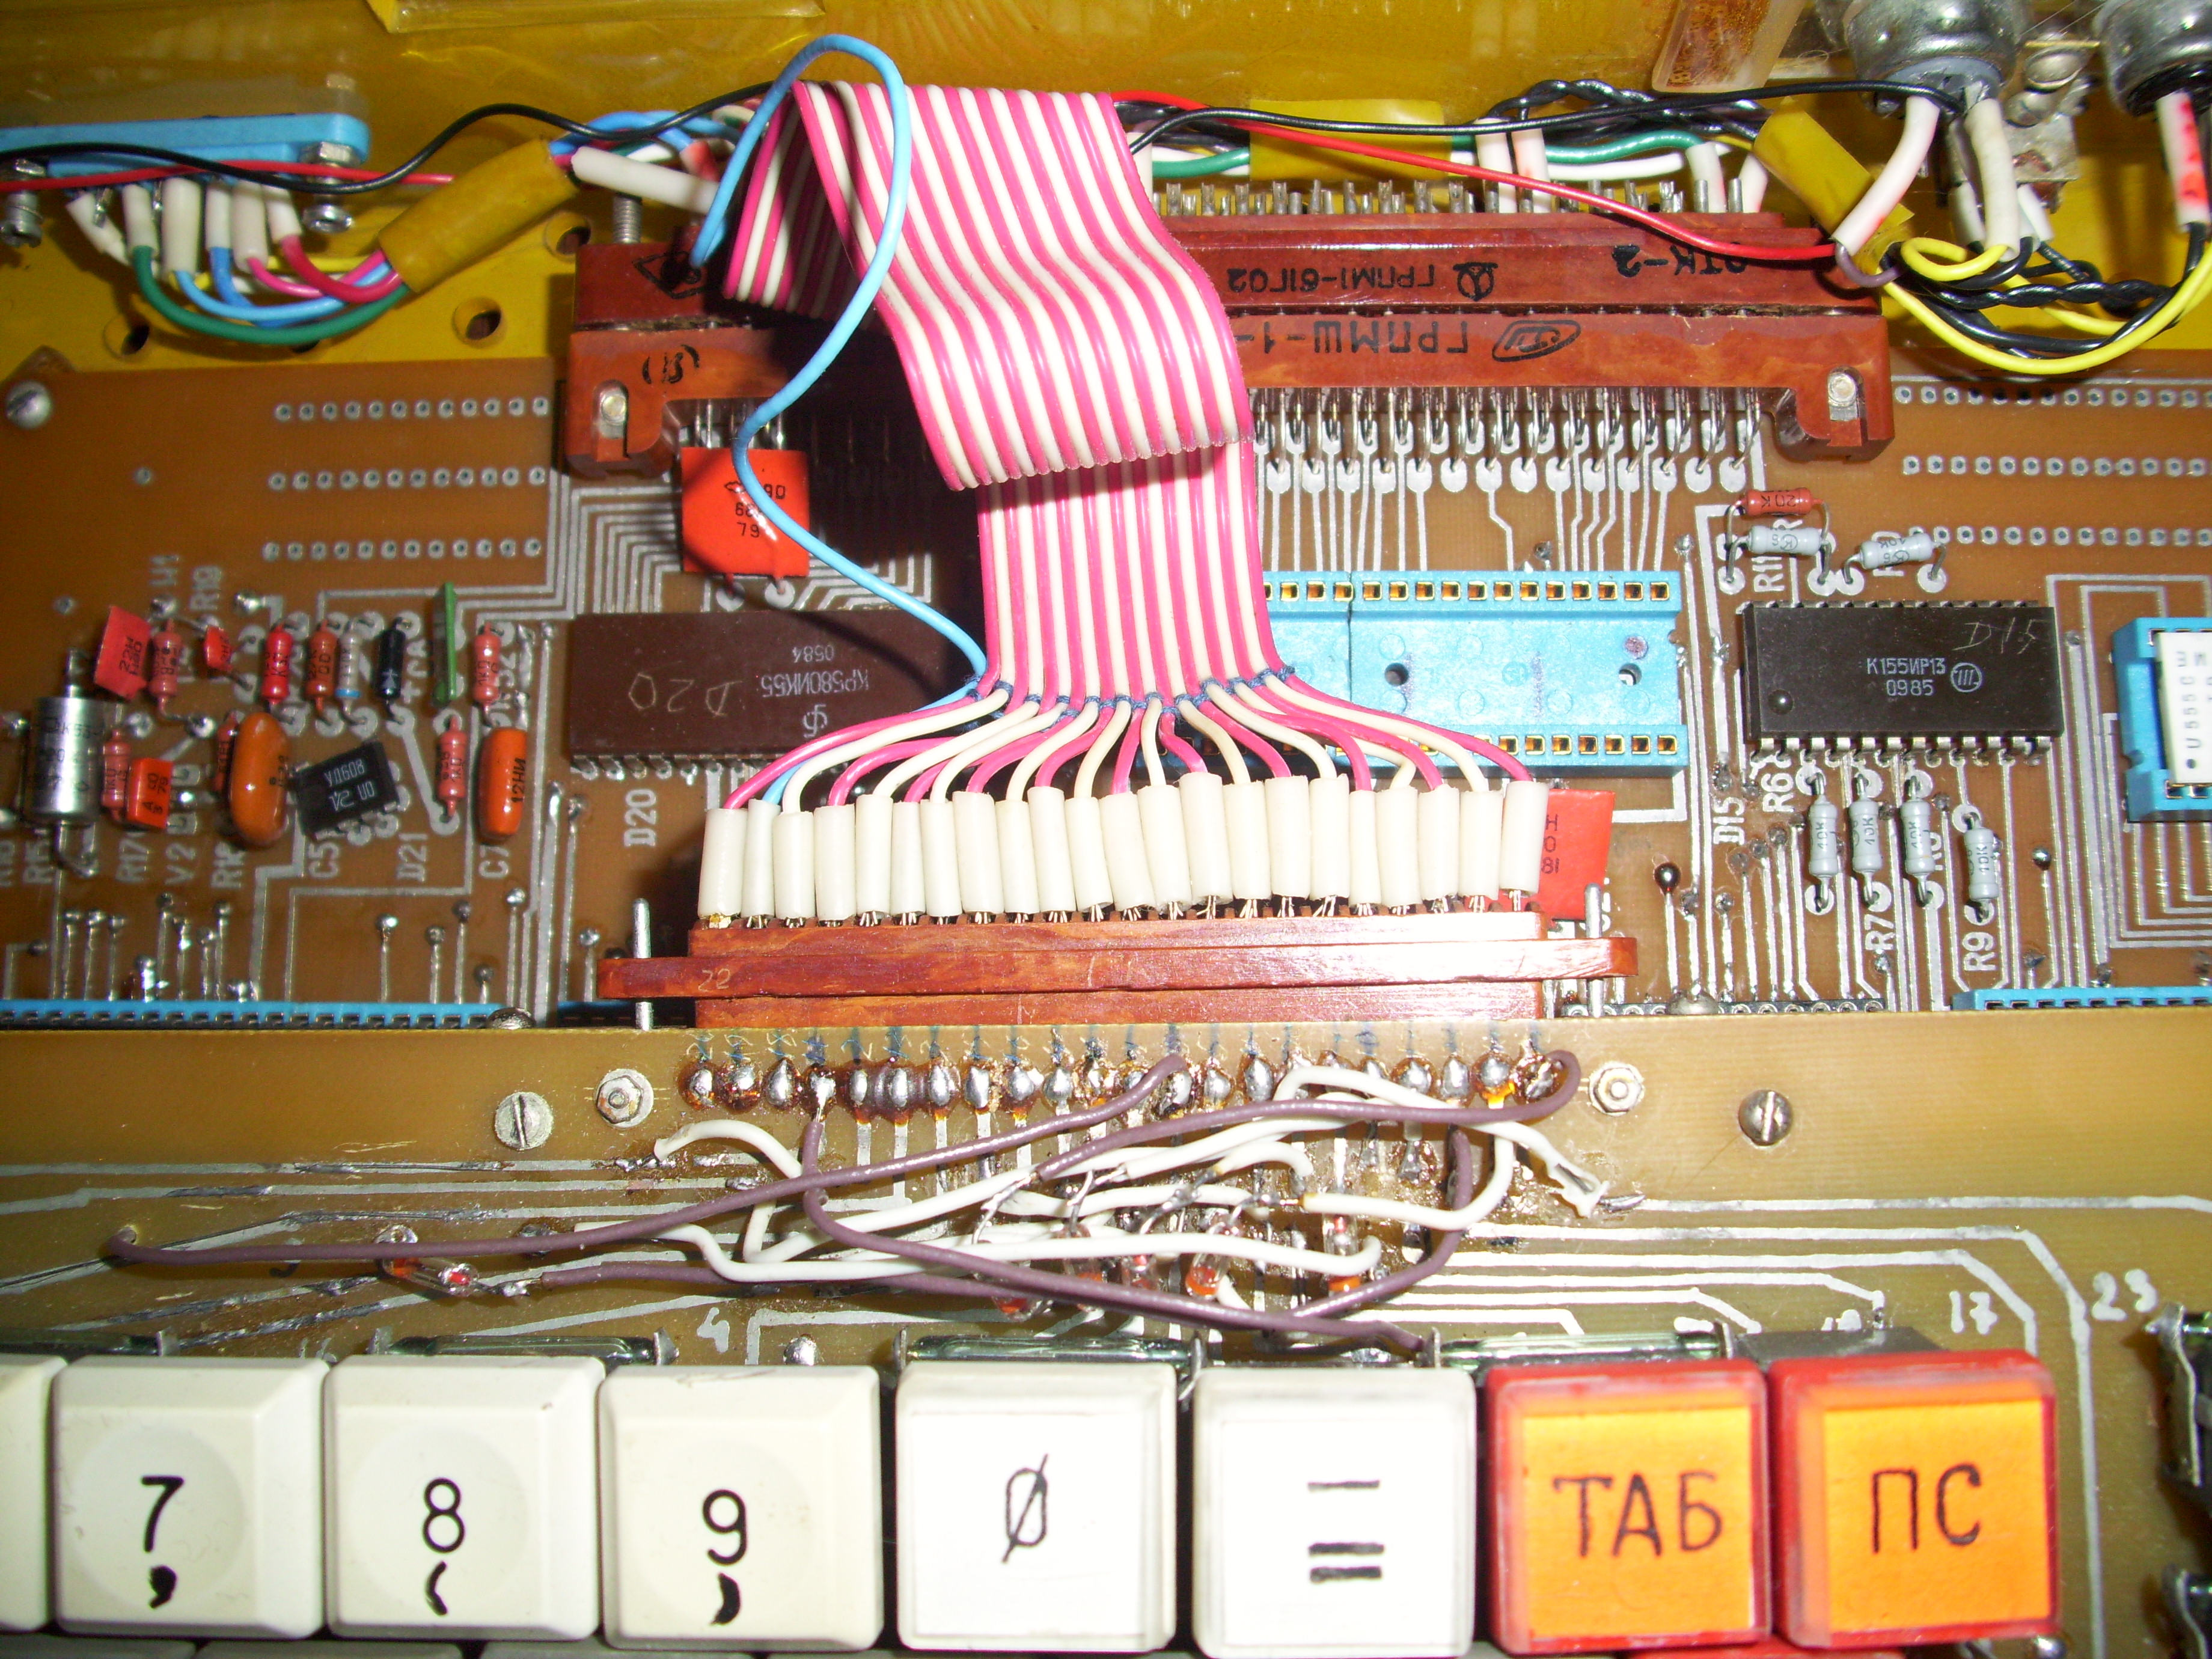
We see a keyboard connected by a loop to the main board of a computer.
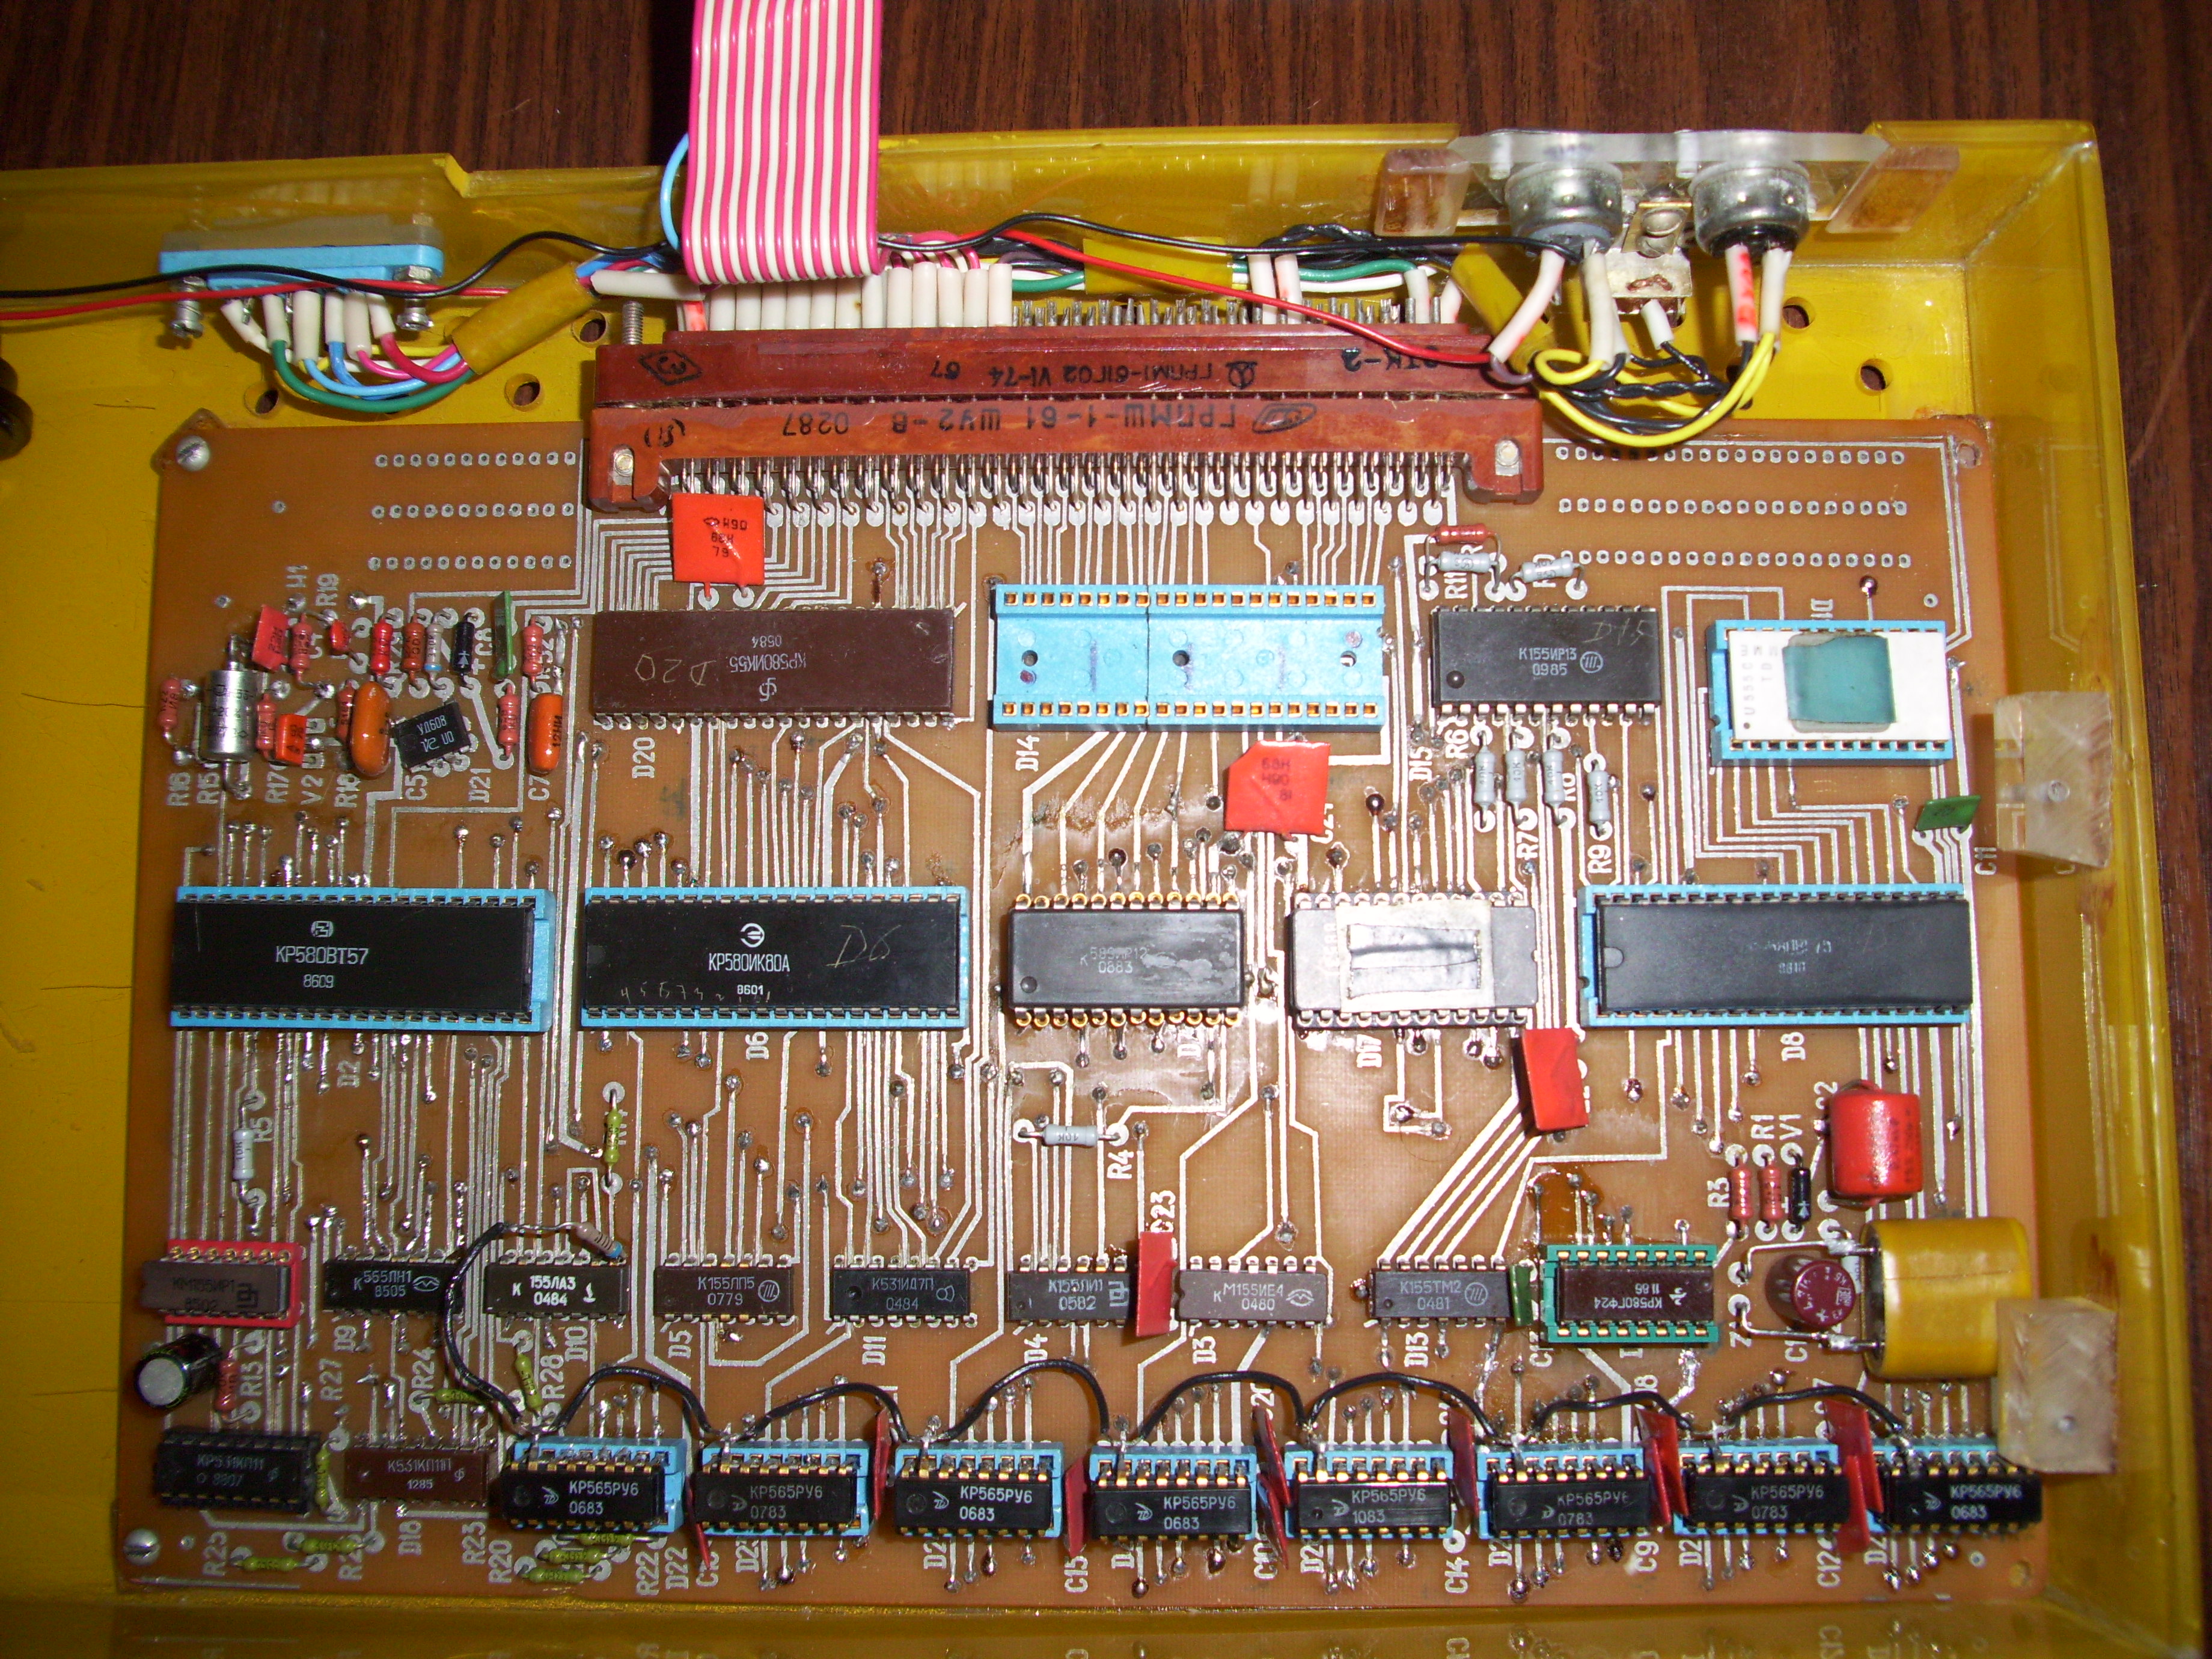
By unscrewing the 4 screws and disconnecting the cable from the keyboard, you can get to the main board of the Radio86РК computer. The printed circuit board is double-sided, quite qualitatively etched. However, due to wiring errors, some tracks are cut and laid using a regular wire.
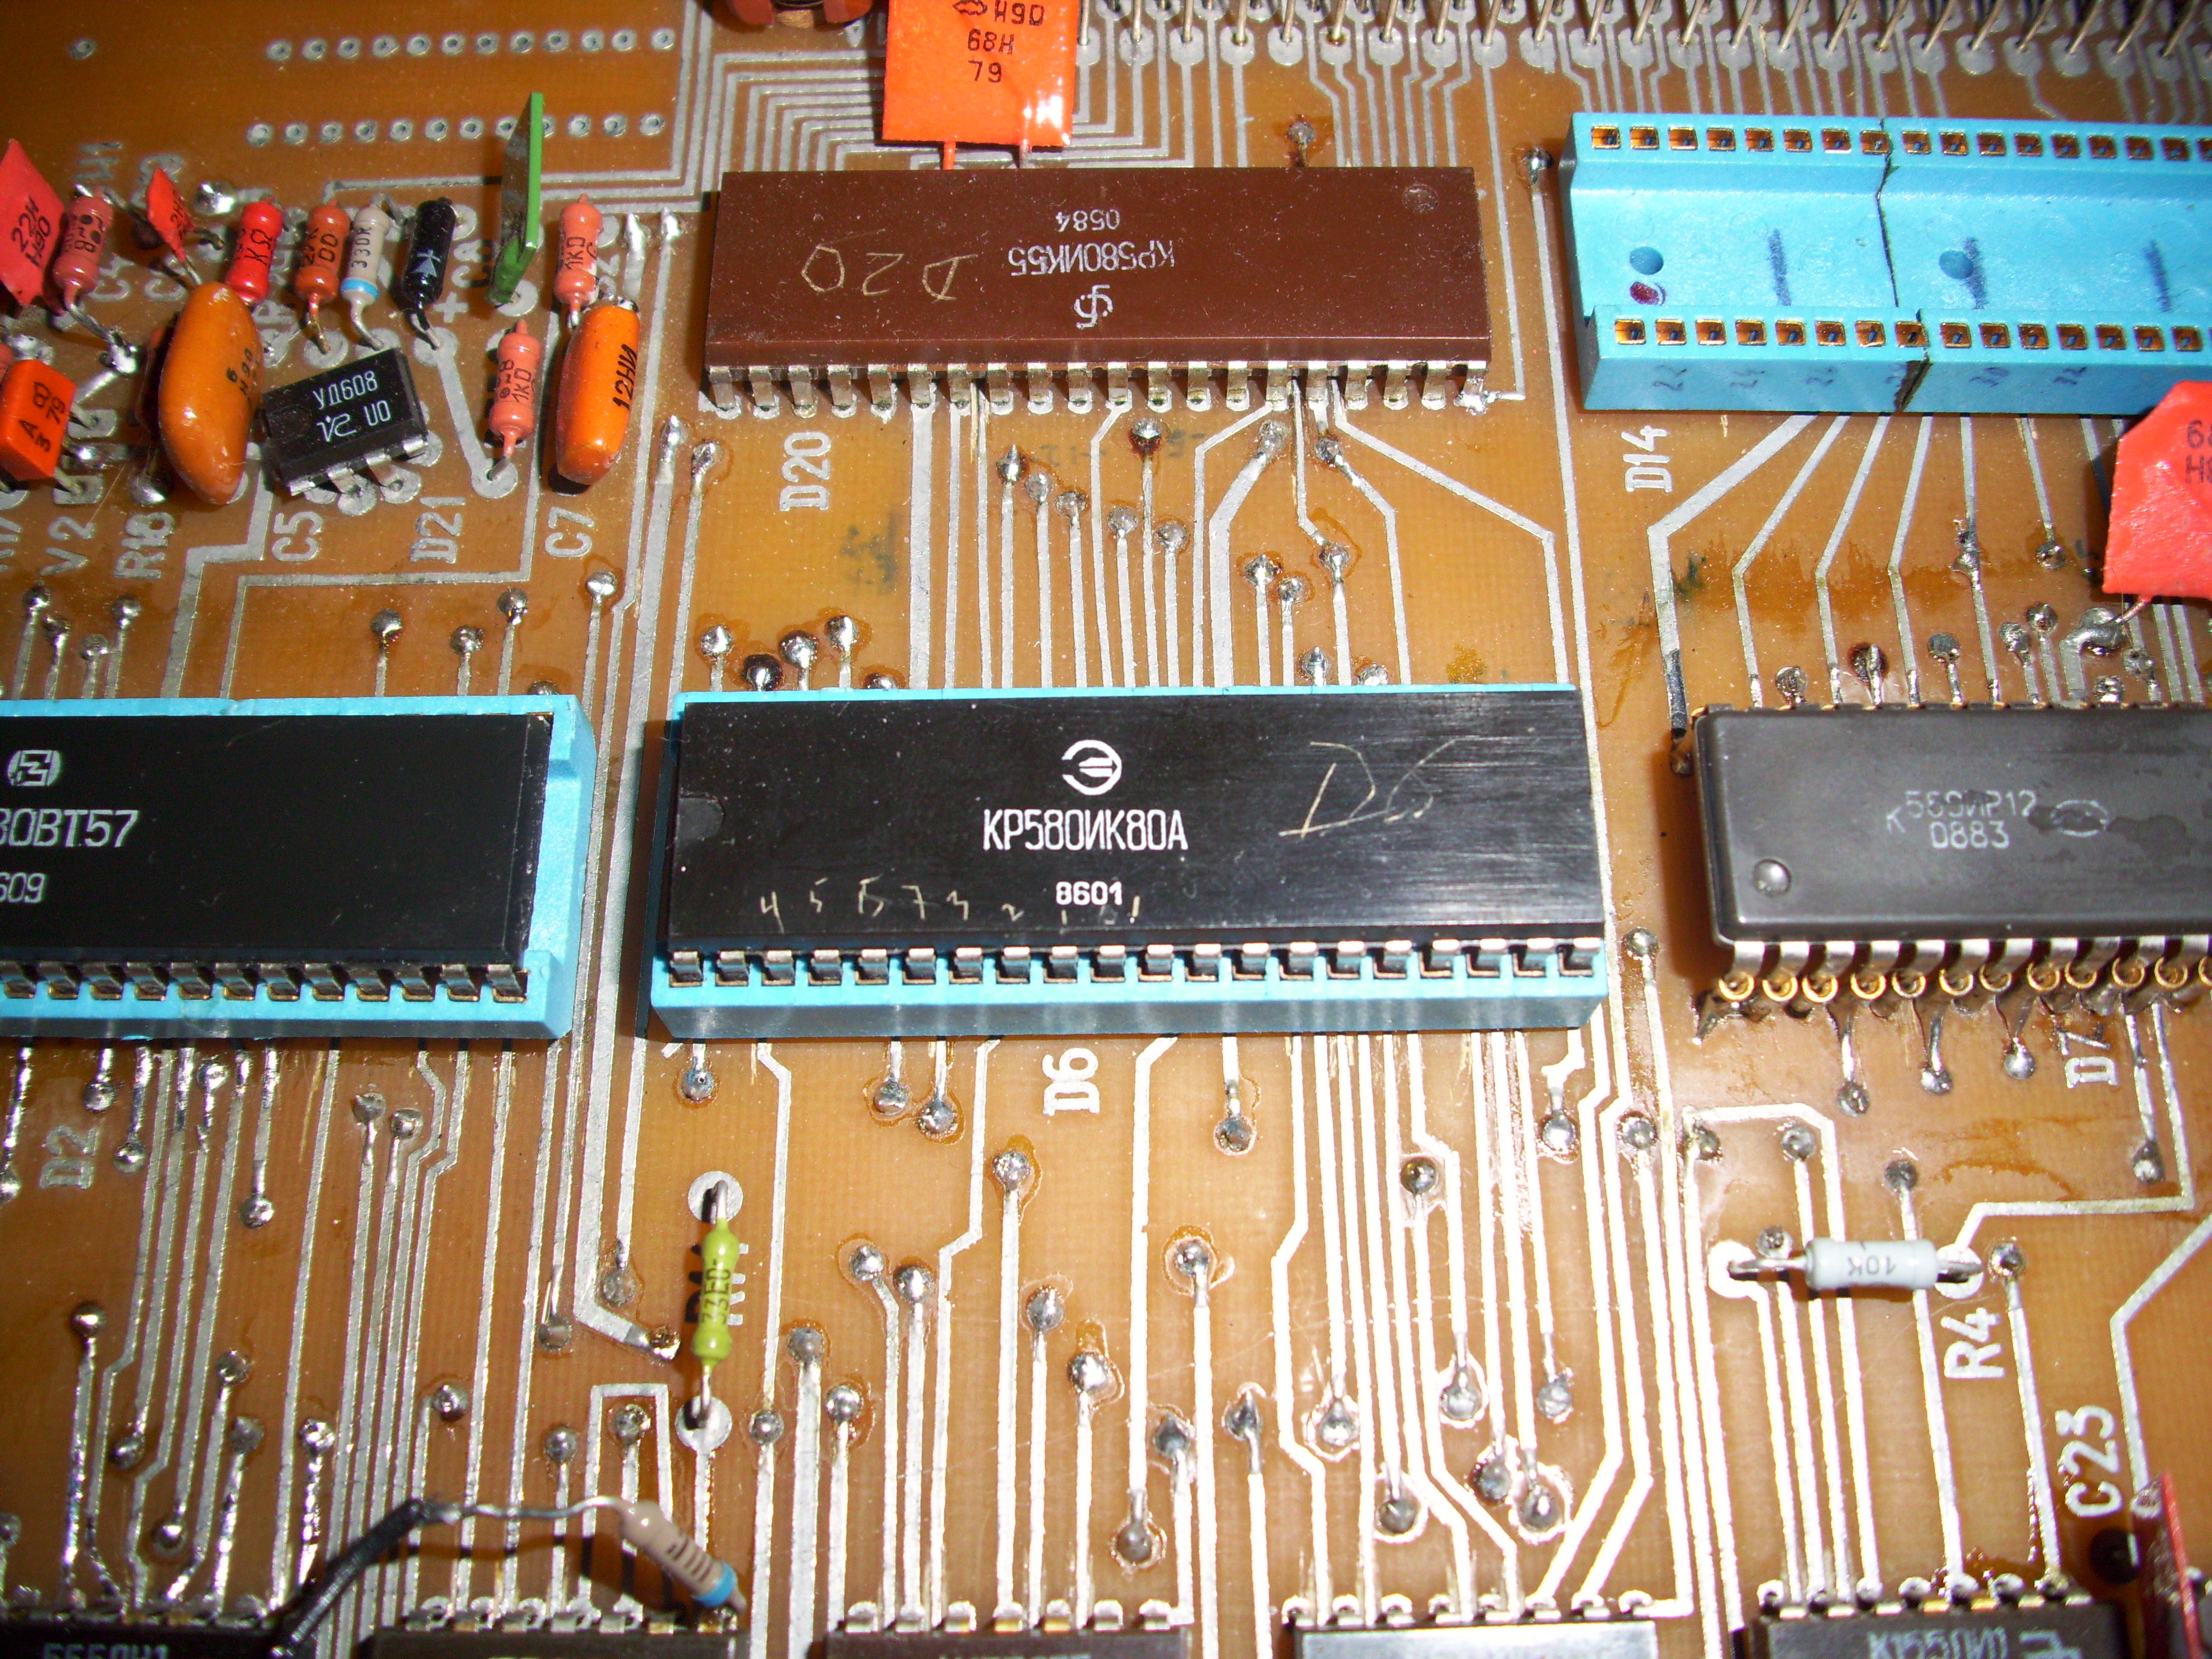
Too many chips are installed on the socket. For example, a processor.
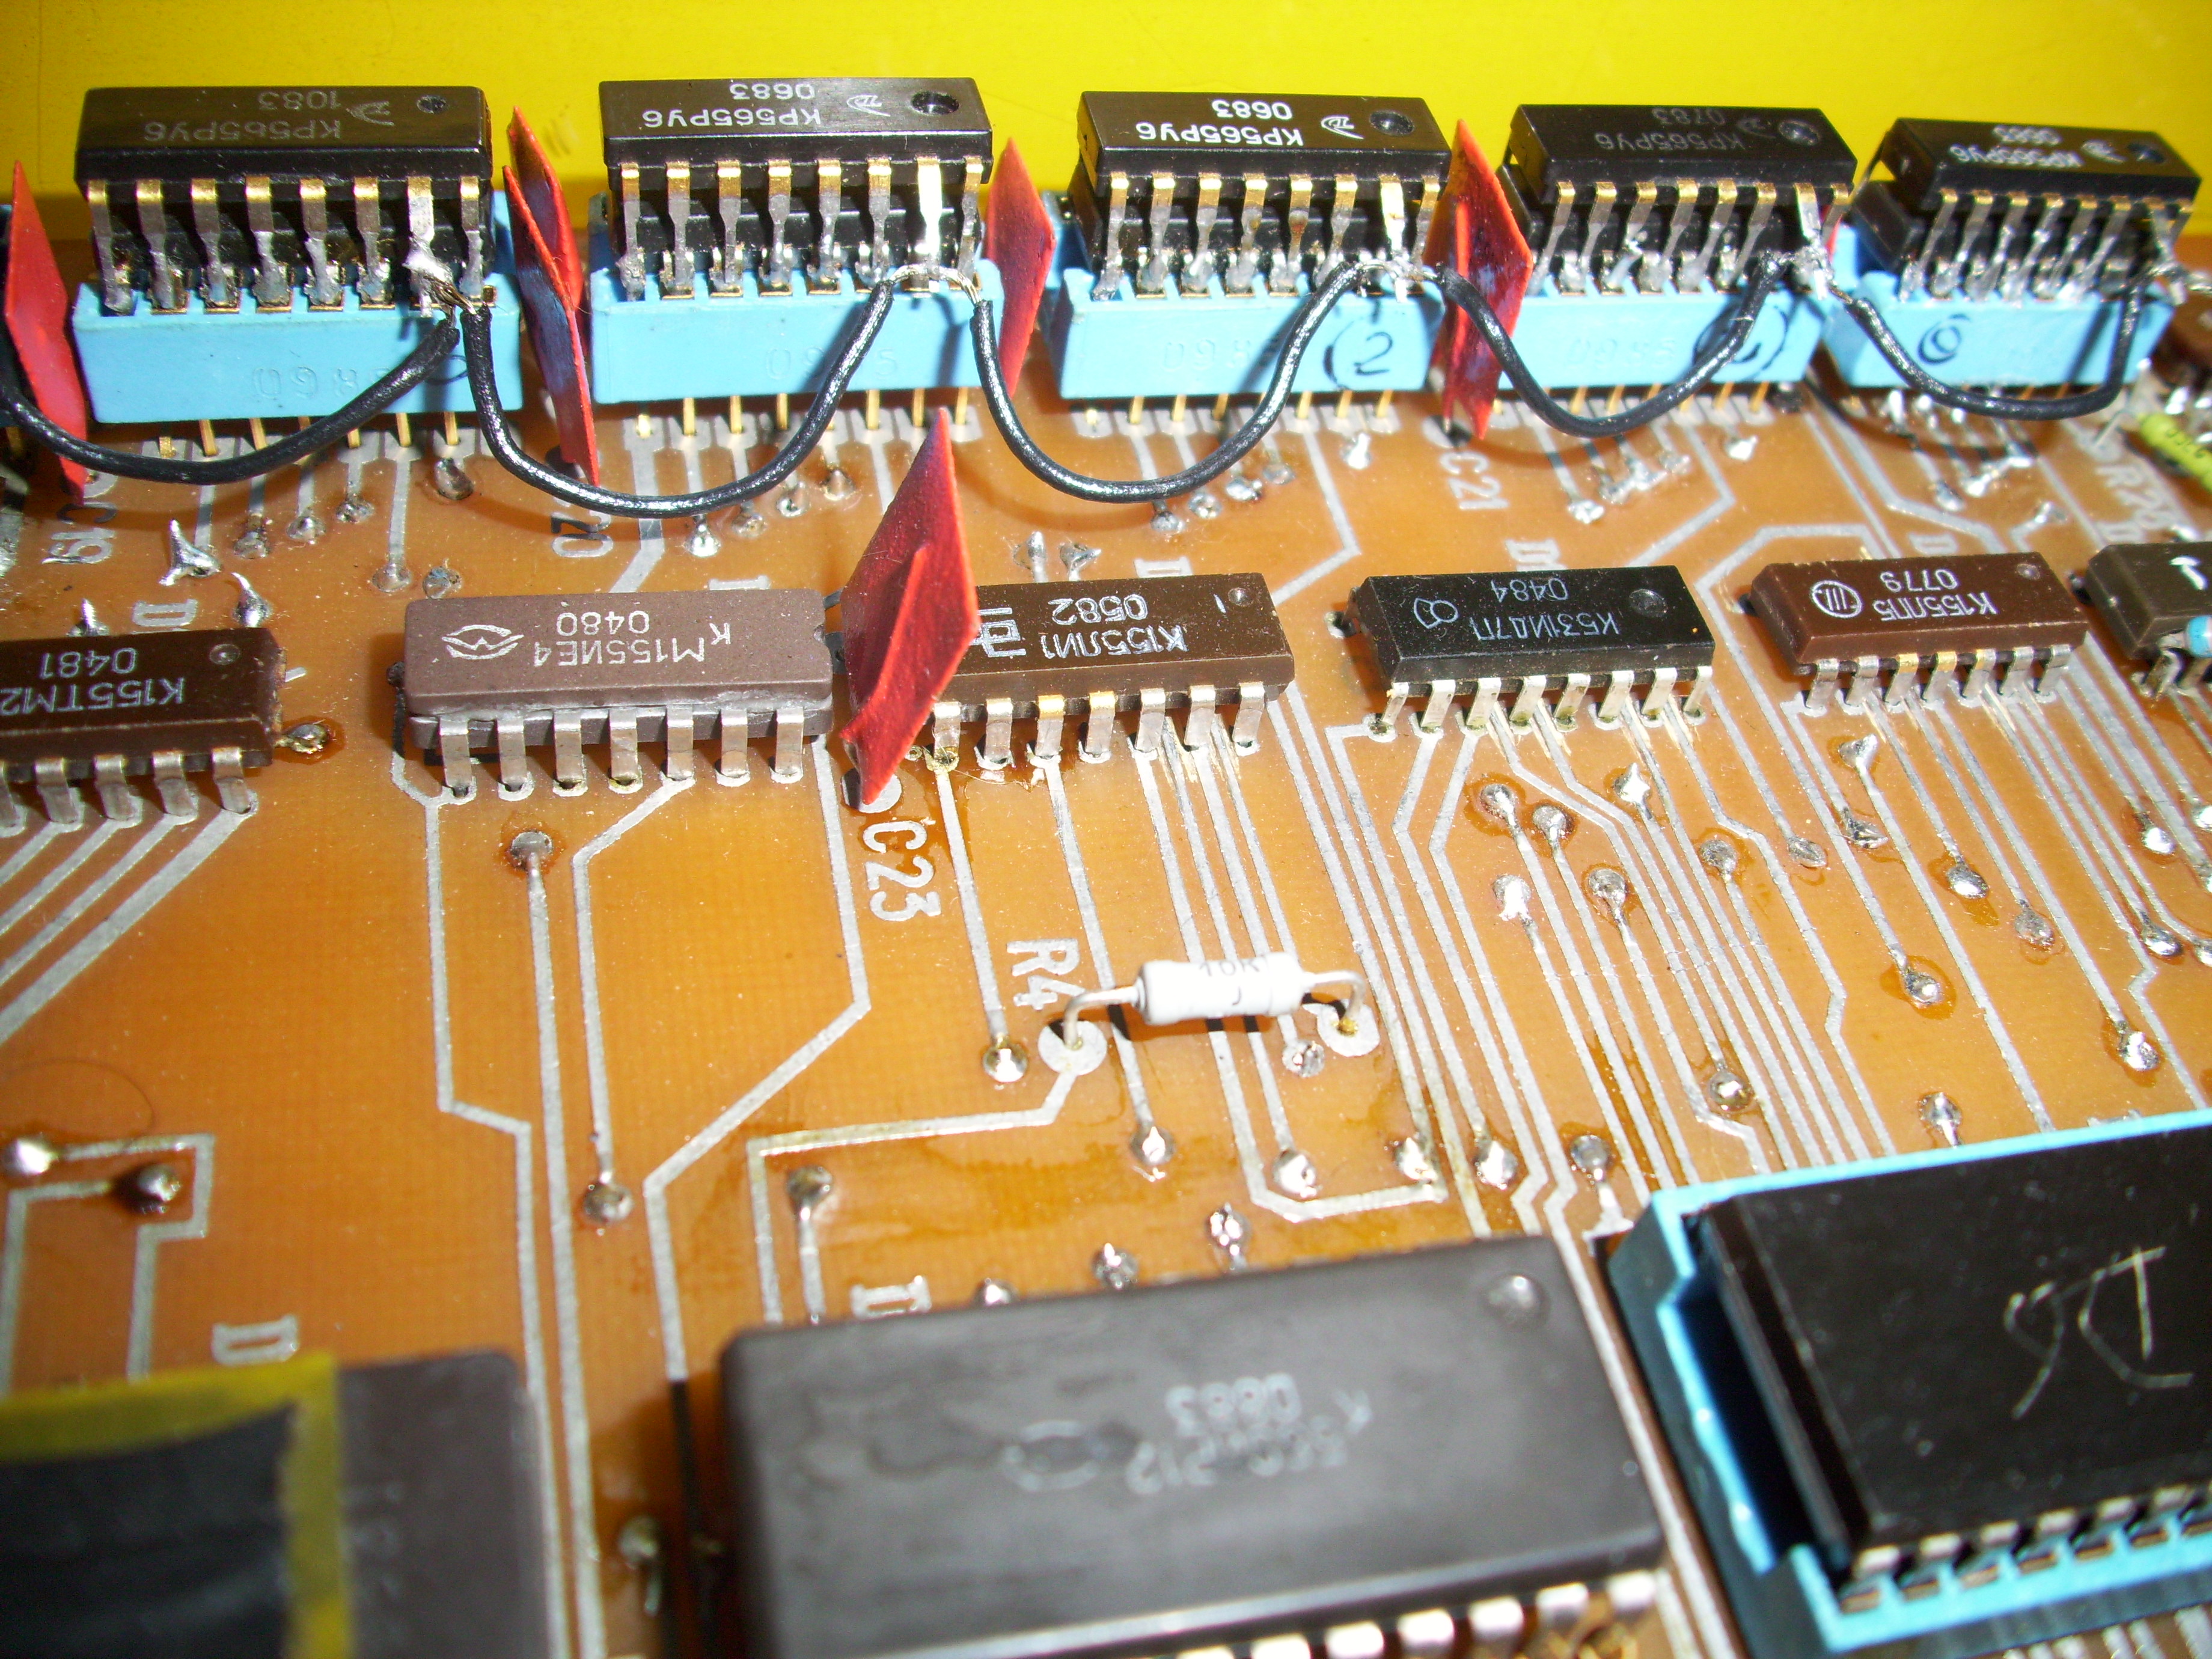
RAM also nests in the sockets. Yes, and the second floor.
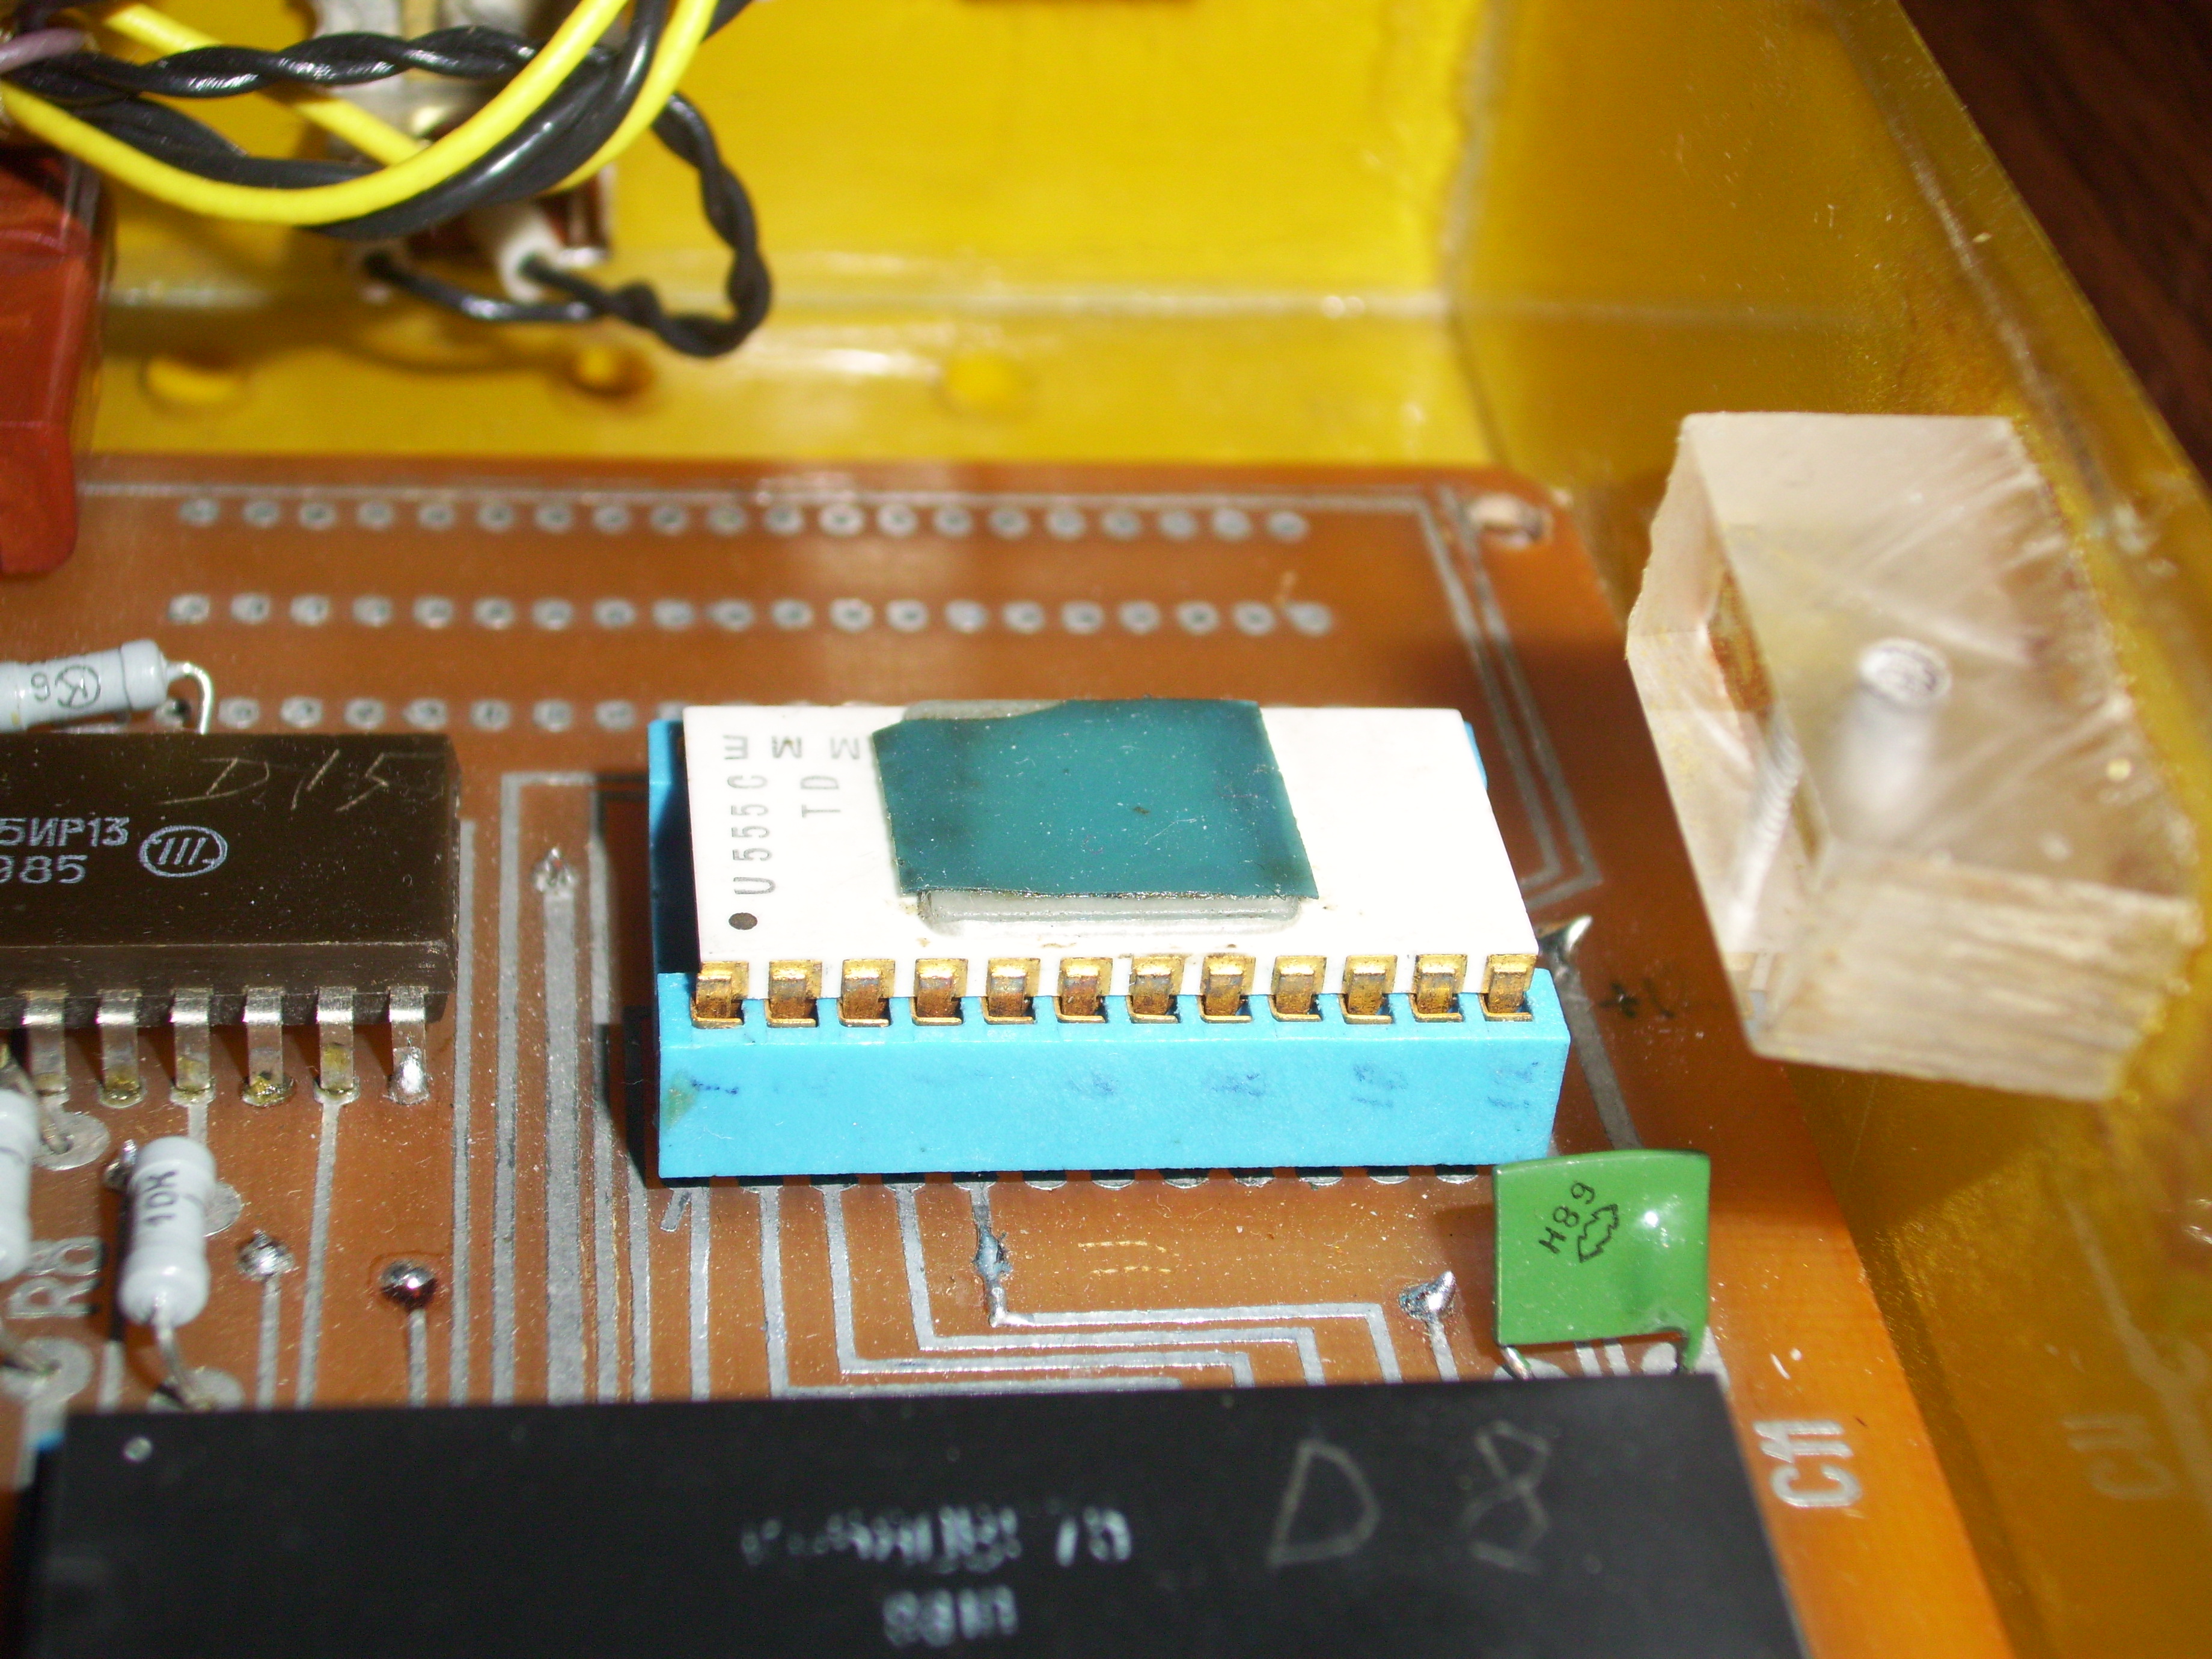
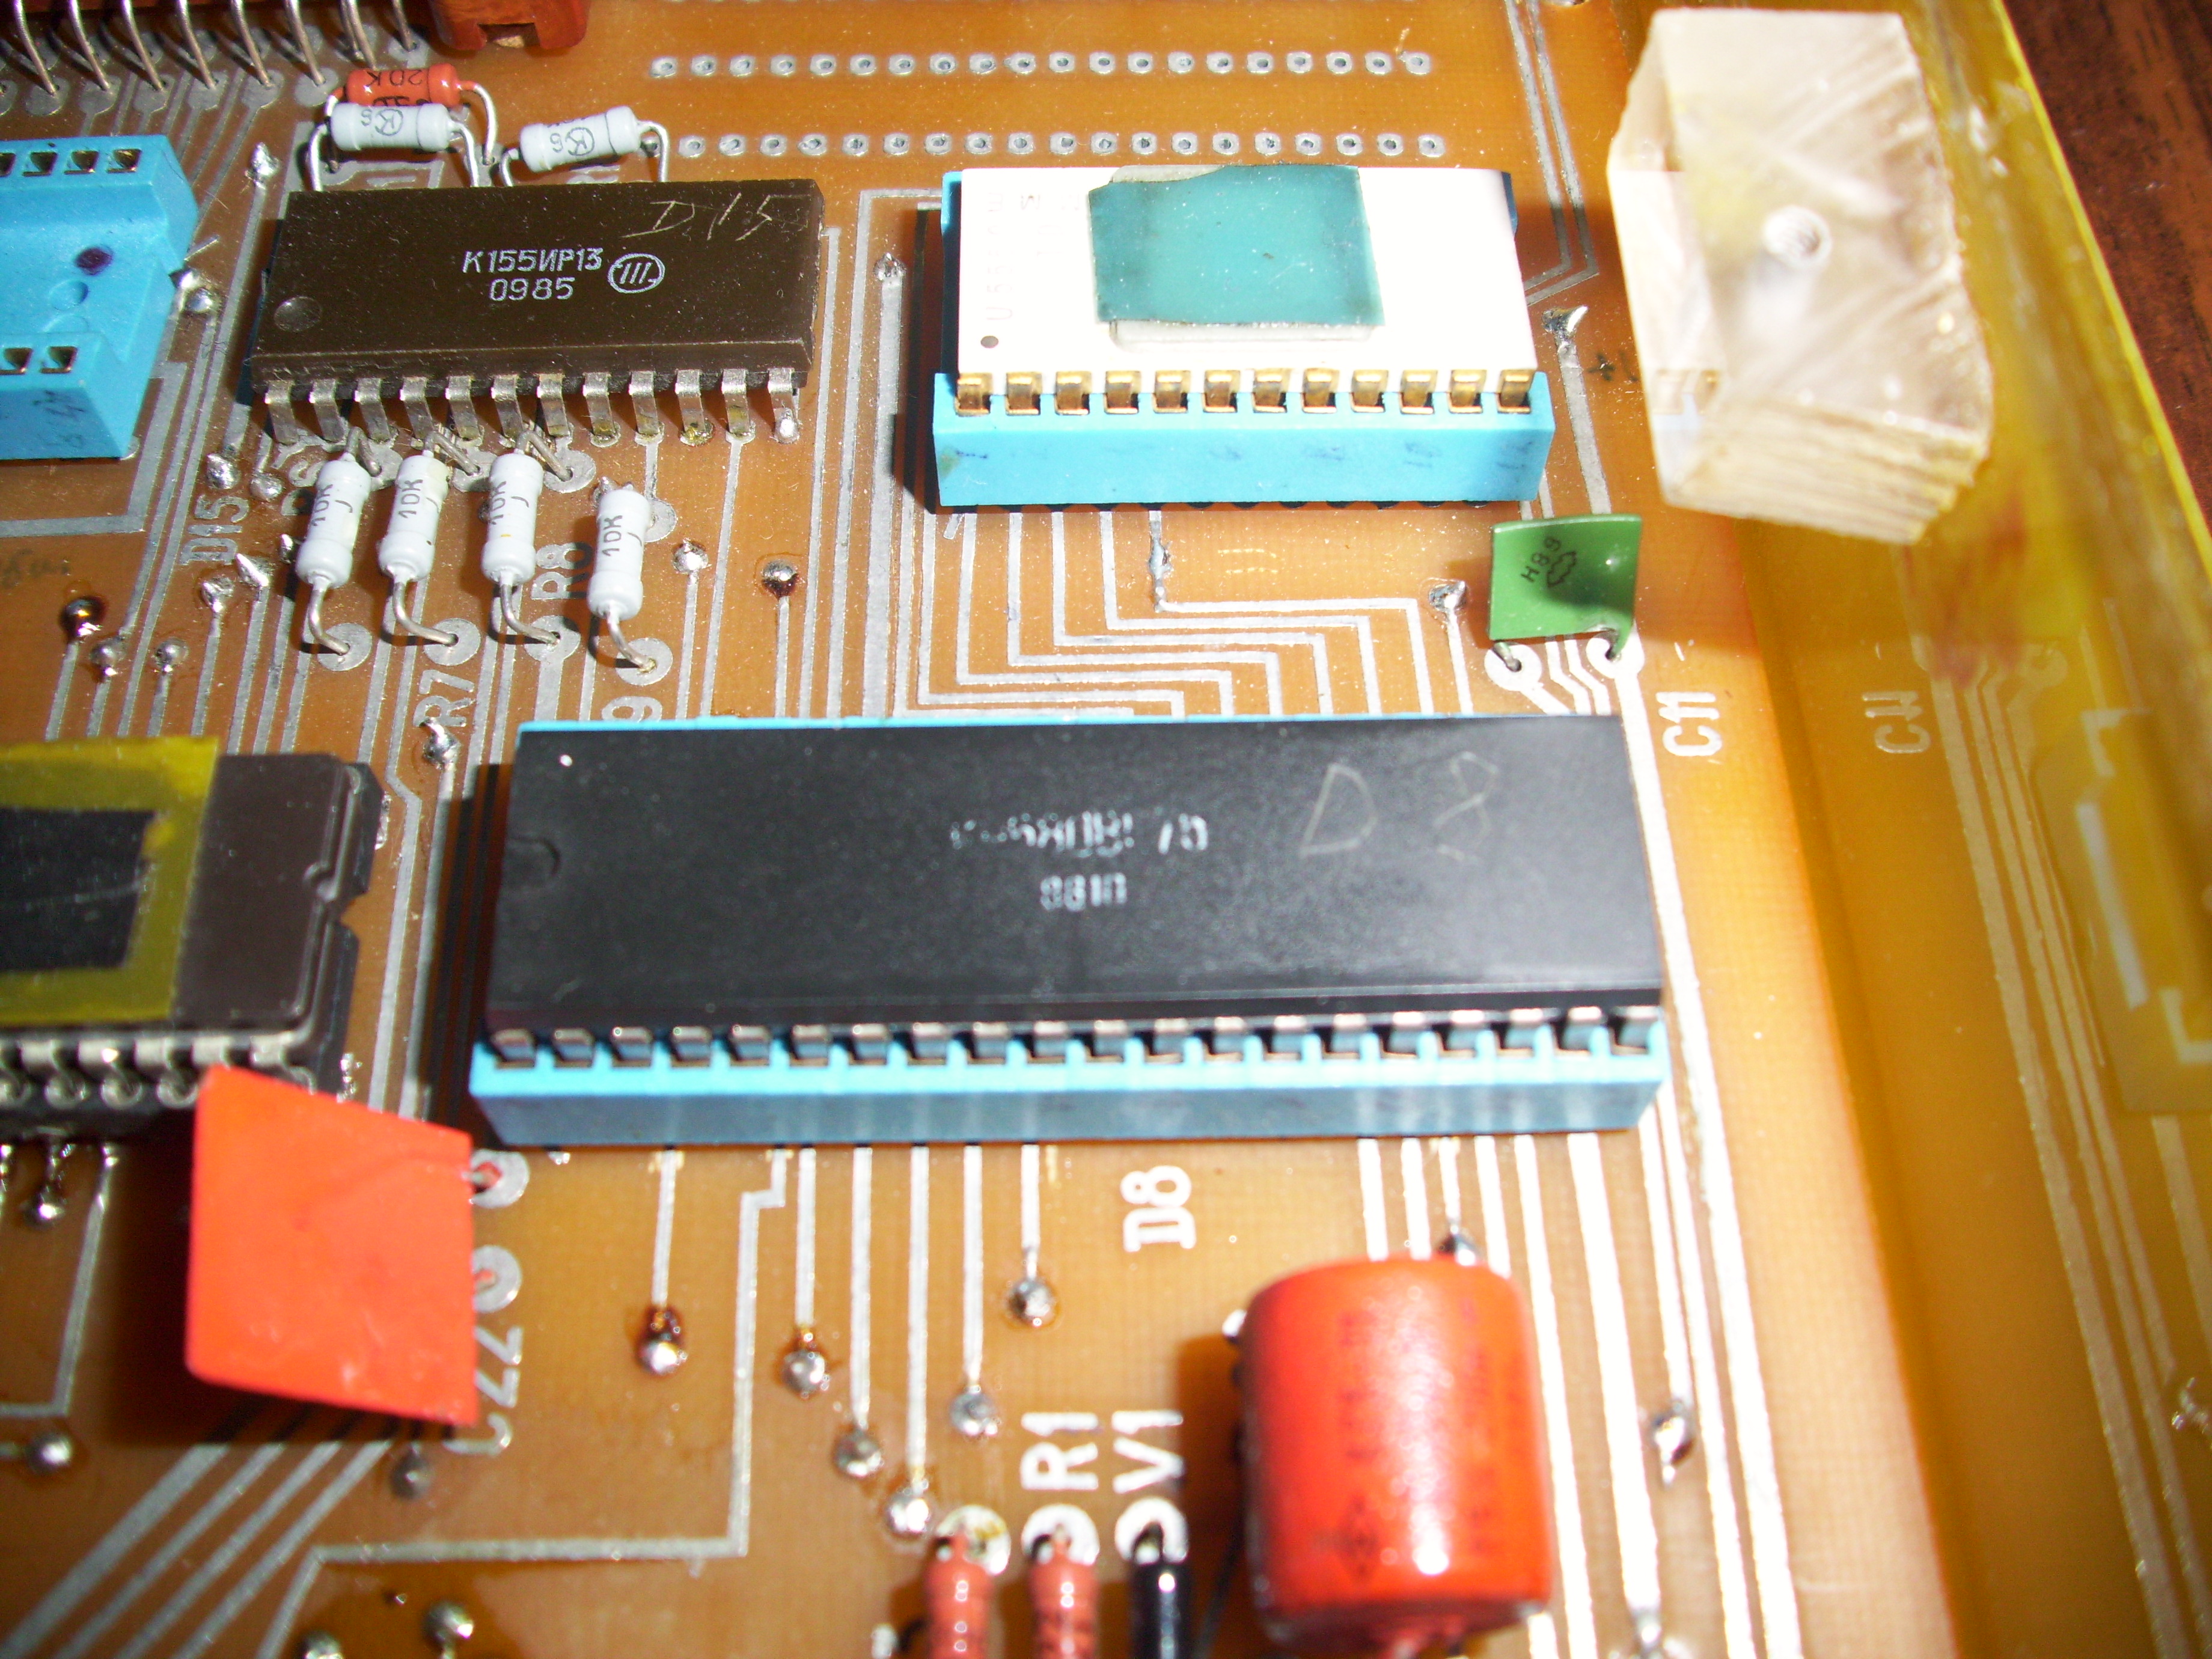
Sign generator. Instead of the domestic chip K573RF1, it is made on the German analogue U555. So reliable.

Chip K573RF5 (ROM "Monitor") is also replaced by a similar chip 2716. Clock
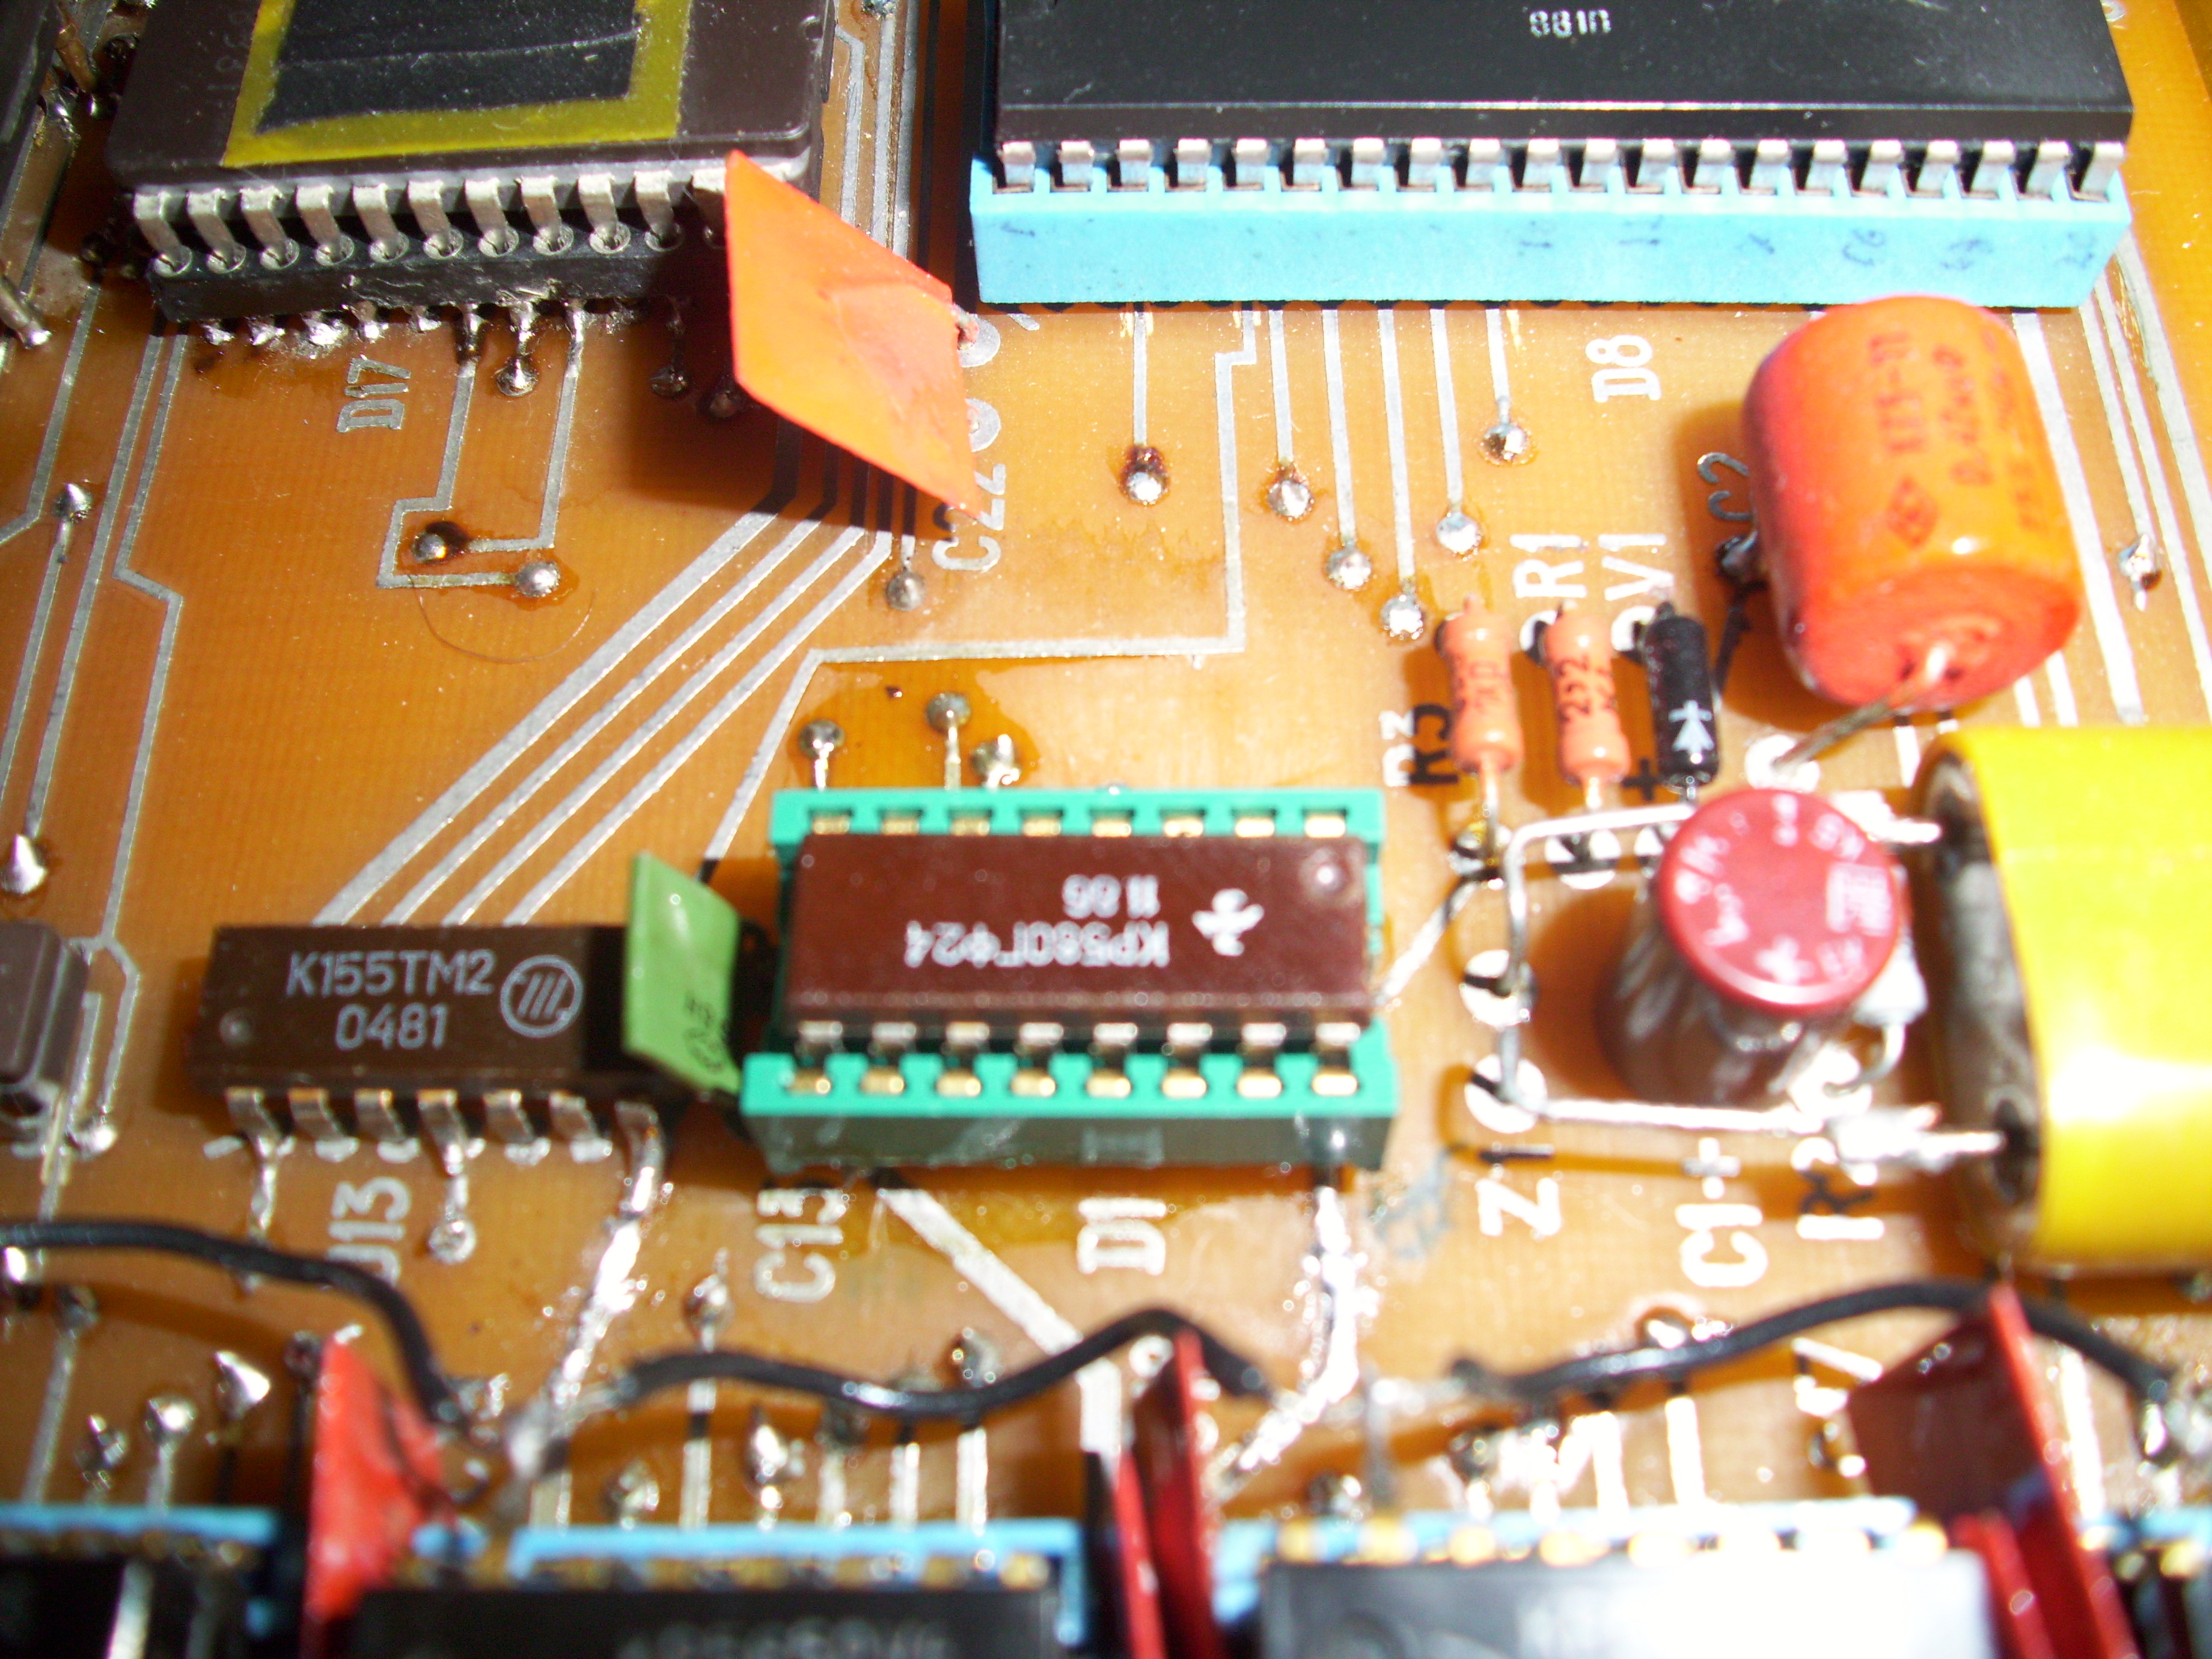
generator KR580GF24. Also in the socket.
Keyboard I / O Port Nearby there is an empty socket for the same chip, designed to connect 8-bit peripheral devices.
Video controller
I remind you that all this beauty must be picked up by a radio amateur himself, guided by the description and diagrams from Radio magazine. And help in painstaking assembly and adjustment should have been reference tables published there.
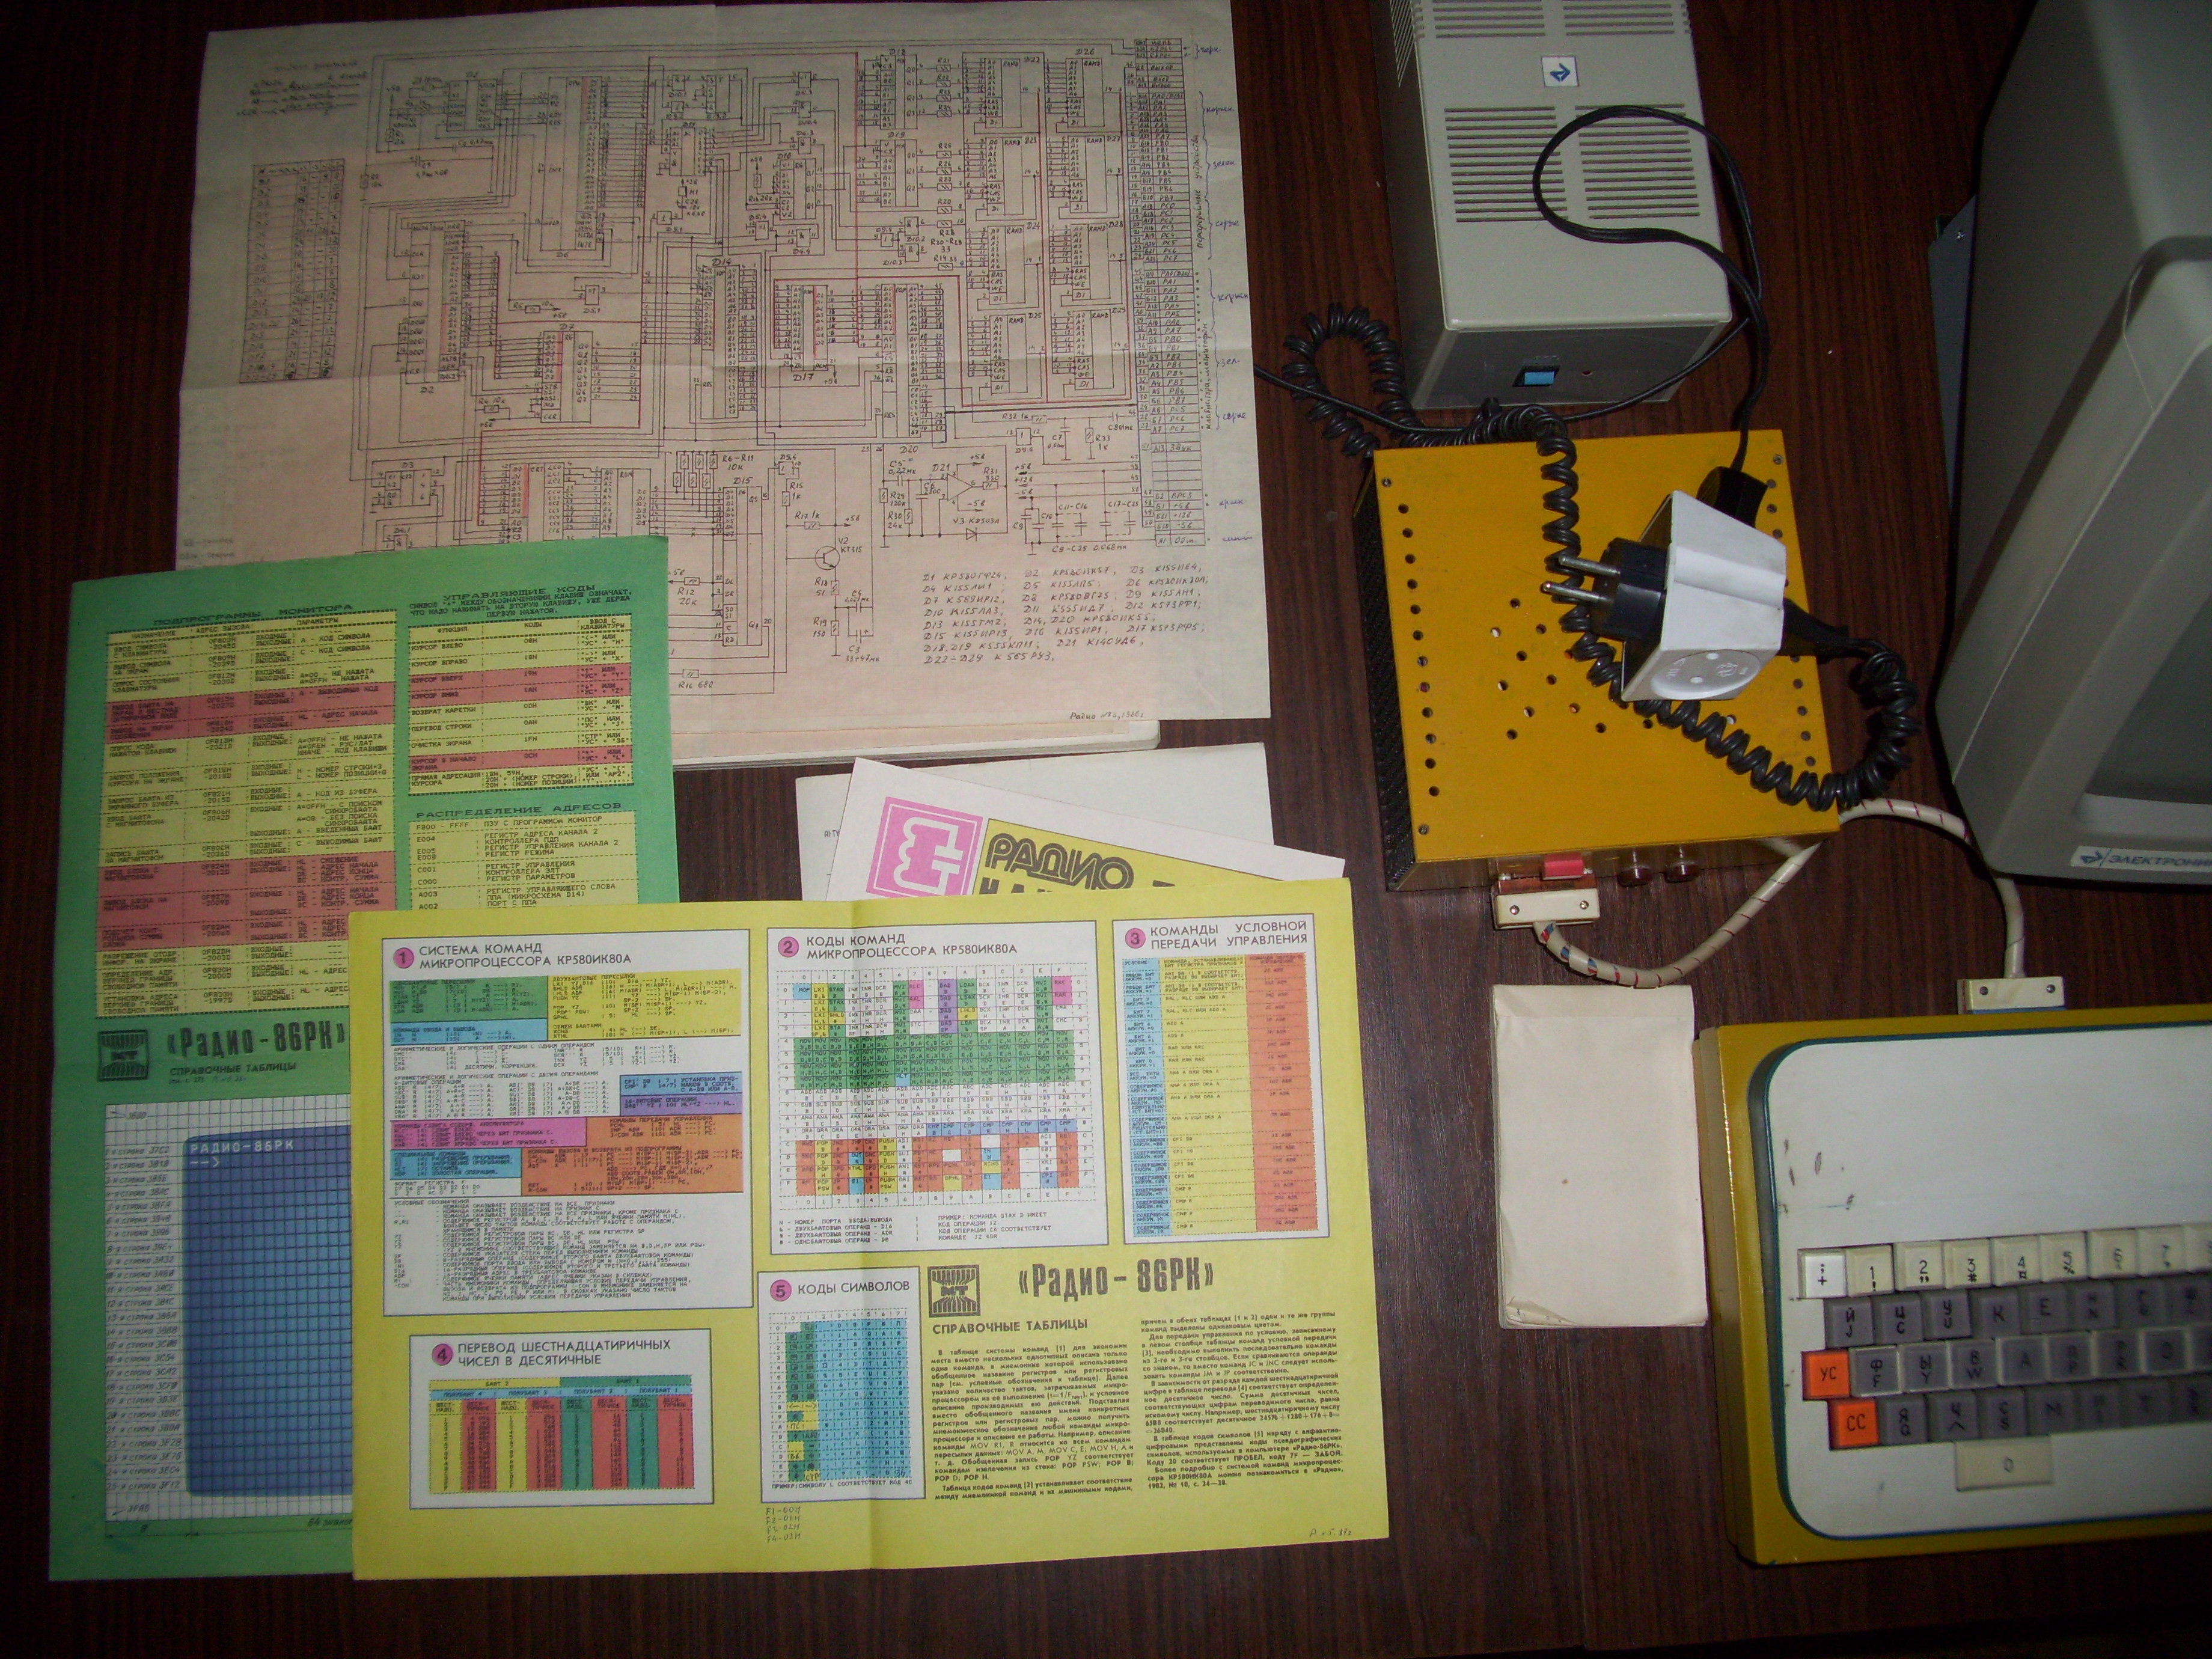
It looked something like this.
Cause time, fun - an hour.
Many will probably be interested in what the harsh uncles who managed to assemble the Radio86RK home computer played. It turns out that a rather decent number of programs were written for RK86, including entertainment.
Want to take a look at them? You are welcome!
First, connect the Radio86РК to the monitor and tape recorder. Now insert the cassette with your favorite game, press the I button on the computer (the initial letter of the word “Input”), after it, do not forget to press the VK key (carriage return, analogue of the Enter key), and turn on the tape recorder for playback. The monitor magically stops displaying anything on the screen (this is a feature of the computer), and only after loading the program does the image appear again. Loading is complete.
To start the program, press the G button (the initial letter of the word “GO”), and confirm the command by pressing the VK key. Sometimes it is necessary to specify the starting address of the memory where the program is located, but this is very rare.
Let's see what it was possible to play on the Radio86RK computer.
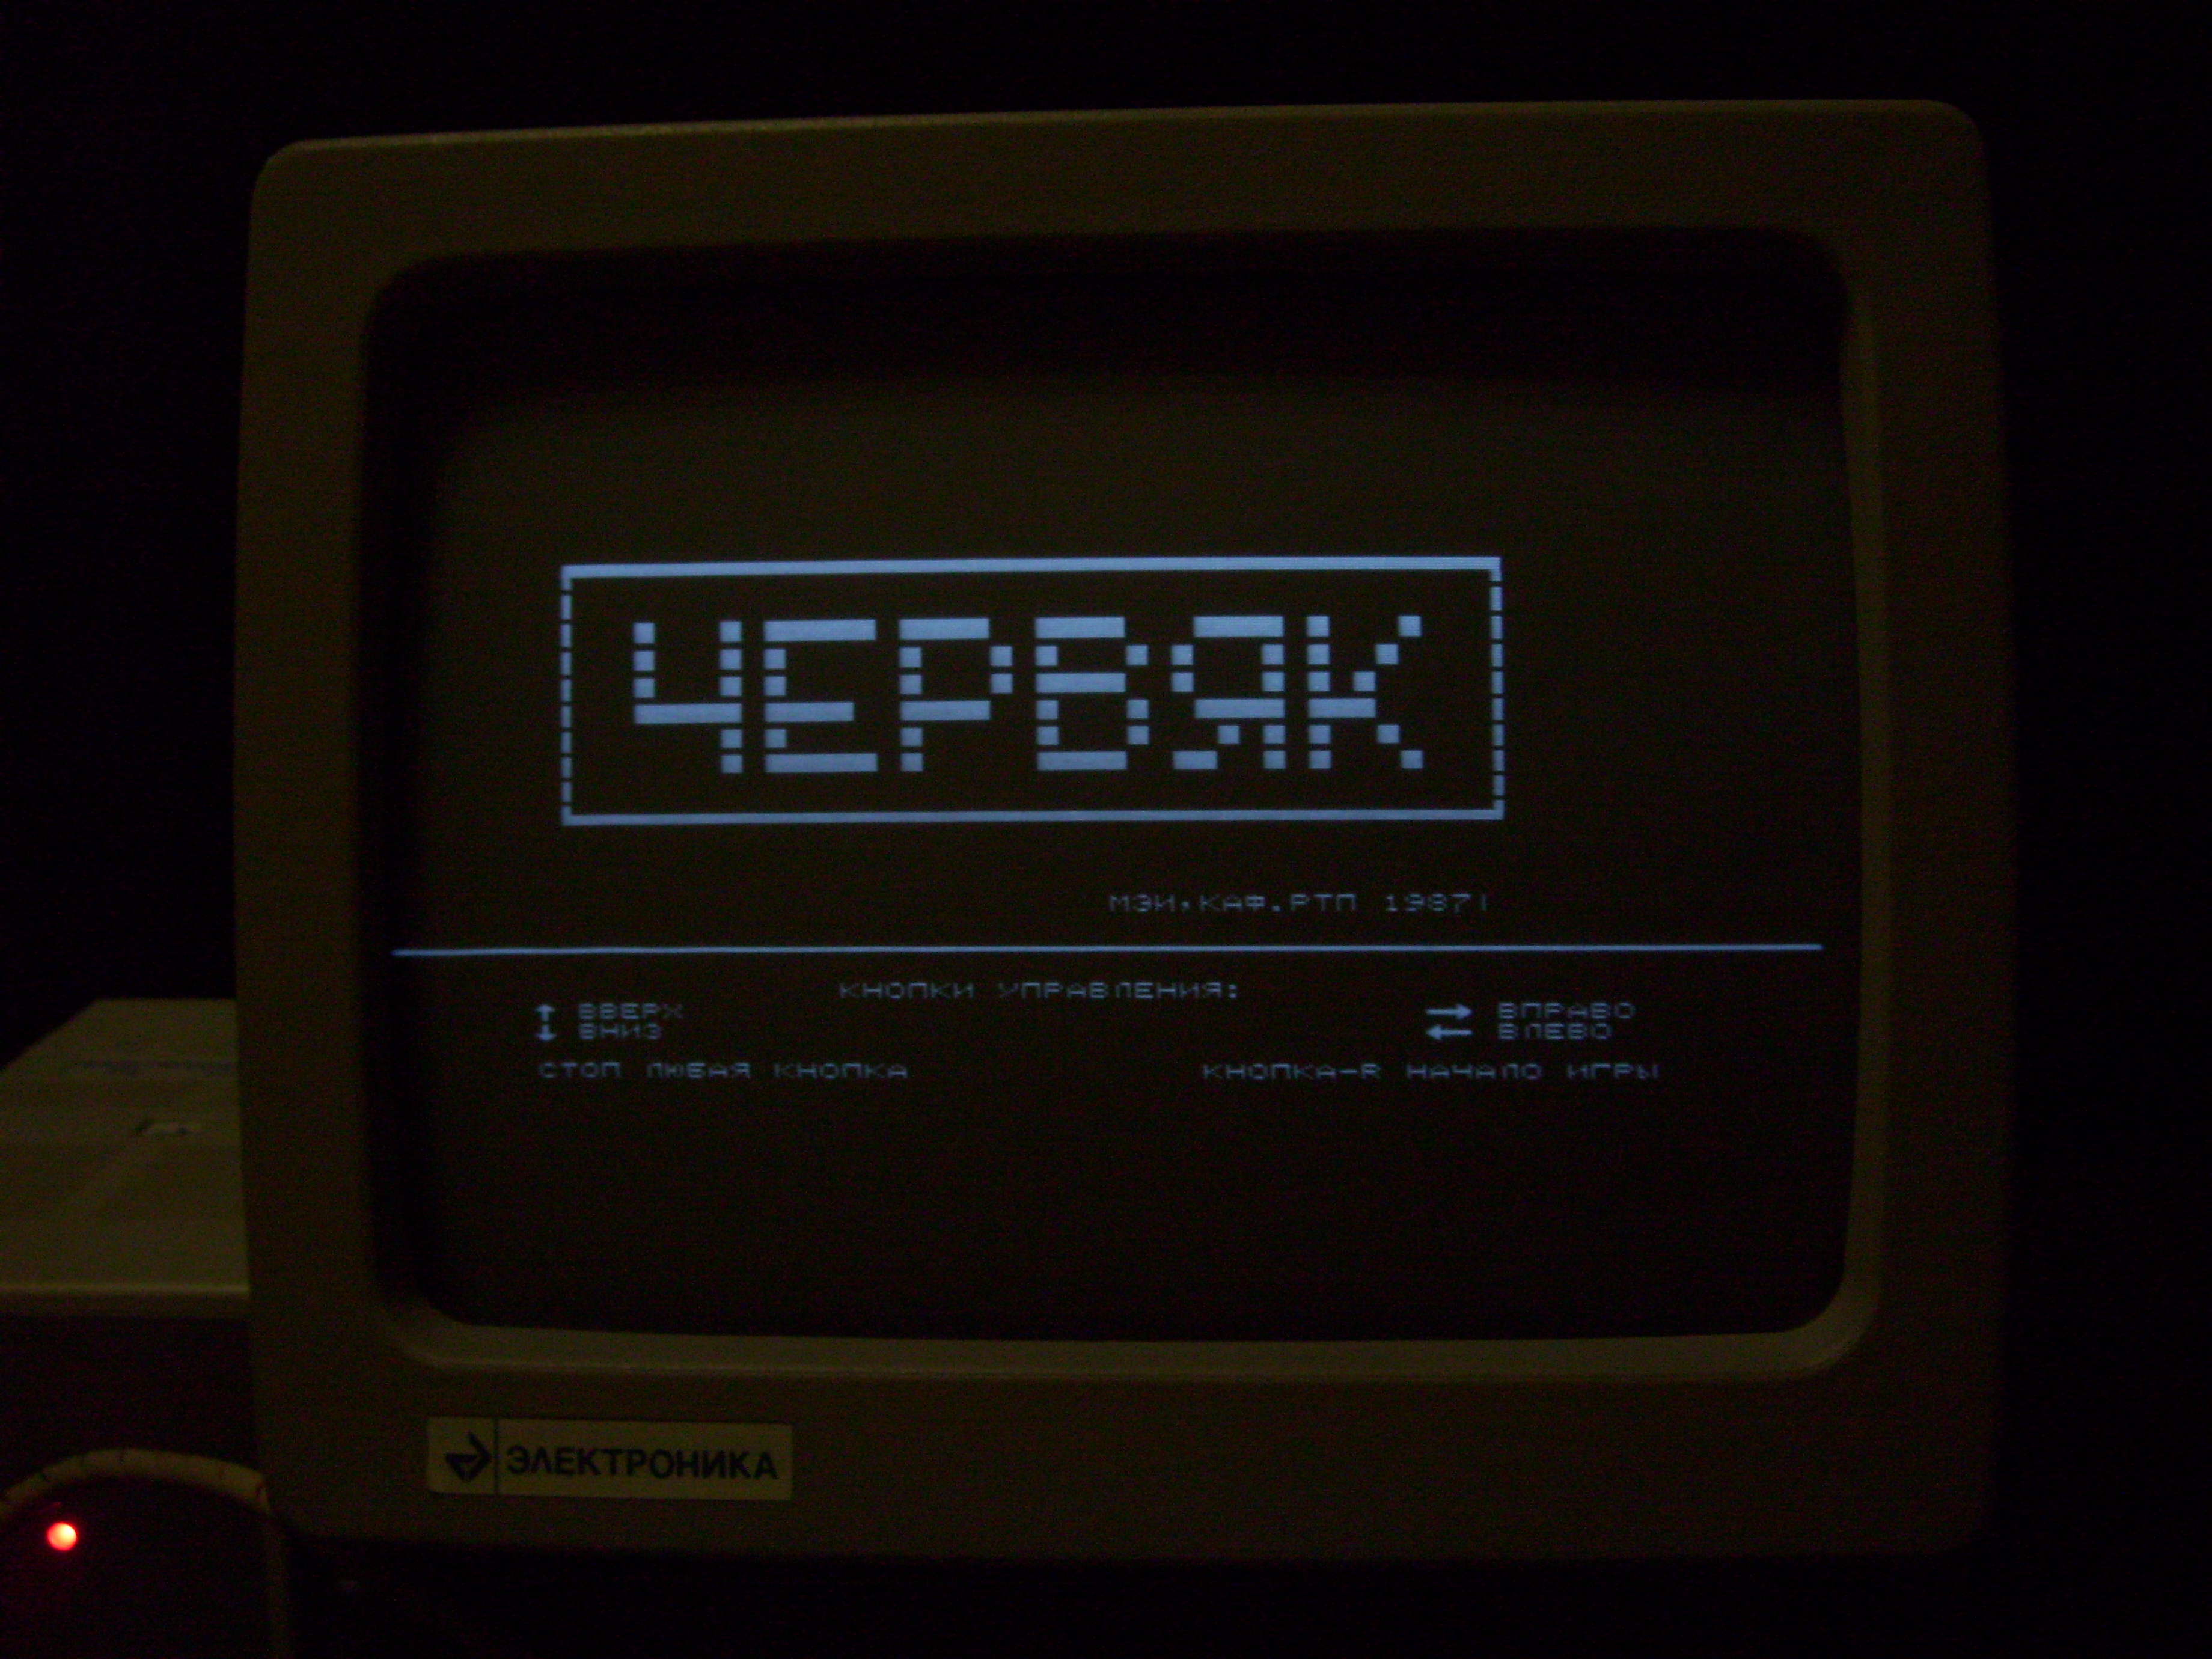
Worm.
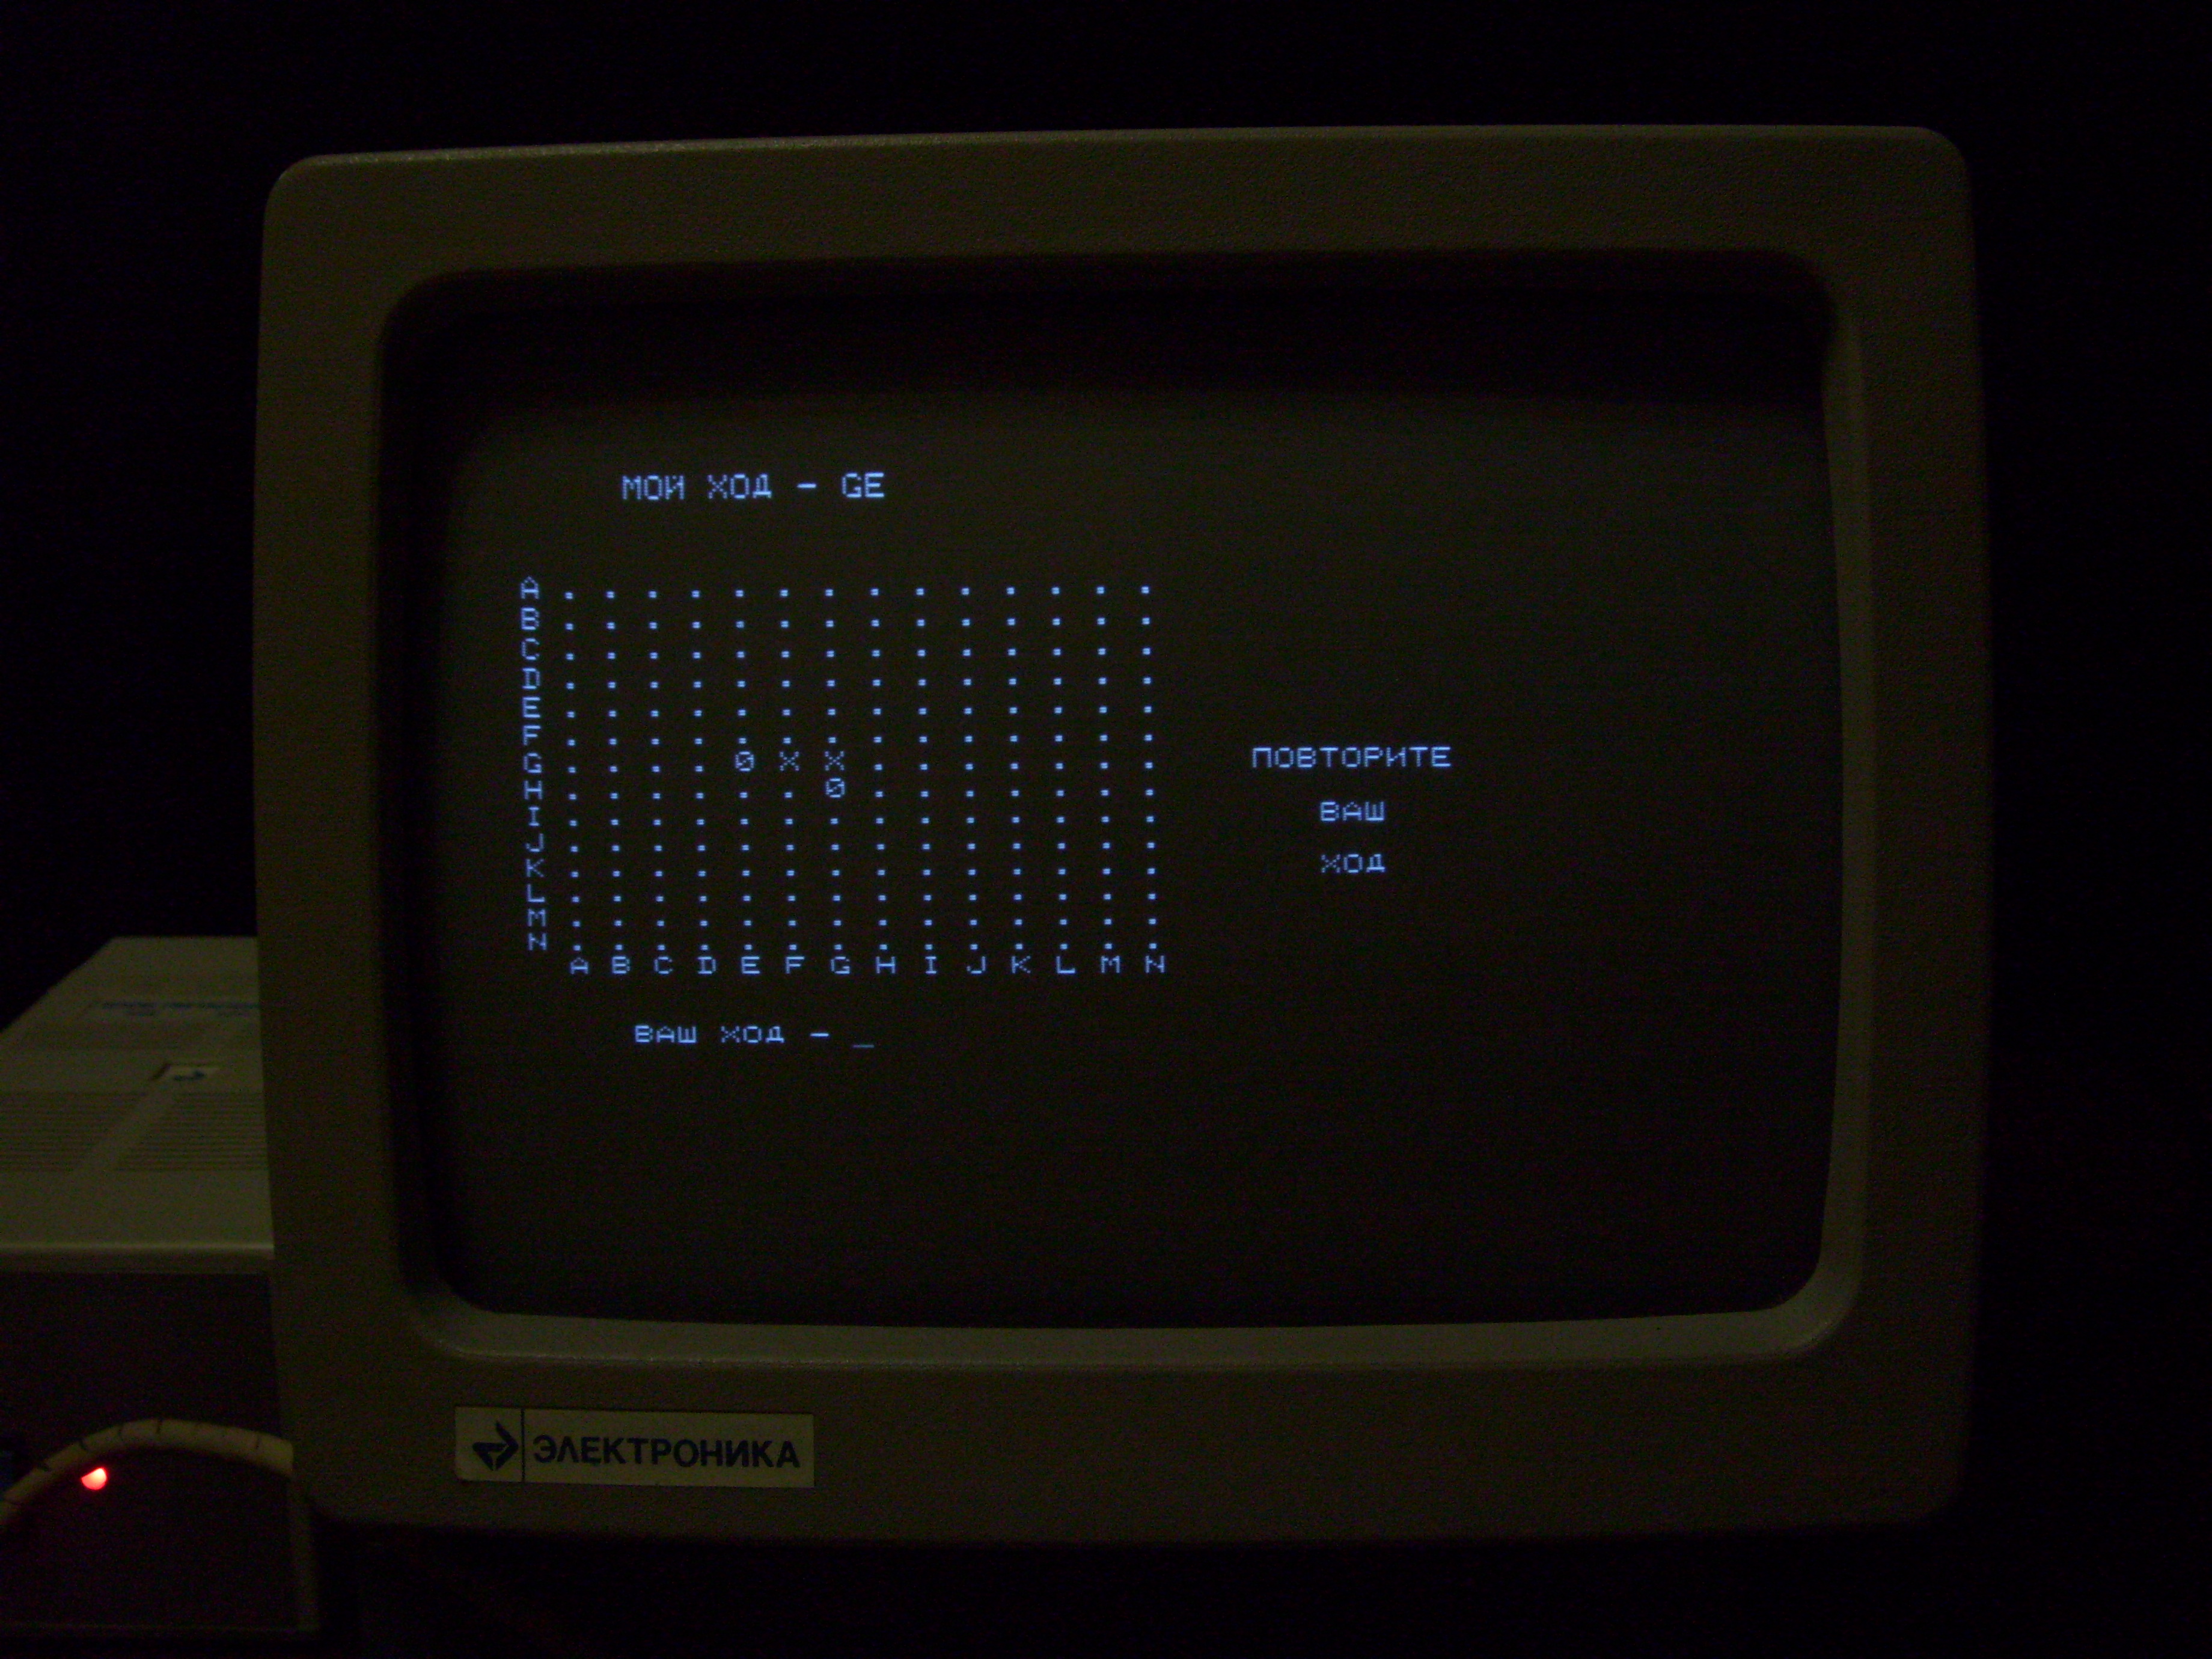
Tic Tac Toe
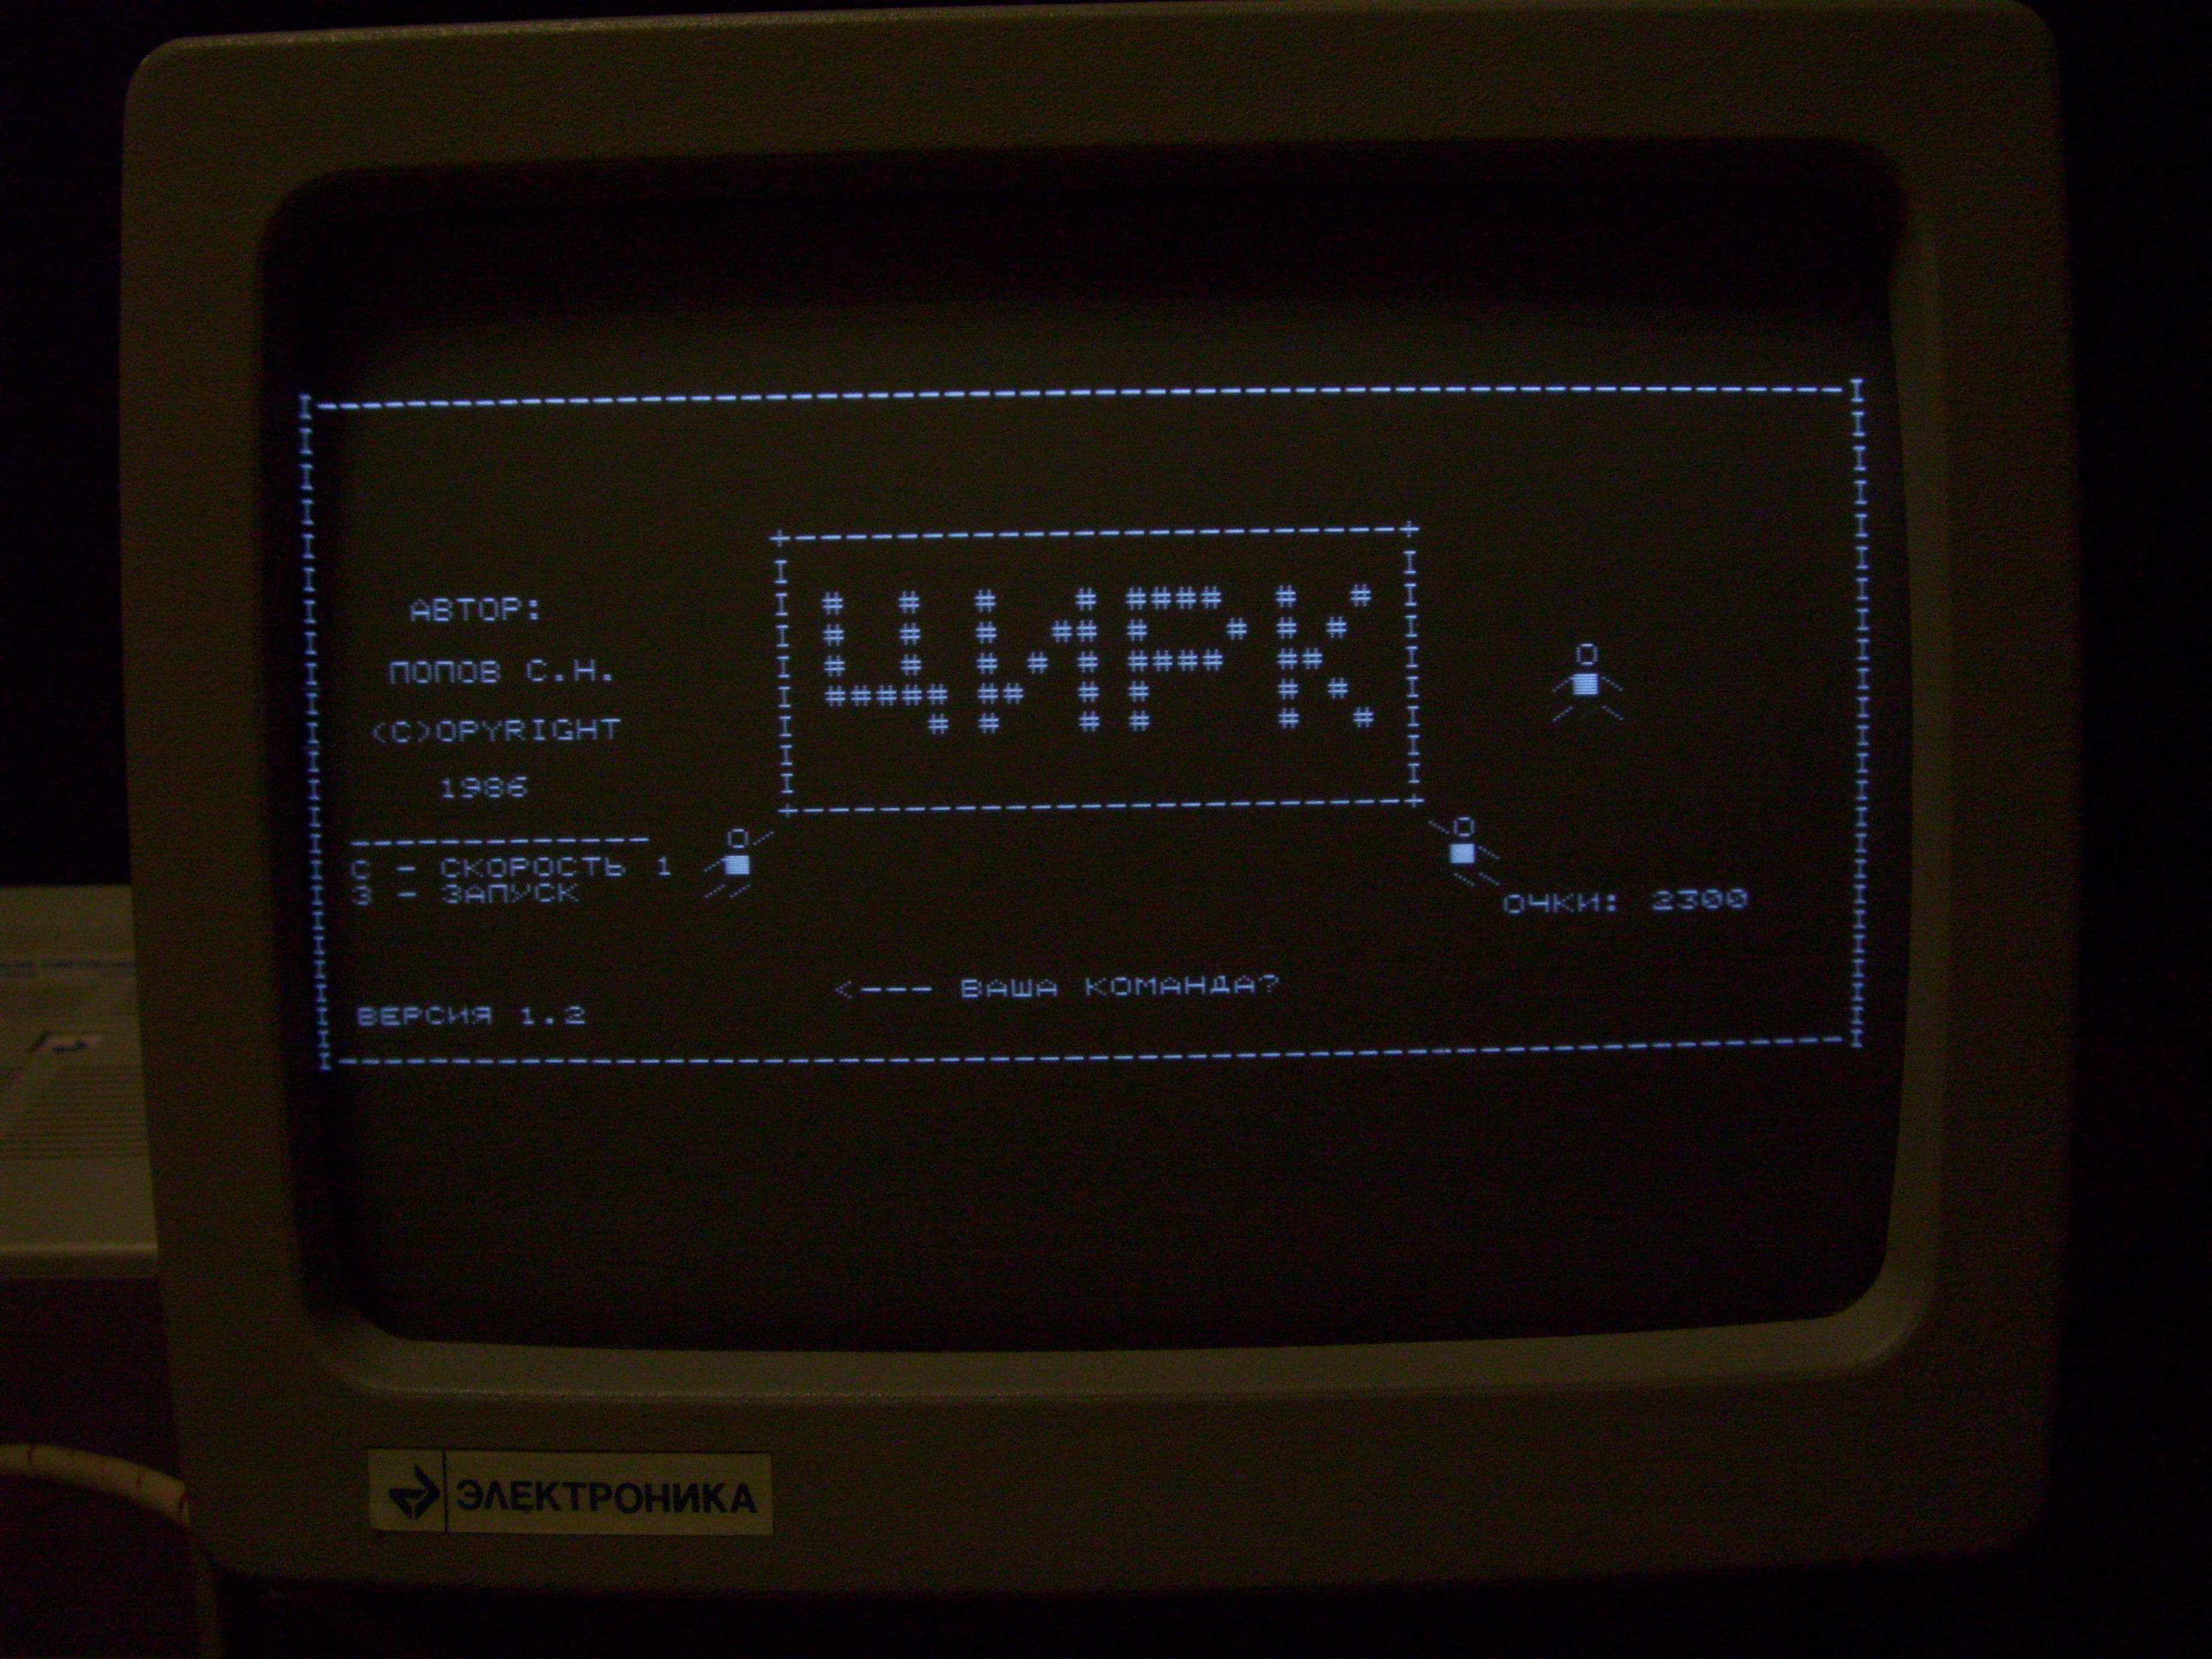
Circus
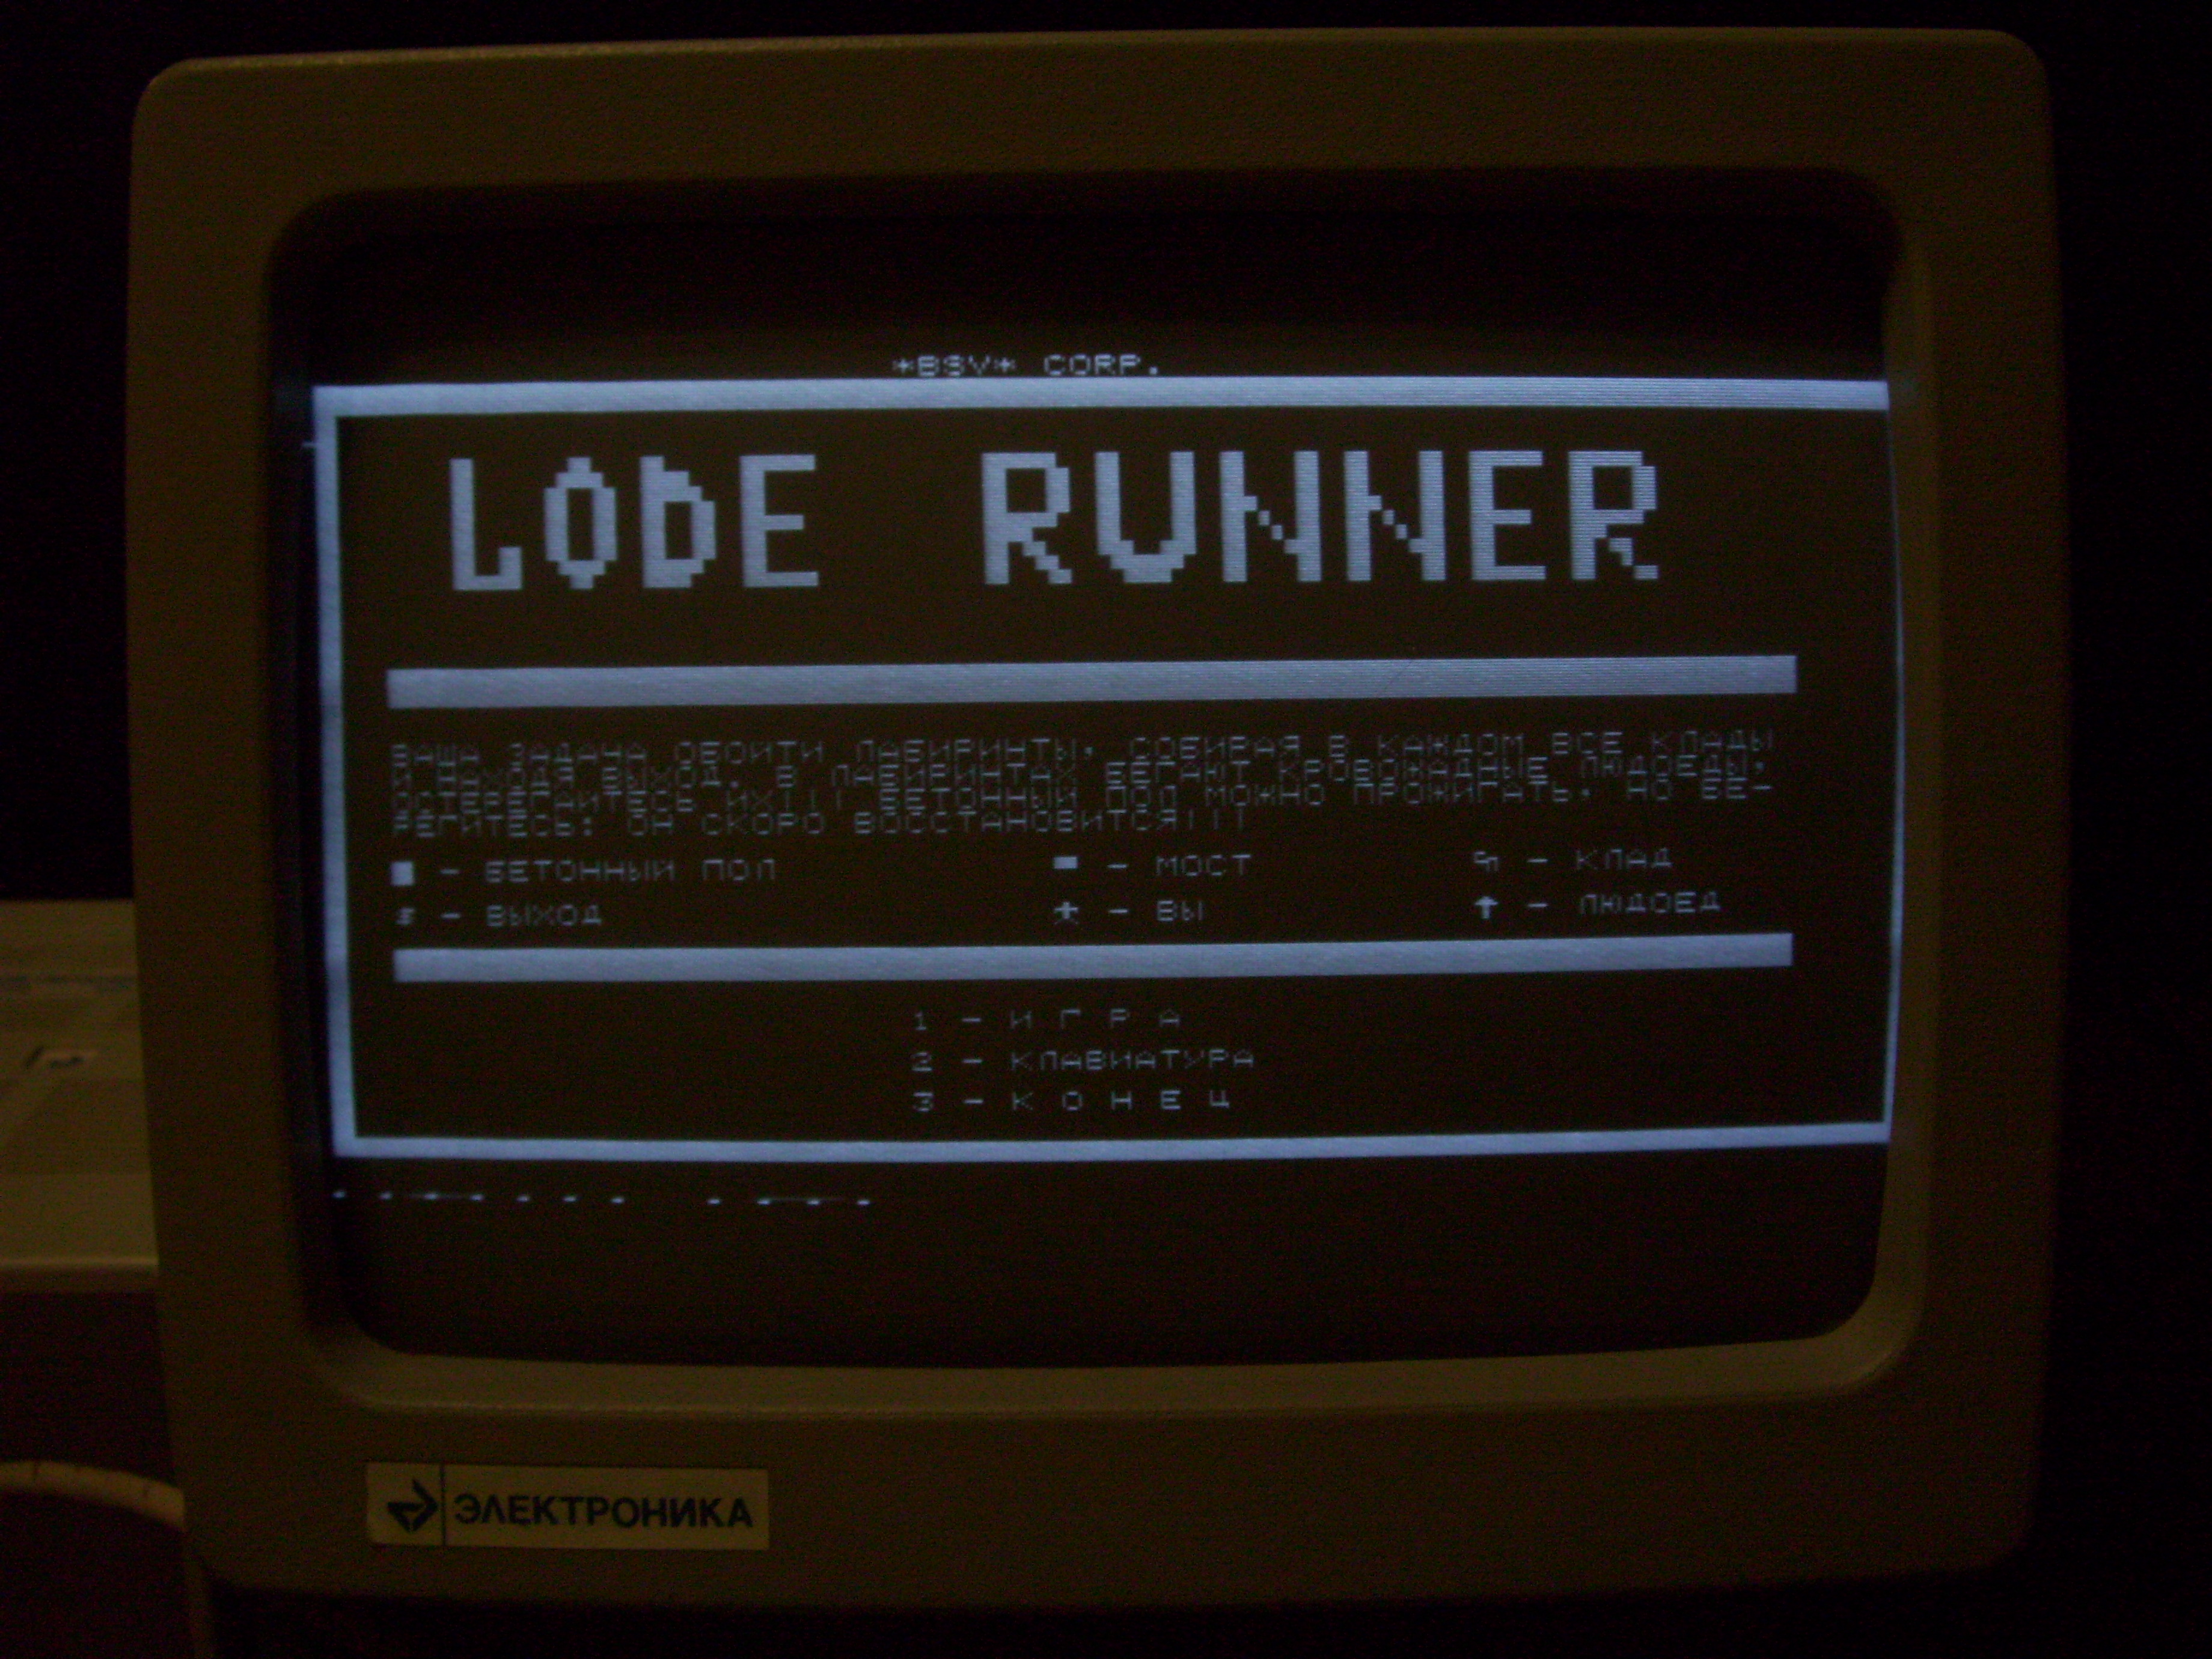
Lode Runner

Pacman
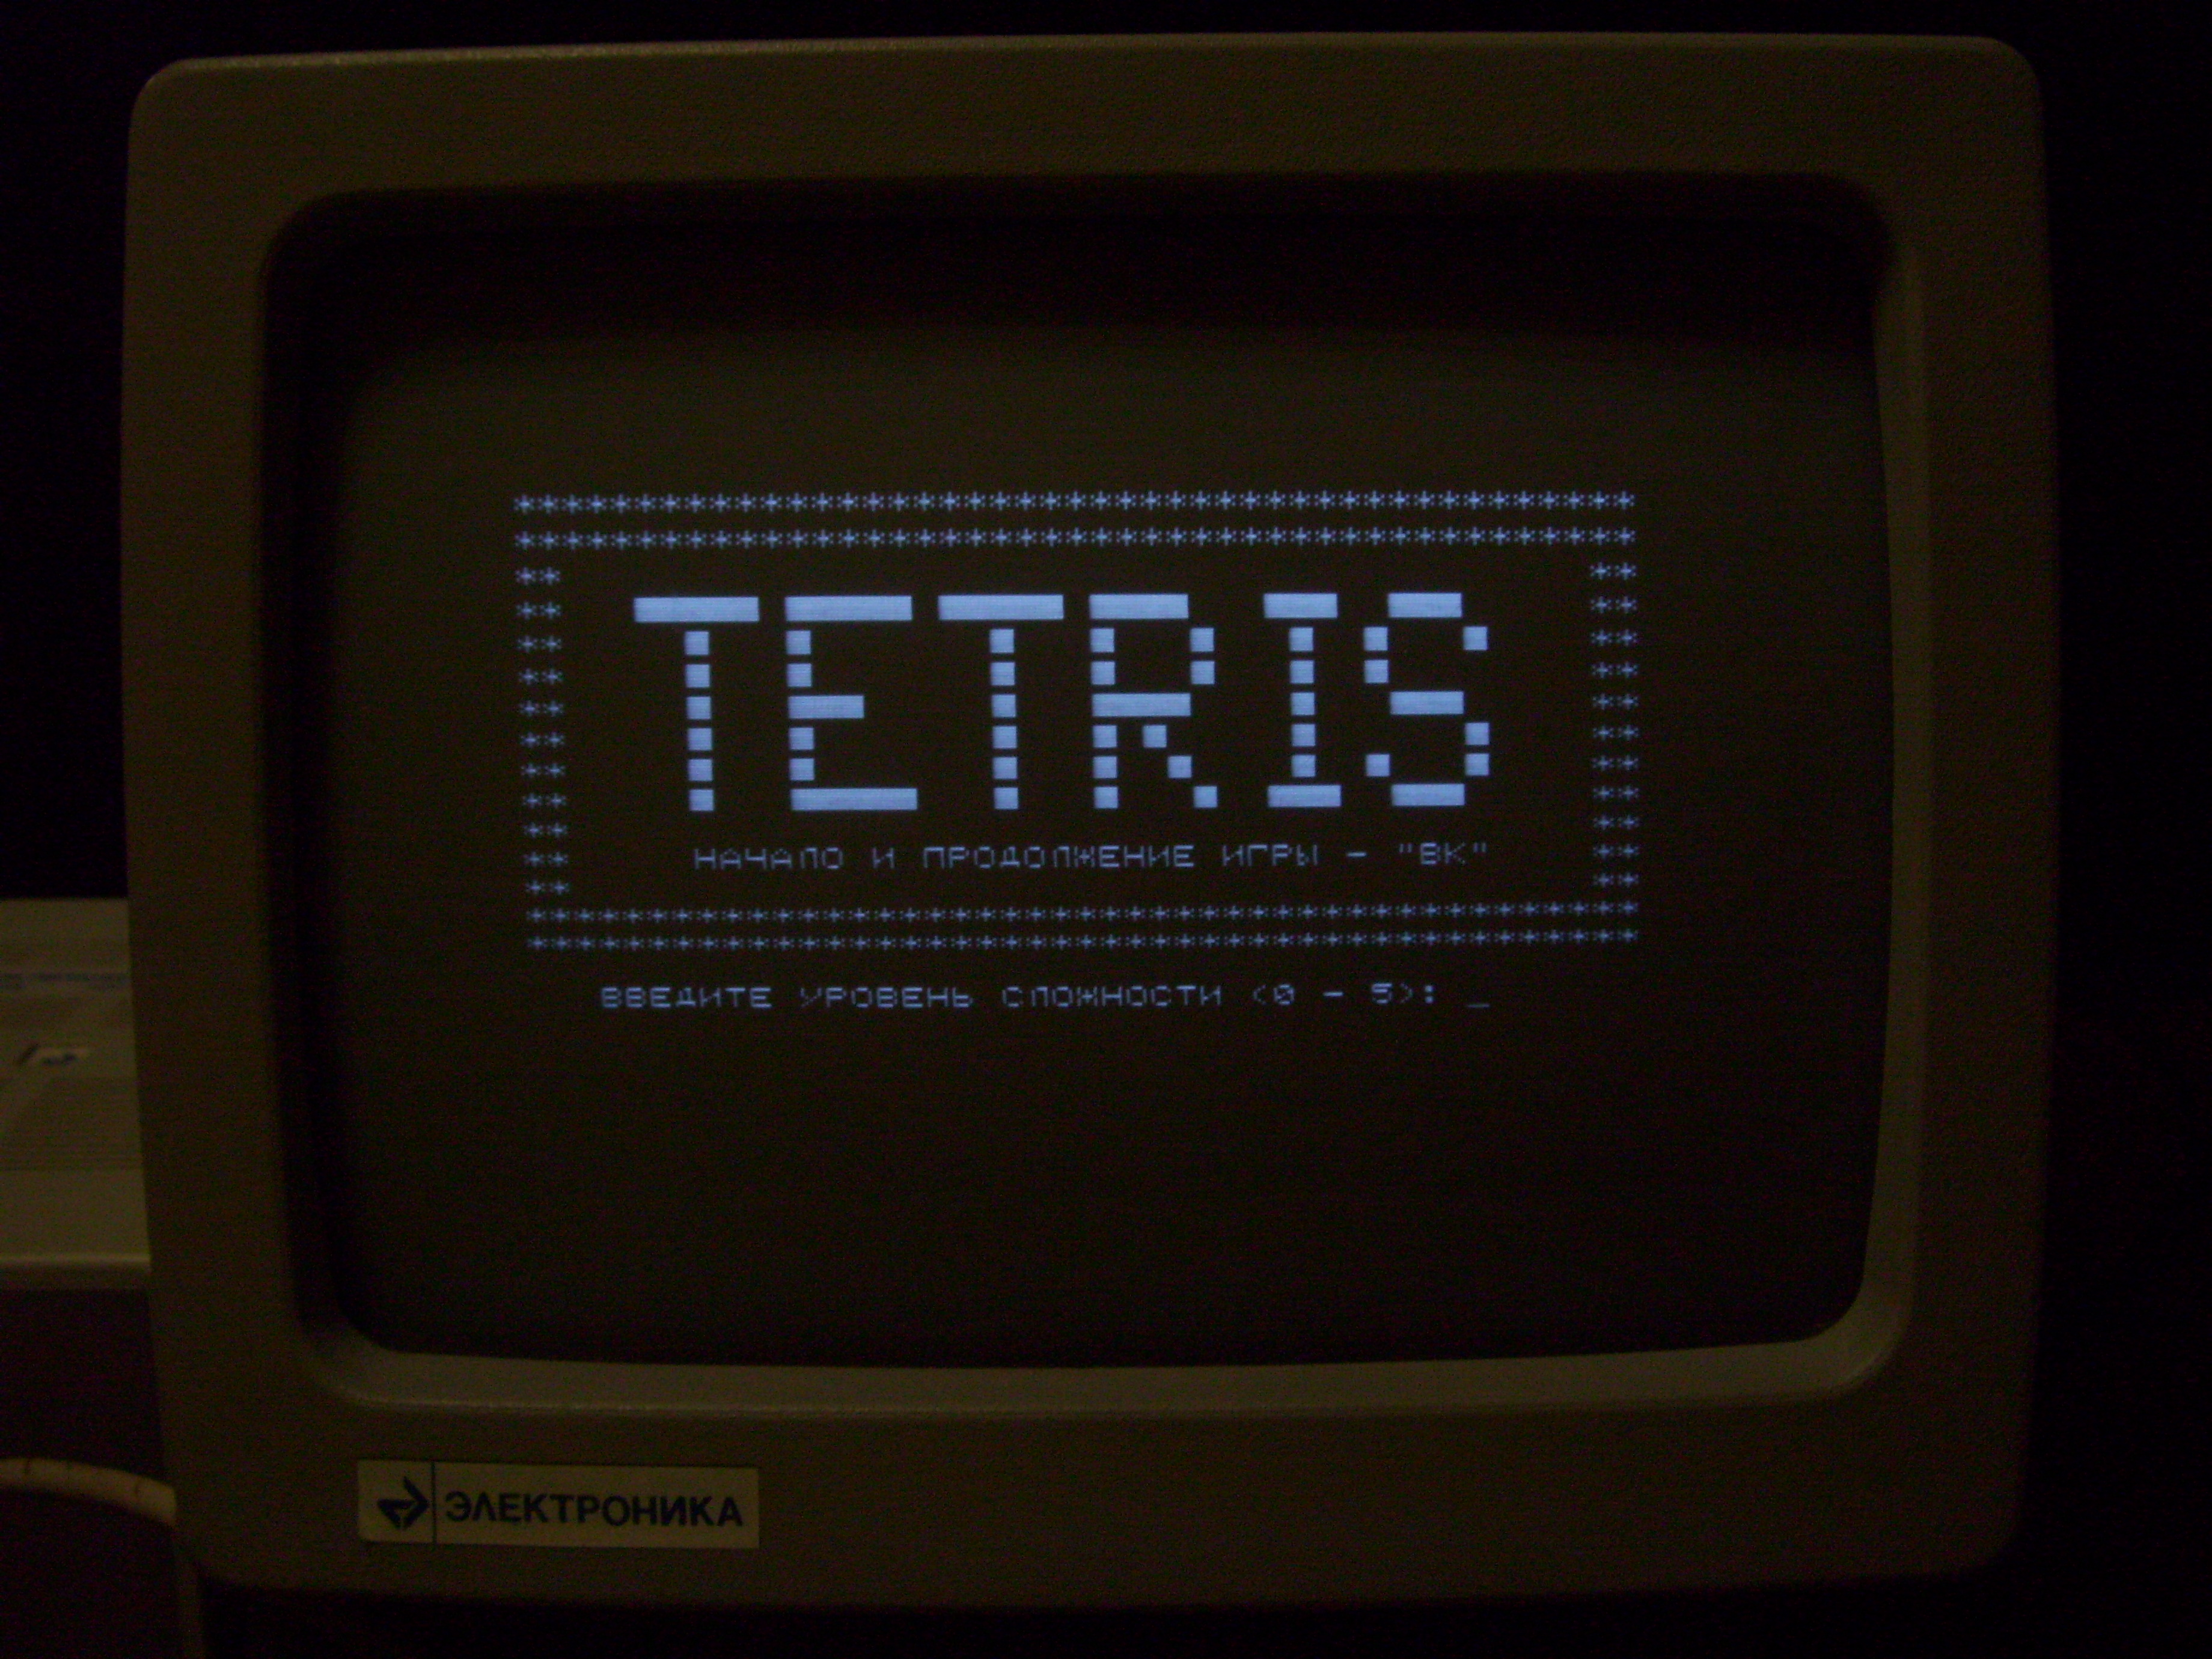
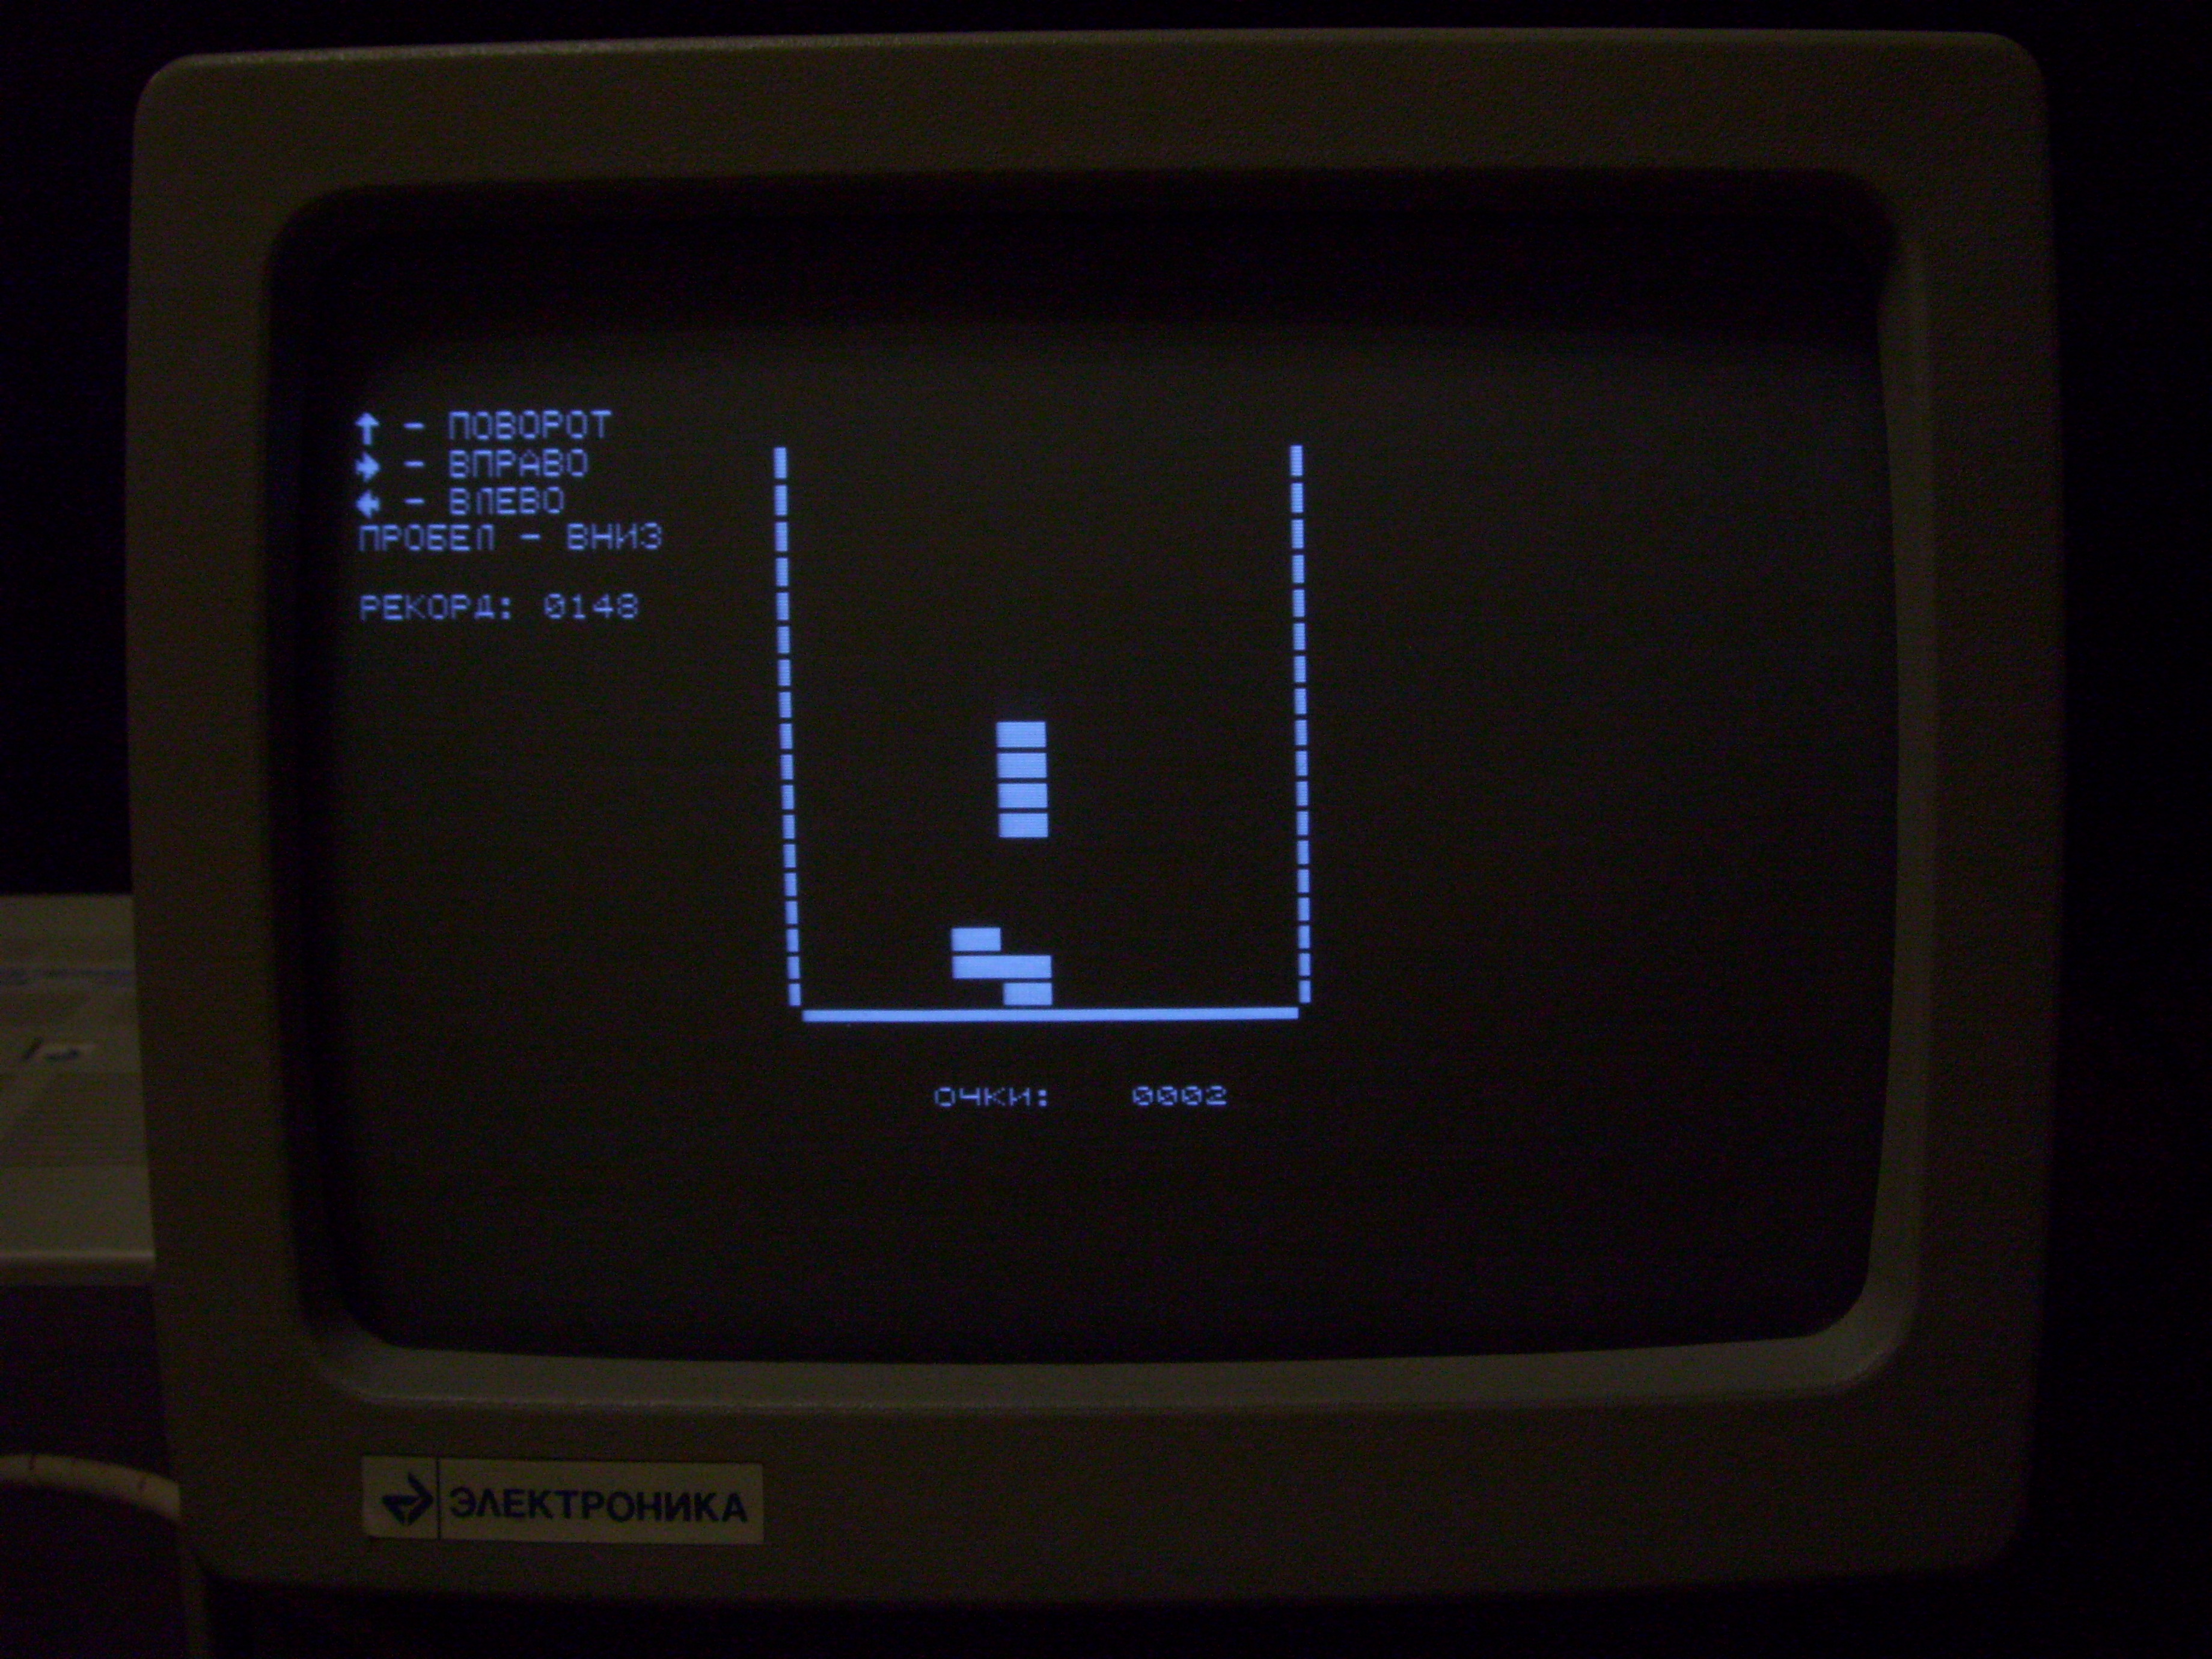
Tetris
Conclusion.
That, in principle, was all that I wanted to tell about the Soviet home-made Radio86RK home computer. Perhaps one of the readers of Habr at one time was engaged in the assembly of such a computer, or worked on it. If you can share your impressions, comments and simply interesting facts about Radio86RK, I will be grateful to you.
“Well, of course!” You say.
And you will not be quite right.
No, I by no means diminish your achievements, however, back in 1986 only experienced radio enthusiasts could assemble a computer in the USSR. It’s enough now to buy a motherboard, a processor, get a couple of RAM slots and a larger hard drive, and put it all in a beautiful case with a 500W power supply. All this, mind you, is done without the help of a soldering iron, oscilloscope and a bunch of circuit diagrams.
Only a few readers of Habr can boast that in Soviet times they really assembled household computers. In a fair and dishonest way, they took out scarce microcircuits, etched printed circuit boards, fought with UV ROM until night, armed with a toggle switch programmer, or wound transformers for power supplies. After several months of painstaking assembly and commissioning, it finally turned out what can already be proudly called a household computer. And if you managed to find or make a suitable and beautiful case for your creation, then such a computer envied everyone who had not yet pumped their crafting skills to level 80.
One of the most popular home-made home computers was Radio86RK, a description and diagram of which were published in a series of articles in the journal "Radio" No. 4-6 / 1986. Two authors of these articles, G. Zelenko and S. Popov, co-authored with V. IN. Panov, subsequently released the book "Home Computer" (Publishing House "Radio and Communication"), entirely devoted to the computer Radio86RK.
Radio86RK is not the first home computer that was offered for assembly by radio amateurs. Its predecessor was the Micro-80, which consisted of a large number of modules and consisted of about 200 microcircuits. It was difficult to assemble and commission, so it did not get much distribution.
One of the authors of the Micro-80 computer. Image taken from http://mrsaing.my1.ru
But Radio86RK consisted of only 29 microcircuits and a small number of other radio components, it was easy to assemble and, if there were no errors in installation, it started working immediately after turning on the power. However, because of the defective radio components that came across, the Radio86RK might not start, and then you had to pick up the oscilloscope probes and look for a malfunction.
Only later, when the state decided to produce amateur radio designers (and even produce clones of amateur radio household computers) in series, it became a bit easier for radio amateurs to live.
One of the clones of Radio86РК, which was mass-produced in production, was already written on Habré in the review of the PC "Mikrosha" - one of the clones of "Radio-86RK"However, the author refused to work correctly with the author of the household computer because of the bitten-off KM capacitors, which, due to the precious metals contained in them, apparently turned in color in due time.
Mikrosha. Image taken from wikipedia.org
In addition, Mikrosh is only partially compatible with its ancestor, so many programs and games for Radio86RK will not be able to run on it without appropriate adaptation.
In addition to Mikrosha, on the pages of Khabr there was an overview of the amateur radio computer Orion-128 , the basis of which, apparently, was taken by Radio86RK. Orion-128 had much more RAM than Radio86РК, a ROM disk and a drive were connected to it, it was also possible to connect a hard disk of up to 10Mb through a special controller.
But so far no one has written a review about the parent of all these numerous clones, namely, about Radio86RK. Today I would like to correct this annoying misunderstanding. So, let's begin.
Technical characteristics of Radio86RK.
Processor: K580IK80A (KR580VM80A) - the Soviet analog of the I8080A processor, operating at a frequency of 1.78 MHz. In fact, the nominal clock frequency of this processor was 2.5 MHz, however, to simplify the circuit of the Radio86PK home computer, it was decided to abandon the clock generator for the video controller and use the processor clock generator as it. Due to the fact that the video controller only digested the frequency of 1.78 MHz, I had to be content with an underestimated processor frequency.
ROM: 2 KB on a chip with ultraviolet erasure K573RF2 or K573RF5 (bourgeois analogue - 2716) in which the “Monitor” control program is located. During computer debugging, instead of the “Monitor”, a diagnostic test was written in the ROM, checking the correct operation of the memory, character generator and keyboard. Therefore, this chip is usually installed on the socket.
RAM: in the original version - 16 KB on eight chips K565RU3. In the revised version - 32KB on sixteen K565RU6 microcircuits (soldered to each other by the second floor). For the normal operation of the Radio86RK computer with 32 KB of RAM, it was necessary to change the firmware of the “Monitor” ROM in connection with the change in the end addresses of RAM.
Video subsystem: built on a bunch of chips KR580VG75 + KR580VT57. Symbols for the character generator are stitched in the ROM chip K573RF1. This microcircuit required as much as three voltages for its power supply: +5, +12 and -5 volts, and often failed if one of the supply voltages disappeared. Many hams replaced it with the K573RF5 microcircuit, since small changes were made to the circuit. Only textual black and white mode of 25 lines for 64 characters is available, despite the fact that the KR580VG75 microcircuit made it possible to realize a color image. For simplicity of design, they decided to refuse the color image.
Due to the scarcity of the KR580VG75 chip, some radio amateurs replaced iton a separate board containing about twenty more common chips. True, after such a replacement, programs that directly accessed video memory, in particular, games, did not work correctly on the computer. Without adaptation, only those programs that accessed video memory via ROM functions worked.
As a monitor, we used a regular TV or video monitor Electronics Electronics 6105. The
keyboard was a matrix with contacts for the circuit, which was fully serviced by the CPU through an input / output port made on one of the KR580VB55 microcircuits (there are two such microcircuits in the computer). The most often used reed buttons on the keyboard from calculators, which were not smooth, but had high reliability.
The output from the INTE processor (on which the “interrupt resolution” signal was generated), switched by EI / DI commands, was used as a sound source. Since interrupts were not used on the computer, this output was free. Do not disappear good, right?
Power supply: one of the most important components of the computer, designed with the highest possible reliability, because due to its malfunction rather scarce and expensive microcircuits could fail. The fact is that for its work, the Radio86РК computer used three supply voltages (-5V, + 5V and + 12V), with the voltage -5V first, and then + 5V and + 12V to be supplied first. They must be removed in the reverse order. It is also allowed the simultaneous supply and removal of all voltage, and if one of them disappears, all the others must be removed.
A household tape recorder was used as an external device for storing programs and data.
Peripheral devices (for example, a printer) were connected to a free port on the second chip KR580VV55.
Appearance of Radio86RK.
Talking about the appearance of a home-made computer is not entirely correct.
Everyone tried as best he could, and made a case for his PK86 from what came to hand. Some do not bother, and keep your computer completely without body, and then holili and nurtured it - God forbid throw him
Radio enthusiasts who comprehended Zen tried to hide their offspring in buildings from Soviet calculators of the appropriate dimensions (for example, Spark 111M), and those people who knew how to not only hold a soldering iron in their hands, but also work with plexiglass, made their own cases.
Radio86РК in the housing of the Iskra 111M calculator. The image is taken from the site http://sfrolov.livejournal.com
And now, let's look at the body version of my copy of Radio86RK.
It is made of plexiglass, and painted yellow. Holes for buttons and two LEDs are cut out in the top cover of the case.
The keyboard is typed from buttons from Soviet calculators. Letters and arrows had to be drawn on the buttons manually - on top of such buttons there are transparent caps that protect the inscription from being erased. The numbers on the buttons did not need to be drawn, since they had already been pre-printed on the buttons of each self-respecting calculator.
There is nothing interesting on the sides of the case, but on the back wall there are all the necessary connectors - a connector for connecting a tape recorder, a TV, a “Reset” button, and a connector for a power supply.
The power supply housing is also made of plexiglass and painted yellow.
In addition to the power connector of the Radio86РК and the power button, on the front wall of the PSU case there is a + 5V outlet, which, in principle, is not needed. But this is not a bug, this is a feature (s).
The side wall of the power supply is a giant radiator. This is how the cooling problems were solved.
What is inside it?
We remove the upper part of the case - no screws, just pull up.
We see a keyboard connected by a loop to the main board of a computer.
By unscrewing the 4 screws and disconnecting the cable from the keyboard, you can get to the main board of the Radio86РК computer. The printed circuit board is double-sided, quite qualitatively etched. However, due to wiring errors, some tracks are cut and laid using a regular wire.
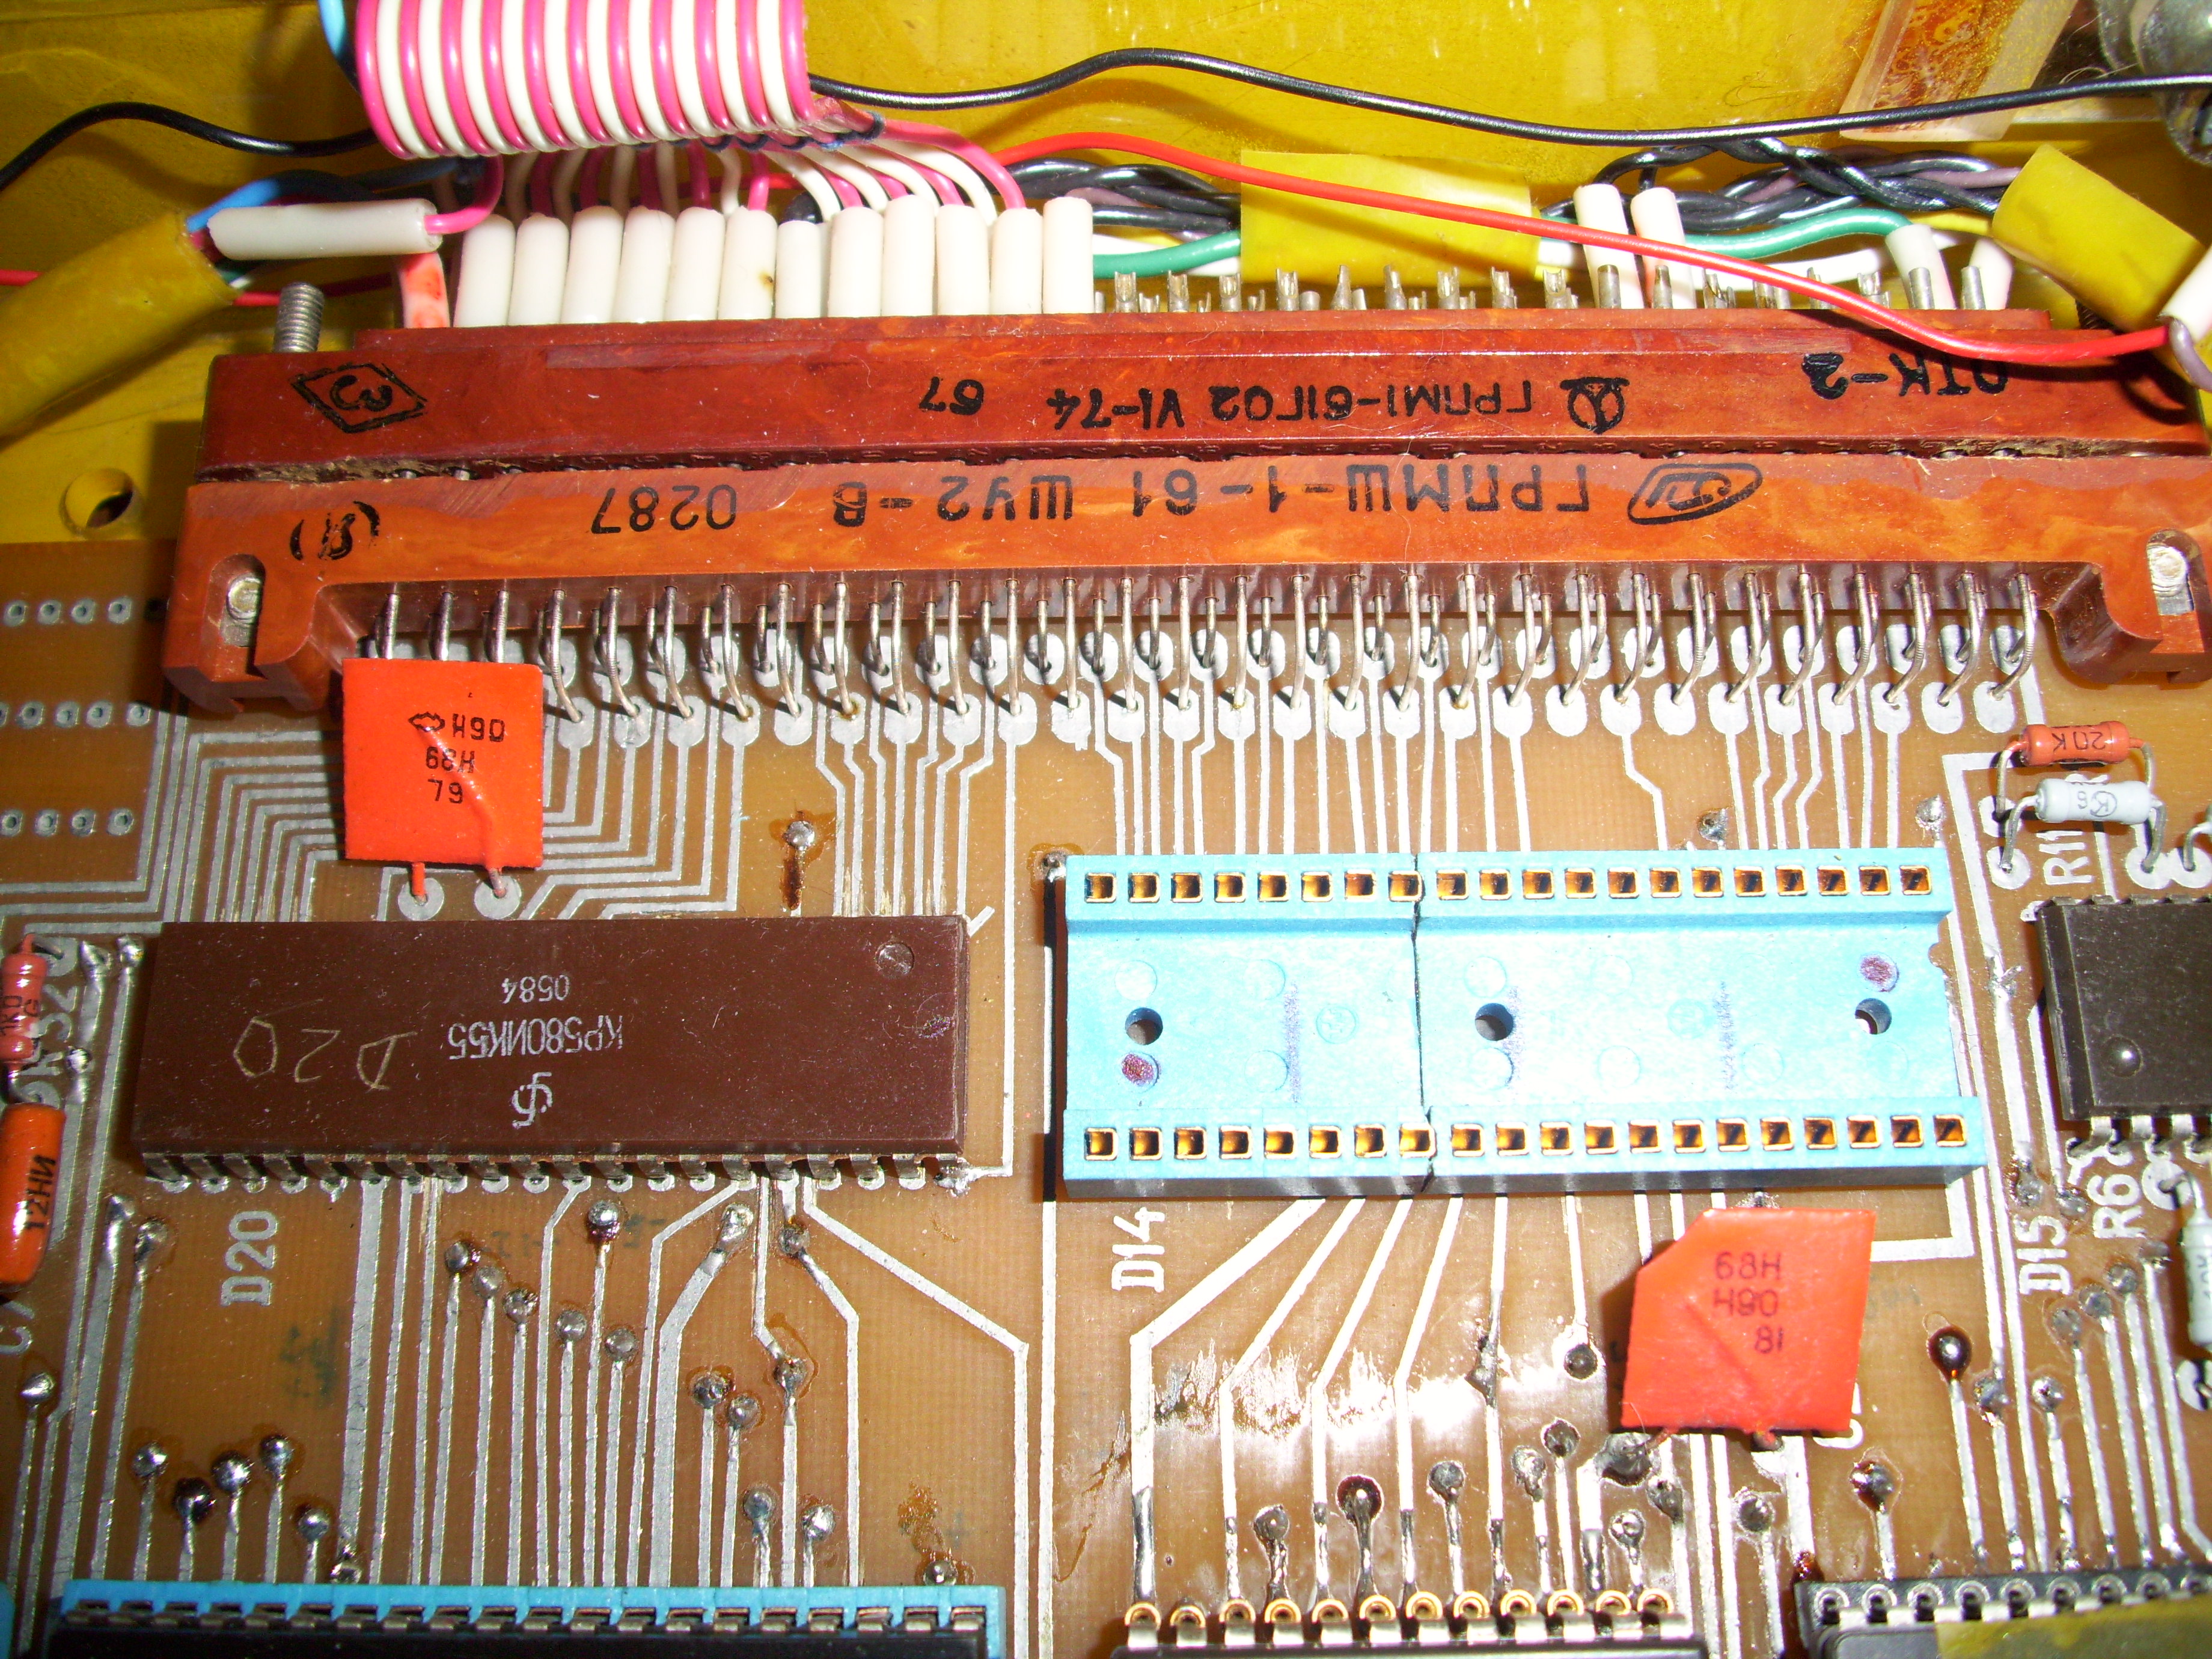
Too many chips are installed on the socket. For example, a processor.
RAM also nests in the sockets. Yes, and the second floor.
Sign generator. Instead of the domestic chip K573RF1, it is made on the German analogue U555. So reliable.
Chip K573RF5 (ROM "Monitor") is also replaced by a similar chip 2716. Clock
generator KR580GF24. Also in the socket.
Keyboard I / O Port Nearby there is an empty socket for the same chip, designed to connect 8-bit peripheral devices.
Video controller
I remind you that all this beauty must be picked up by a radio amateur himself, guided by the description and diagrams from Radio magazine. And help in painstaking assembly and adjustment should have been reference tables published there.
It looked something like this.
Cause time, fun - an hour.
Many will probably be interested in what the harsh uncles who managed to assemble the Radio86RK home computer played. It turns out that a rather decent number of programs were written for RK86, including entertainment.
Want to take a look at them? You are welcome!
First, connect the Radio86РК to the monitor and tape recorder. Now insert the cassette with your favorite game, press the I button on the computer (the initial letter of the word “Input”), after it, do not forget to press the VK key (carriage return, analogue of the Enter key), and turn on the tape recorder for playback. The monitor magically stops displaying anything on the screen (this is a feature of the computer), and only after loading the program does the image appear again. Loading is complete.
To start the program, press the G button (the initial letter of the word “GO”), and confirm the command by pressing the VK key. Sometimes it is necessary to specify the starting address of the memory where the program is located, but this is very rare.
Let's see what it was possible to play on the Radio86RK computer.
Worm.
Tic Tac Toe
Circus
Lode Runner
Pacman
Tetris
Conclusion.
That, in principle, was all that I wanted to tell about the Soviet home-made Radio86RK home computer. Perhaps one of the readers of Habr at one time was engaged in the assembly of such a computer, or worked on it. If you can share your impressions, comments and simply interesting facts about Radio86RK, I will be grateful to you.