 August 18, 2010 at 00:28
Company Inventory: GLPI Installation



It's time for our company to keep records of computer equipment. The company grows, expands, and the memory of the IT department, plus several XLS files, is no longer enough for a quick and reliable answer to what we have and where it is located.
What we have:
1) each user is given the necessary equipment (several monitors, tablet, printer, scanner, uninterruptible etc);
2) everyone has a set of free software installed on their computer, plus paid programs;
3) there are several data centers, in each of which there are several racks filled with servers and active equipment;
What I wanted to achieve:
1) keep records of components in each computer, the ability to see upgrades and repairs done;
2) have a complete list of purchased software, with serial numbers and distributions;
3) see which licenses were issued to whom and on which machines they are installed;
4) the ability to build any reports, for example, Peter Ivanov has - a system unit in such and such a configuration, 2 monitors, a laptop, a workstation on the 99th floor, in room 9901, uses licenses of Windows XP, Office 2007, WinRar, Total Commander; or how many Photoshop licenses we have left and to whom we have been hired; or how many and which servers (serial and such inventories) are employed for such a project, what software is installed on them, how much does the project cost (the cost of servers and licenses is included); and so on and so forth.
PS GLPI can also be used as an application system in HelpDesk, but we already use JIRA, if it is interesting, I’ll tell you, but haven’t planned it yet.
So, I would like to talk about how I completed the tasks. It would be interesting to tell how many products I tried before stopping at this, but maybe next time. In this post I’ll start specifically with the necessary actions by which anyone can install the same service at home (this will be a step-by-step guide for beginners with examples of commands and their output to the console, not counting a bunch of pictures). Now we will consider only the installation and the necessary settings, in the future I want some more practice (a bunch with OCS Inventory), and only after that I’ll probably have a theory. In our company, among the Linux systems, Debian was selected, and we will configure it using its example.
Part 1: Installation
1. OS installation
Download the latest Debian image from the site:
www.debian.com/CD/netinst
I have it debian-504-i386-netinst.iso We will have enough network installation, we will deliver the rest ourselves. After installation, install the following components:
apt-get install ssh, apache2, mysql-server, php5
2.Configure MySQL
2.1 Log in as root, enter the password that we entered when installing MySQL:
mysql -uroot -p
inventory:/home/tyran# mysql -uroot -p

Enter password:

Welcome to the MySQL monitor. Commands end with ; or \g.

Your MySQL connection id is 28

Server version: 5.0.51a-24+lenny3 (Debian)


Type 'help;' or '\h' for help. Type '\c' to clear the buffer.


mysql>
2.2 We create a database for our program:
create database glpidb;
mysql> create database glpidb;

Query OK, 1 row affected (0.00 sec)
2.3 We create the user, and give him rights from the created base:
grant all privileges on glpidb. * to glpiuser @ localhost identified by 'Enter your password for it here';
mysql> grant all privileges on glpidb.* to glpiuser@localhost

 -> identified by 'password';

Query OK, 0 rows affected (0.00 sec)
2. Install GLPI
2.1 Download the latest stable version from the site
www.glpi-project.org/?article41&lang=en
I install GLPI Version 0.72.4
2.2. Unpack the archive in / var / www /
tar xzvf glpi-0.72.4.tar.gz -C / var / www
2.3 Go to the folder, and issue the necessary rights to the folders:
cd / var / www / glpi
chown www-data: www-data config files files / * inc
3. Configure GLPI
Go to:
http: // server_ip_address / glpi
3.1 Choose a language

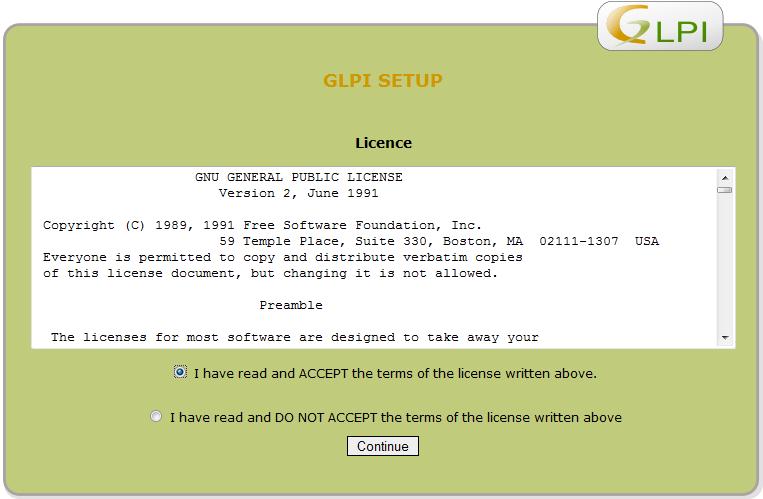
3.2 We accept a license agreement
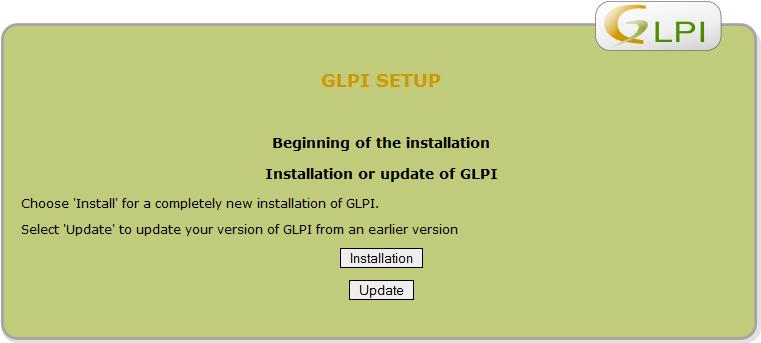
3.3 Choose a installation
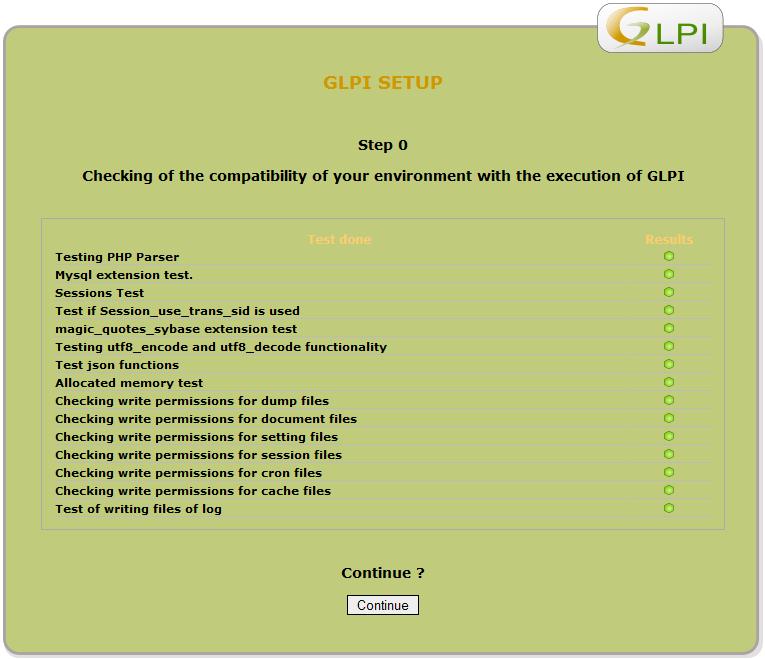
3.4 Check the environment
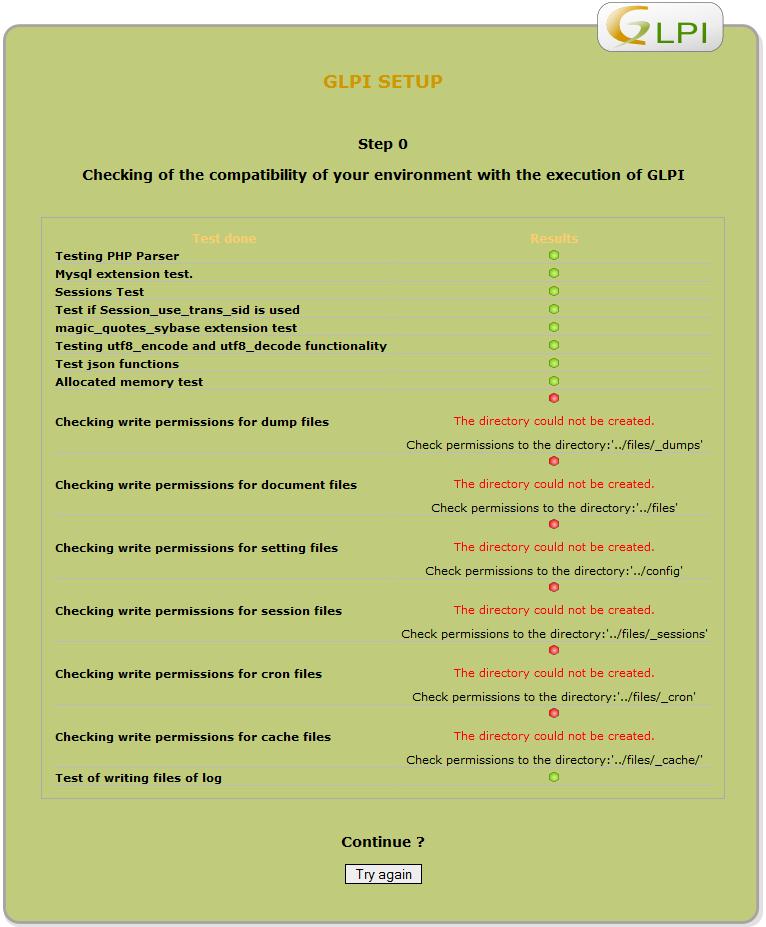
3.5 Here for example it looks like an error if there are not enough rights to write to folders
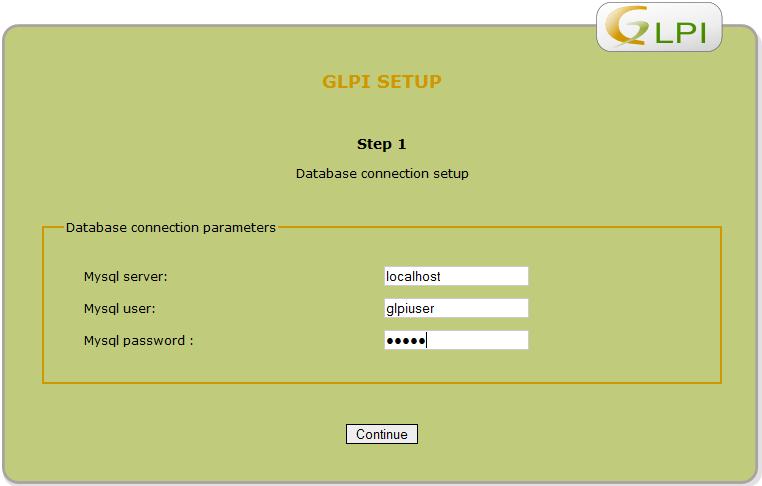
3.6 Enter the data for the connection to MySQL
3.7 Choose your database GLPIDB
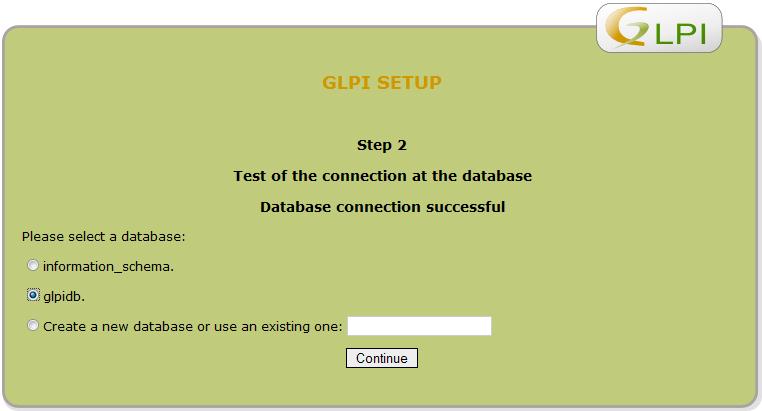
3.8 The database is successfully connected

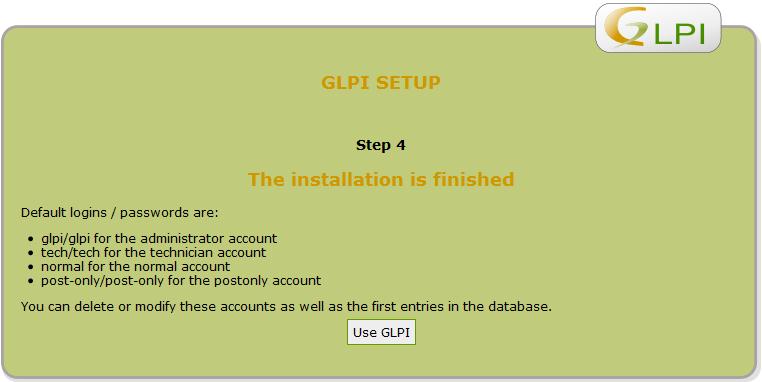
3.9 Everything is ready, here default logins and passwords are listed.
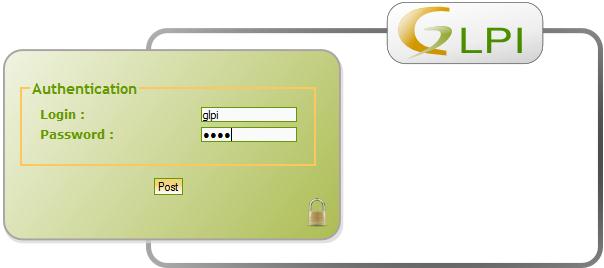
3.10 We can check and go under the super-admin (glpi: glpi)
3.11 in order to change the user interface to Russian, you need to select “Setting” at the top right and select the language on the page. Moreover, you can choose both global for all new users, and for the current account.
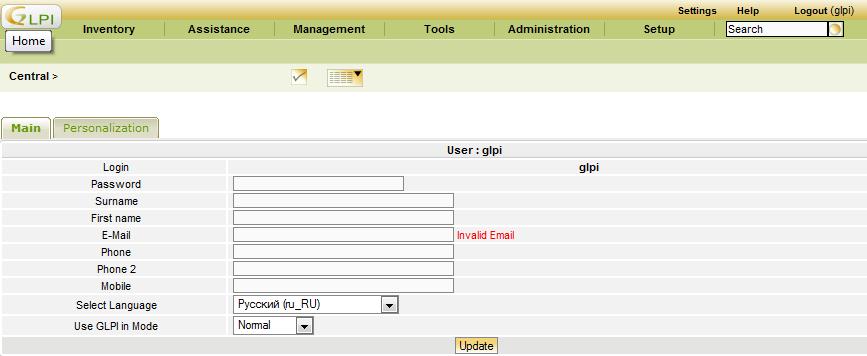
And so, the installation is over. You can log in using the default passwords and enter data.
Part 2: Configuring
1. LDAP setup
Now it would be more convenient for us to bind LDAP to our inventory system. We will be able to import users to our system, and then after we give them rights and attach equipment to them.
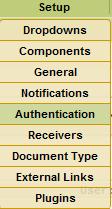
1.1 We select in the menu Setup -> Authentication
1.2 Next we need LDAP
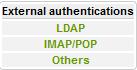
1.3 And then we see an error

Install the missing
apt-get install php5-ldap
inventory:~# apt-get install php5-ldap

Reading package lists... Done

Building dependency tree

Reading state information... Done

The following NEW packages will be installed:

 php5-ldap

0 upgraded, 1 newly installed, 0 to remove and 0 not upgraded.

Need to get 18.2kB of archives.

After this operation, 102kB of additional disk space will be used.

Get:1 security.debian.org lenny/updates/main php5-ldap 5.2.6.dfsg.1-1+lenny6 [18.2kB]

Fetched 18.2kB in 2s (6613B/s)

Selecting previously deselected package php5-ldap.

(Reading database ... 18693 files and directories currently installed.)

Unpacking php5-ldap (from .../php5-ldap_5.2.6.dfsg.1-1+lenny6_i386.deb) ...

Setting up php5-ldap (5.2.6.dfsg.1-1+lenny6) ...
1.4 Restart Apache
./etc/init.d/apache2 restart
1.5 Refresh the page and add the LDAP server

1.5.1 Now more details on the fields that need to be filled
(In version 0.72.4 they added an Active Directory button, clicking on which values specific to AD are substituted)
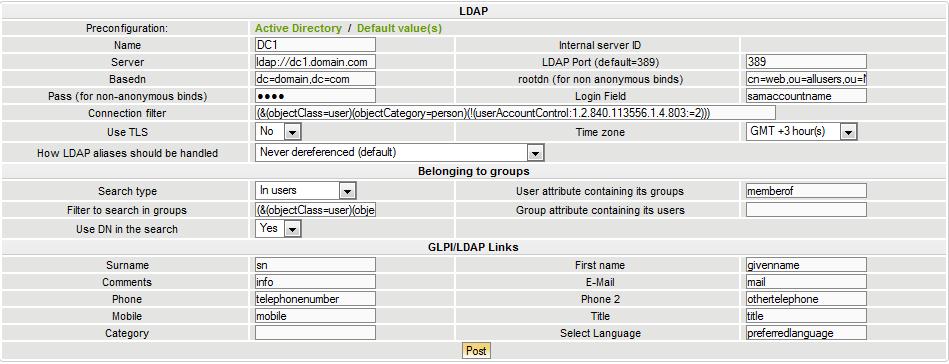
Name - What do you like and write
Server - Specify the domain the controller we will contact ldap: //dc1.domain.com
LDAP Port - 389
Basedn by default - where we will search for users, for example, all users of the domain dc = domain, dc = com
rootdn - the path to the user on behalf of which the request will be made to LDAP, I created a web user in the department, total cn = web, ou = allusers, dc = domain, dc = com
Pass - password from web user
Login Field - samaccountname
Connection filter - (& (objectClass = user) (objectCategory = person) (! (UserAccountControl: 1.2.840.113556.1.4.803: = 2))) (search only active users)
USE TLS - No
Time zone - GMT +3 Hour
HOw LDAP aliases should be handle - Never
I do not use groups.
GLPI / LDAP Links - Here we fill in the binding of AD fields to user fields in GLPI, so we import AD users into GLPI with fields first name, last name, email.
Surname - sn
Firstname - givenname
E-Mail - mail
1.6 Here we can test the connection. If everything is OK, we get the answer:

1.7 We can also add a second LDAP server, in case the first one fails, and we can also test it:

2. Configure backup
2.1 Create a backup.sh file with the following contents 2.2 We set the scheduler to launch our backup, for example daily at 23 o’clock:
#!/bin/sh


user="-uroot"

pass="-pПарольотMySQL"

path="/var/www/glpi/files/_dumps"

date="`date +%Y-%m-%d`"


mysqldump $user $pass glpidb > $path/$date.glpidb.backup.sql
crontab -e
# m h dom mon dow command

0 23 * * * /home/tyran/backup.sh
Now in the Administration - Data menu we see the backup we made, and we can restore it from there.

3. Export to PDF in Russian
Detailed instructions from the young admin









