How I made it much easier to work with the Raspberry Pi (“everything new is well forgotten old”)

-How to get started with Raspberry Pi?
-Fill the image on the SD card, connect to the power supply and go to the store to buy everything that is missing.
Raspberry Pi in the standard package - not a gift. At least, if you are going to give Pi to someone for this New Year, make sure that the keyboard-monitor-mouse set, or at least a USB-UART adapter, will be available to the happy recipient.
What to do if you want to do your project, but there is only a fee and it is problematic to connect at least something to it? I suffered with this kind of problems for 3 years until I developed pyLCI. About how to start using pyLCI and what it gives, I will tell you today.
Let's start by connecting to Pi. There are many ways, and each has its drawbacks.
USB-UART
    Требует наличия USB-UART (ещё и на 3.3V)
    Требует компьютера с совместимыми драйверами (FTDI, я смотрю на вас)
Монитор(composite/HDMI)+мышь+клавиатура
    Требует наличия всего этого добра (монитор ещё и с HDMI), да ещё и питания 220
    Компактные варианты либо дороги, либо неудобны
    Часто избыточно - подключать кучу всего, чтобы узнать IP?
    Монитор должен быть подключен при старте
Ethernet
    Требует роутер или DHCP-сервер на компе или Pi
    Нужно искать IP, что не всегда легко (они ещё и меняются!)
    Нужно Ethernet-подключение к сети ()
WiFi и wpa_supplicant.conf на boot разделе
    Плохо документирован
    Нужно искать IP (опять!)
    Трудно дебажить (ой, WiFi переопределился как wlan2 и не подрубается...)
How to make an interface for your smart home / media center / robot?
GUI
    Требуется монитор или VNC
        Для VNC требуется отдельный компьютер
    Для совсем урезанного GUI нужно ещё и добавлять стандартные функции (Shutdown/Reboot/WiFi/IP/shell commands)
SSH+CLI
    Требуется отдельный компьютер
    Требуется сетевое подключение
    Хорошее знание команд крайне желательно
WEB
    Требуется отдельное устройство и сетевой доступ к нему
    Нужно добавлять стандартные функции либо дополнительно устанавливать Webmin/Ajenti/whatever
In the three years that I have been working with Raspberry Pi, I have learned Linux, programming in Python and using all of this to create various interesting devices. All this time I ran across the same problems, the root of which is that the Raspberry Pi does not have simple built-in methods for interacting with the OS - for example, the built-in monitor / keyboard. As a result, it is easy to connect any laptop with Linux to WiFi, and for Raspberry Pi you need to use additional hardware, dig with commands or carry monitors. This, as for me, has not yet been avoided, but it can be solved with a minimal amount of effort.
The more I developed different projects, the more different solutions I tried. During this time I used:
- UART via Bluetooth (HC-05)
- Just UART
- Ssh
- Full size monitor
- GPIO buttons
- Audio Alerts
- IP display
It's not that. The resulting solutions at some point clearly showed their limitations, and with all the iron that I used, one could achieve much more. What did my requirements ultimately form?
- The interface should be cheap. Buying additional hardware is always problematic, so the lower the price, the easier it is to equip the project with the interface.
- The interface should be universal. The cheapest iron is that which has already been purchased or can be dropped from somewhere.
- The interface should be simple. The simpler it is to use, the more you can achieve.
As a result, last year (2015), I started a project that uses cheap displays and buttons and gives me the opportunity to use the basic functions of the Raspberry Pi. It would seem that the idea is very simple - such interfaces have been popular for a long time in various devices - but when searching for ready-made solutions for Linux, only LCDProc was visible, which is more than a status monitor. Most of the people who wanted to use such an interface, collective farms or something on Python with ready libs for displays and somehow working navigation code, sometimes not even rendered into classes for reuse.
In April of this year, a bunch of projects and a lot of mistakes later, I finished the project to version 1.0, called pyLCI and laid it out on GT for everyone to see. Since then, much has changed - pyLCI was used in each of my Raspberry Pi-projects, features were added, bugs disappeared, and occasionally I received letters with questions about some of the nuances of pyLCI. Now my goal is to tell about this project to all who it may be useful.
What is pyLCI?
pyLCI is a simple interface for configuring and managing Raspberry Pi functions using 2x16 screens, buttons and Python. It is simple, cheap and easy to use.
It is easy to install pyLCI - you put a shield for $ 5 on Pi, download pyLCI on Pi and put it into autoload with the included script.
Examples of using
Under the spoilers - beautiful pyLCI gifs in work.
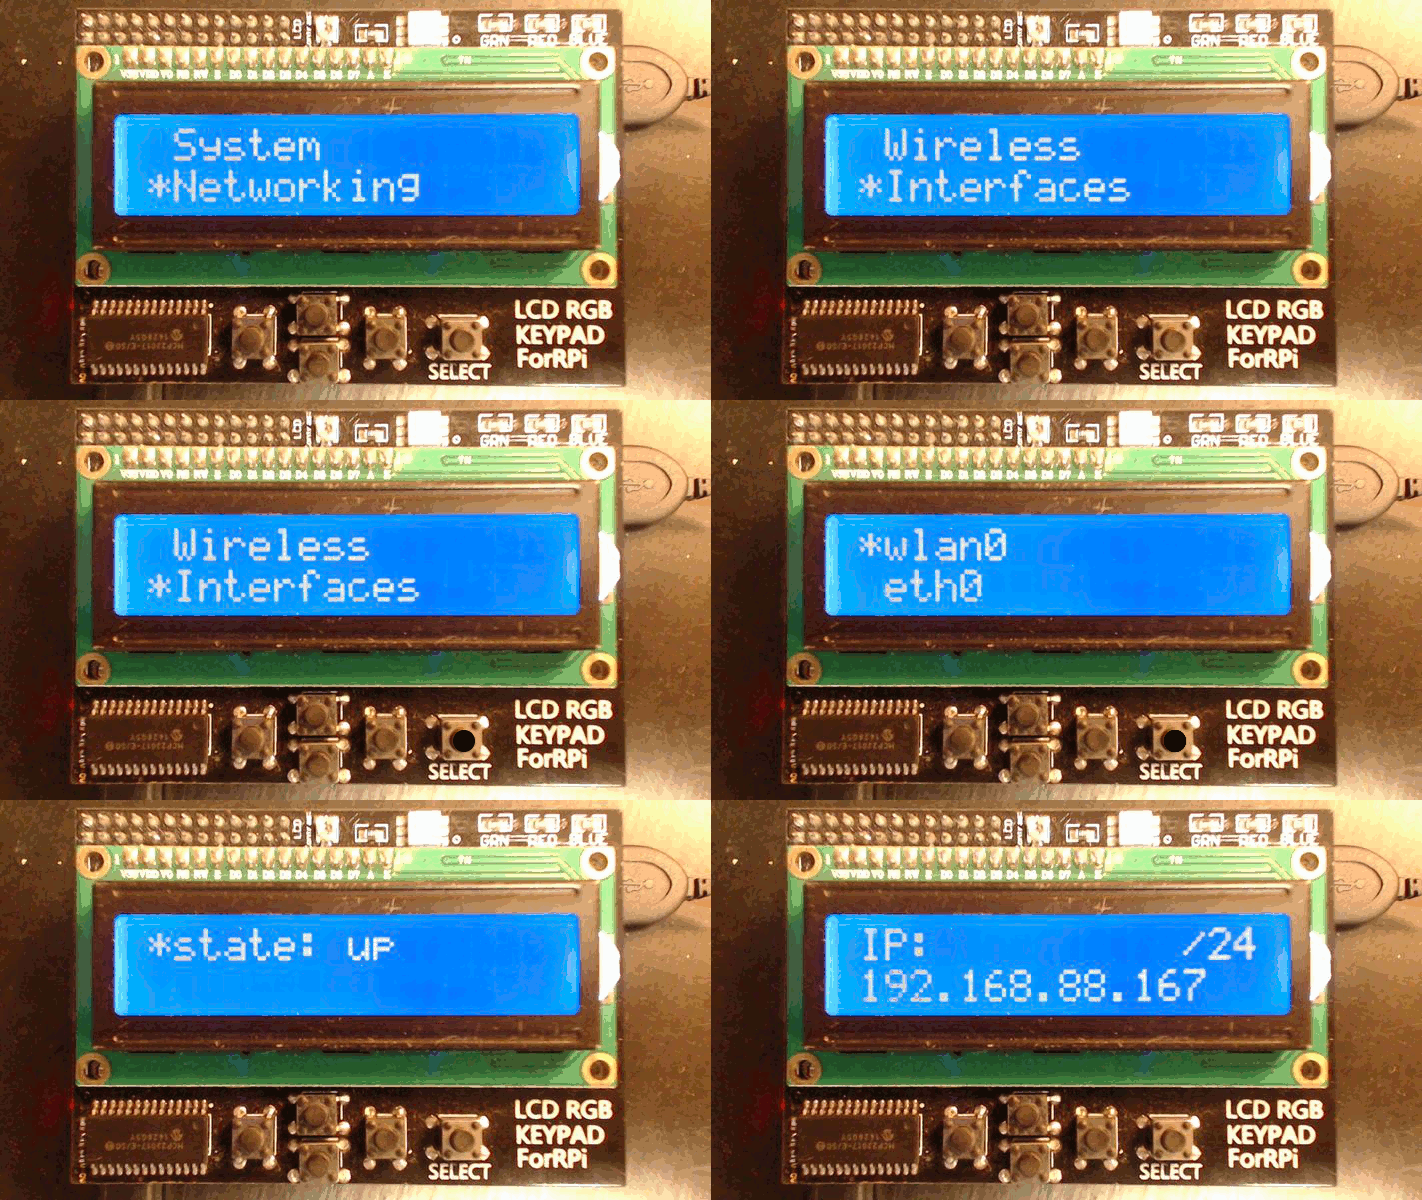
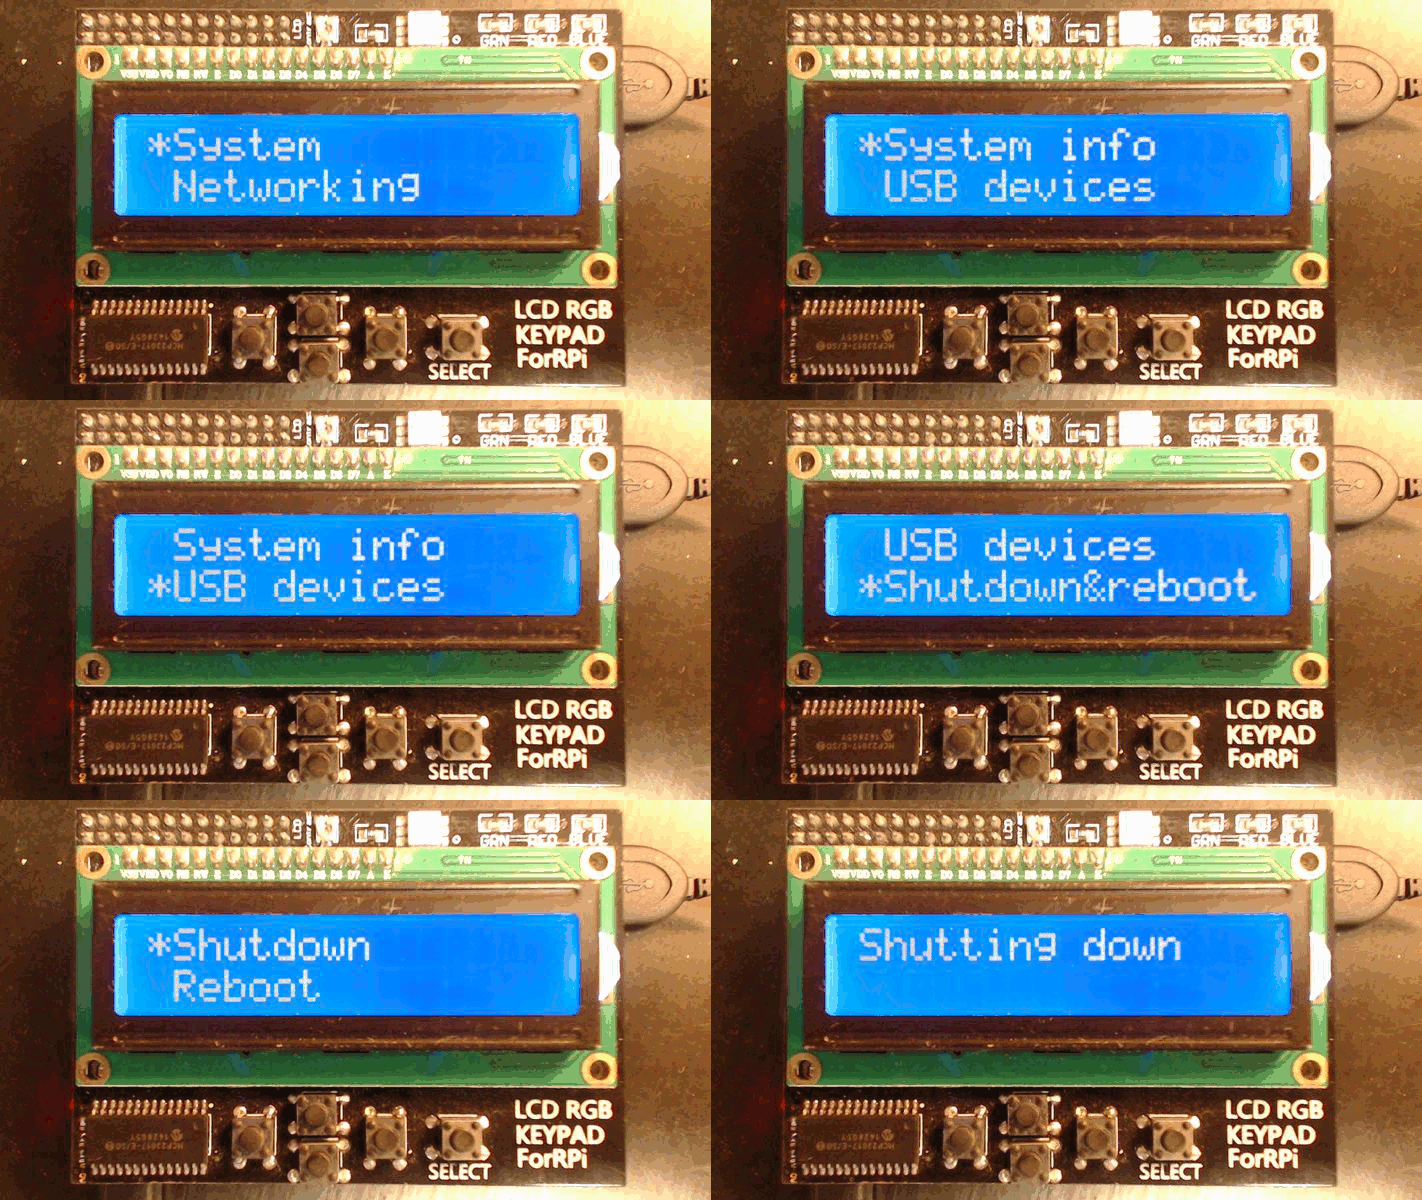
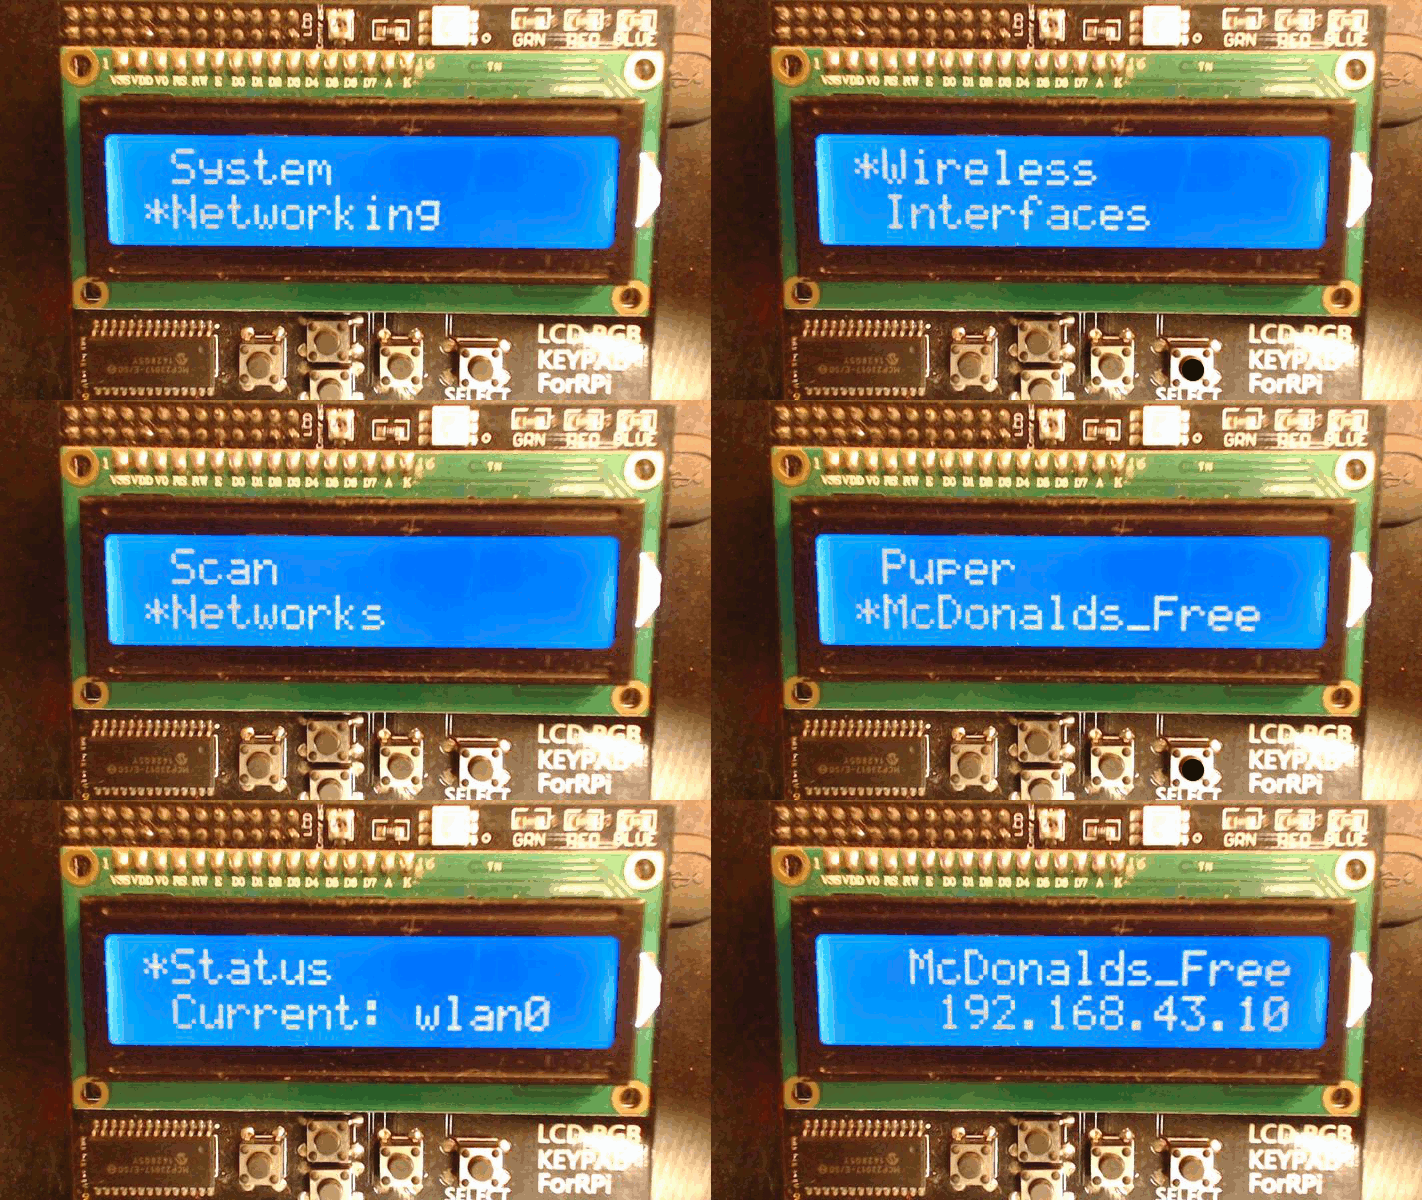
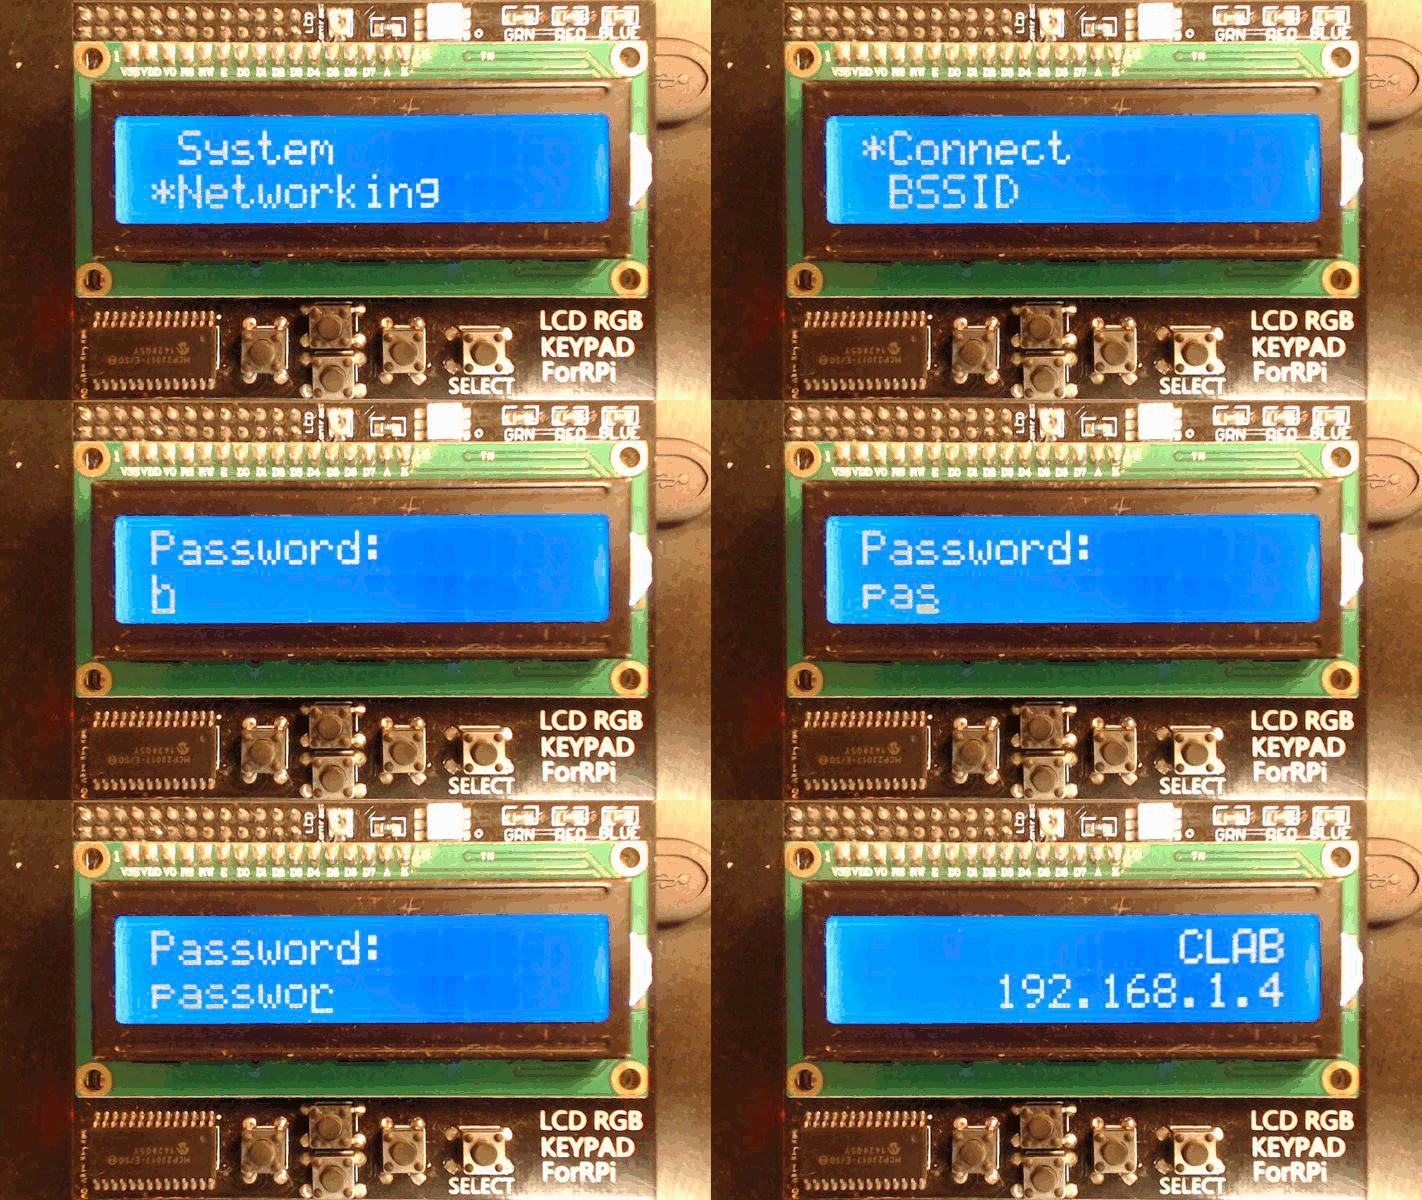
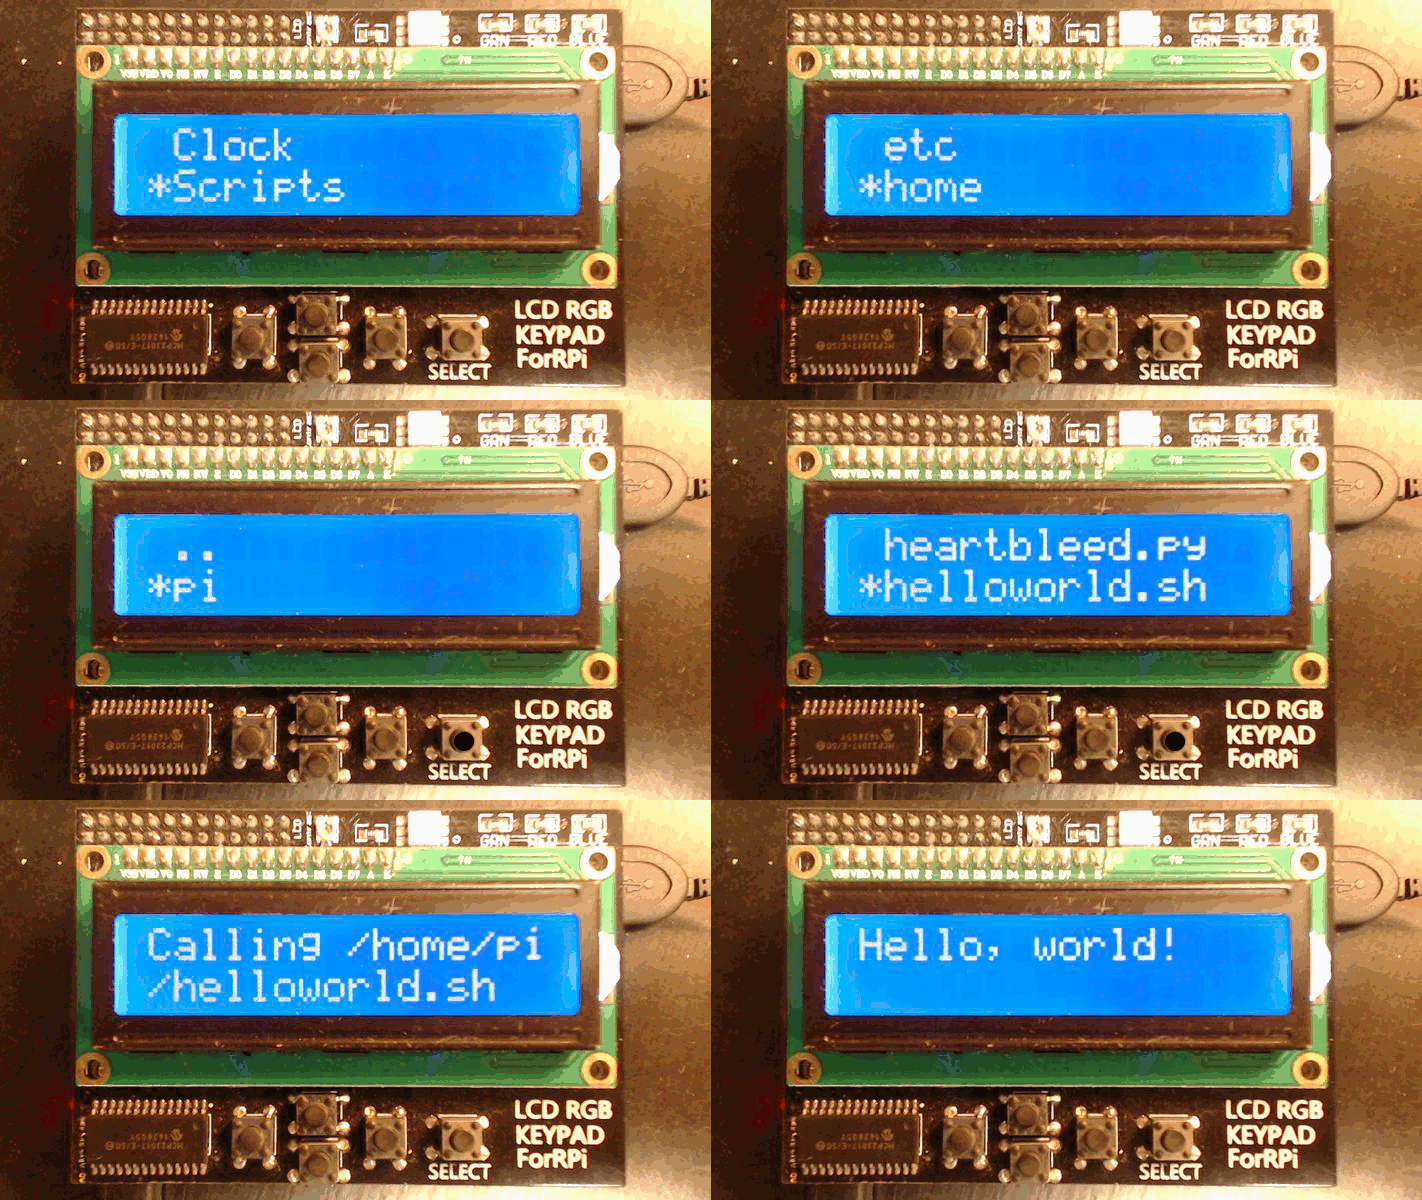
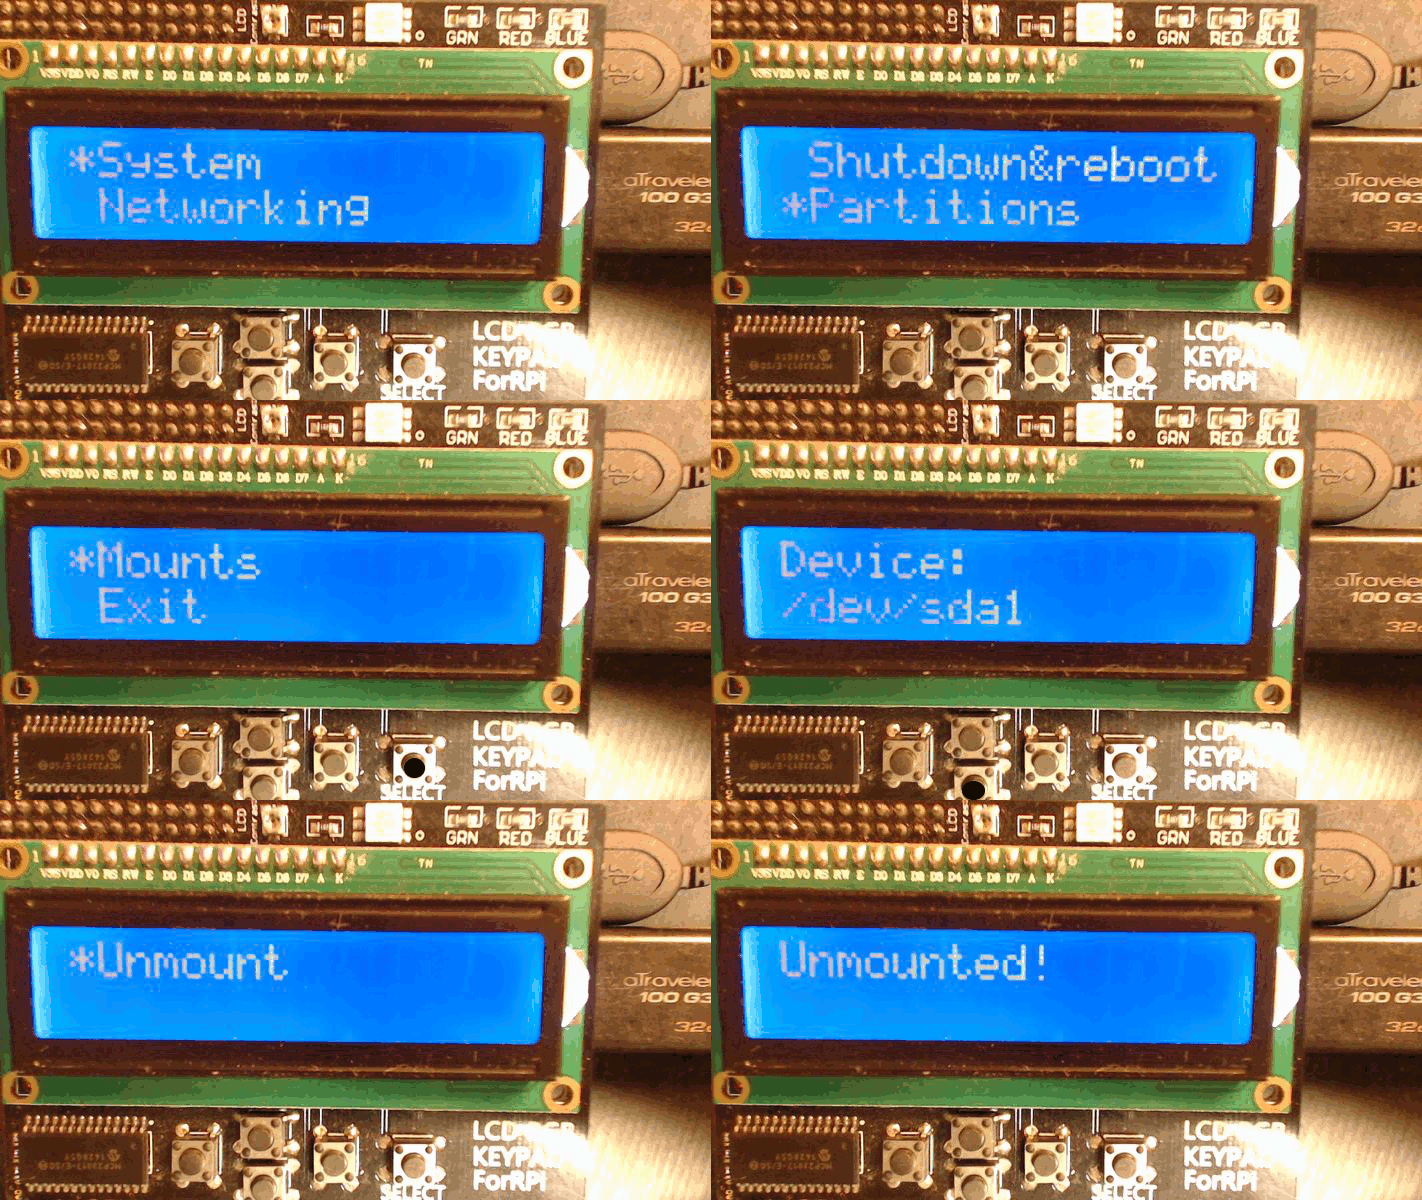
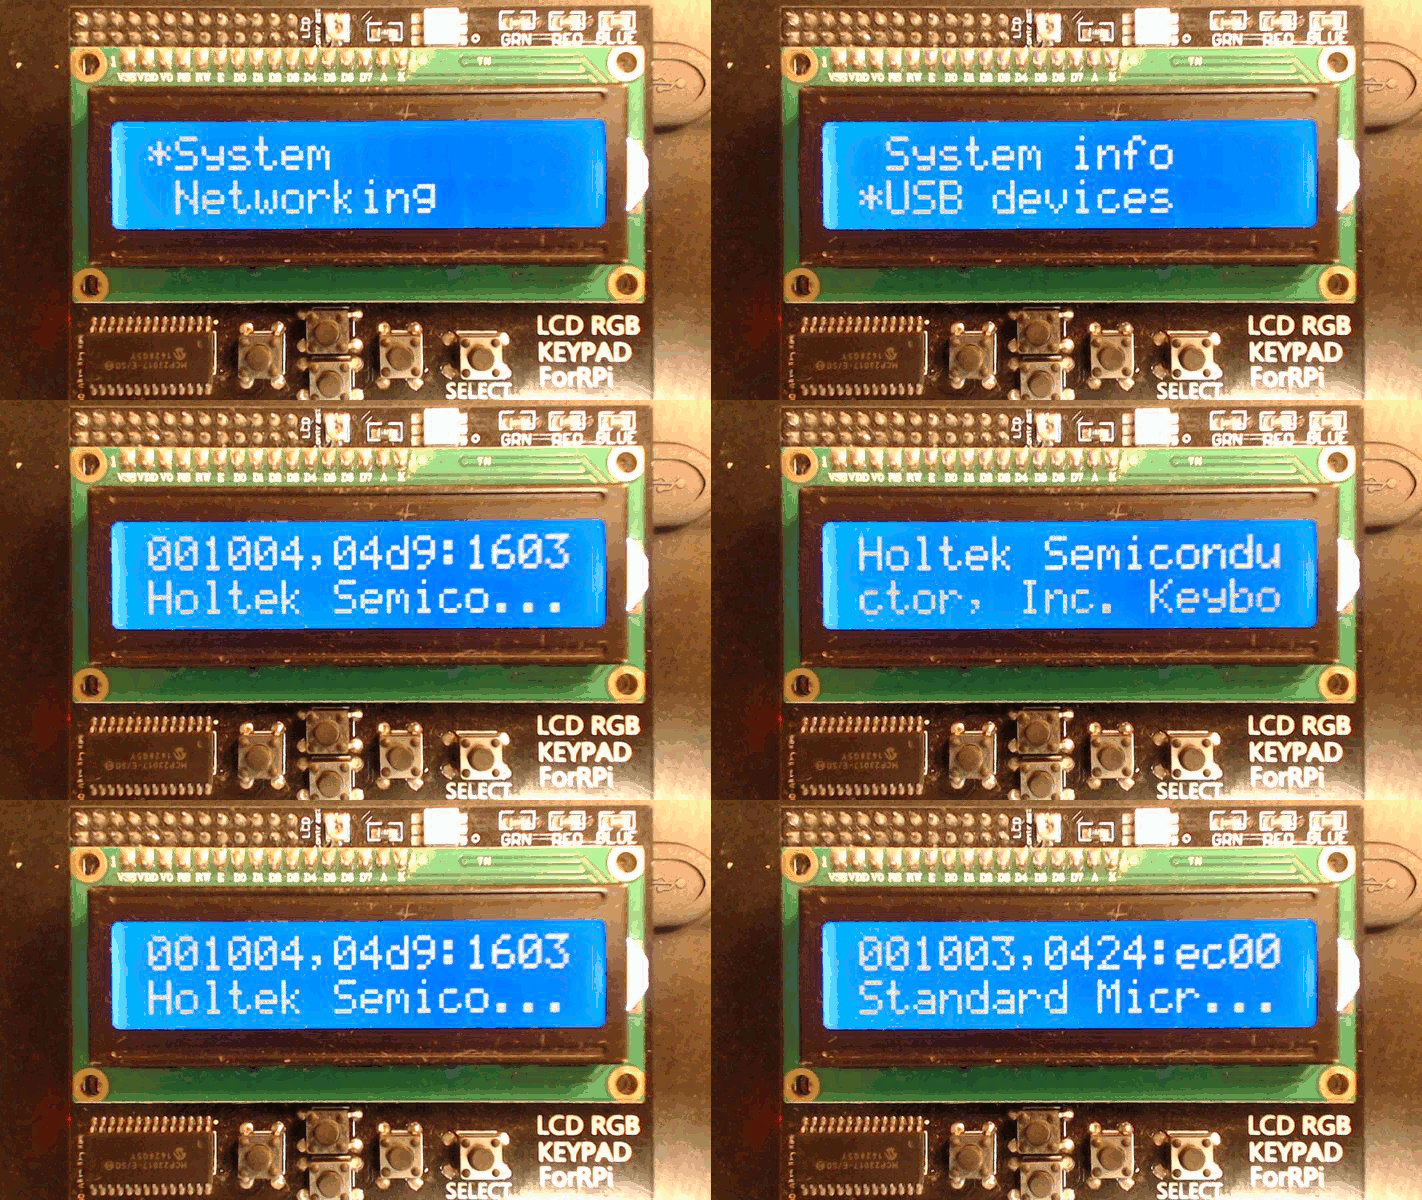
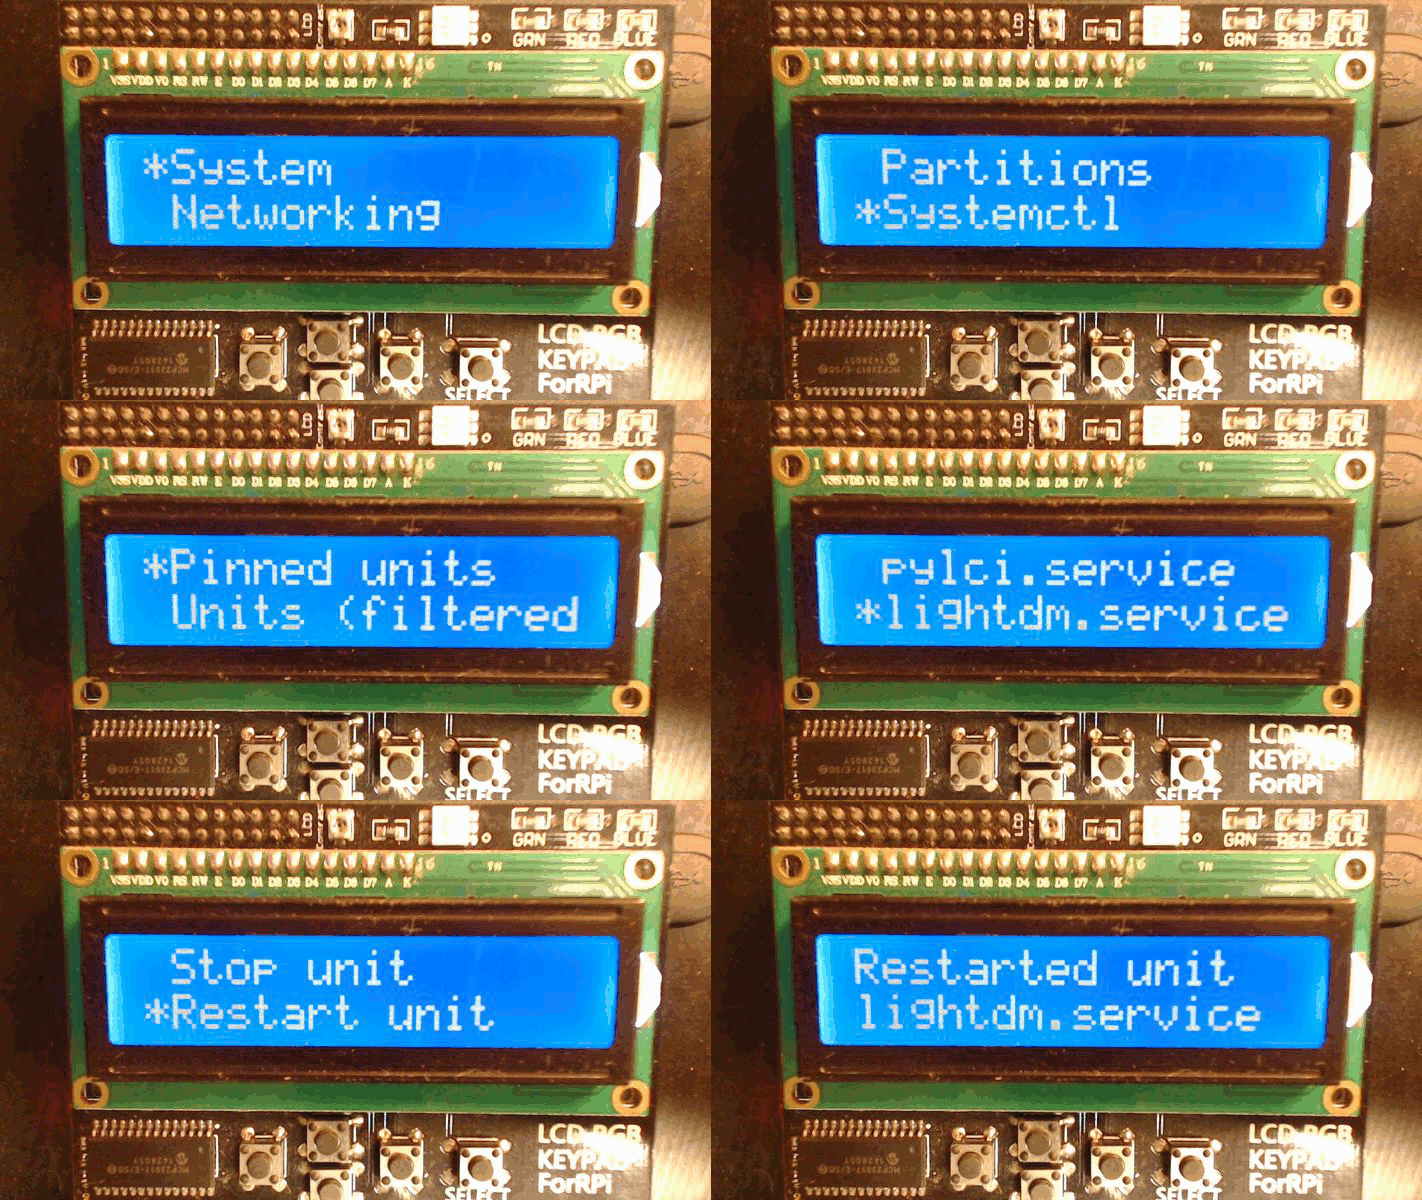
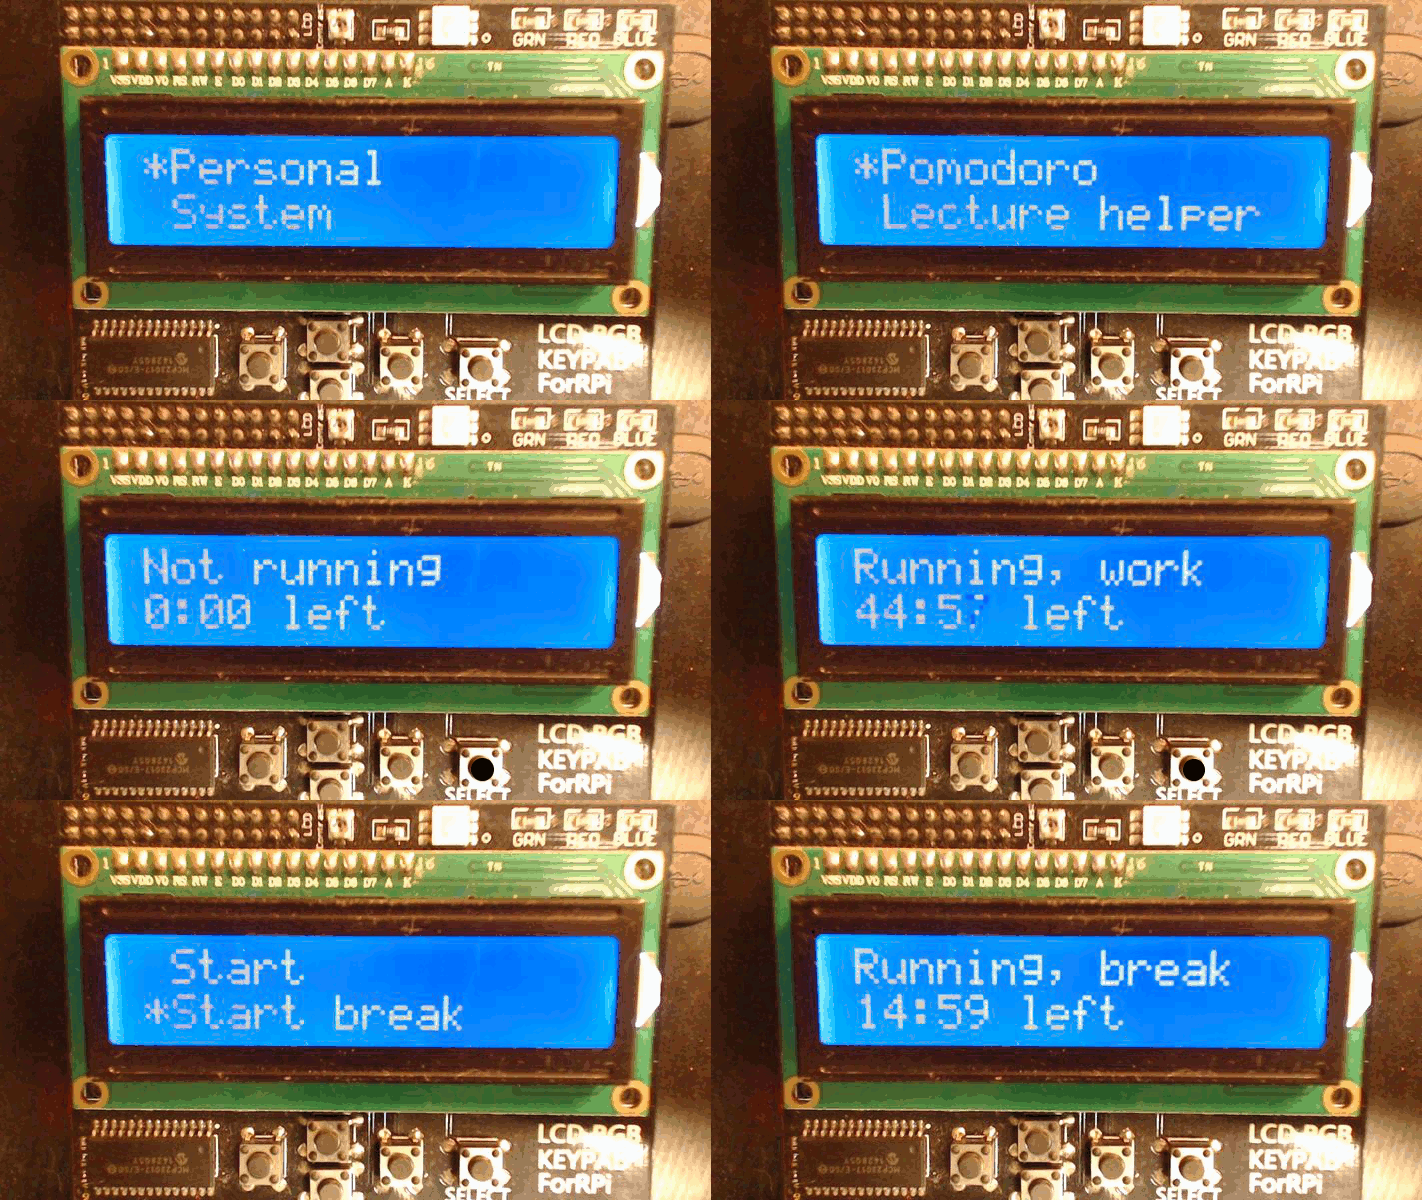
Where can pyLCI be used?
- On the personal / home Raspberry Pi for easier connection to it and perform some routine tasks.
- When using the Raspberry Pi for training (for example, by significantly reducing the budget to the periphery and time to "connect to the Raspberry Pi" at the beginning of the lesson)
- When developing solutions on the Raspberry Pi (to raise the fallen escape room controller and restart the service without getting the computer is priceless)
- For your laptop computer on Pi (what's the use of Pi, working 10 hours from the battery, if it can not be connected to WiFi)
- On your working Pi as an auxiliary interface (switch music / change volume while watching something on the Internet)
What hardware is needed for the interface?
The simple answer is to take such a shield from China:

It costs about 5 dollars, and it works flawlessly.
Then you can take the shield from Adafruit:
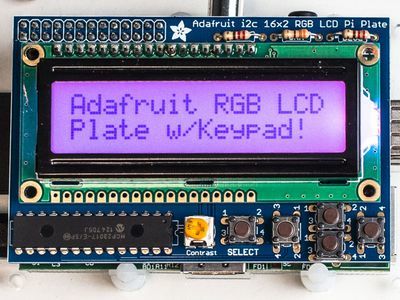
More expensive, but better made and wait for delivery will not have to (shild from China - almost a complete copy of this).
Displays
Нужен простой дисплей, совместимый с командами HD44780, минимальный размер — 16x2, поддерживаются дисплеи разных размеров. Вот такого типа:

Дисплей можно подключить через GPIO (займёт 6 контактов на Raspberry Pi) или I2C. Такие дисплеи часто попадаются во всяких Starter Kits, доступны в каждом мало-мальски себя уважающем магазине/рынке электроники и стоят 2$ с бесплатной доставкой из Китая.
Кнопки/клавиатуры
Нужно как минимум 5 кнопок. Их можно подключать через GPIO, I2C-GPIO экспандеры или же использовать USB HID устройства — типа таких numpad-ов:

Develop your applications
pyLCI is a UI framework that provides various UI elements to speed development and even allows you to fully integrate your application into pyLCI. For complex applications that need to be run separately, there is a proven approach - to implement some RPC interface in it and write a pyLCI application that provides a UI and jerks RPC functions.
Hello World:
menu_name = "Hello world"from ui import Printer
#Callback global for pyLCI
callback = None#Some globals for us
i = None
o = Nonedefinit_app(input, output):global callback, i, o
    i = input; o = output
    callback = lambda: Printer("Hello world!", i, o)
What for what:
menu_name- Application name in the main menui- an input device that catches keystrokes and calls the callbacks assigned to them.o- output device , operates the display.Printer- function of simple data output to the display . Uses i and o, has various useful parameters and ways to call.init_app- application function called when pyLCI starts. It transfers i and o to the application, it usually creates the main UI elements of the application.callback- function called when the application is activated. Usually activates the main menu of the application, in our case simply calls Printer with our message.
Documentation on the various available UI elements is on ReadTheDocs , besides many examples of use can be seen in already written applications .
Adding features
Recently, I often add various features and fix bugs. A document with plans for the future is available here , but if you strongly lack any function or application, please email me (crimier yandex ru) or issues on Github , I can help.
useful links
- The project on Hackaday.io - there I described the development process, and now I'm talking about new features
- Documentation
- Github
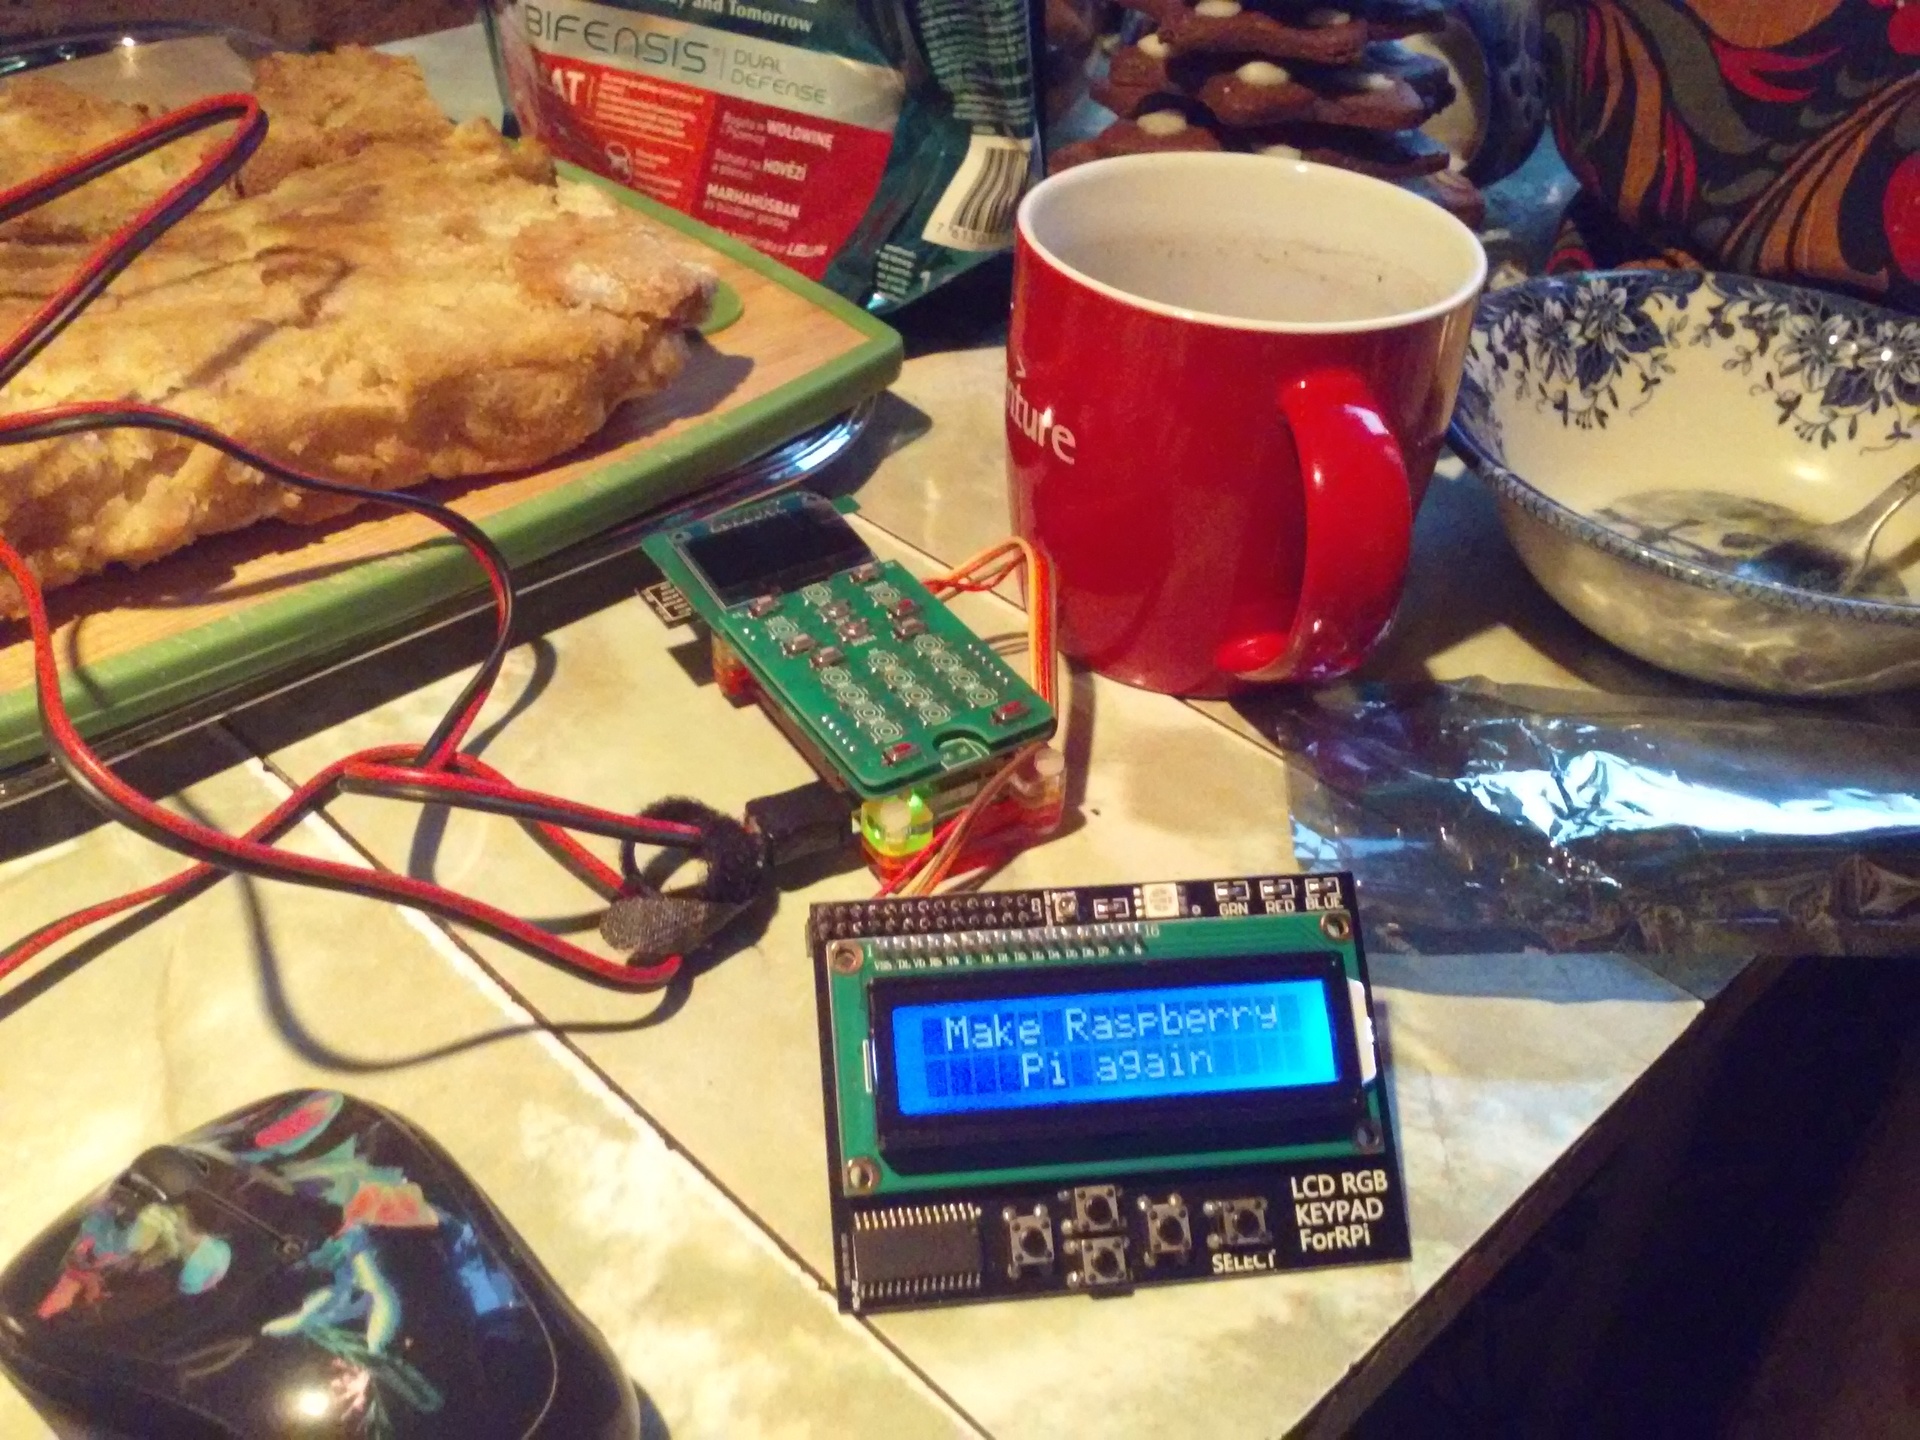
Developing a phone project on Pi Zero using pyLCI to change system settings without connecting via SSH