We disassemble the monowheel
- Tutorial
The hero of this note is the Gotway MCM2, once a top-wheel that, being new and in the maximum configuration, traveled up to sixty kilometers with a maximum speed of about thirty kilometers per hour. Nowadays there is nothing left in this wheel that has not been replaced or repaired. The battery from the Kingsong brand wheel, the controller, if my memory does not change, from Gotway MCM2s +, there are bearings from the GPZ in the motor, and the casing was repeatedly soldered, filled and painted. The note is based on not always high-quality photos that were taken during repairs and alterations. Those who do not scare a lot of letters, please under the cat.
We begin our disassembly by turning away all the screws that hold the two halves of the case together. Then we need to unscrew the screws that connect the case and the dropouts (pedals)
view from a different angle
< />
/>
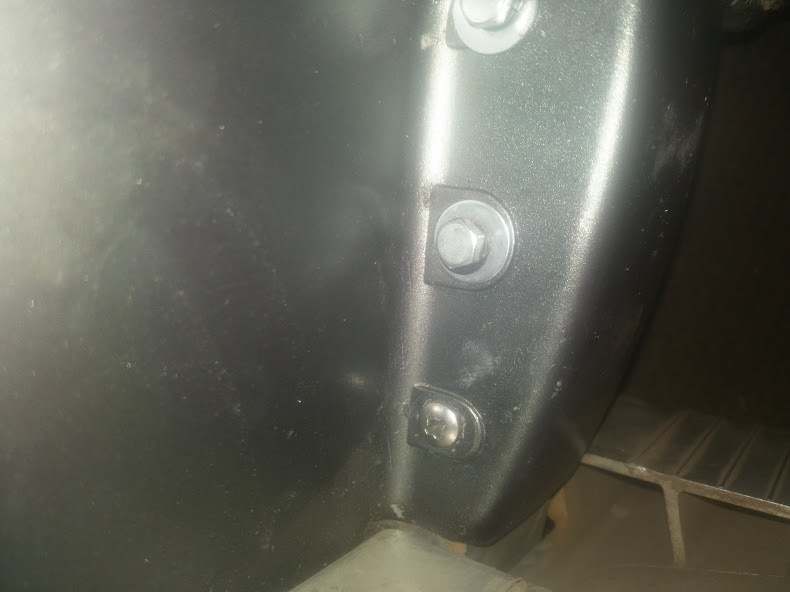
/>These screws always fall out despite the clamps of the thread, therefore they were replaced with bolts.
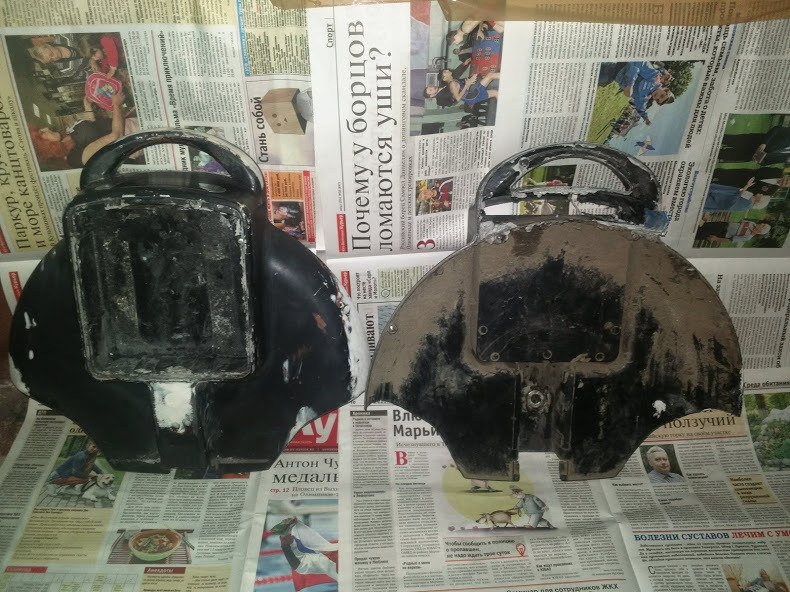
As you can see, the wheel housing tapers to the bottom, firmly clinging to the dropout. When assembling, the halves of the body are first screwed to the dropouts, while a gap of a couple of centimeters remains between them. Twisting the case, we tightly press it to the dropouts. This technical solution leads to the fact that we can not just pull the body up in order to seal the camera, for this we have to almost completely disassemble the wheel. The most unpleasant thing is that if you lose the top screw of the attachment to the dropout, then it is often impossible to fasten it in place without disassembling the wheel, because the hole in the housing may not coincide with the hole in the dropout.
In more modern wheels, this site is made as a human. But it is worth noting that the wheel in the photo came off the magnet fixing the pedal, which was glued somewhere under the nut, and shorted the nearby controller.
Source: electrotransport.ru
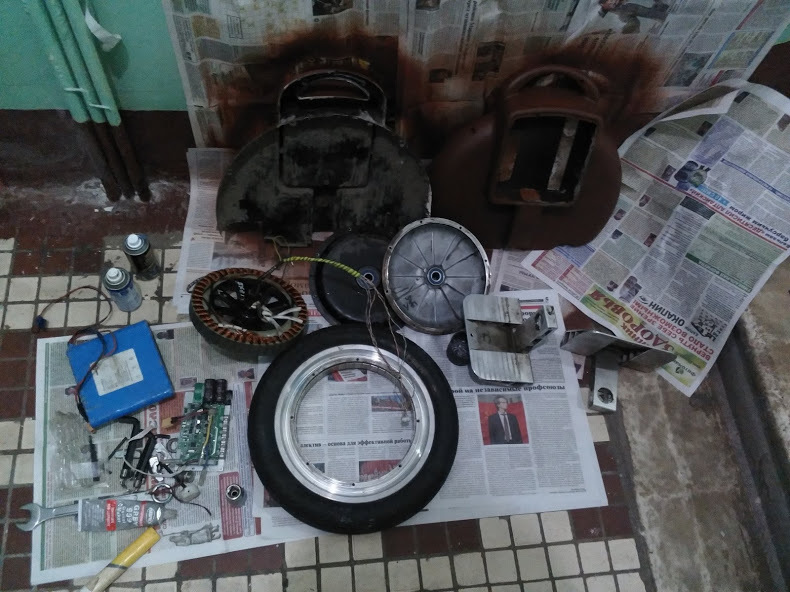
So, we finally dismantled the case. As you can see, on its sides there are two compartments for 16s2p batteries. By the way, for cheap wheels, these compartments are most often designed for thinner 16s1p batteries. Our wheel was produced in two versions, with one 340Wh battery and two batteries with a total capacity of 680Wh. In the first case, one side compartment is occupied by the battery, and in the second, a vertical controller was freely located. In the maximum configuration, the batteries occupy both side compartments, and the controller is huddled in a cramped and uncomfortable compartment under the lid.
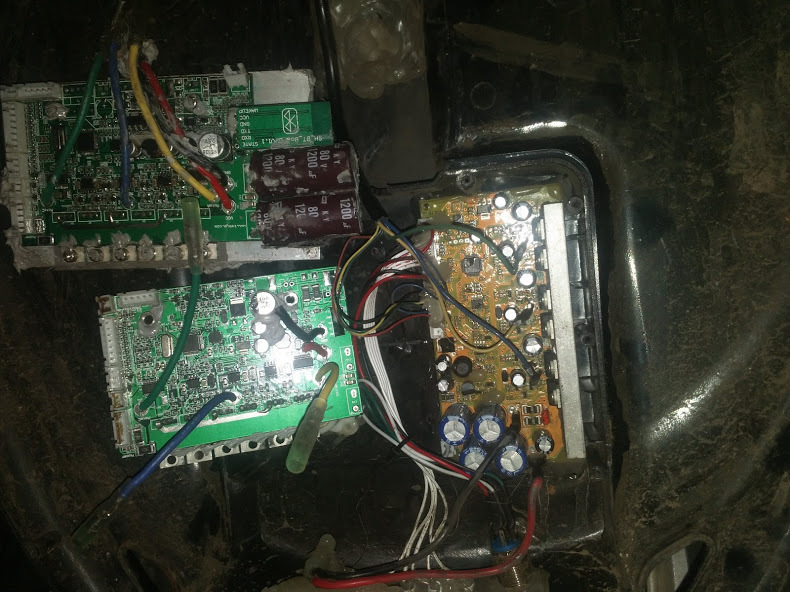
From above, we can see just such a controller. The capacitors jammed about the case attract attention, it is a chronic problem of such wheels. Below, without capacitors and BT-module, lies the old vertical Gotveev controller. Next to it, we also see a vertical controller, but from the old nouneyma.
Putting aside the case, we take the motor. If you used a wheel
approximately in such conditions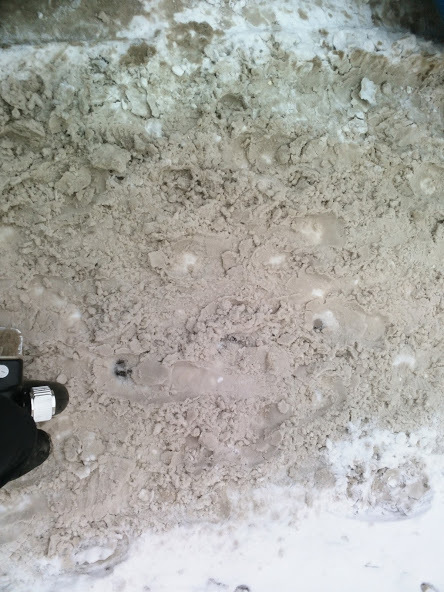
then your motor risks looking just as unsightly. Taking this opportunity, I send my greetings to the employees of the Moscow mayor's office and wish them to eat all their lives so that they pour them onto the roads, seizing this dirty trick with the Sobyaninskaya paving slabs and fragments of broken shops. 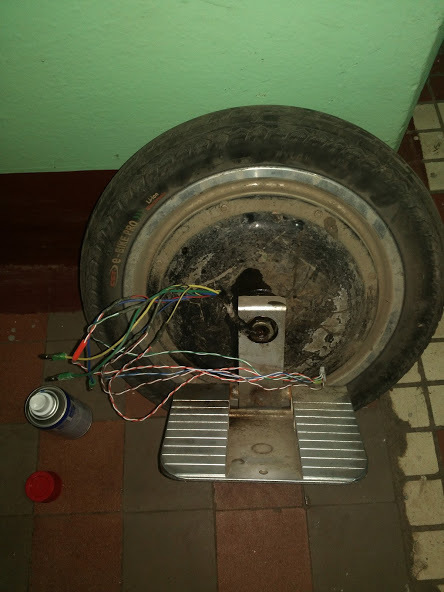
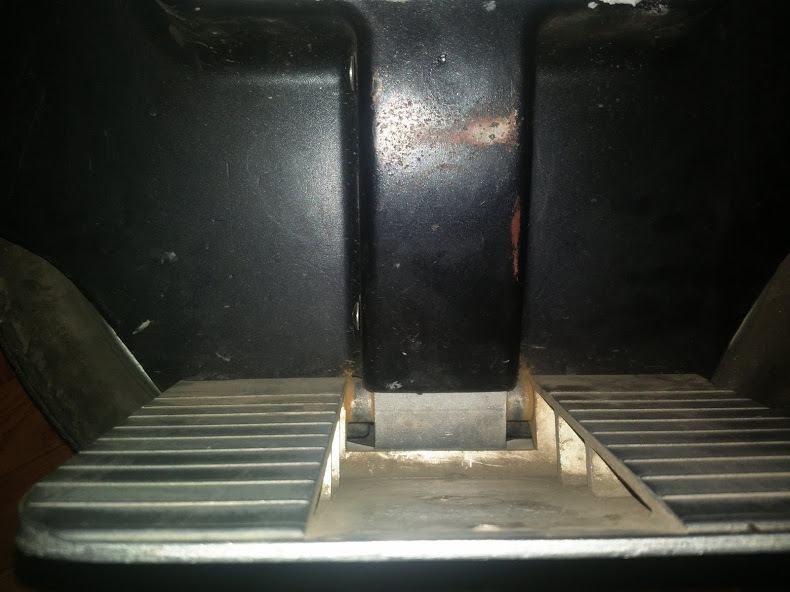
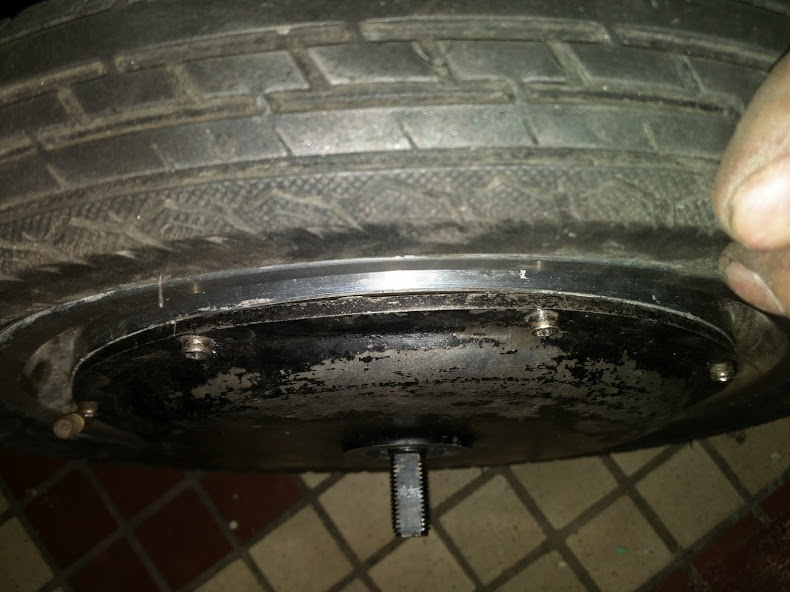
Now we need to remove the pedals. The shaft has milled surfaces on both sides, to which the crackers are attached. From above, the whole structure is fixed with a washer and pressed against the stub nut that has a tendency to spontaneously loosen.

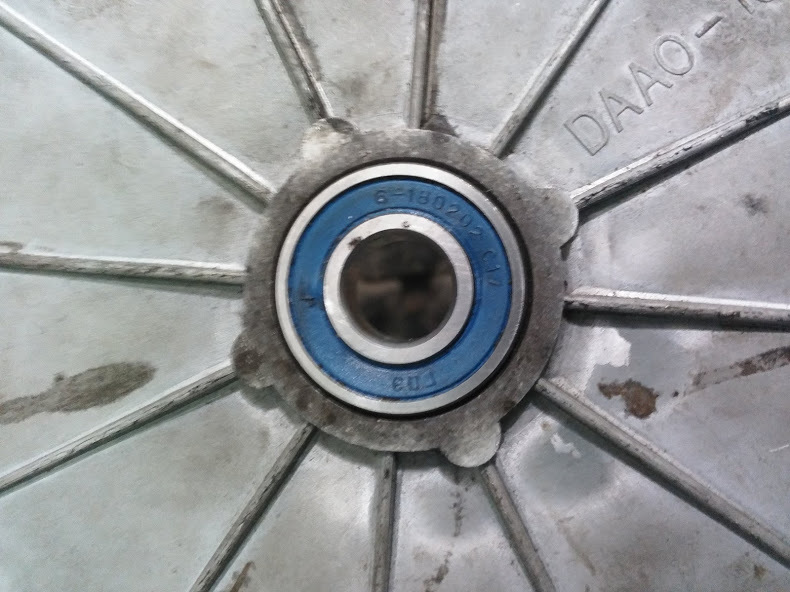
We remove the wheel cover, admire the long since not native bearing
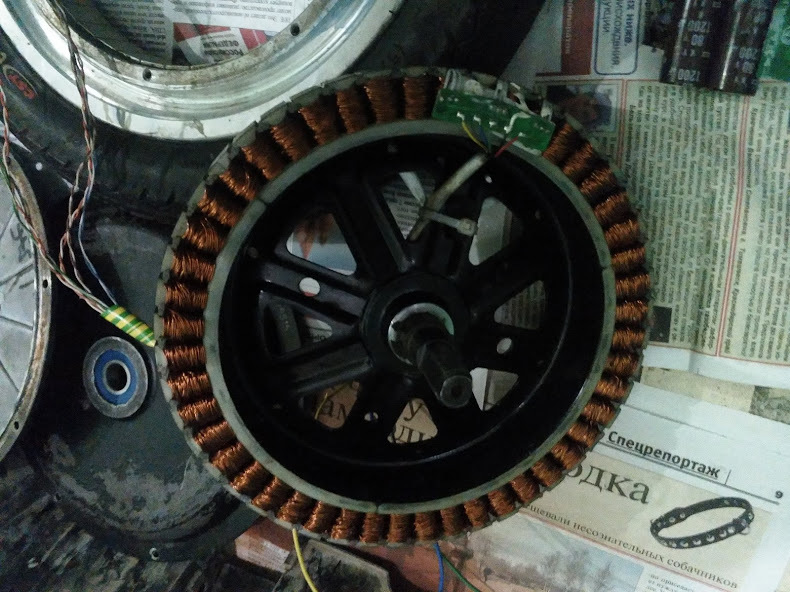
And knock out the stator, which, funny, takes the usual place of the rotor.

The stator on the other hand:
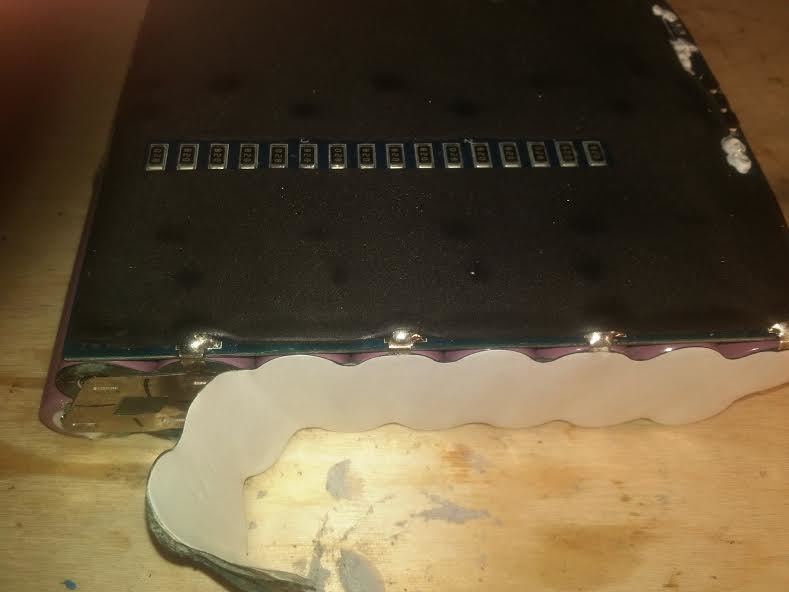
Putting the disassembled motor aside, let's start the battery:
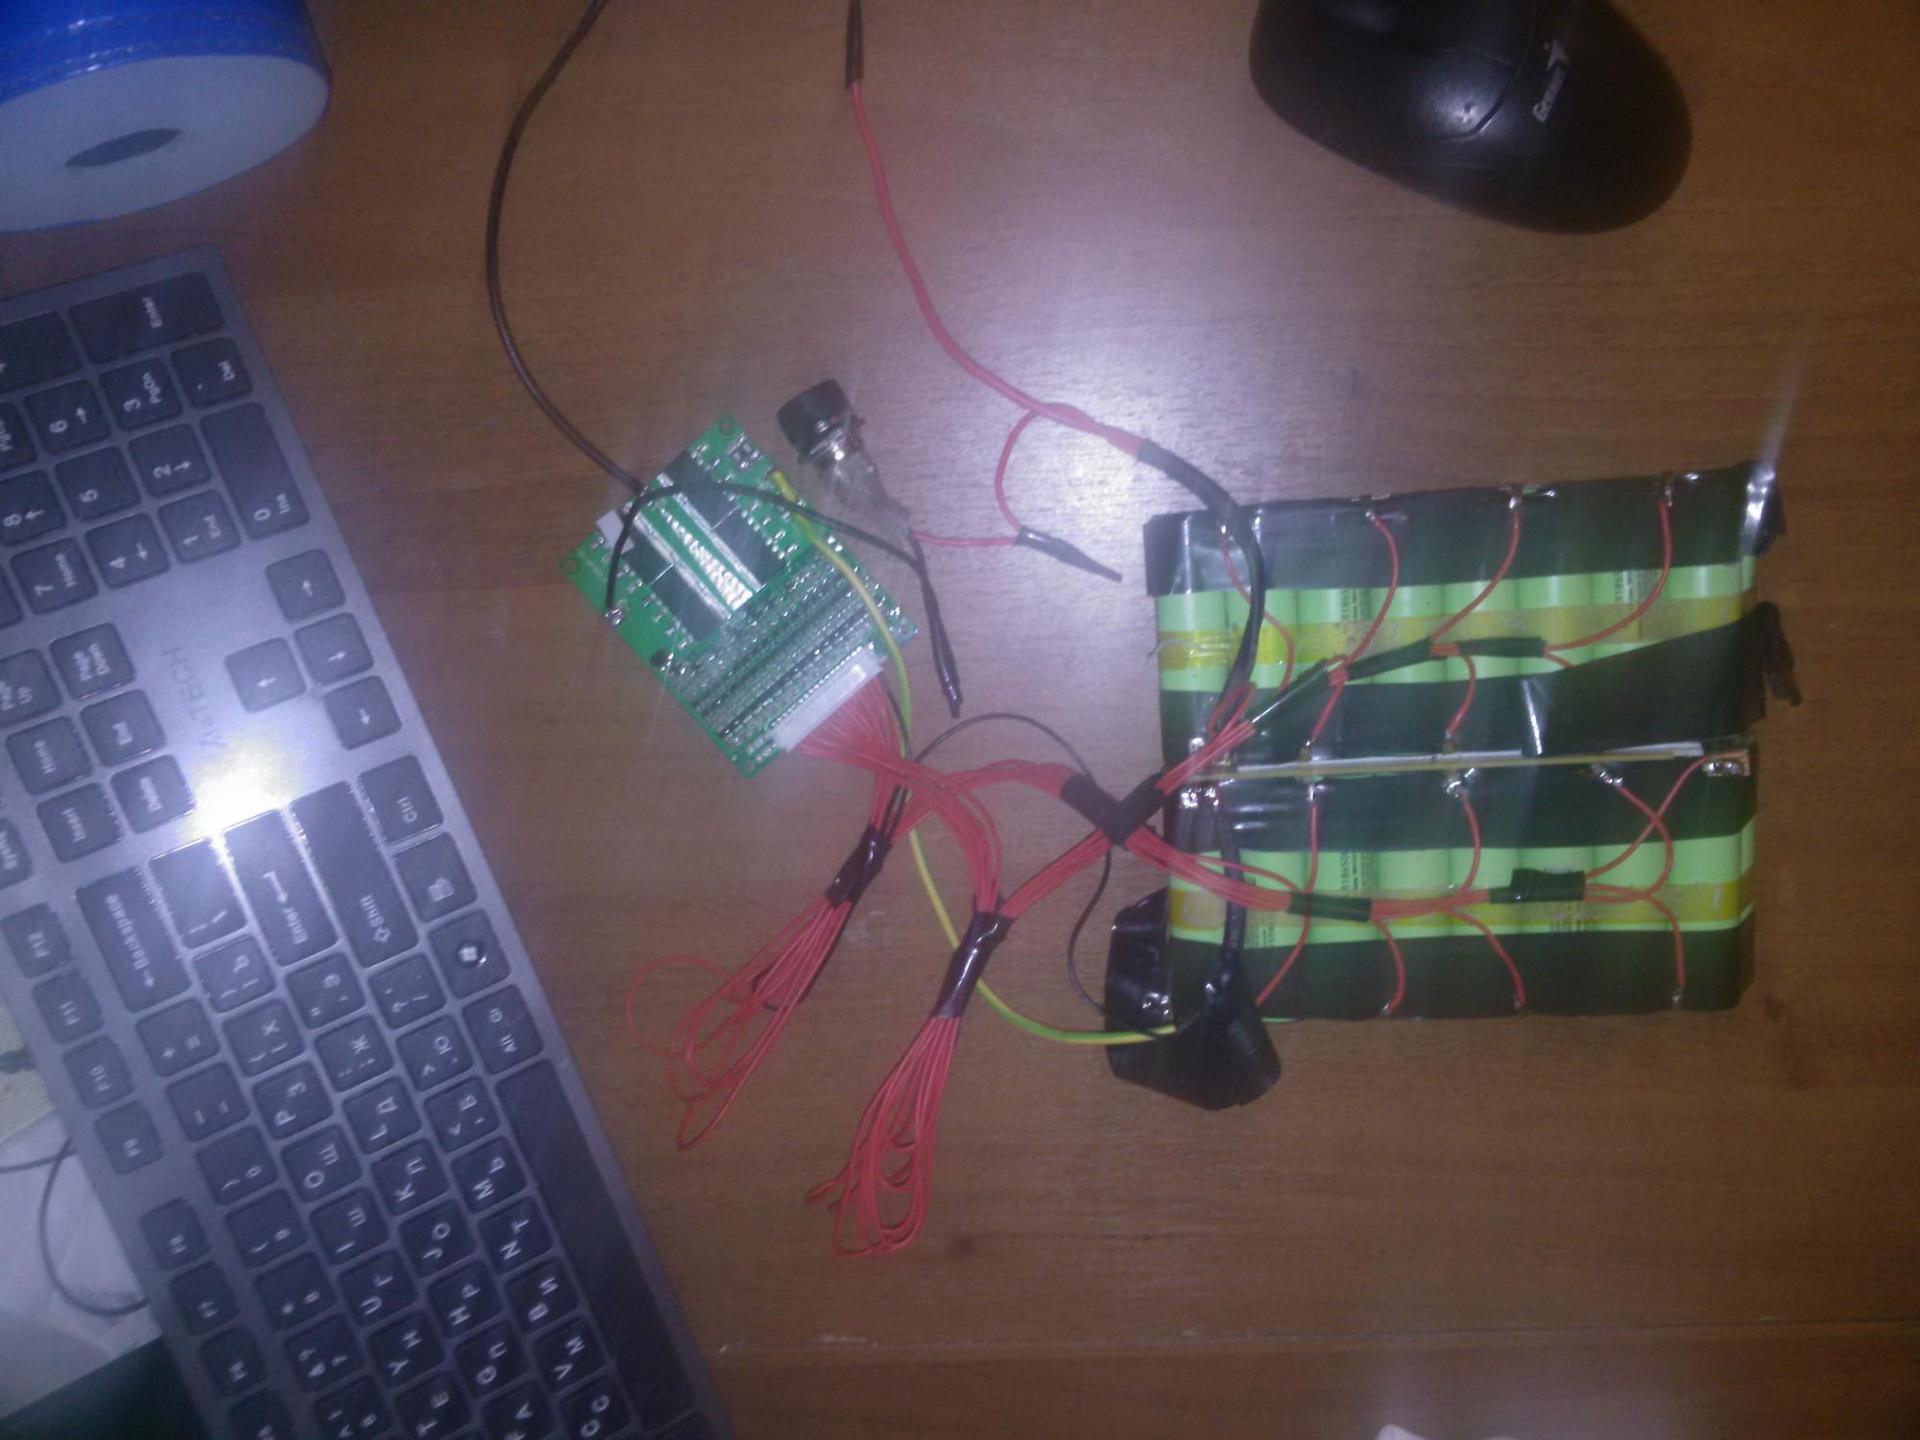
The board on top is a regular BMS. Note that the output to the controller bypasses the BMS, which has only one field operator, and that on the charging channel. Despite this, she died with me
difficult fate of this battery, I recommend to get acquainted
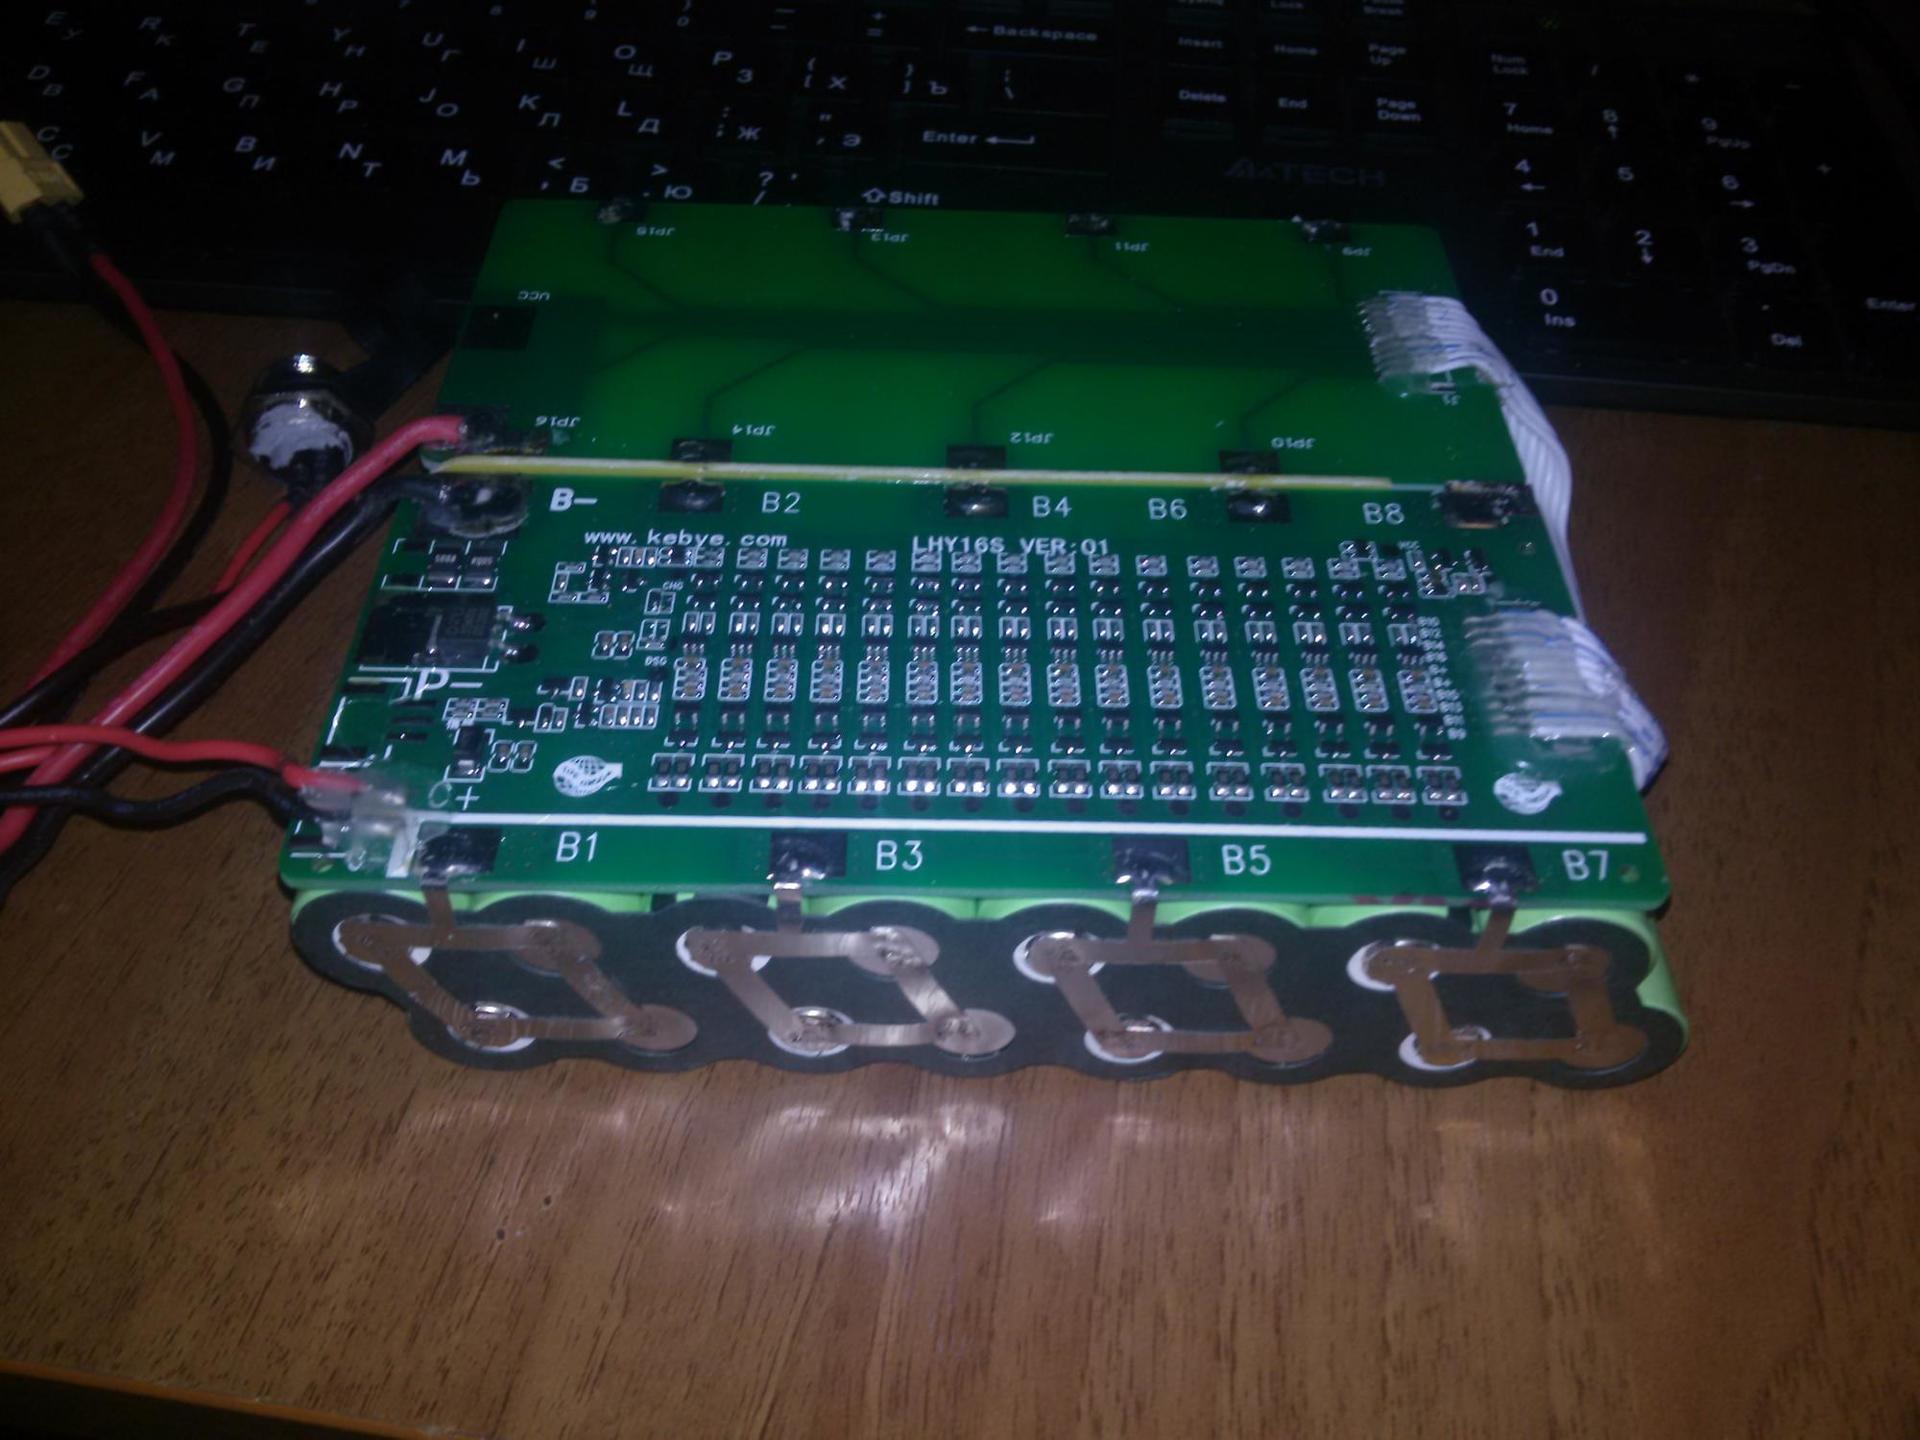
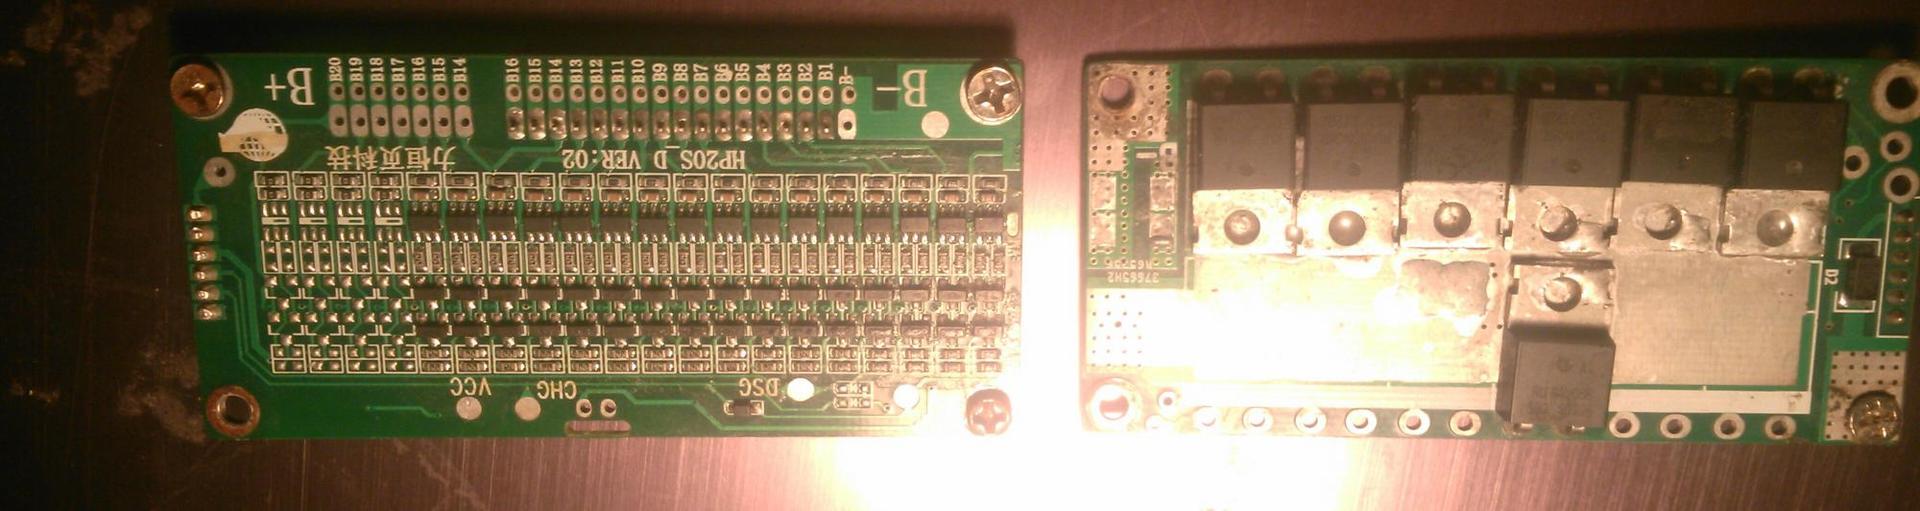
потом батарея была пересобрана вот с такой БМС:
Точнее говоря, эту БМС я убил при сборке. Запомните, кто не знал: сначала к БМС припаивается минусовой провод, и только потом вставляется балансировочный шлейф!
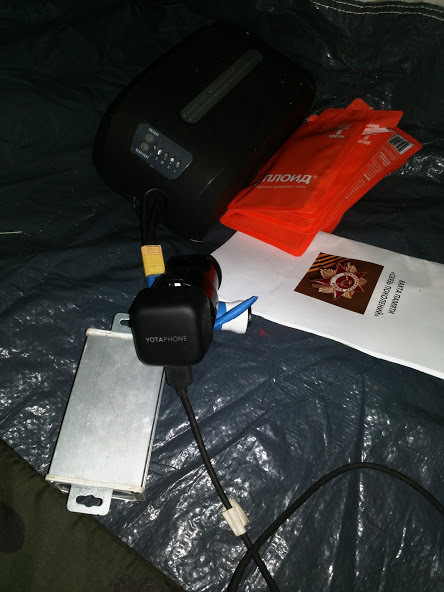
Затем была куплена вот такая БМСка:

В итоге эта многострадальная сборка переехала в бокс для велосипедного аккумулятора, и используется как внешняя батарея.
Точнее говоря, эту БМС я убил при сборке. Запомните, кто не знал: сначала к БМС припаивается минусовой провод, и только потом вставляется балансировочный шлейф!
Затем была куплена вот такая БМСка:
В итоге эта многострадальная сборка переехала в бокс для велосипедного аккумулятора, и используется как внешняя батарея.
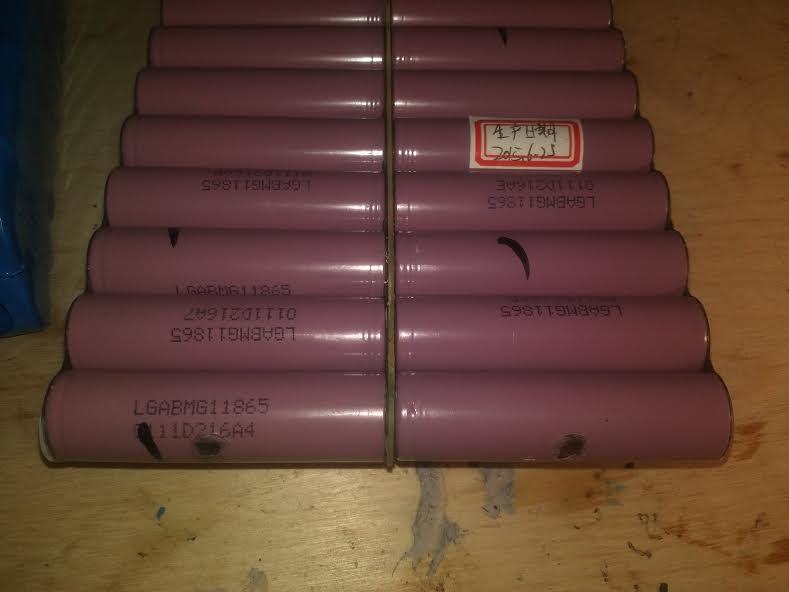
While I was waiting for BMS for the first battery, I bought myself a second battery assembly). Until today, she did not demand attention, however, I accidentally discovered that her lower banks hesitated a bit about the case. Conclusion: when installing the battery in the wheel between it and the body must be placed rubber / hot melt adhesive / sealant.
Well, we disassembled the wheel in components, only the controls remained.
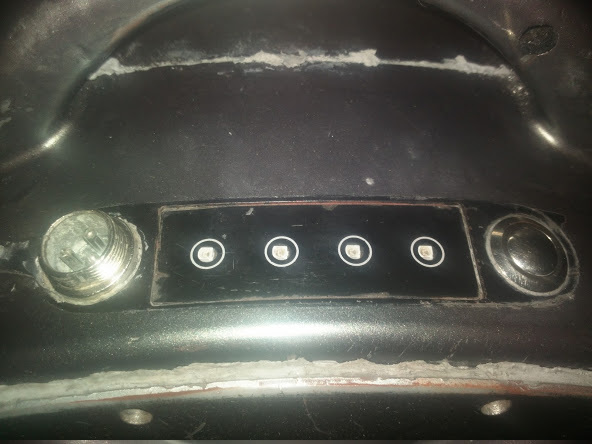
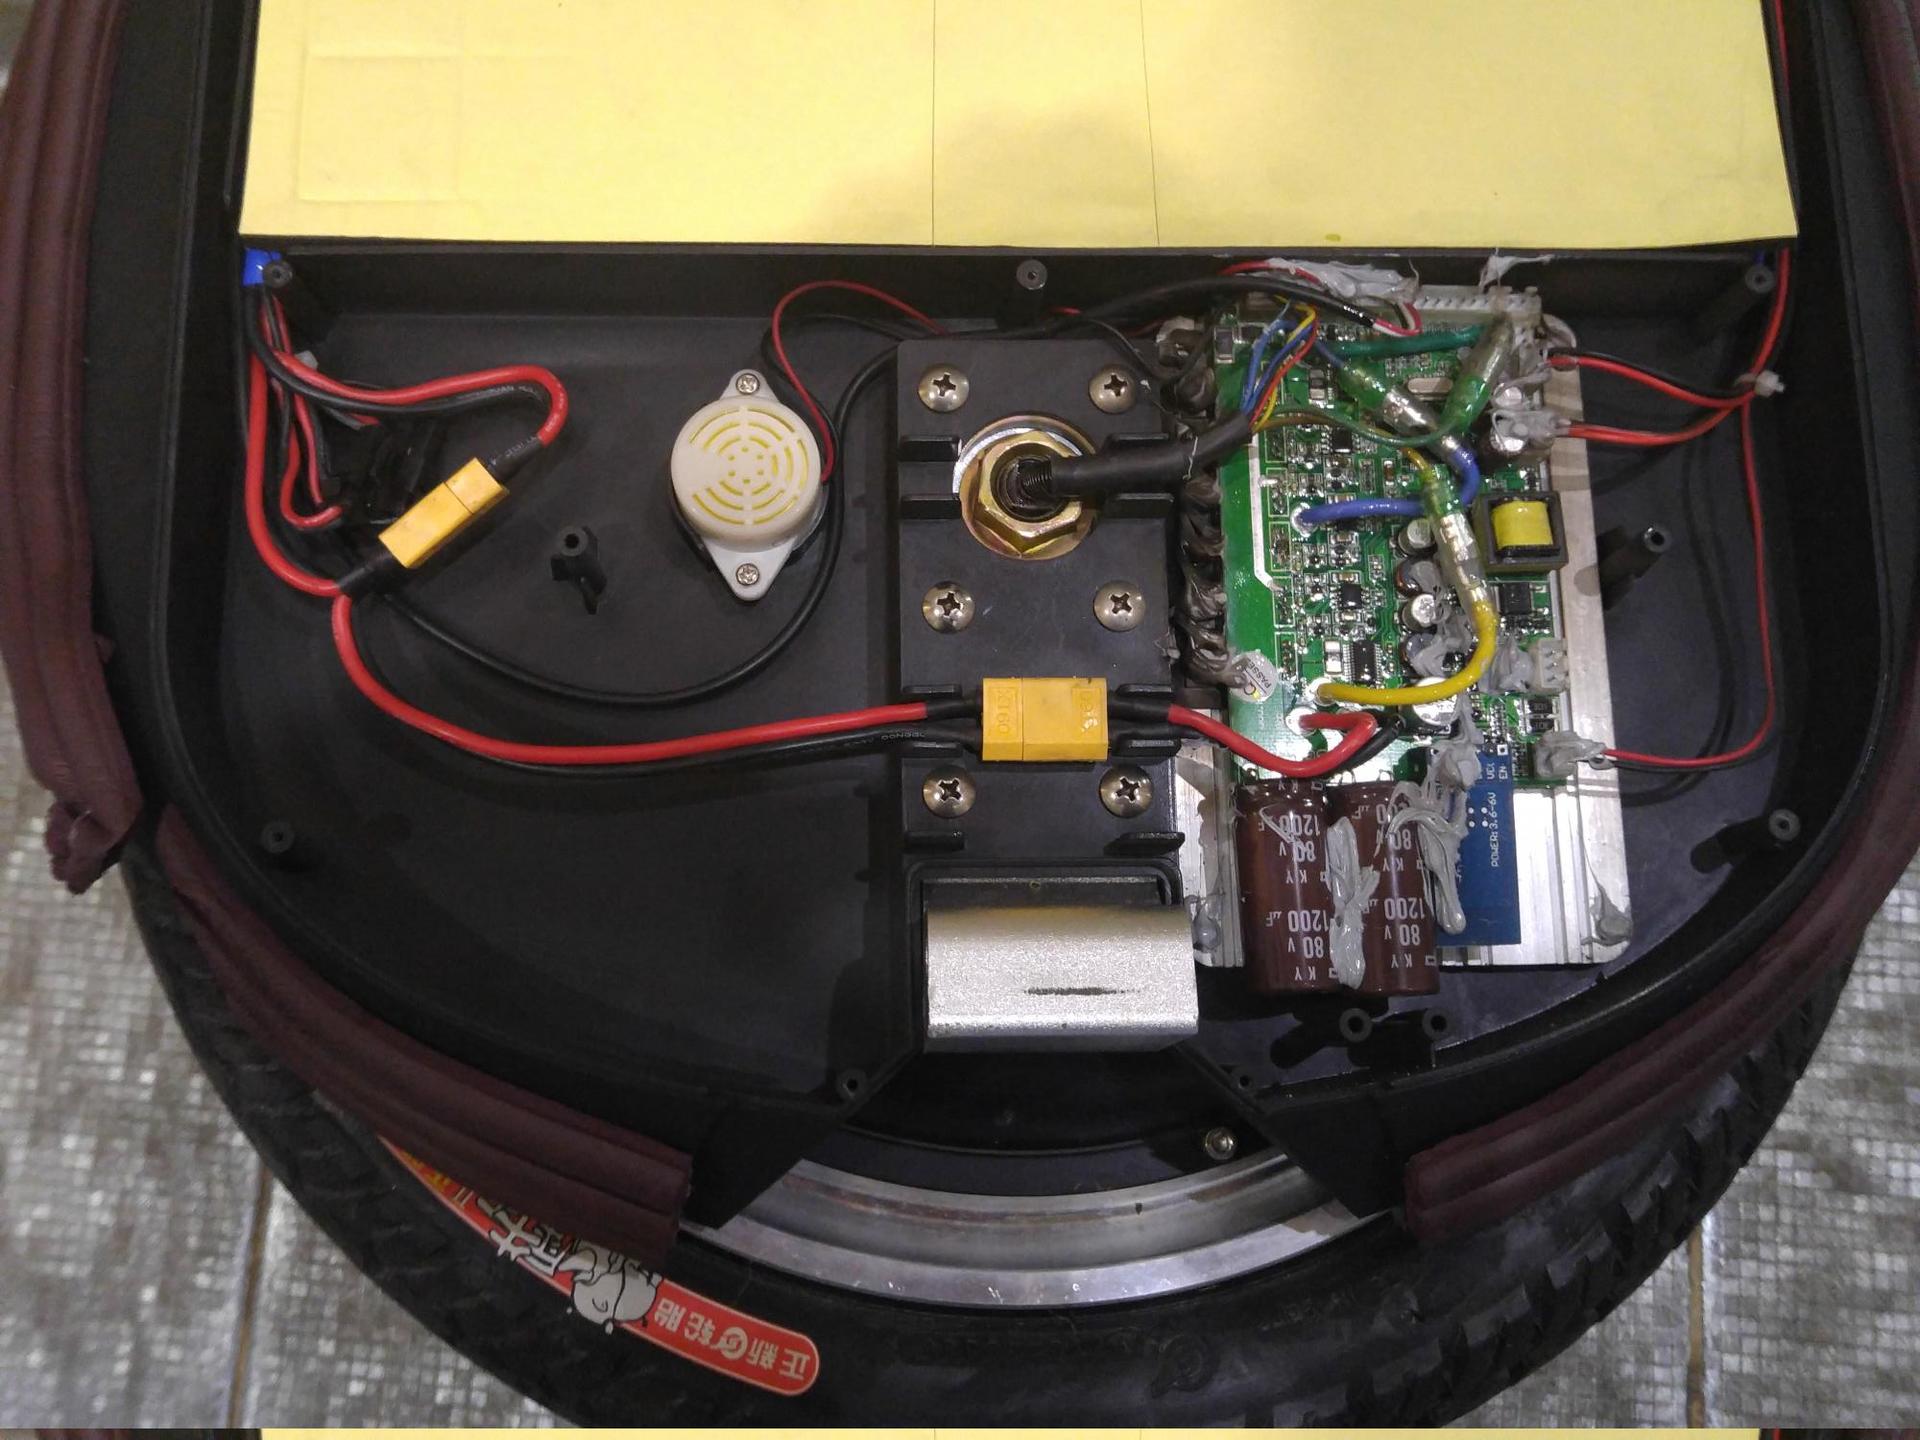
On the left, we see the GX16 charging connector; in the middle is the charge indicator. I did not take it off, because there is nothing interesting there, a loop of five wires goes to it from the controller. When displaying the battery charge, this display is a Christmas tree garland when the battery is drastically discharged and is trying to say something when the wheel is faulty. True, error codes are far less than possible problems). On the right we see the power button. You can google it on request "metal anti-vandal button" and immediately buy a handful of a reserve. They are with fixation and without it and love to love the brain, especially after traveling under a shower. The frame did not get a squeaker, it can be seen, for example,
here in this photo
источник: electrotransport.ru
источник: electrotransport.ru
Its main purpose is to inform you about the speed of the wheel. For example, in my case one squeak sounds for about 20 km / h, two squeaks for about 28, continuous squeak pursues you when you are flying in front of the wheel, having driven more than 30 km / h. With the new controller, I can disable these squeaks through the application (about it later), with the old controller you could only pull the squeaker to hell (which I eventually did)
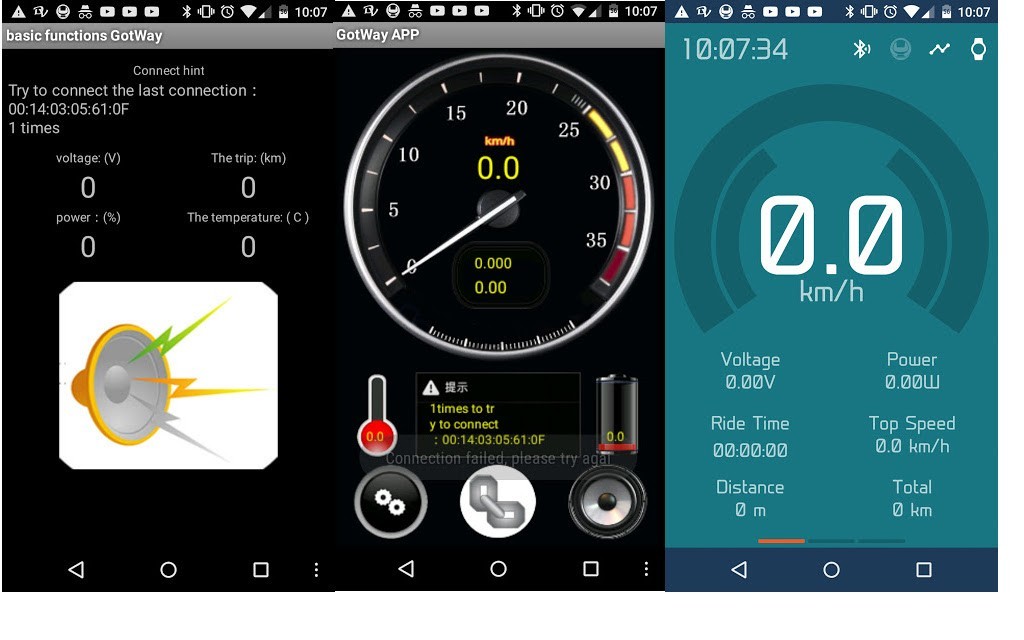
Now about the applications. I will say right away that I have not used them for a long time, therefore there may be inaccuracies in their description. A pair of official applications connects to my wheel, the first has a convenient design, but does not have a odometer, the second, on the contrary, is not very convenient and is frightened by numbers on one meter. There are a few unofficial ones, I stamped one of them, but never used it.
In addition to demonstrating speed and mileage, the wheels can switch modes of movement, in my case there are three: hard, comfortable and soft. In hard mode, the pedals are always parallel to the ground, in a comfortable wheel they bite forward when starting and back when braking, in soft mode it turns into an uncontrollable jelly swaying on the waves). My applications can also turn off the sound speed information and set the horizon of the pedals relative to the road. I love slightly raised pedals). In the Kingsong, the functionality is much broader: they can adjust the speed at which an audible warning will sound, as well as set the speed at which the pedaling will start. By the way, I forgot to write that most of the wheels, when reaching their maximum speed, begin to lift the pedals up, forcing the rider to slow down. My goth doesn’t have such functionality, rewarding his rider with an unforgettable feeling of flying every time he chooses the wrong speed. After each such flight, I do not accelerate for more than 15 km / h for some time, but then gradually I return again to 25-30)
Well, like I told everything I wanted. Now to me (more precisely, to an intermediary in Russia) in the form of spare parts goes insane wheel with a maximum speed of 40 km / h and a mass of 20 kg in the maximum configuration. If all the parts safely get to me, I can write a note about the assembly of a modern top wheel.