DIY project technique. Part two
In the final part of the article “DIY project methodology”, a set of organizational measures at the stage of execution and closure of an amateur project will be considered. Previous parts of the article are published here and here .
Organization of safe work
When working with electronic equipment and other electrical devices should strictly observe the rules of electrical safety!

Briefly, but in essence, the basic rules of electrical safety in amateur radio practice are set forth in the article “Caution! Electric current ”- Radio №8, 1983, p.55.
See scan articles
I strongly recommend, also, to study the publication olartamonov "Basics of electrical safety in the design of electronic devices . "
Workplace organization
The work place of the radio amateur must be equipped with instruments, tools and, as experience shows, a storage cell inaccessible to small children and pets.
The final set of instruments and tools is determined by the scope of work of the project and the list of technical characteristics of the product of the project, which need to be confirmed in tests.
The minimum required for workplace equipment:
- inexpensive laboratory power supply;
- inexpensive soldering station;
- inexpensive multimeter;
- ruler;
- set of screwdrivers;
- a set of wrenches (4x5, 5.5x7, 8x10, etc.);
- pliers;
- side cutters;
- stripping tool;
- mounting tweezers.
Even in the work may need:
- hand tools (vise, handsaw, files, etc.);
- oscilloscope;
- computer;
- logic analyzer;
- programmer, etc.
It should be noted that the “minimum set” will already cost the radio amateur in the amount of about 5000 RUR, and the cost of additional equipment has no upper limit.
Test organization
Ignorance of the law “On ensuring the uniformity of measurements” dated 06.26.2008 No. 102-ФЗ is not an excuse (joke).
In amateur projects, most measurements are made with cheap multimeters. For a modest amount of twice the cost of such a multimeter , you can calibrate it at the local center of standardization and metrology (CMS). And we can assume that in an amateur project it is enough accuracy of measuring electrical quantities of the order of 3 ... 5%, and save money on instrument calibration.
Also, in an amateur project, it is permissible to confirm the characteristics of a product not by conducting expensive tests, but by any indirect methods of confirmation. In publications about the project on the use of indirect confirmation methods, you should write in plain text. For example:
“Listening to the amplifier was conducted in a room of 50 cubic meters. m on the speaker system Radiotehnika S-90 in a satisfactory condition. The amplifier input was connected to the Creative E-MU 0404 USB sound card line-out. The source of the signal was a test disk “Audio FSQ” in WAV format . The sound picture observed during listening completely corresponded to the description to a test disk. Evaluation amplifier sound: acceptable. "
But in commercial projects the customer will necessarily require confirmation of the conformity of product characteristics to technical requirements by measuring these characteristics. Measurement of characteristics will have to be carried out by measuring instruments of the required accuracy class, having a valid certificate of verification.
And here it is possible such a situation when the costs of testing the product of the project will exceed the cost of developing this product and producing a prototype for testing. Therefore, even in the early stages of a commercial project it is necessary:
- carefully coordinate with the customer technical requirements for the product;
- to achieve the approval by the customer of the draft program and test methods with a list of measuring instruments necessary for testing;
- It is necessary to include the cost of testing in the project budget, taking into account the purchase and lease of measuring instruments, subcontracting of accredited laboratories, etc.
Procurement Organization
The quality of the product of a project is largely determined by the quality of the components in its composition, and the volumes of supply of counterfeit components on the market are simply terrifying!
When purchasing components for amateur projects you should not be guided only by price. It is also worth paying attention to the reputation of the supplier, the range of its supplies, ease of delivery and the possibility of returning and exchanging low-quality goods. It is usually easier to order everything from one supplier and pay him for the door-to-door delivery than to collect the same order, saving a few percent, from several suppliers.
The body of the product in an amateur project is easier to pick up already ready from the catalog. According to the dimensional assembly drawings of the selected enclosure, it is necessary to determine the method of mounting the printed circuit boards and their connecting dimensions even before the trace of these printed circuit boards begins.
Organization of the manufacture of the model / prototype / prototype
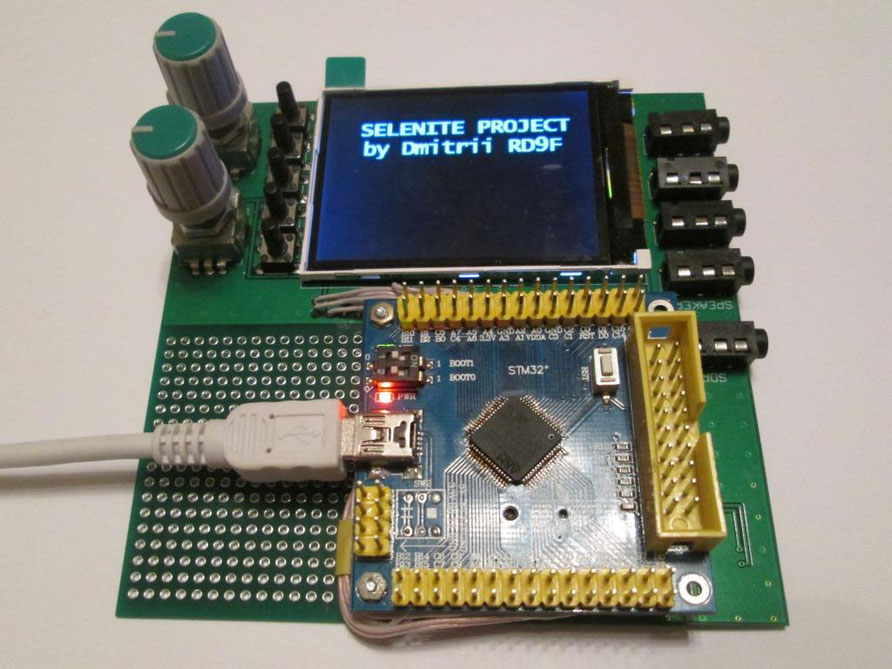
As mentioned earlier, the winning strategy in an amateur project is to model each solution. In the simplest case, the layout is assembled on a standard breadboard with a pitch of 2.54 mm, for example, as in the picture:
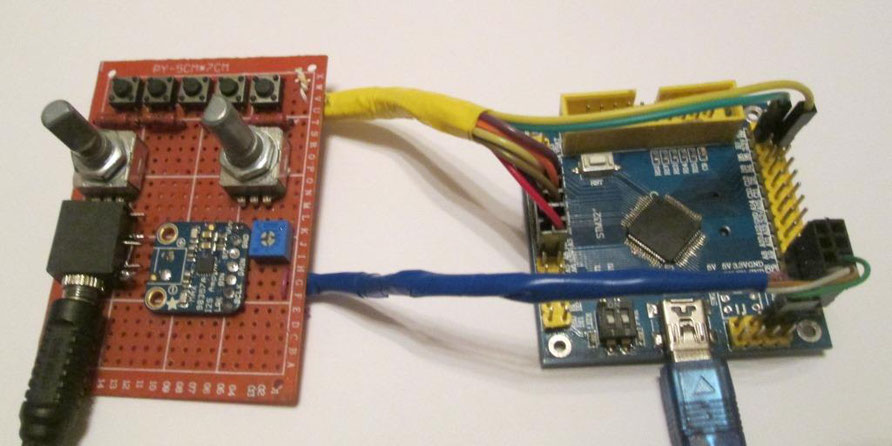
I would like to focus on the purchase module sealed into the board. This, like the assembly of conductors into bundles, is made to increase the rigidity of the layout design, since he must remain operable after transportation, strikes, falls from the table, etc.
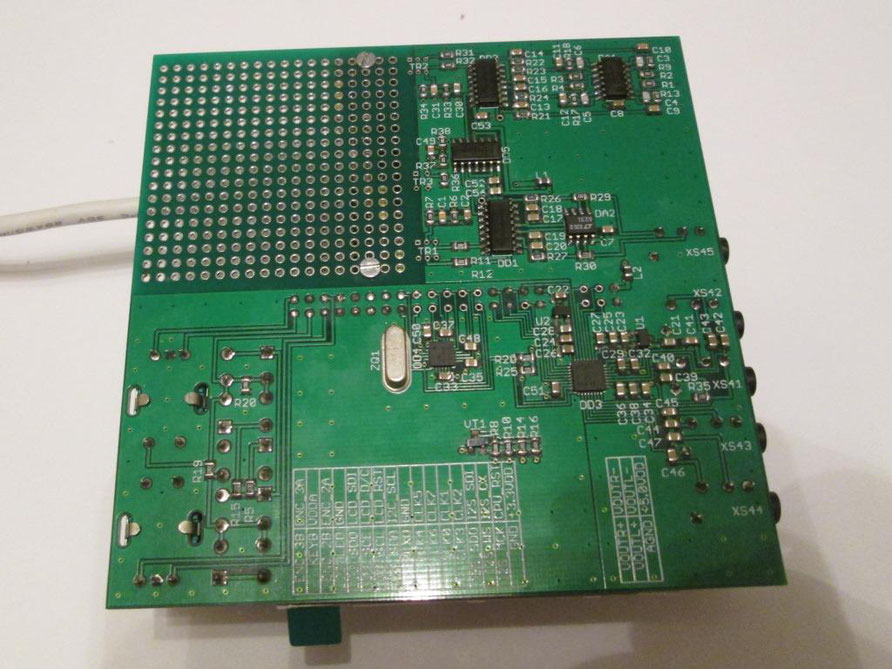
It is not always possible to assemble a model on a standard board. In this case, it is necessary to develop and produce its own PCB. A popular method for the production of printed circuit boards in the home is "laser-iron technology" (LUT). LUT requires plumbing work and work with chemical reagents. Details about this can be found, for example, in the publication of Himura “Layfkhaki manufacturing of double-layer boards (LUT)” .
Currently, you can order the production of double-sided boards 100x100 mm here and herefor amounts comparable to the cost of manufacturing printed circuit boards for LUT. Boards are made in 2 ... 3 days, delivery takes 2 ... 3 weeks. Boards are made on gerber-files of layers in the RS-274X format and in the drilling file in the EXCELLON format. These files can be exported from almost all CAD designed for tracing printed circuit boards.
Before starting to trace the board, you must make sure that the enclosures of the elements ordered to assemble the board correspond to the footprints of these elements in the CAD libraries. Board routing should begin with specifying the overall dimensions of the board and the coordinates of the fastening elements, which are determined by the drawings of the ordered case. Then on the board the display and control organs are placed, then the connectors are placed on the board, then the rest of the components.
If the motherboard being developed is an expansion card in a platform, first it will house mounting holes and connectors for the form factor of this platform, and only then display and control elements will be placed on it, and then everything else.
Between the functional units on the printed circuit board, it is desirable to leave gaps. The conductors that make up the interface, it is desirable to lay on the board together. After placing the main elements of the circuit on a double-sided board, it is desirable to start tracing from the power lines of these elements and always remember that there is no excessive cross section on the power lines. When connecting an element, you should be guided by examples from the datasheet on this element and documentation on the debugging board, if any. And in general, on the issue of tracing printed circuit boards, I highly recommend that you refer to the free iamsam manual "SamsPcbGuide" .
Organization of installation and commissioning
Installation and adjustment of amateur constructions are carried out on an equipped workplace. If the workplace is soldered, the room should be well ventilated. Illumination of the workplace should be sufficient.
Before switching on the assembled structure, it is necessary to check the correctness of the installation. If the design is included in the AC network, before switching on, it is necessary to measure the insulation resistance of the primary power circuits. When conducting adjustments and adjustments, it is necessary to strictly observe the electrical safety rules! (see the article "Caution! Electric Current")
Adjustment of any design begins with checking the characteristics of the power supply system. Next, in turn, debug the operation of the functional blocks in the product. After adjusting the functional blocks, the functioning of the product as a whole is checked.
After adjustment, the final tests of conformity of the product characteristics to the technical requirements are carried out, as described previously.
Project closing
Amateur project, if funding is not involved, you can close at any time. Publication of the results of an amateur project should contain, as a minimum:
- problem statement;
- principal electric circuit;
- firmware file;
- description of the results achieved.
A publication is also welcome:
- picture (and better gerber files) of the circuit board;
- list of items (BOM);
- firmware source codes;
- installation and setup instructions, etc.
Instead of conclusion
This publication ends the article "DIY Project Technique". The purpose of the article was: to help enthusiasts in the organization of their project activities, as well as to identify differences in approaches to the implementation of amateur and commercial projects.
I really hope that the experience outlined in the publication will help readers in organizing technical creativity. And also I really hope that any assessment of the article will be accompanied by a comment.
73! Before communication!